Fixing Sash Cords on a Classic Old Wooden Window

So a new customer called and asked if I could fix  some broken sash cords on an old house in Boston.  I was thrilled to get this call, because 20 years ago, I had replaced sash cords in 20, countem 20, old wooden windows in my old Jamaica Plain apartment, so I felt very confident about this job!

There are many youtube videos explaining the process, but here are pix of my own 4 hour sojourn into fixing a window that is a genuine antique, probably dating from 1915 or so.
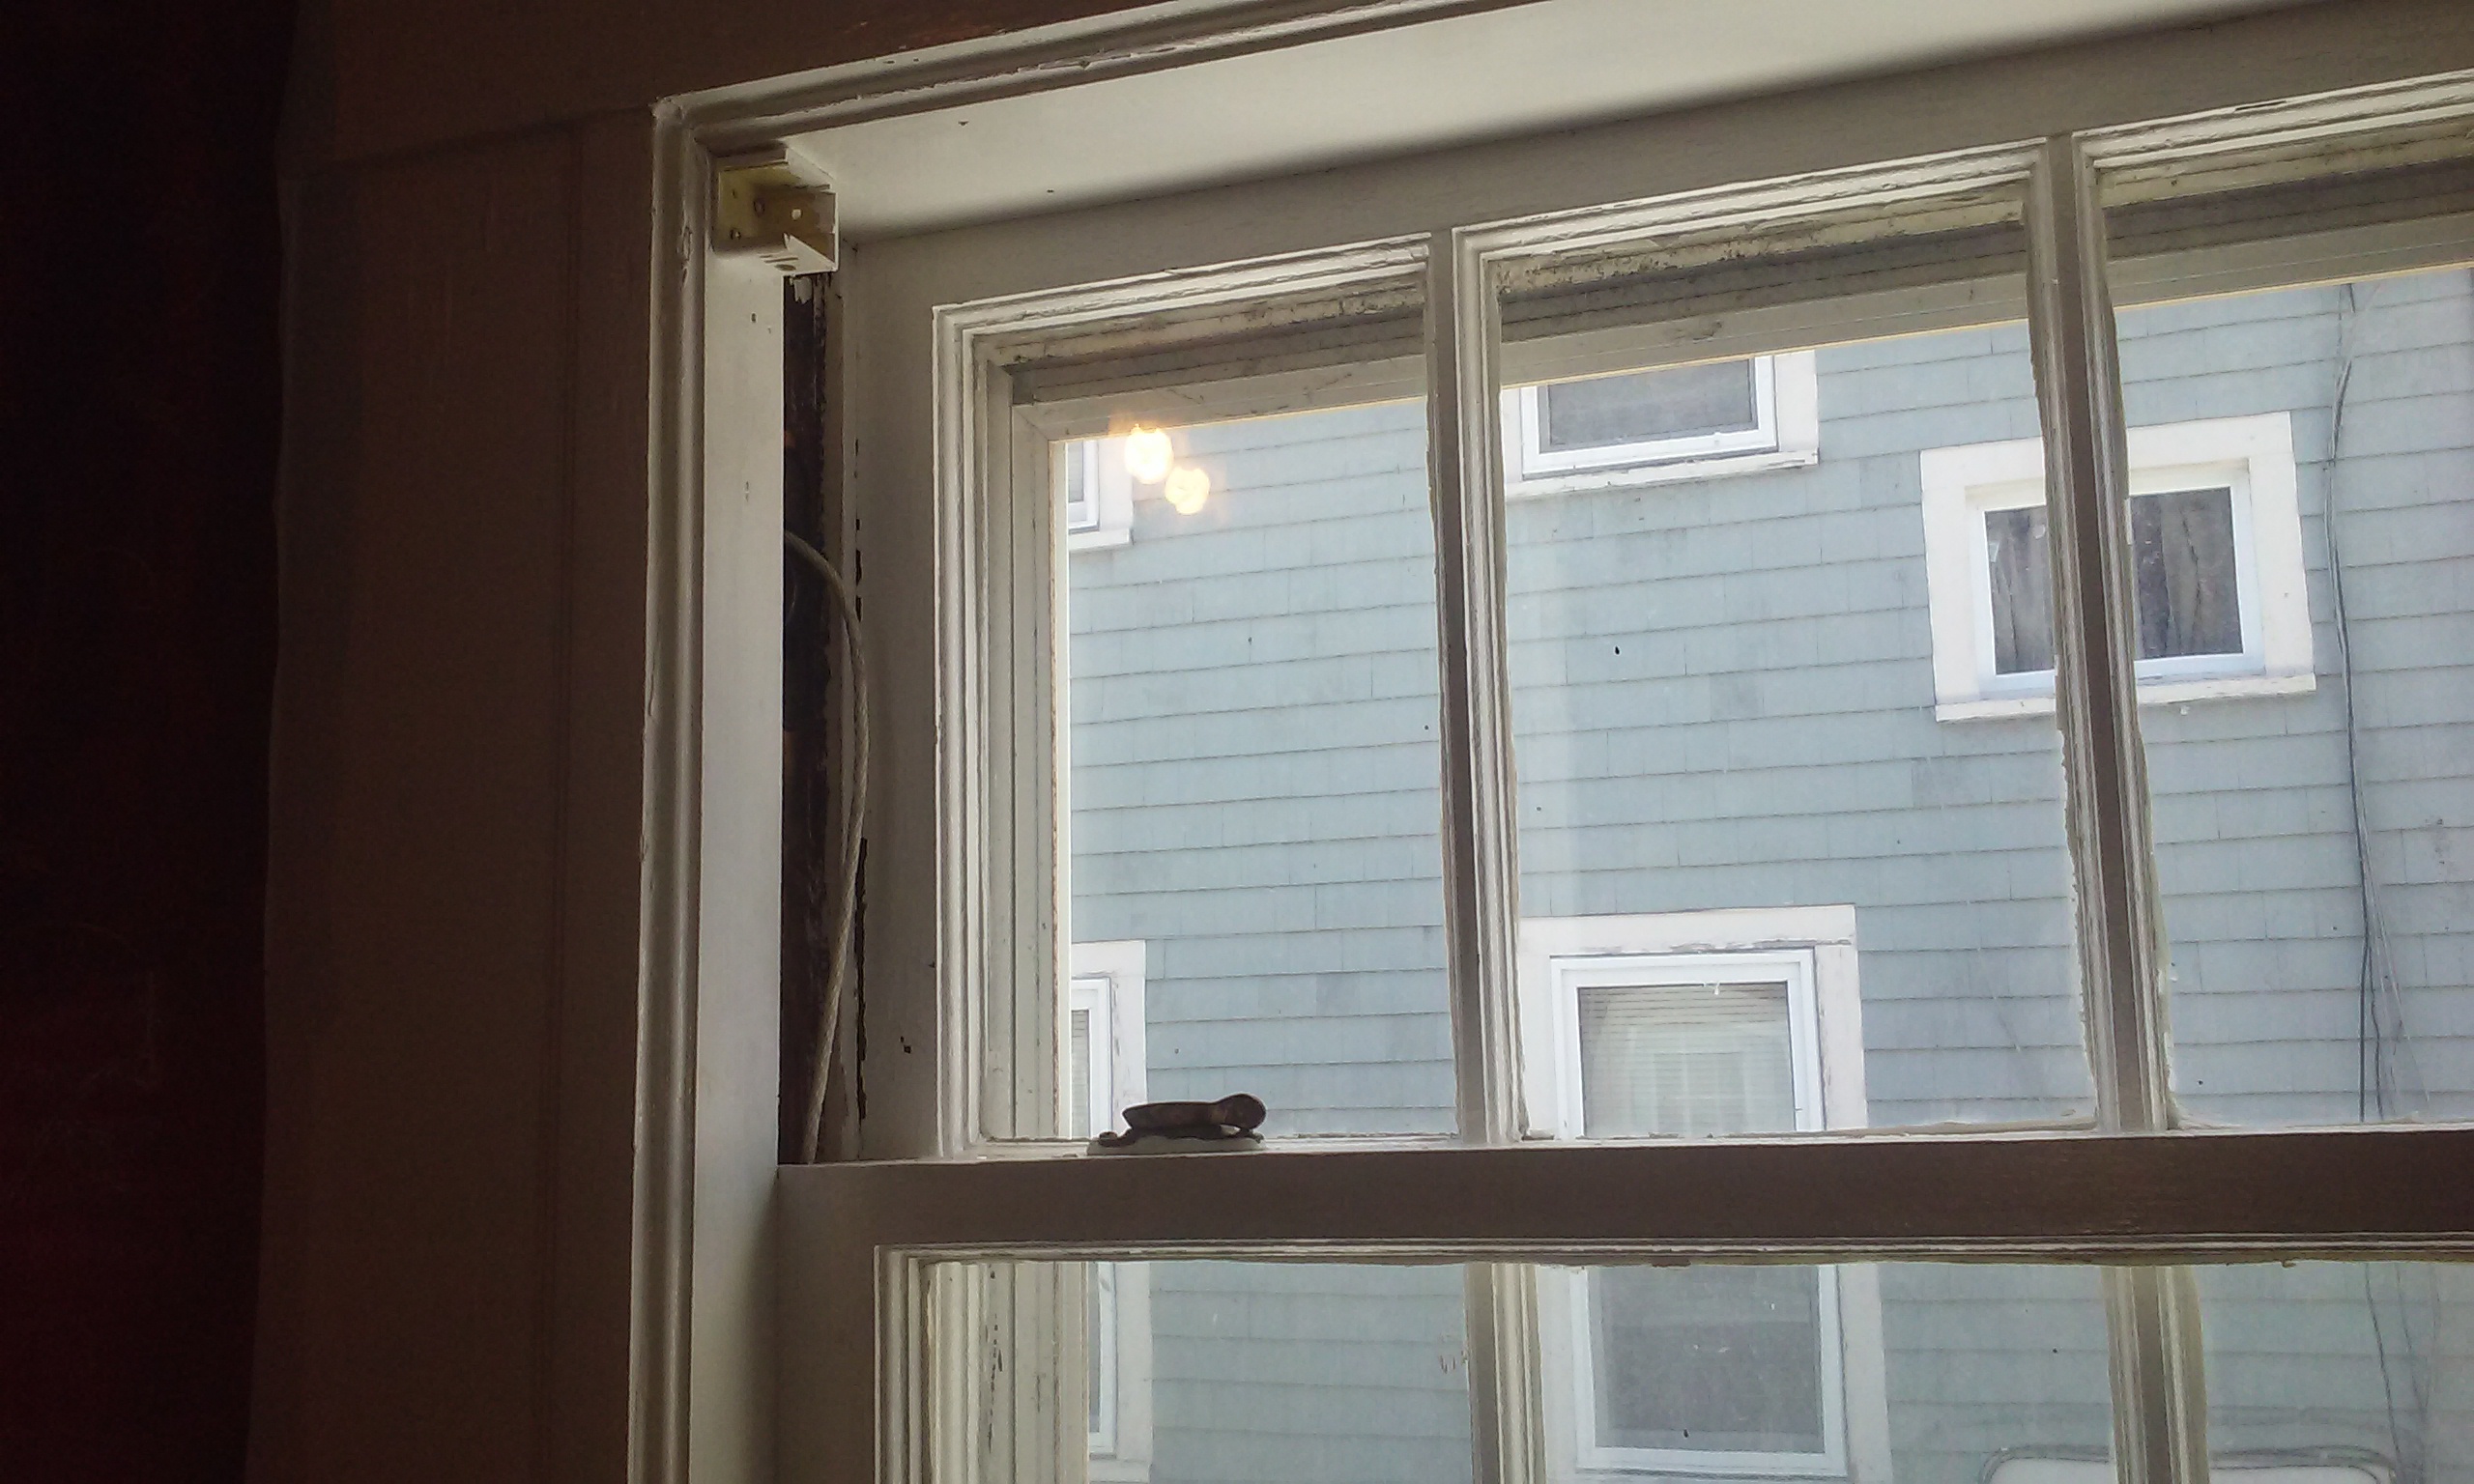
So right off though, I was confused.  This window already had sashcords, but one could see something was very wrong.  The cords were not working/ pulling the way they should (see above pic), they seemed to be all bound up inside the window.  They were also jumping off the pulley wheel, going into the side of the pulley wheel and getting impossibly bound up.  So.  WE DIG.

First, GENTLY pry off the sides of the frame, working thru 80 years of paint:


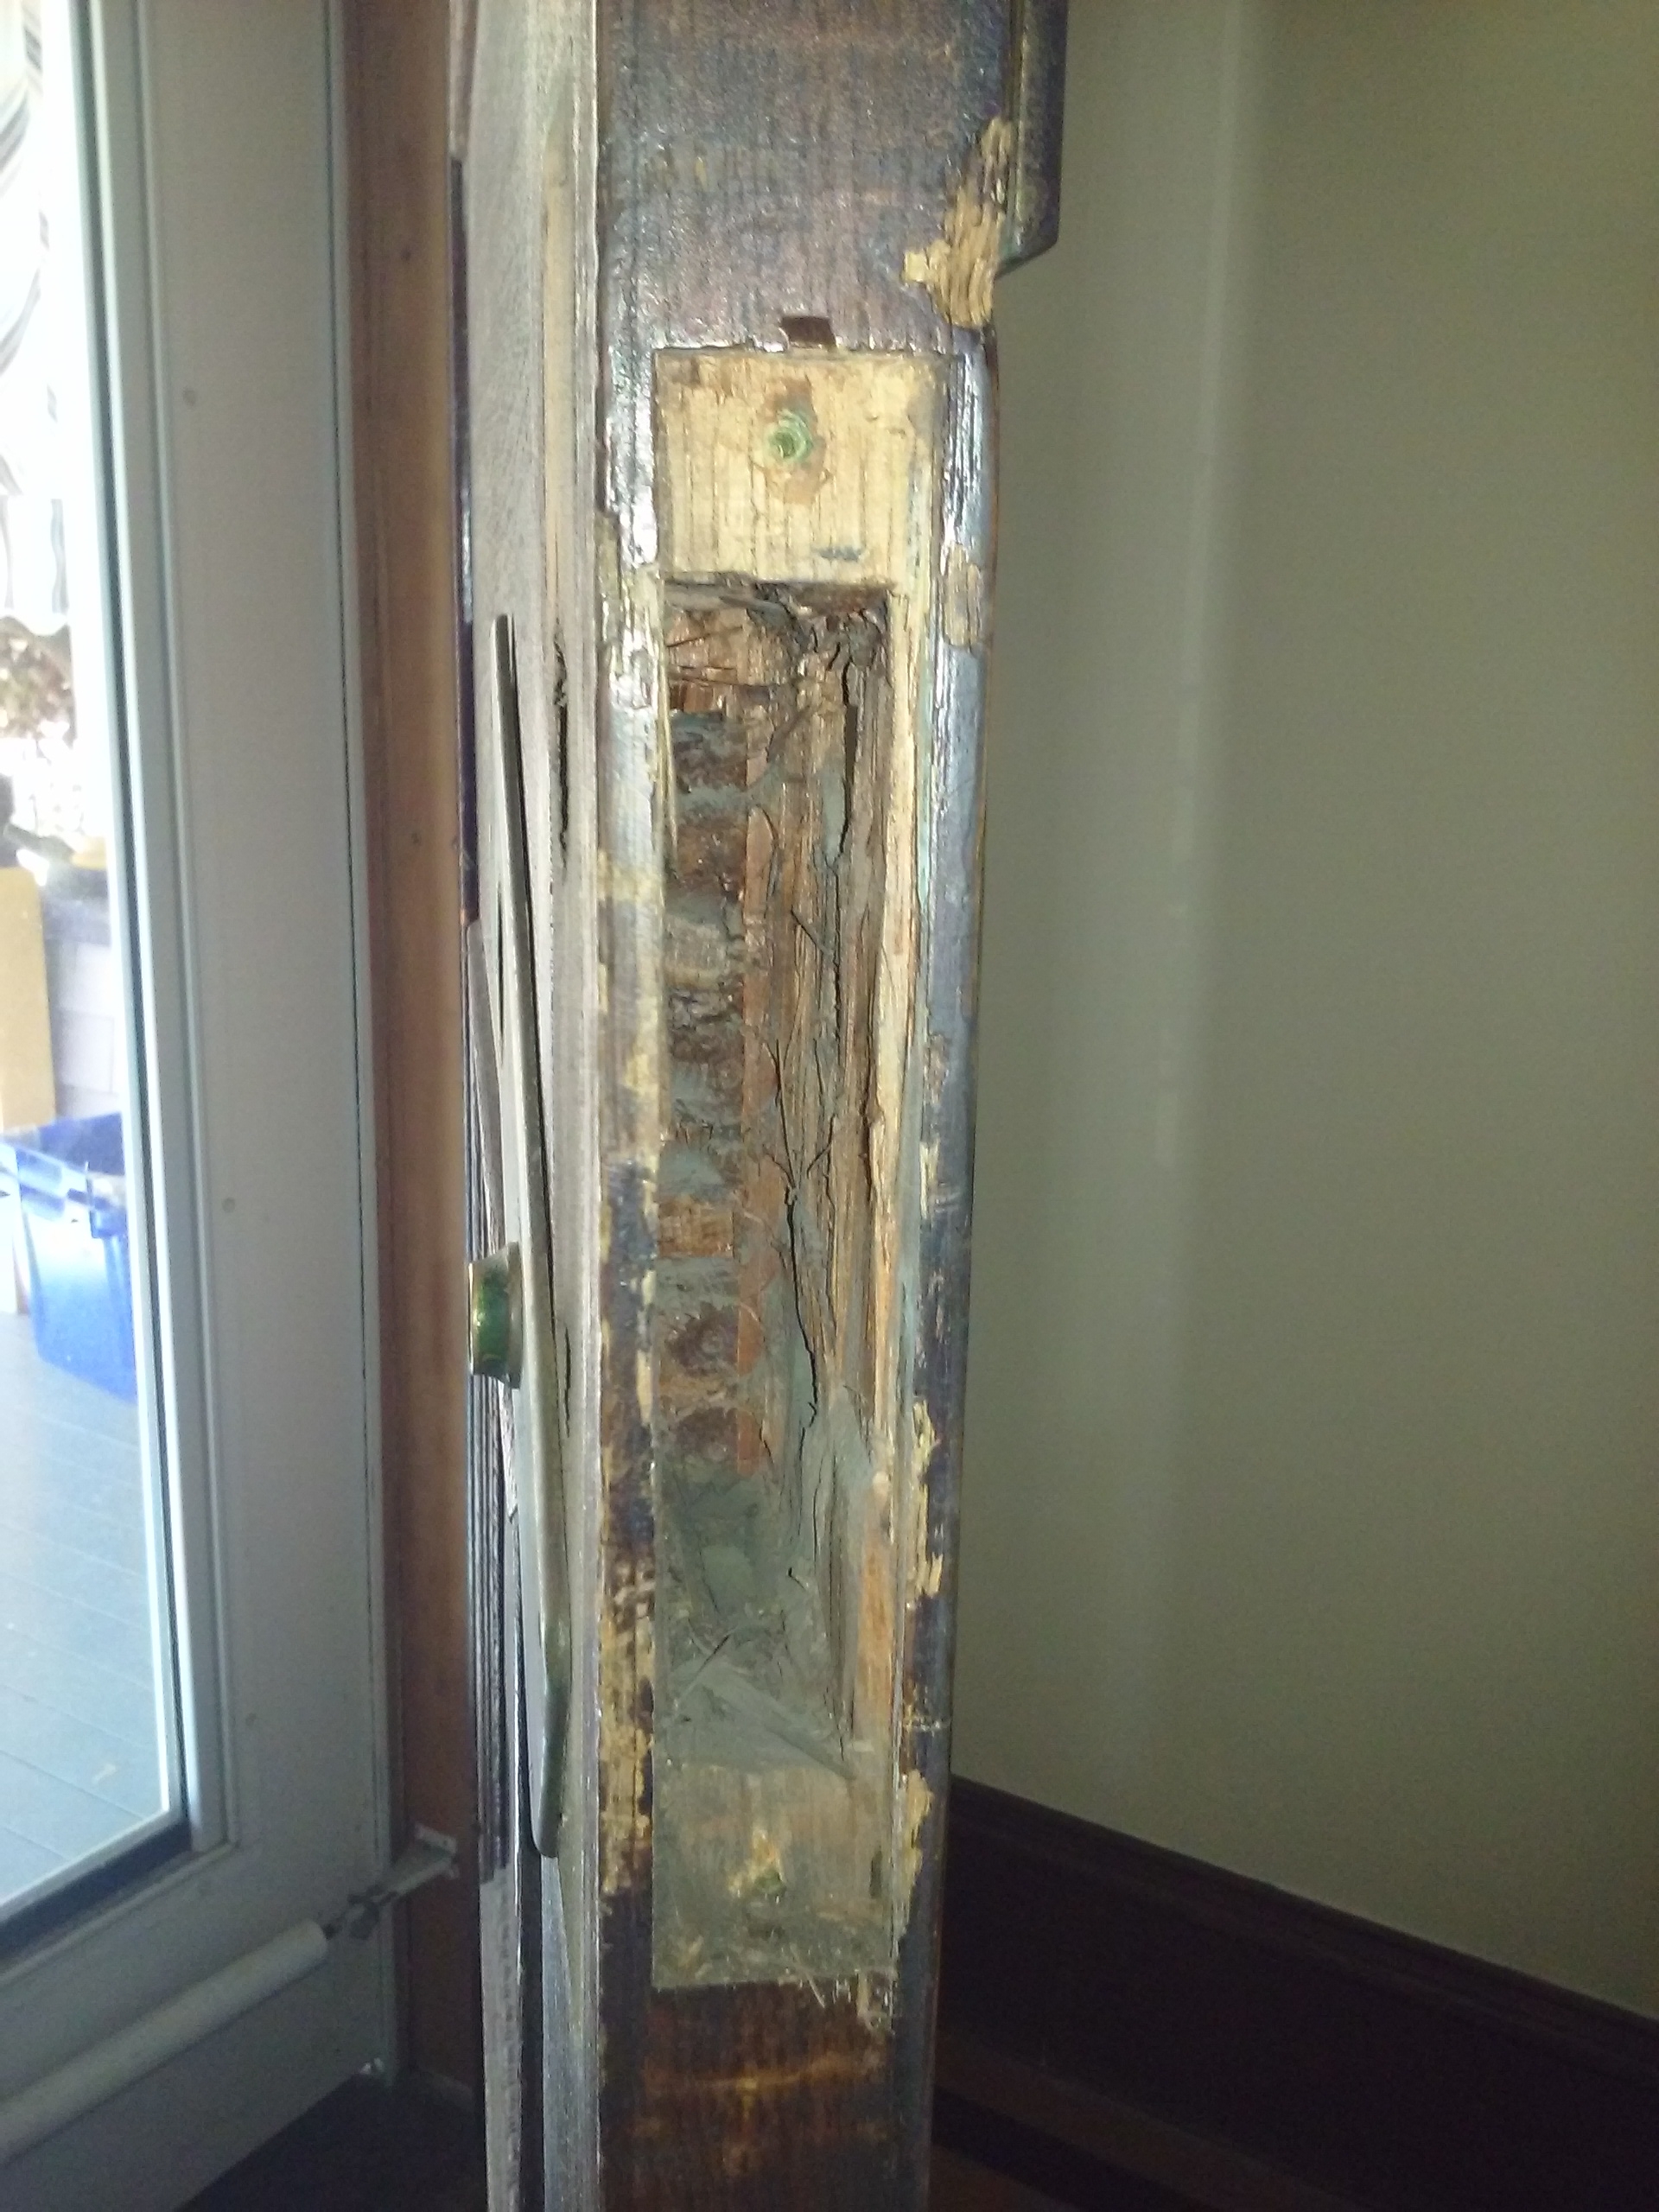
I was too busy to take many pix, so, jumping ahead a little, here is the frame with all the sashes removed, and the new cords run.  Note the access panel (removed) to get to the counterweights.

In the process I discovered several things.  As I have said before, sometimes, as a handyman, one is dealing with an old proper installation, and sometimes you are facing the aftermath of a lousy repair job, and this was the latter.  A previous repair person had done three things wrong:  First, they had used clothesline, not sash cord, and it was the wrong gauge/ diameter for the pulley, so it was jumping off the wheel track.  Second, they had somehow managed to cross the locations of the counterweights inside the frame, putting the rear weight in the front and vice versa, so they would tangle and fight, and third, even worse, they had not calculated the LENGTH of the sash cords properly, so the weights would land at the bottom and tilt over, and get stuck or fouled with the weight next to it, etc. etc. etc. etc!!!
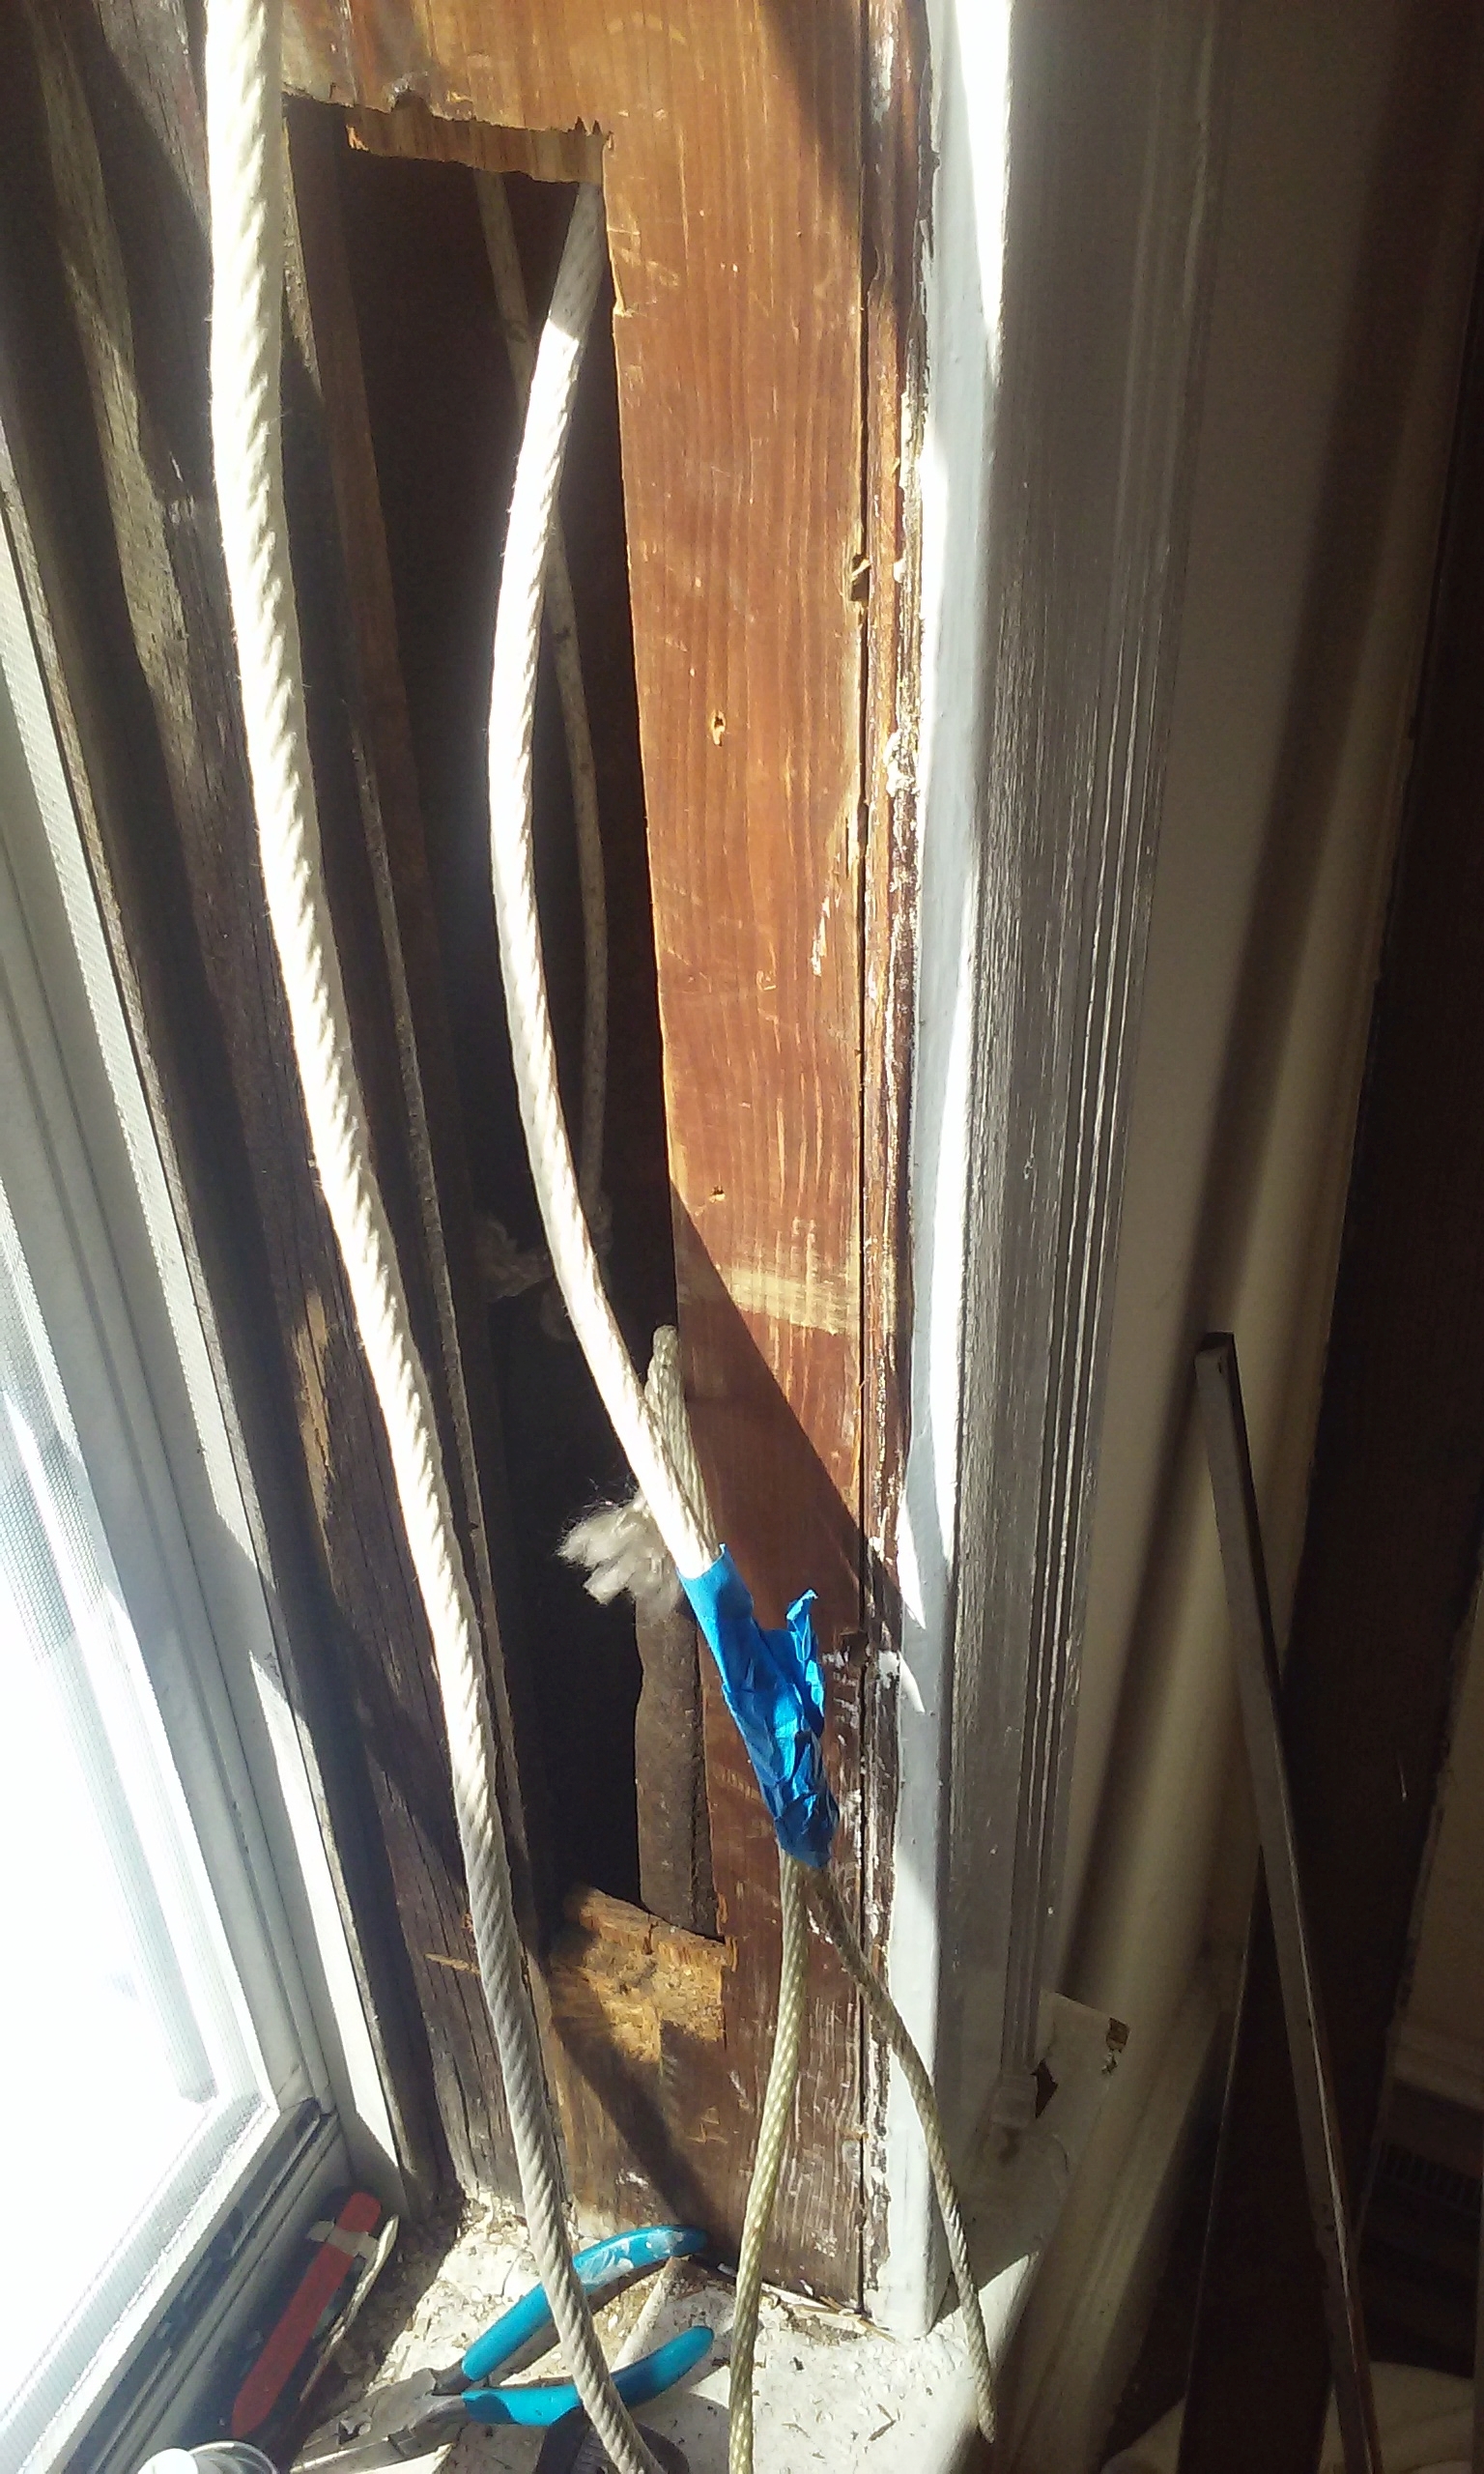
(Here you see my nifty trick of taping the new sash cord to the old, allowing one to quickly pull the new cord down the hole instead of threading and hoping.  Note how much thicker the new cord is.)

THEN I discovered . . .  that one of the counterweights on the left side  . . . wasn’t there!  There was only this one.
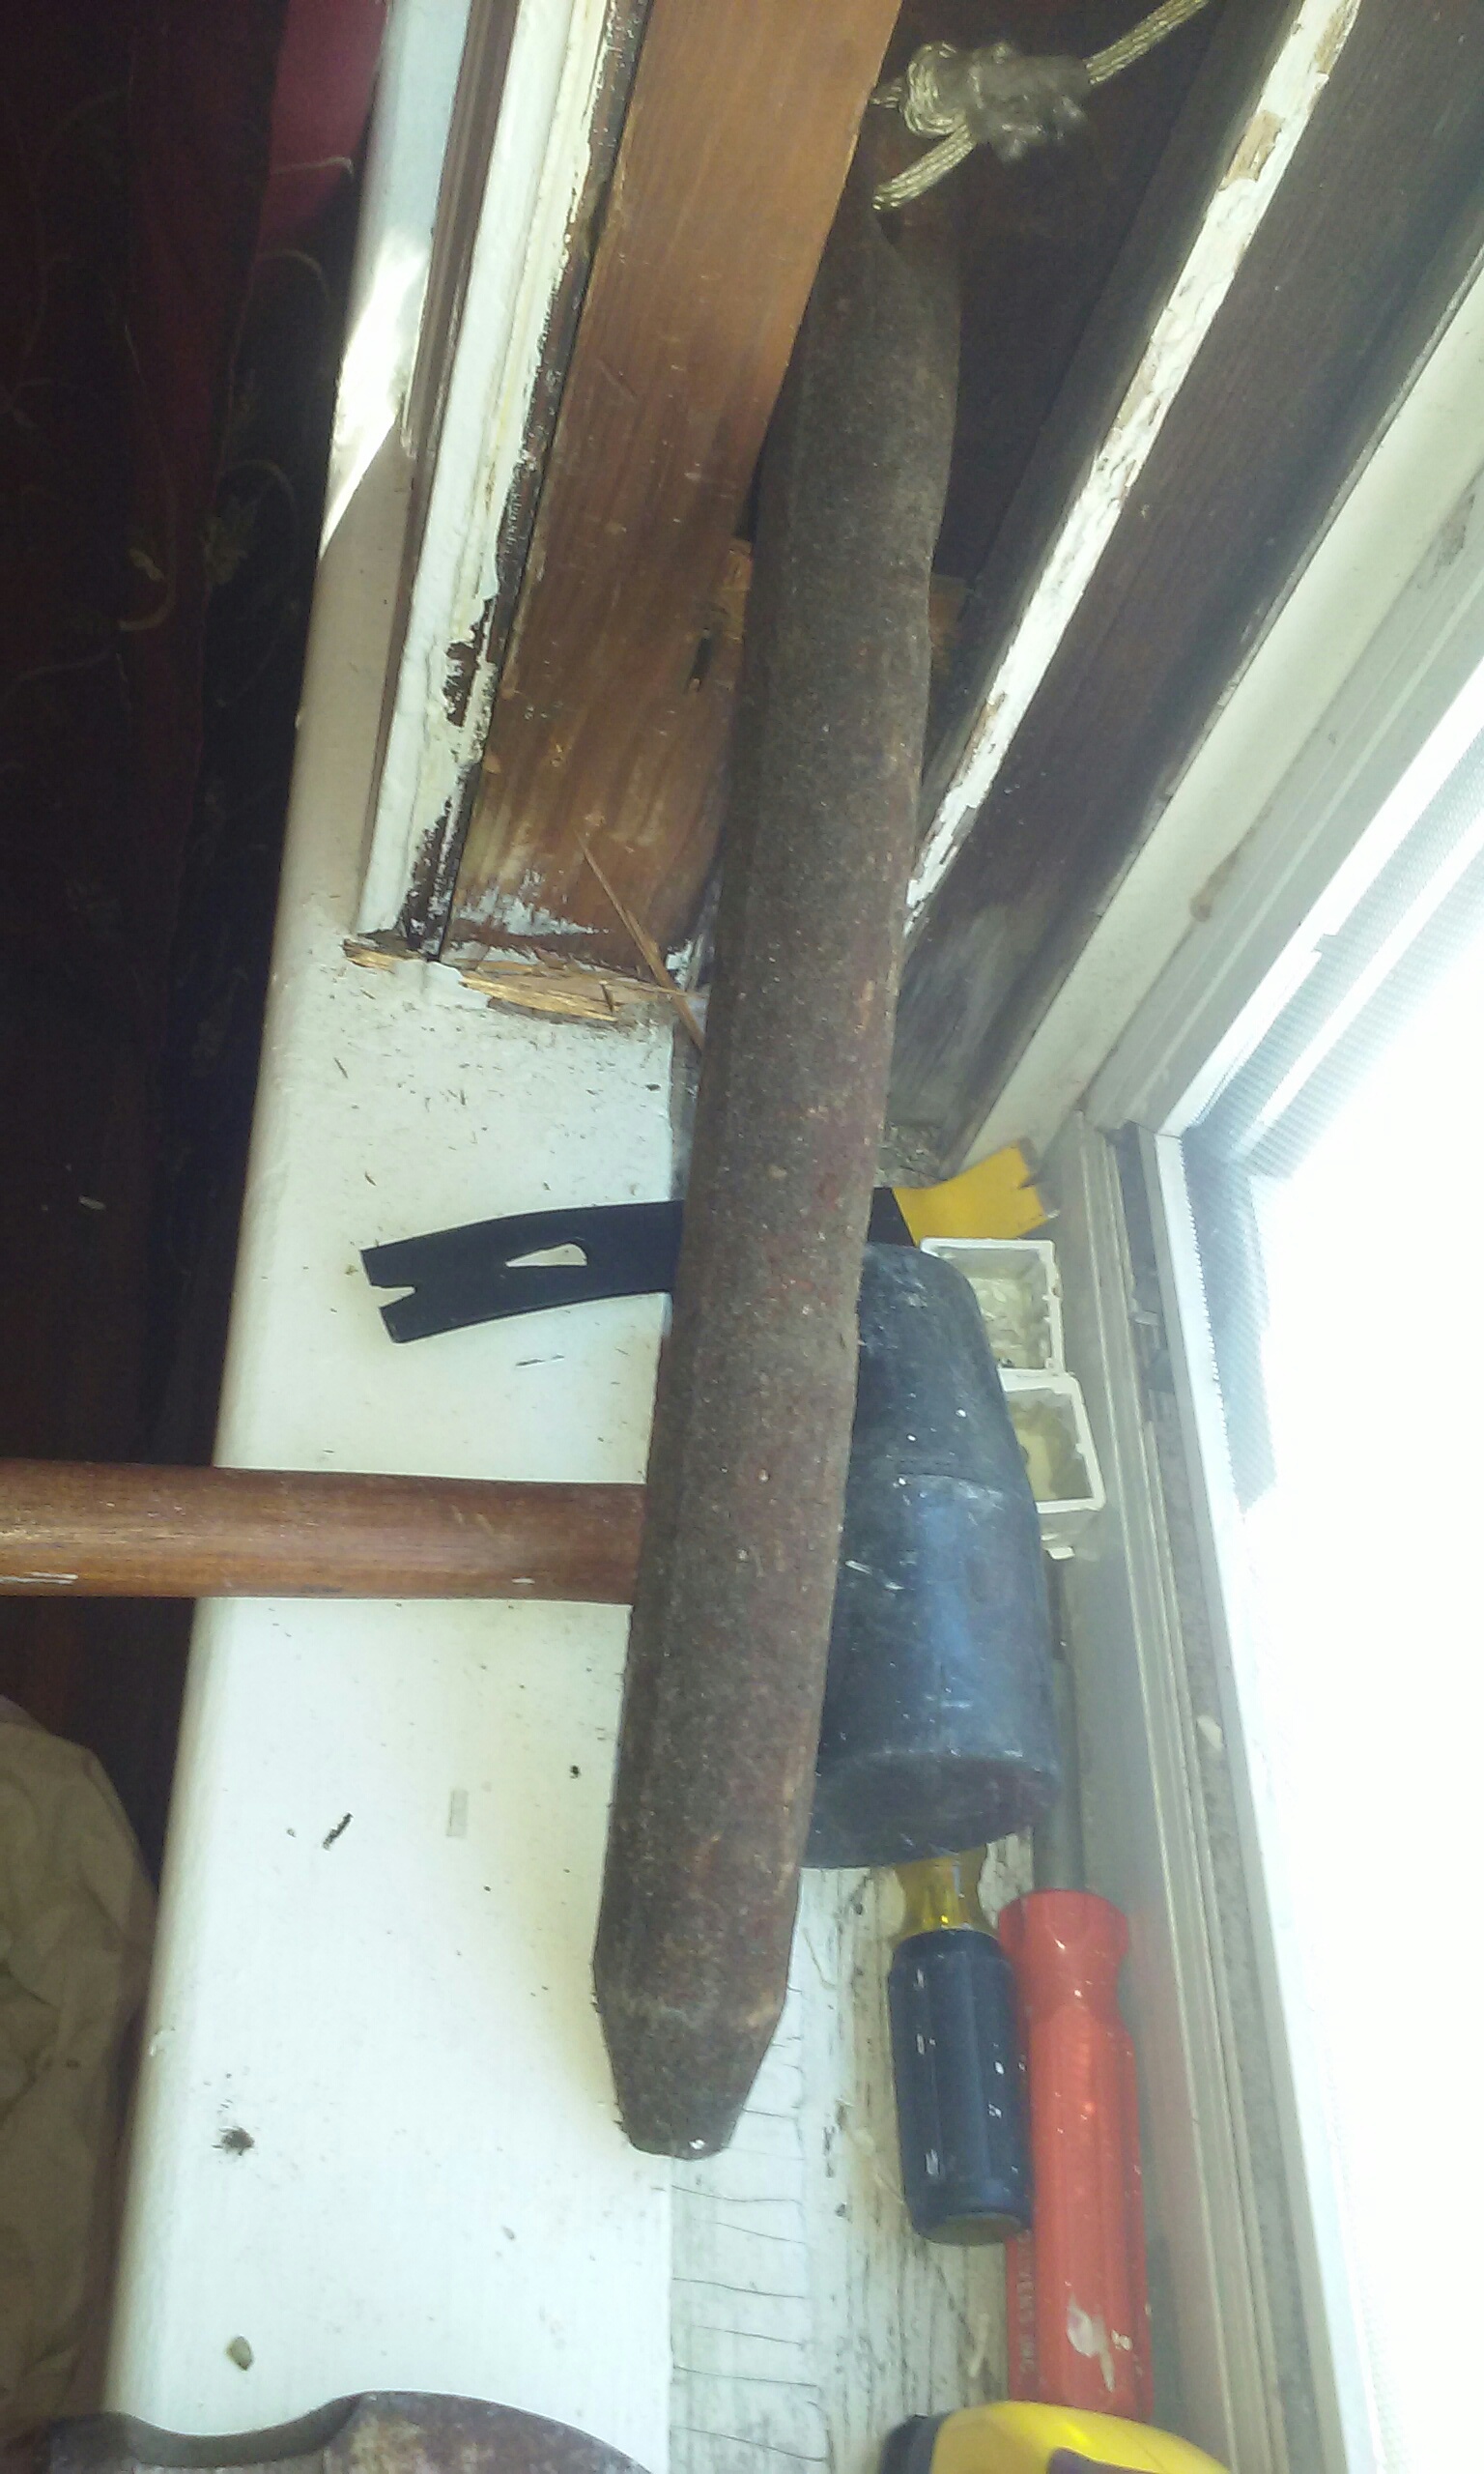
So the client was able to locate a salvage yard that had one in stock, and I kept working while she ran over to get it.

Next, one has to carefully do the measuring and math to make sure the sash cords are the right length before attaching them to the windows, I did all that, put them all in, re-hung the sashes, and put the side panels back.  VIOLA!  All fixed!!

That was a lot of work, but it was fun.


A Massive Restoration Job

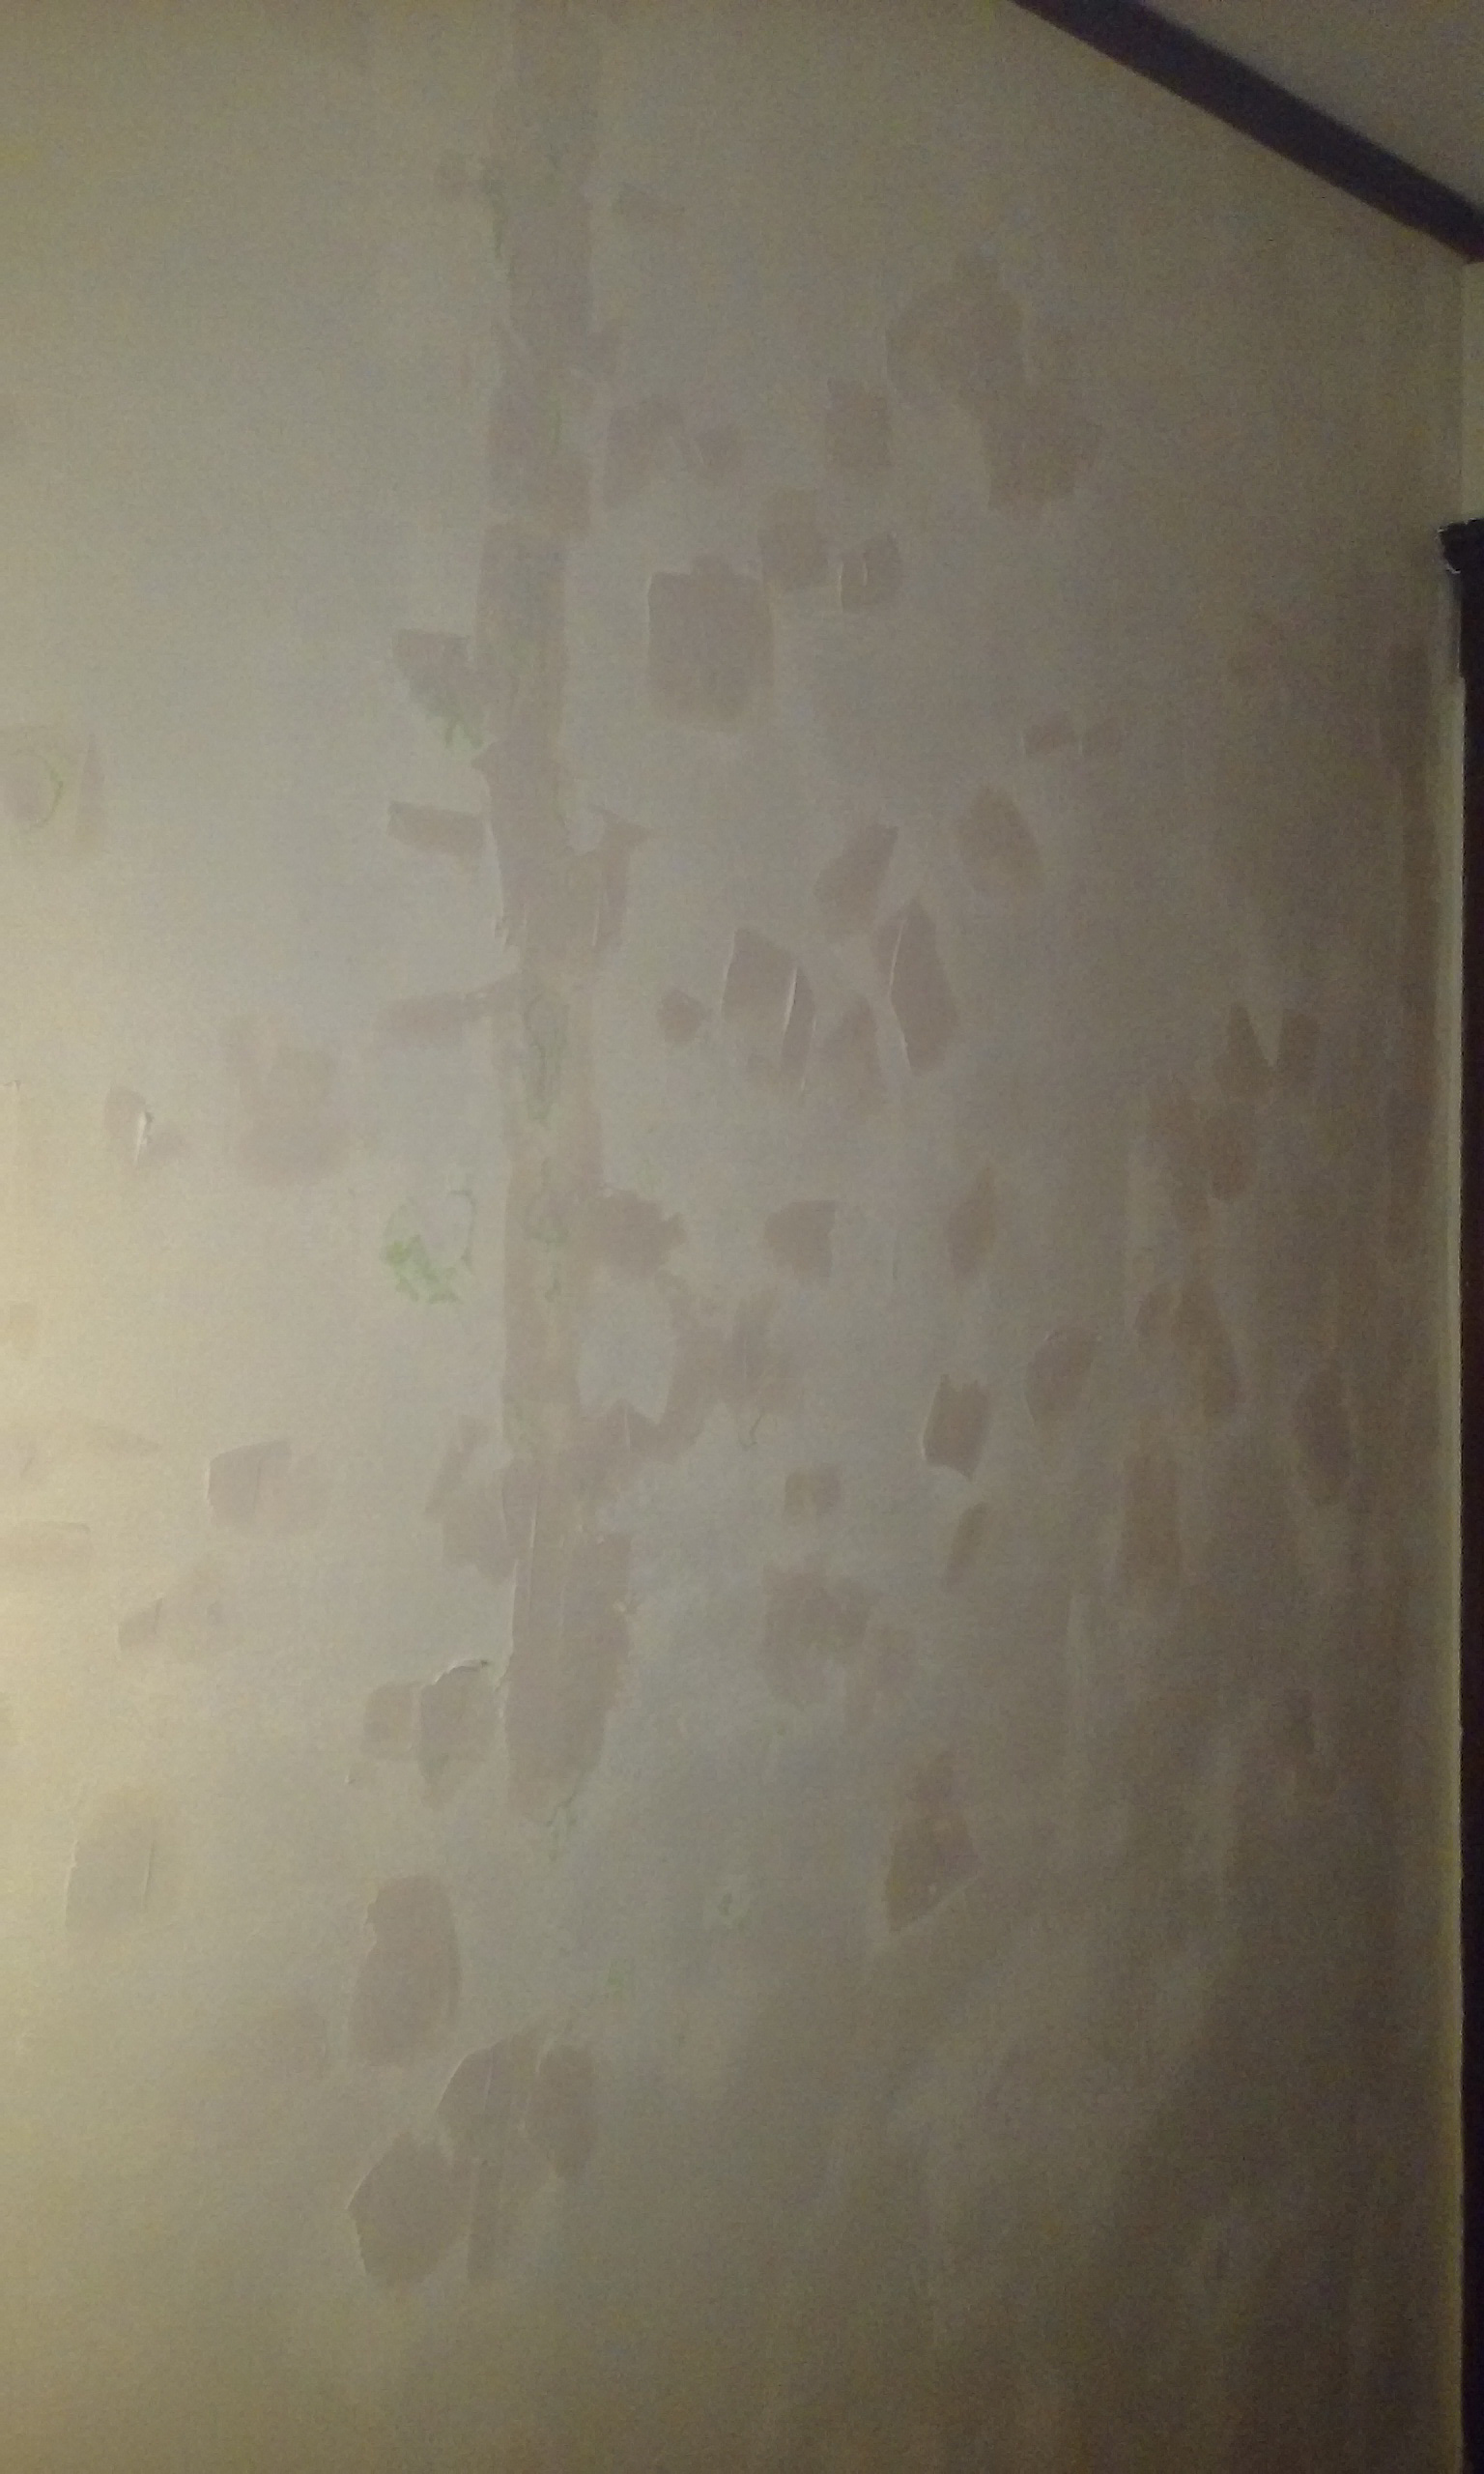
I confess I love painting rooms of old houses.  It’s a challenge, and so rewarding.  That said, a regular client asked me to paint her second bedroom.  I took a look and . . . uh oh.  The walls were . . . well . . . they looked like someone had just glopped spackle on them and then had forgotten to sand it down.  There were all these lumps.  Sad.
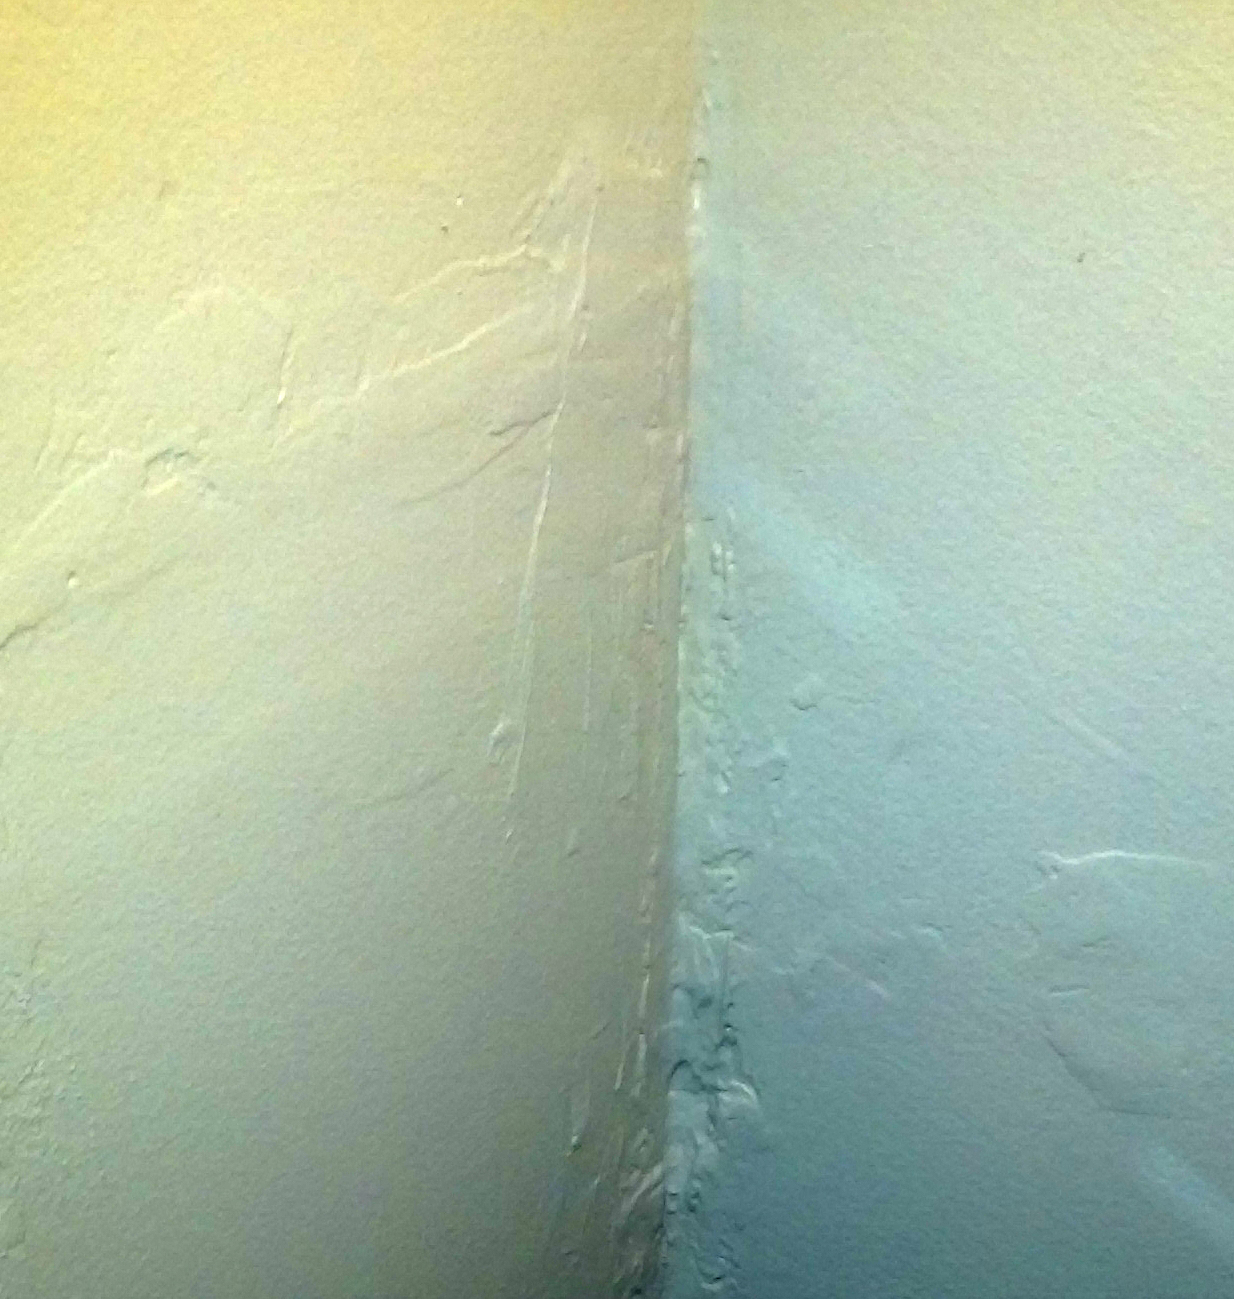
1On another wall, the joint where the sheet rock came together horizontally, was just . . . I don’t know how to describe it.  It looked like some kind of sedimentary rock formation .7jointccc

And then where that wall met the corner, there were all kinds of pits and bumps.8cornerccc

There were other issues but we’ll save those for later.  Anyway, to start,  . . . out came my orbital sander with 36 grit sandpaper to grind all these lumps of old spackle down flat.

If you have never spent five hours with your hands being vibrated, well . . . it’s interesting!

So once I got all the lumps sanded down flat, it was odd, there was all this old Kermit the Frog green paint under there, and the spackle had the consistency of chewing gum . . . I wonder if the previous owners had added paint to the spackle??  God only knows.6sackle-after-sansing

So, Lumps sanded down, now all the pits and valleys needed to be filled in to make the wall flat.  Sooooo  . . . I bought a gallon of spackle and I used all of it!!!5spackel

So once the spackle dried, out came the orbital sander again, this time to smooth out the spackle and make the wall flat.  Oy, talk about dust!

9dust29dust1


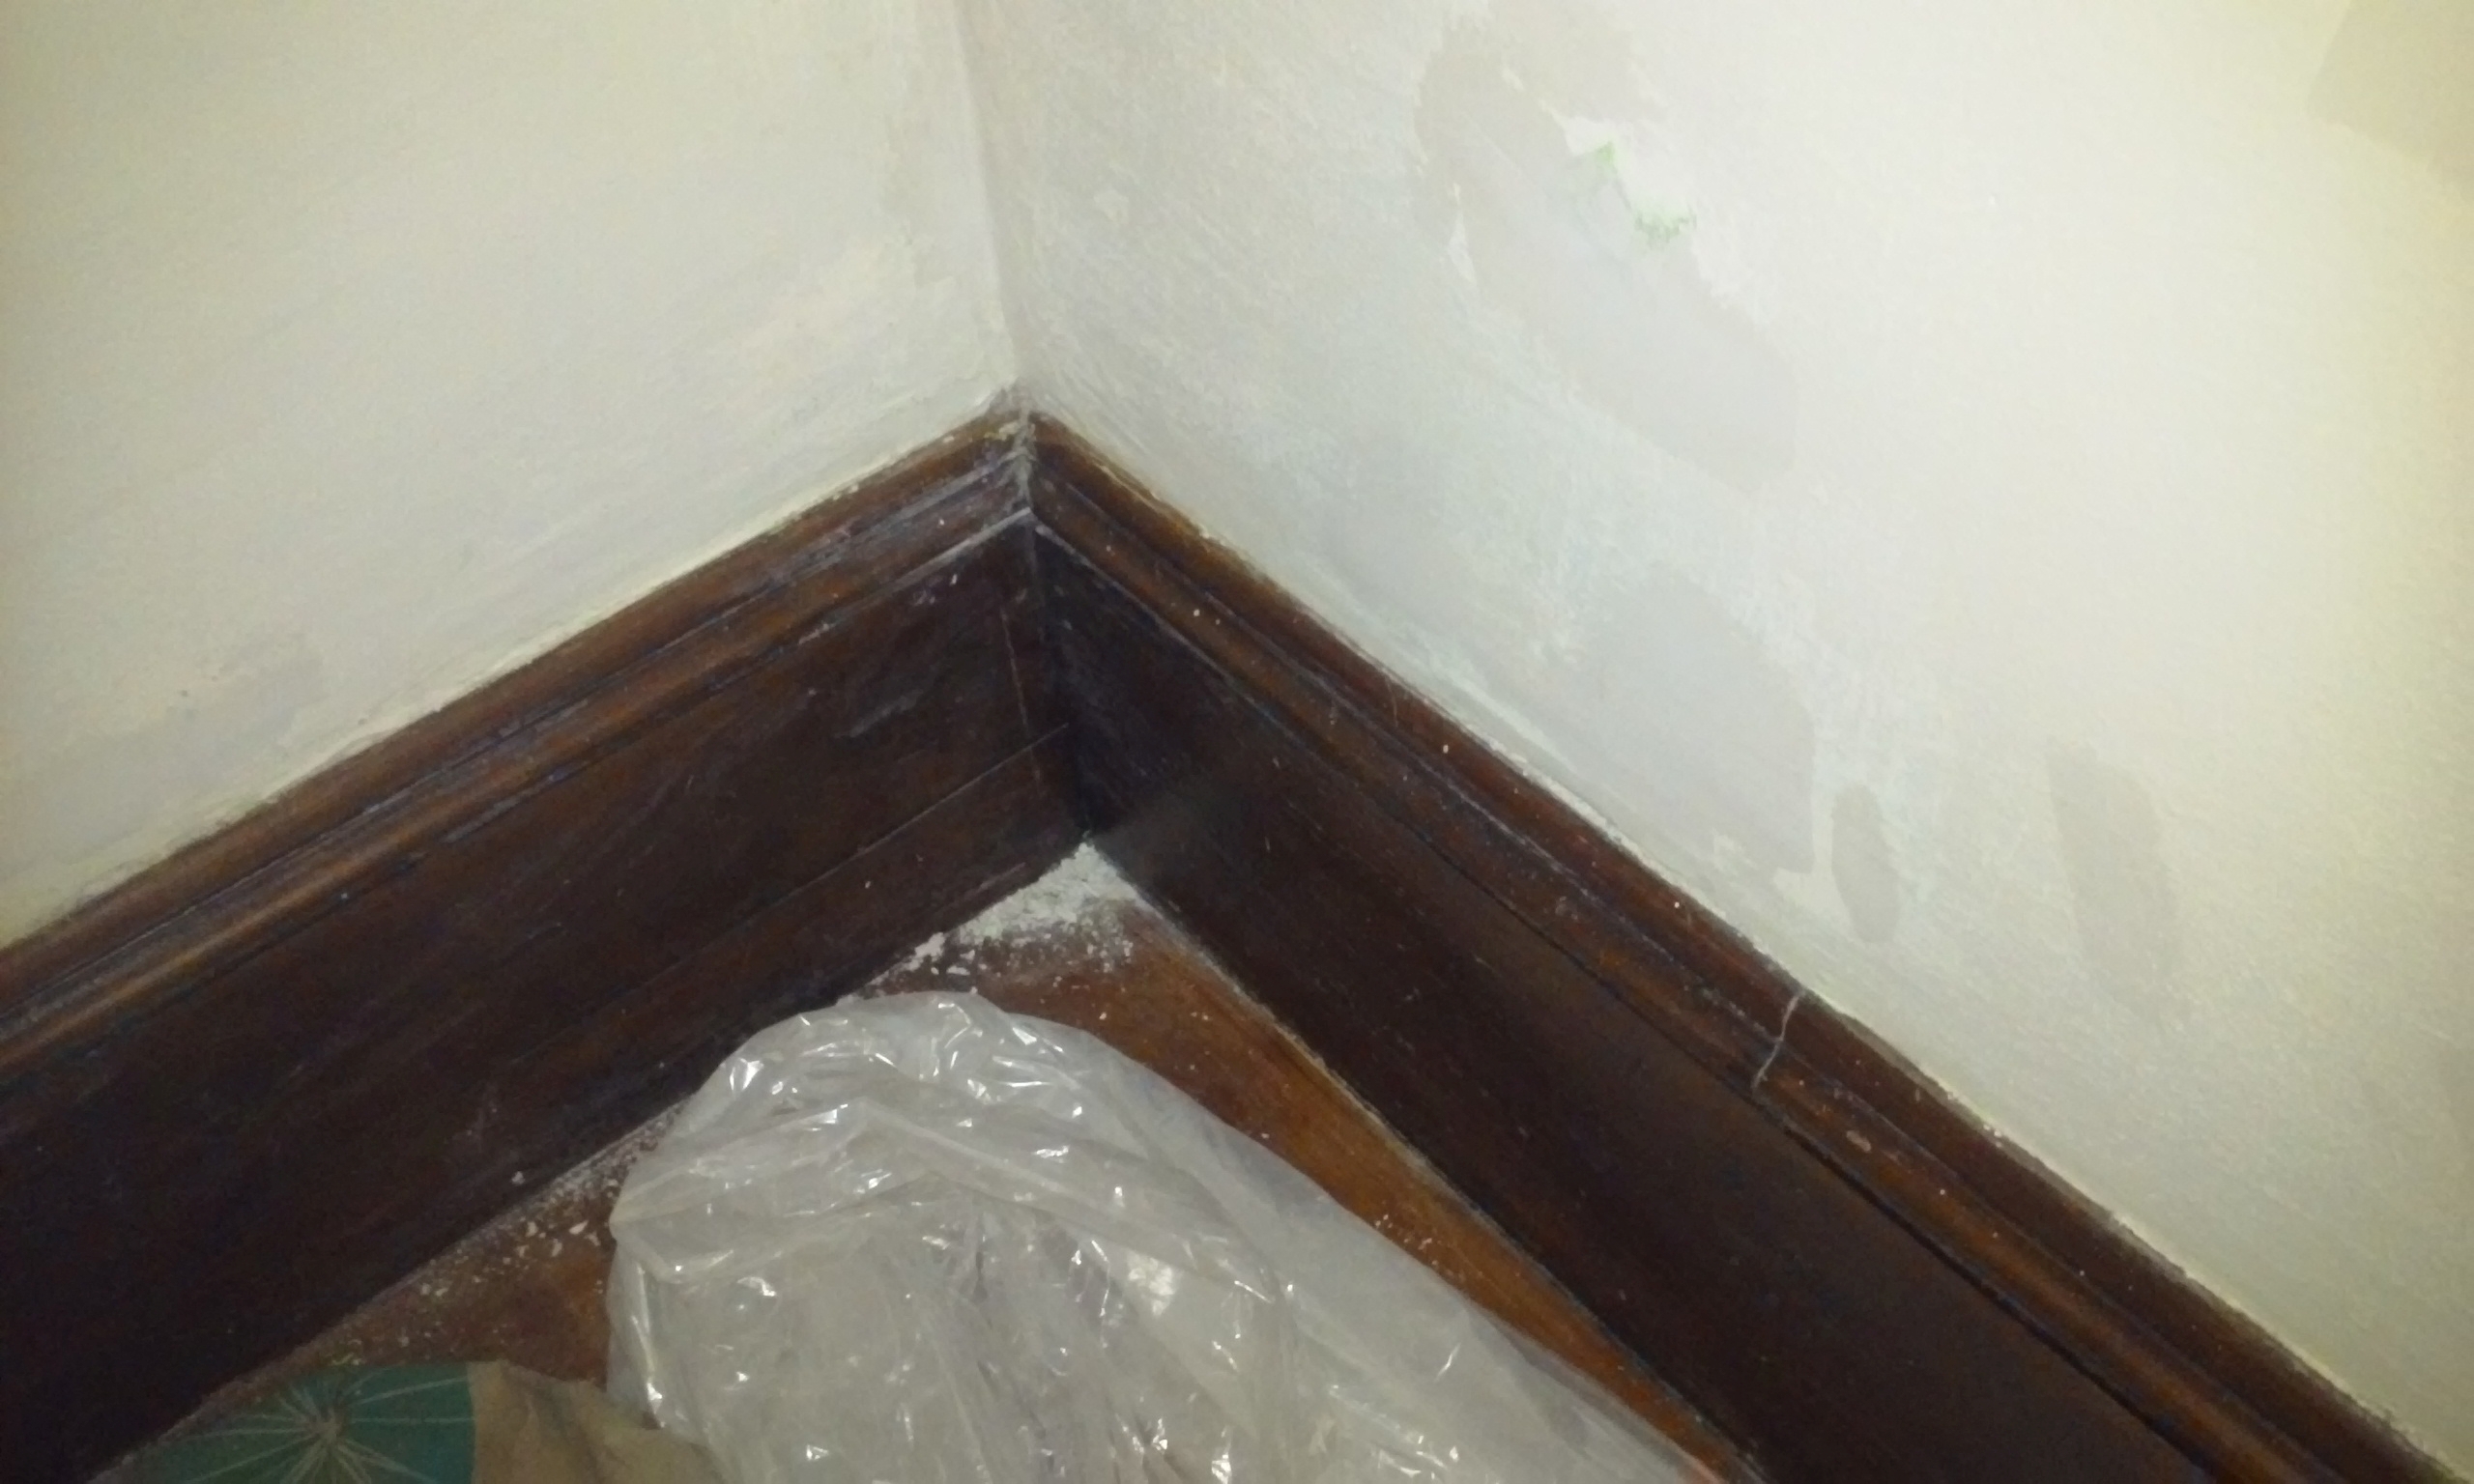
Okay  . . . so you’d think i would be ready to paint now . . but you would be wrong.  The next step in rescuing this lovely old room was dealing with the paint splotches that were all over the once glorious woodwork.  So, I set to work with dental tools, toothbrushes, and solvent.

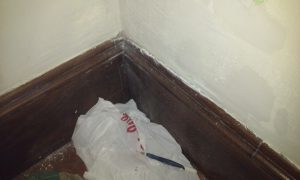
In these pics you can’t really see all the teensy drops of green paint, but here is a “Before” . . .

10corner1


And this is “after”:10corner2

This is a very small sample of a very big part of the job.  There was old paint slopped on the sides of two windows, 2 door jambs, on the trim all around the top of the walls, and on the tops of the baseboards.  I credit the owner for letting me take the time needed to do the cleanup, it made a huge difference.  Sloppy painting is such an insult to the spirit.

ANYWAY

Once all that paint on the woodwork was cleaned up, I still had other issues.  In many places the plaster had more or less disintegrated where it met the woodwork, and I had to gingerly press wet spackle in and let it spread in under the woodwork.  Here you can see where I essentially rebuilt the top of one wall:16a

And of course it all had to be sanded down after.

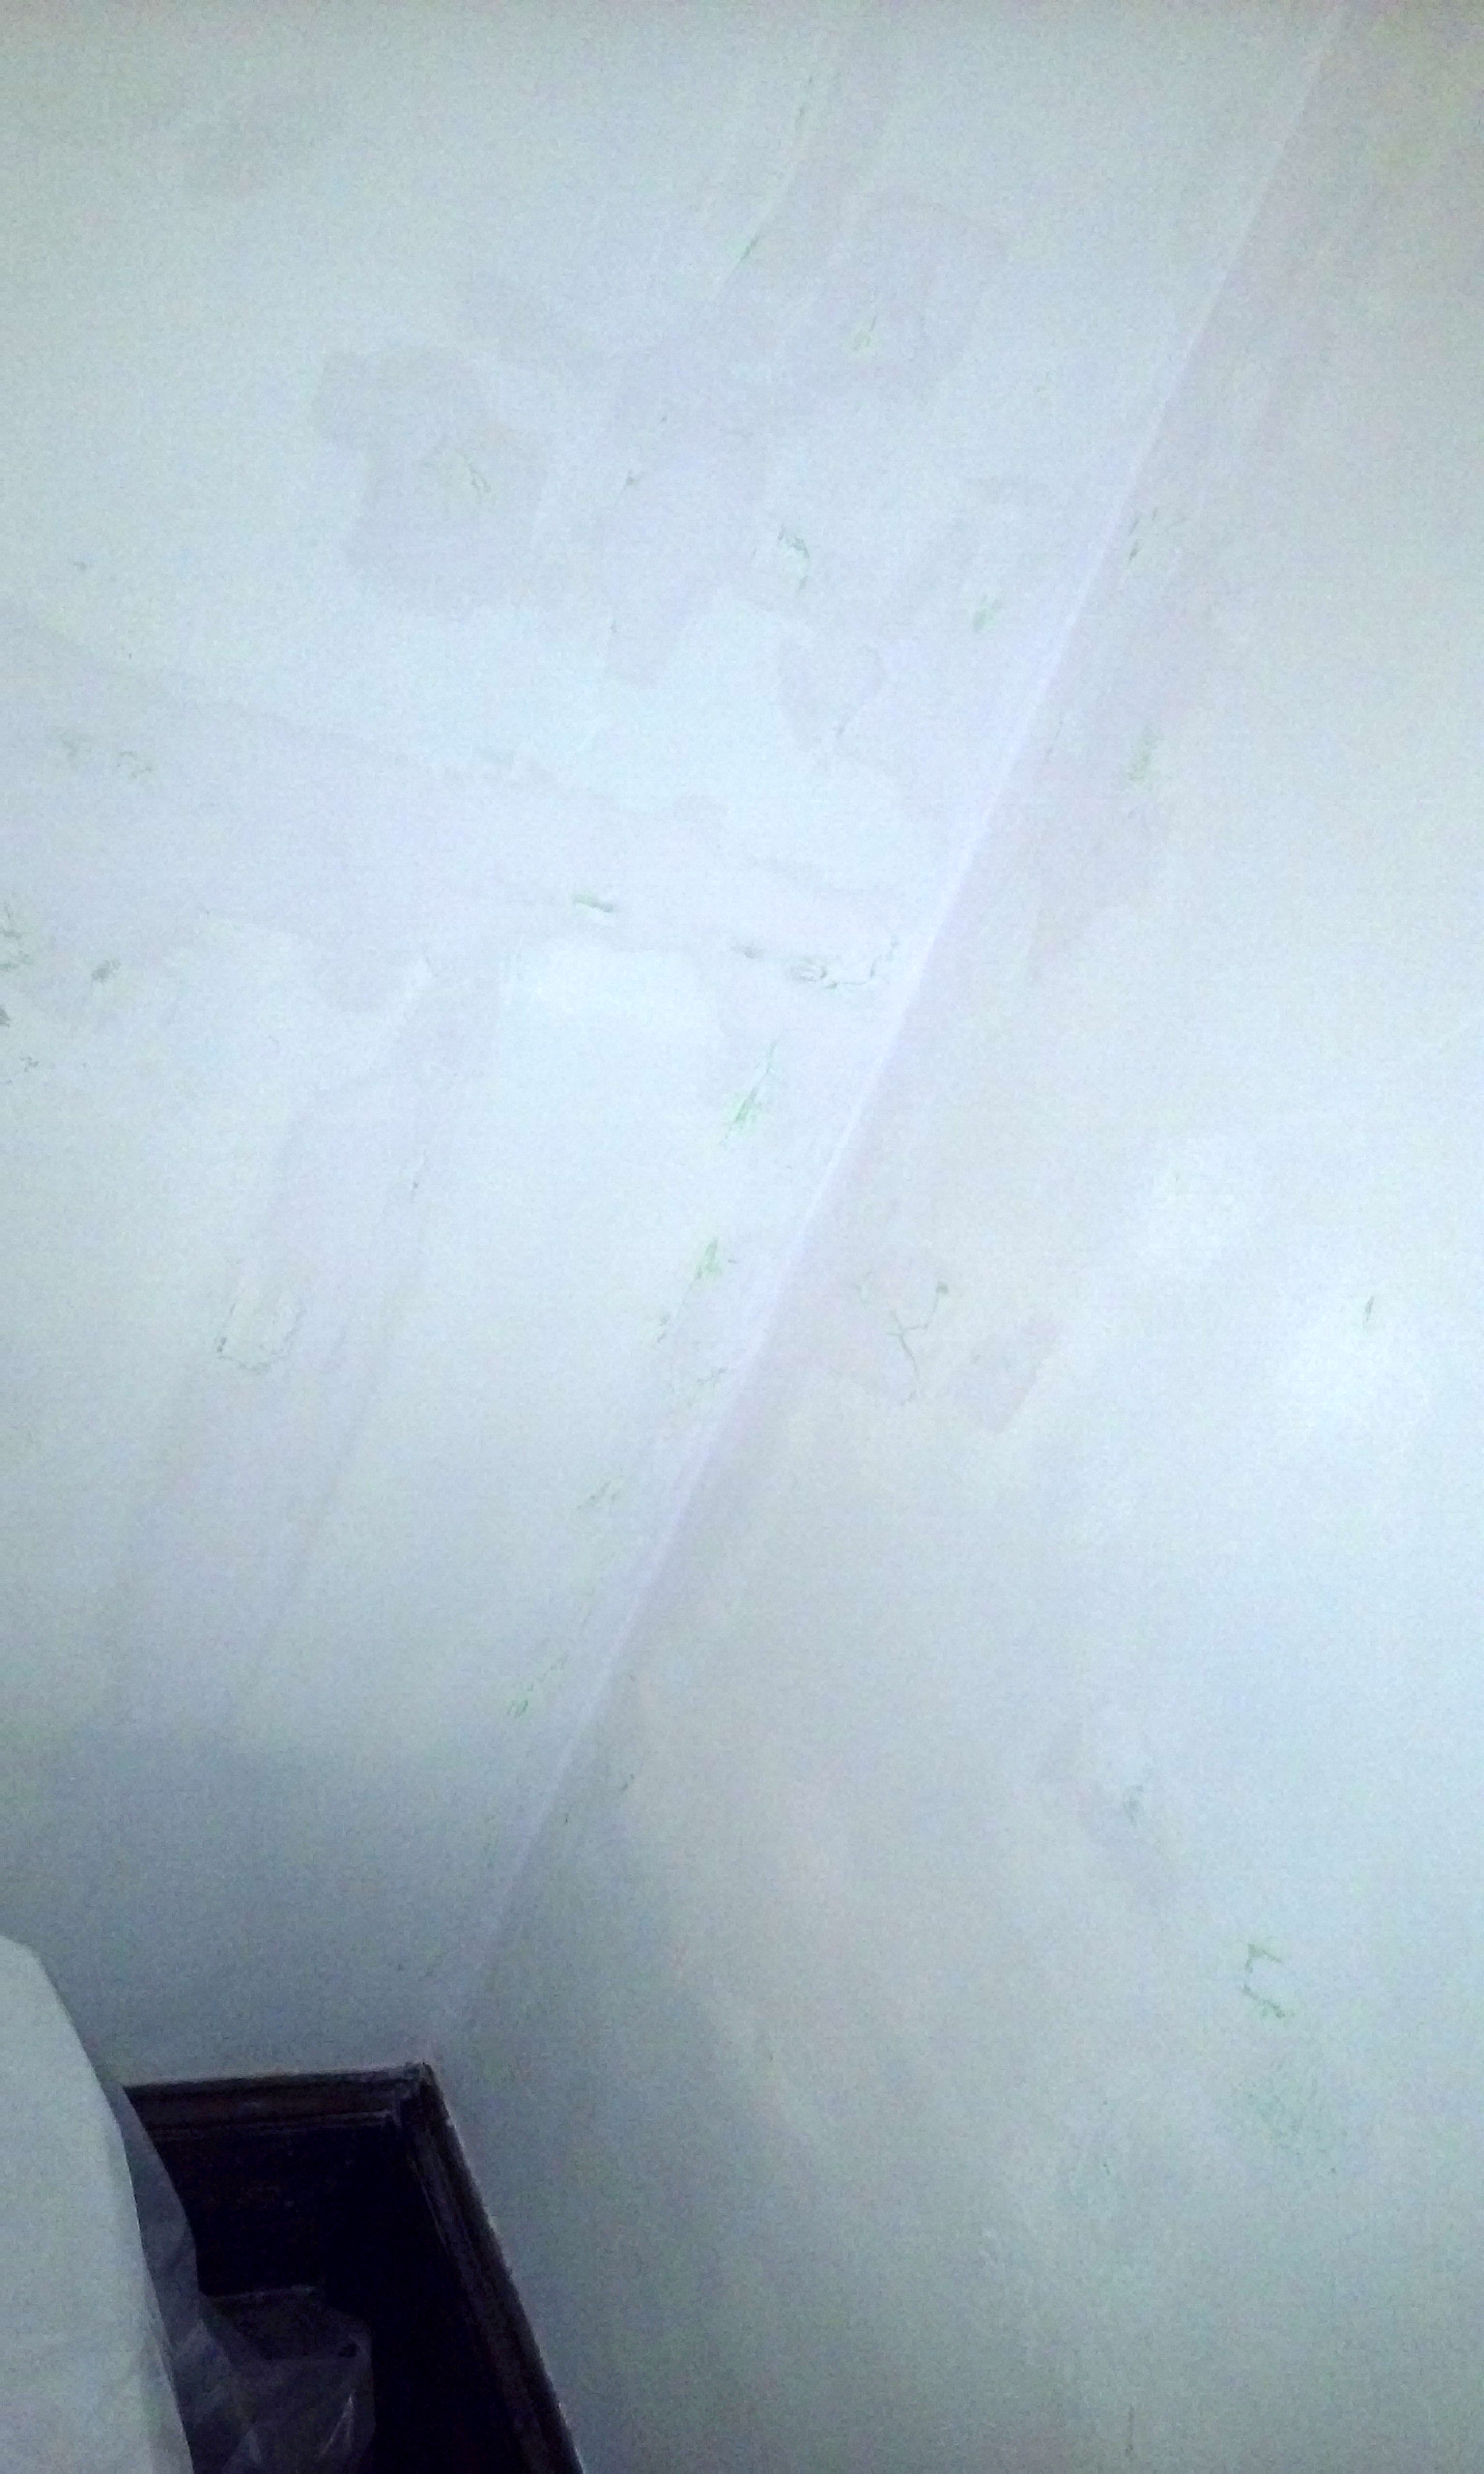
I confess I was particularly proud of the horizontal sheetrock joint issue, I had applied two layers of spackle on it, and then sanded it down.  I wasn’t sure if it would work until I painted it, and I gleefully watched as the old joint practically disappeared:15cxxx

It took some additional doing, but all the cavities and deformities in the corner disappeared as well.  Like I said, it took a gallon of spackle!13-corner-after-spackleccc

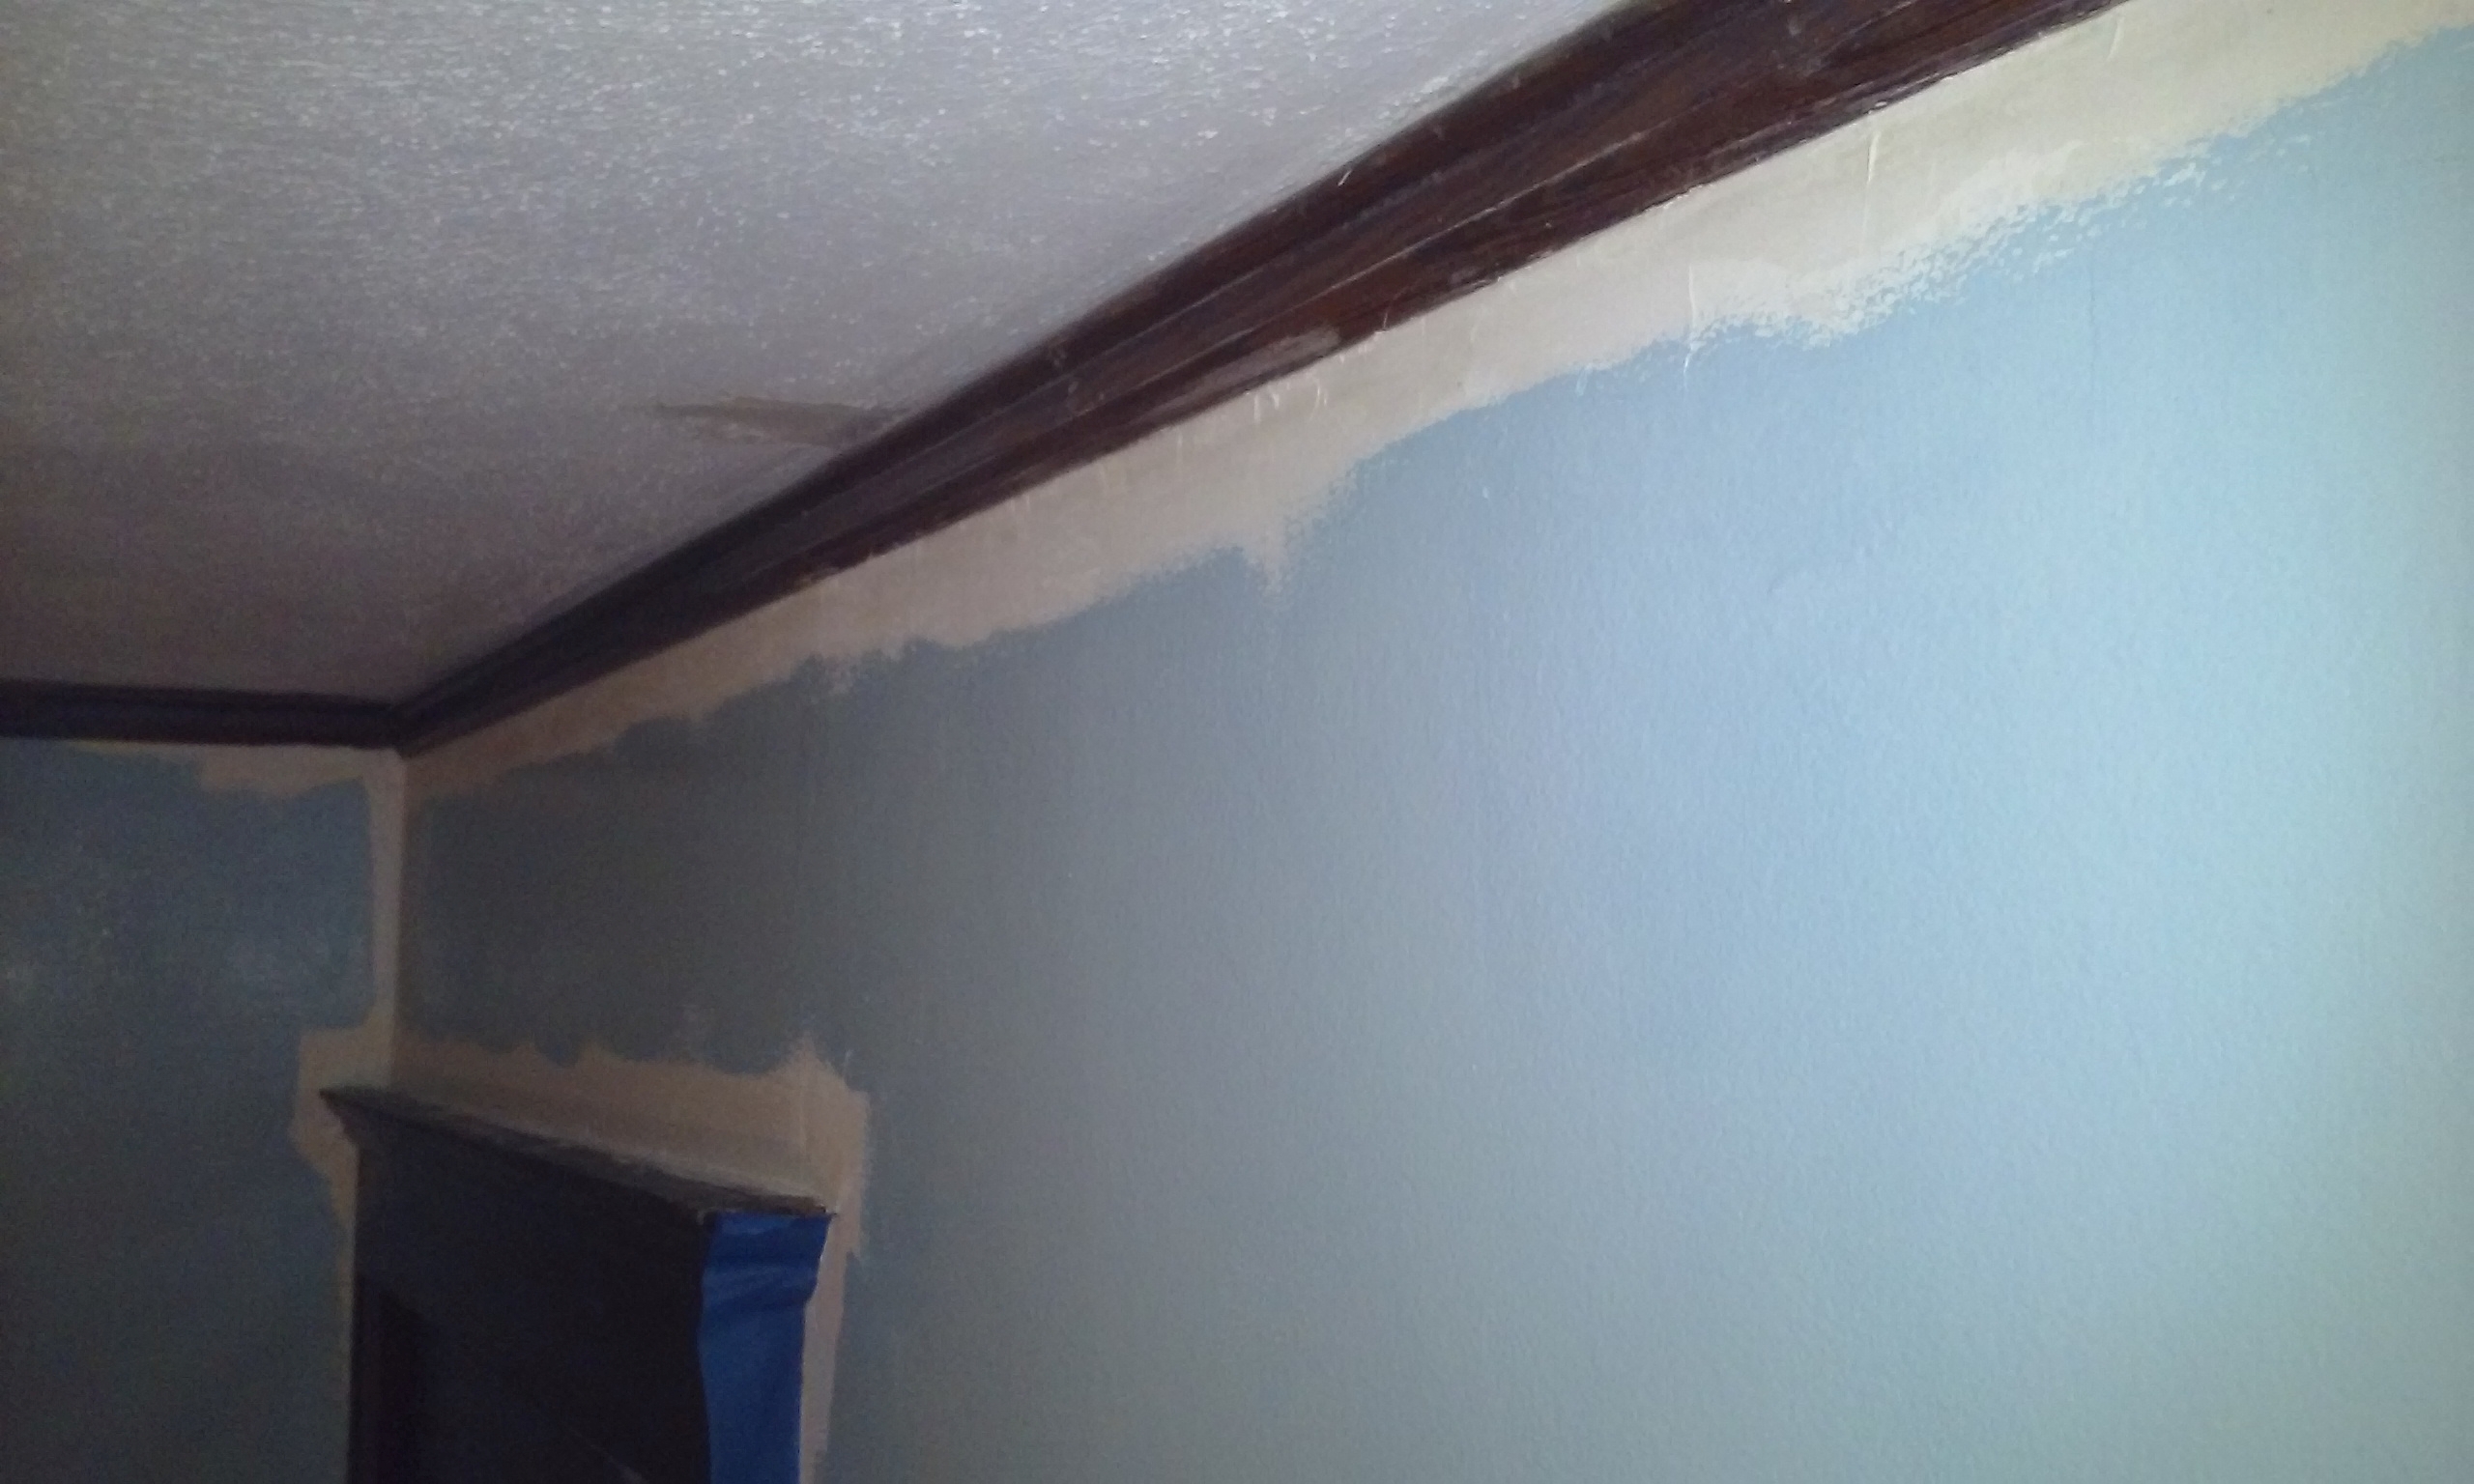
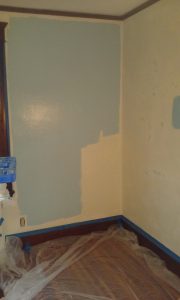
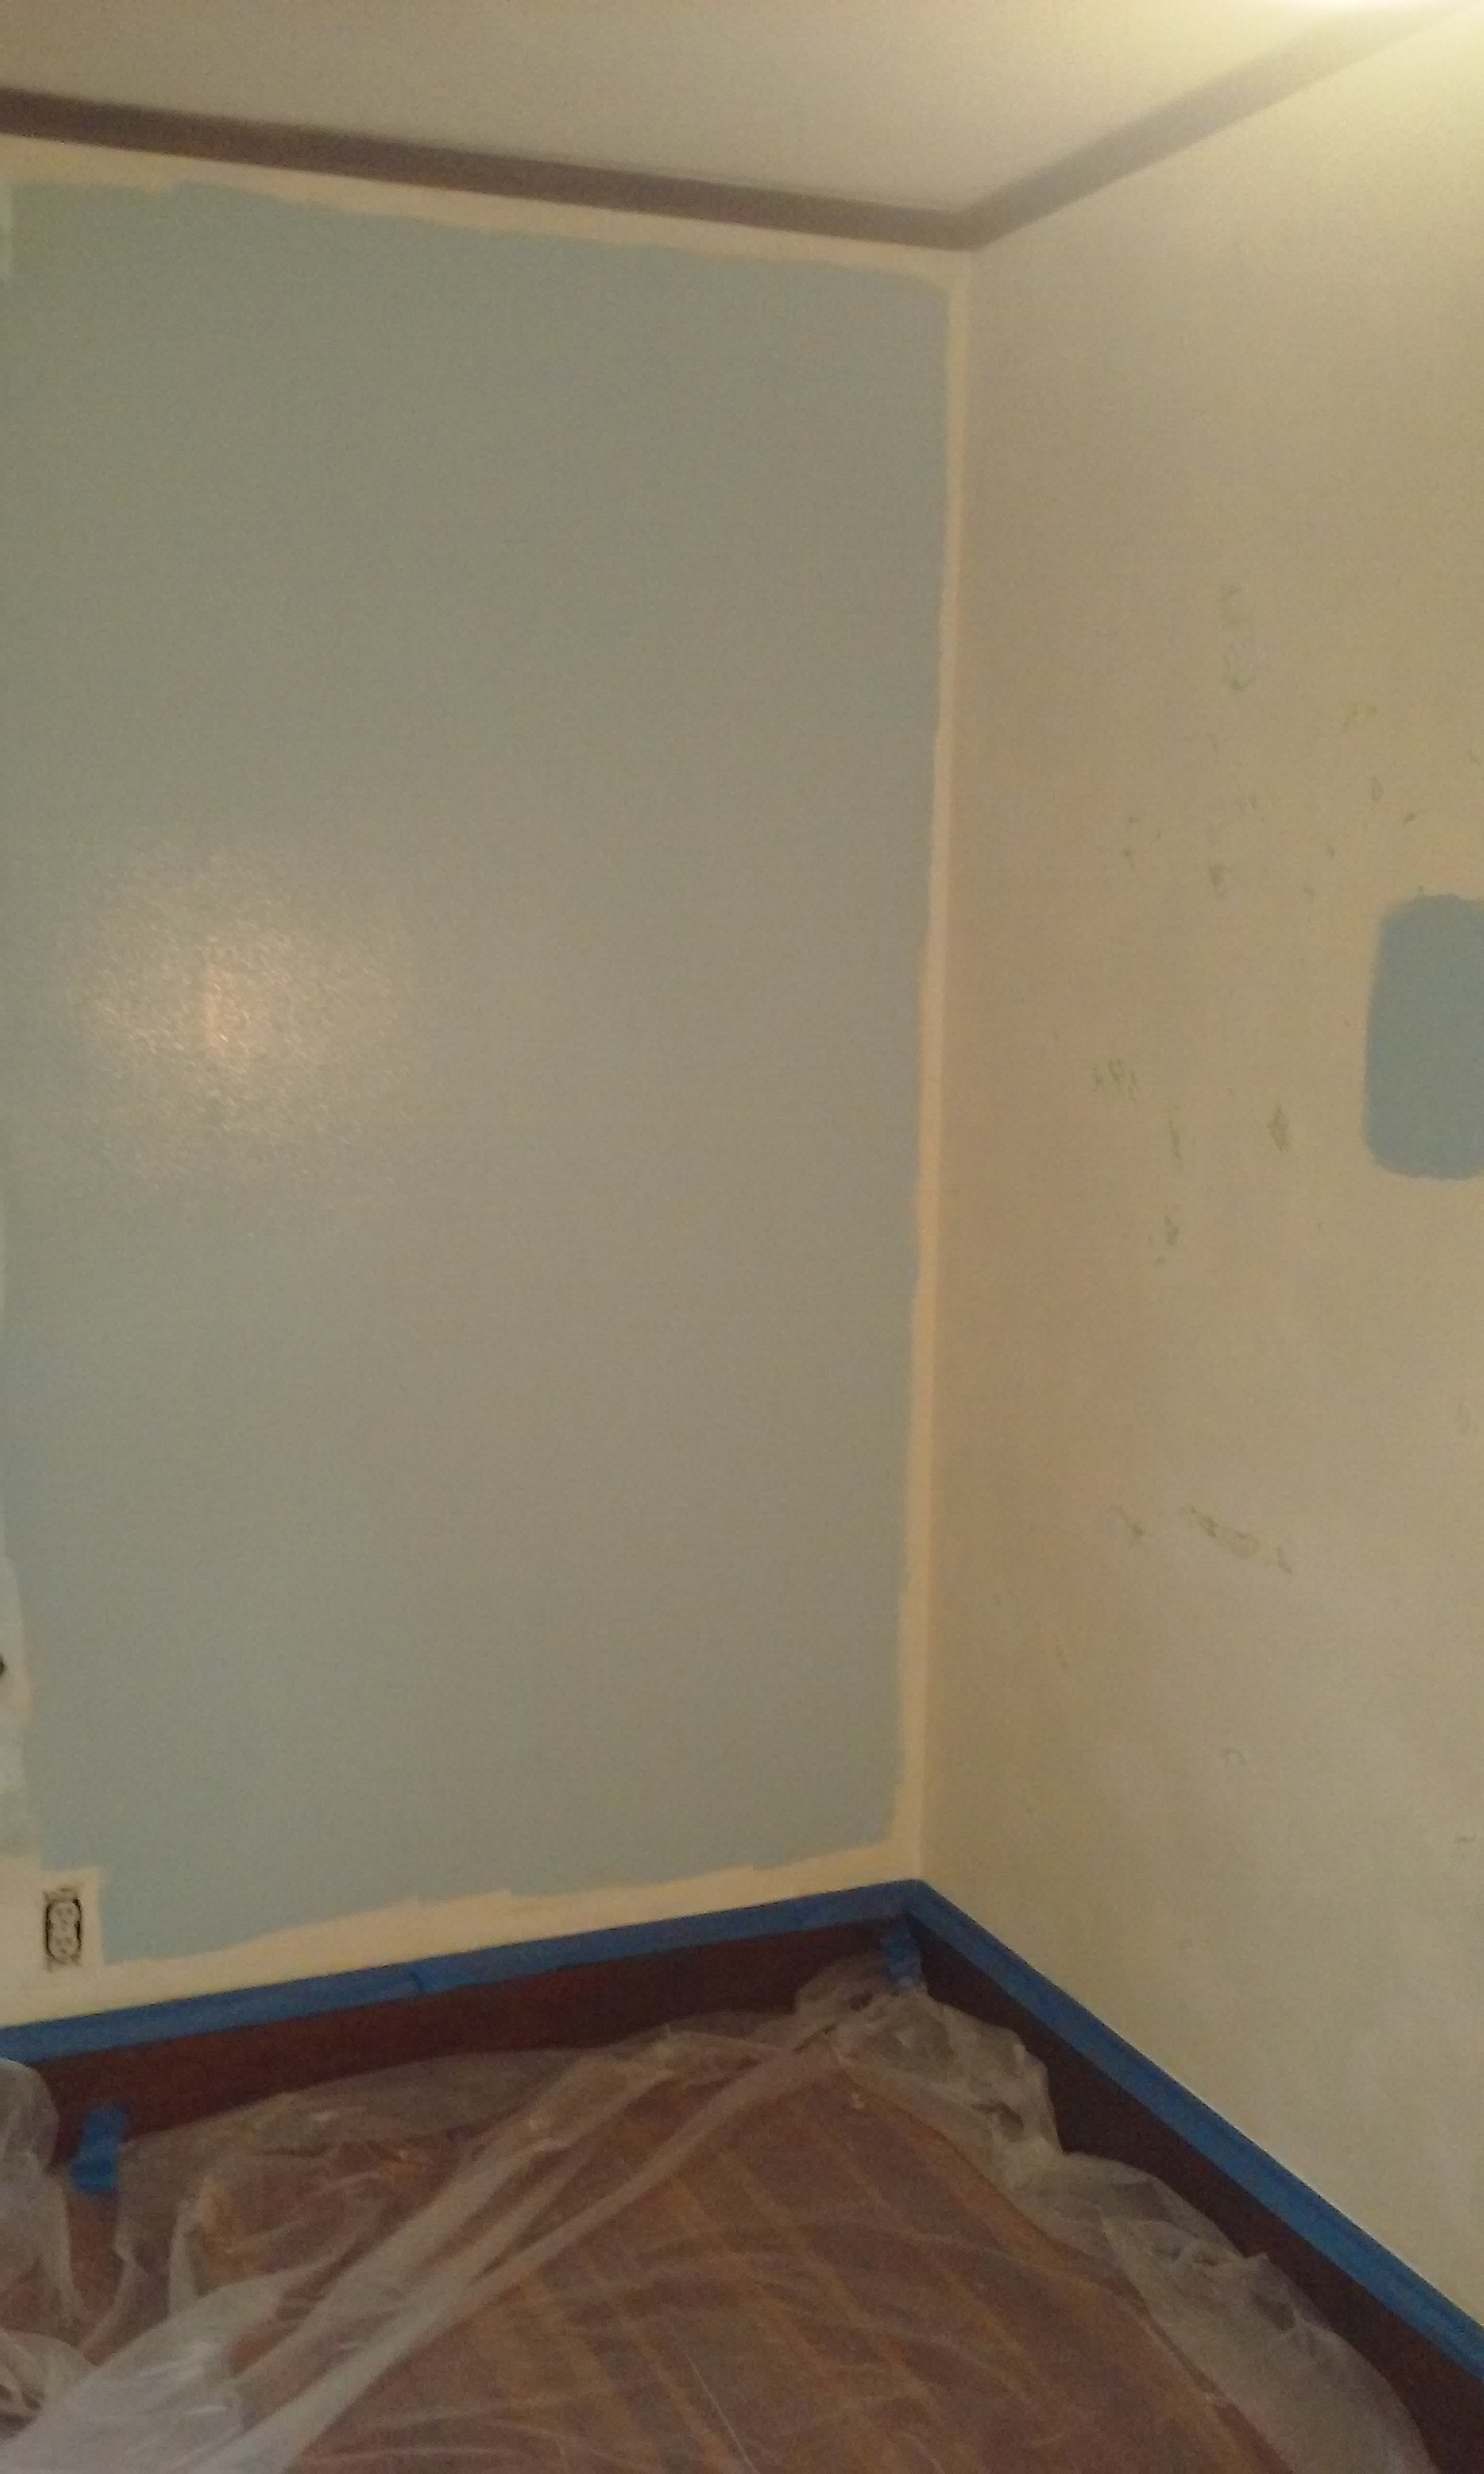
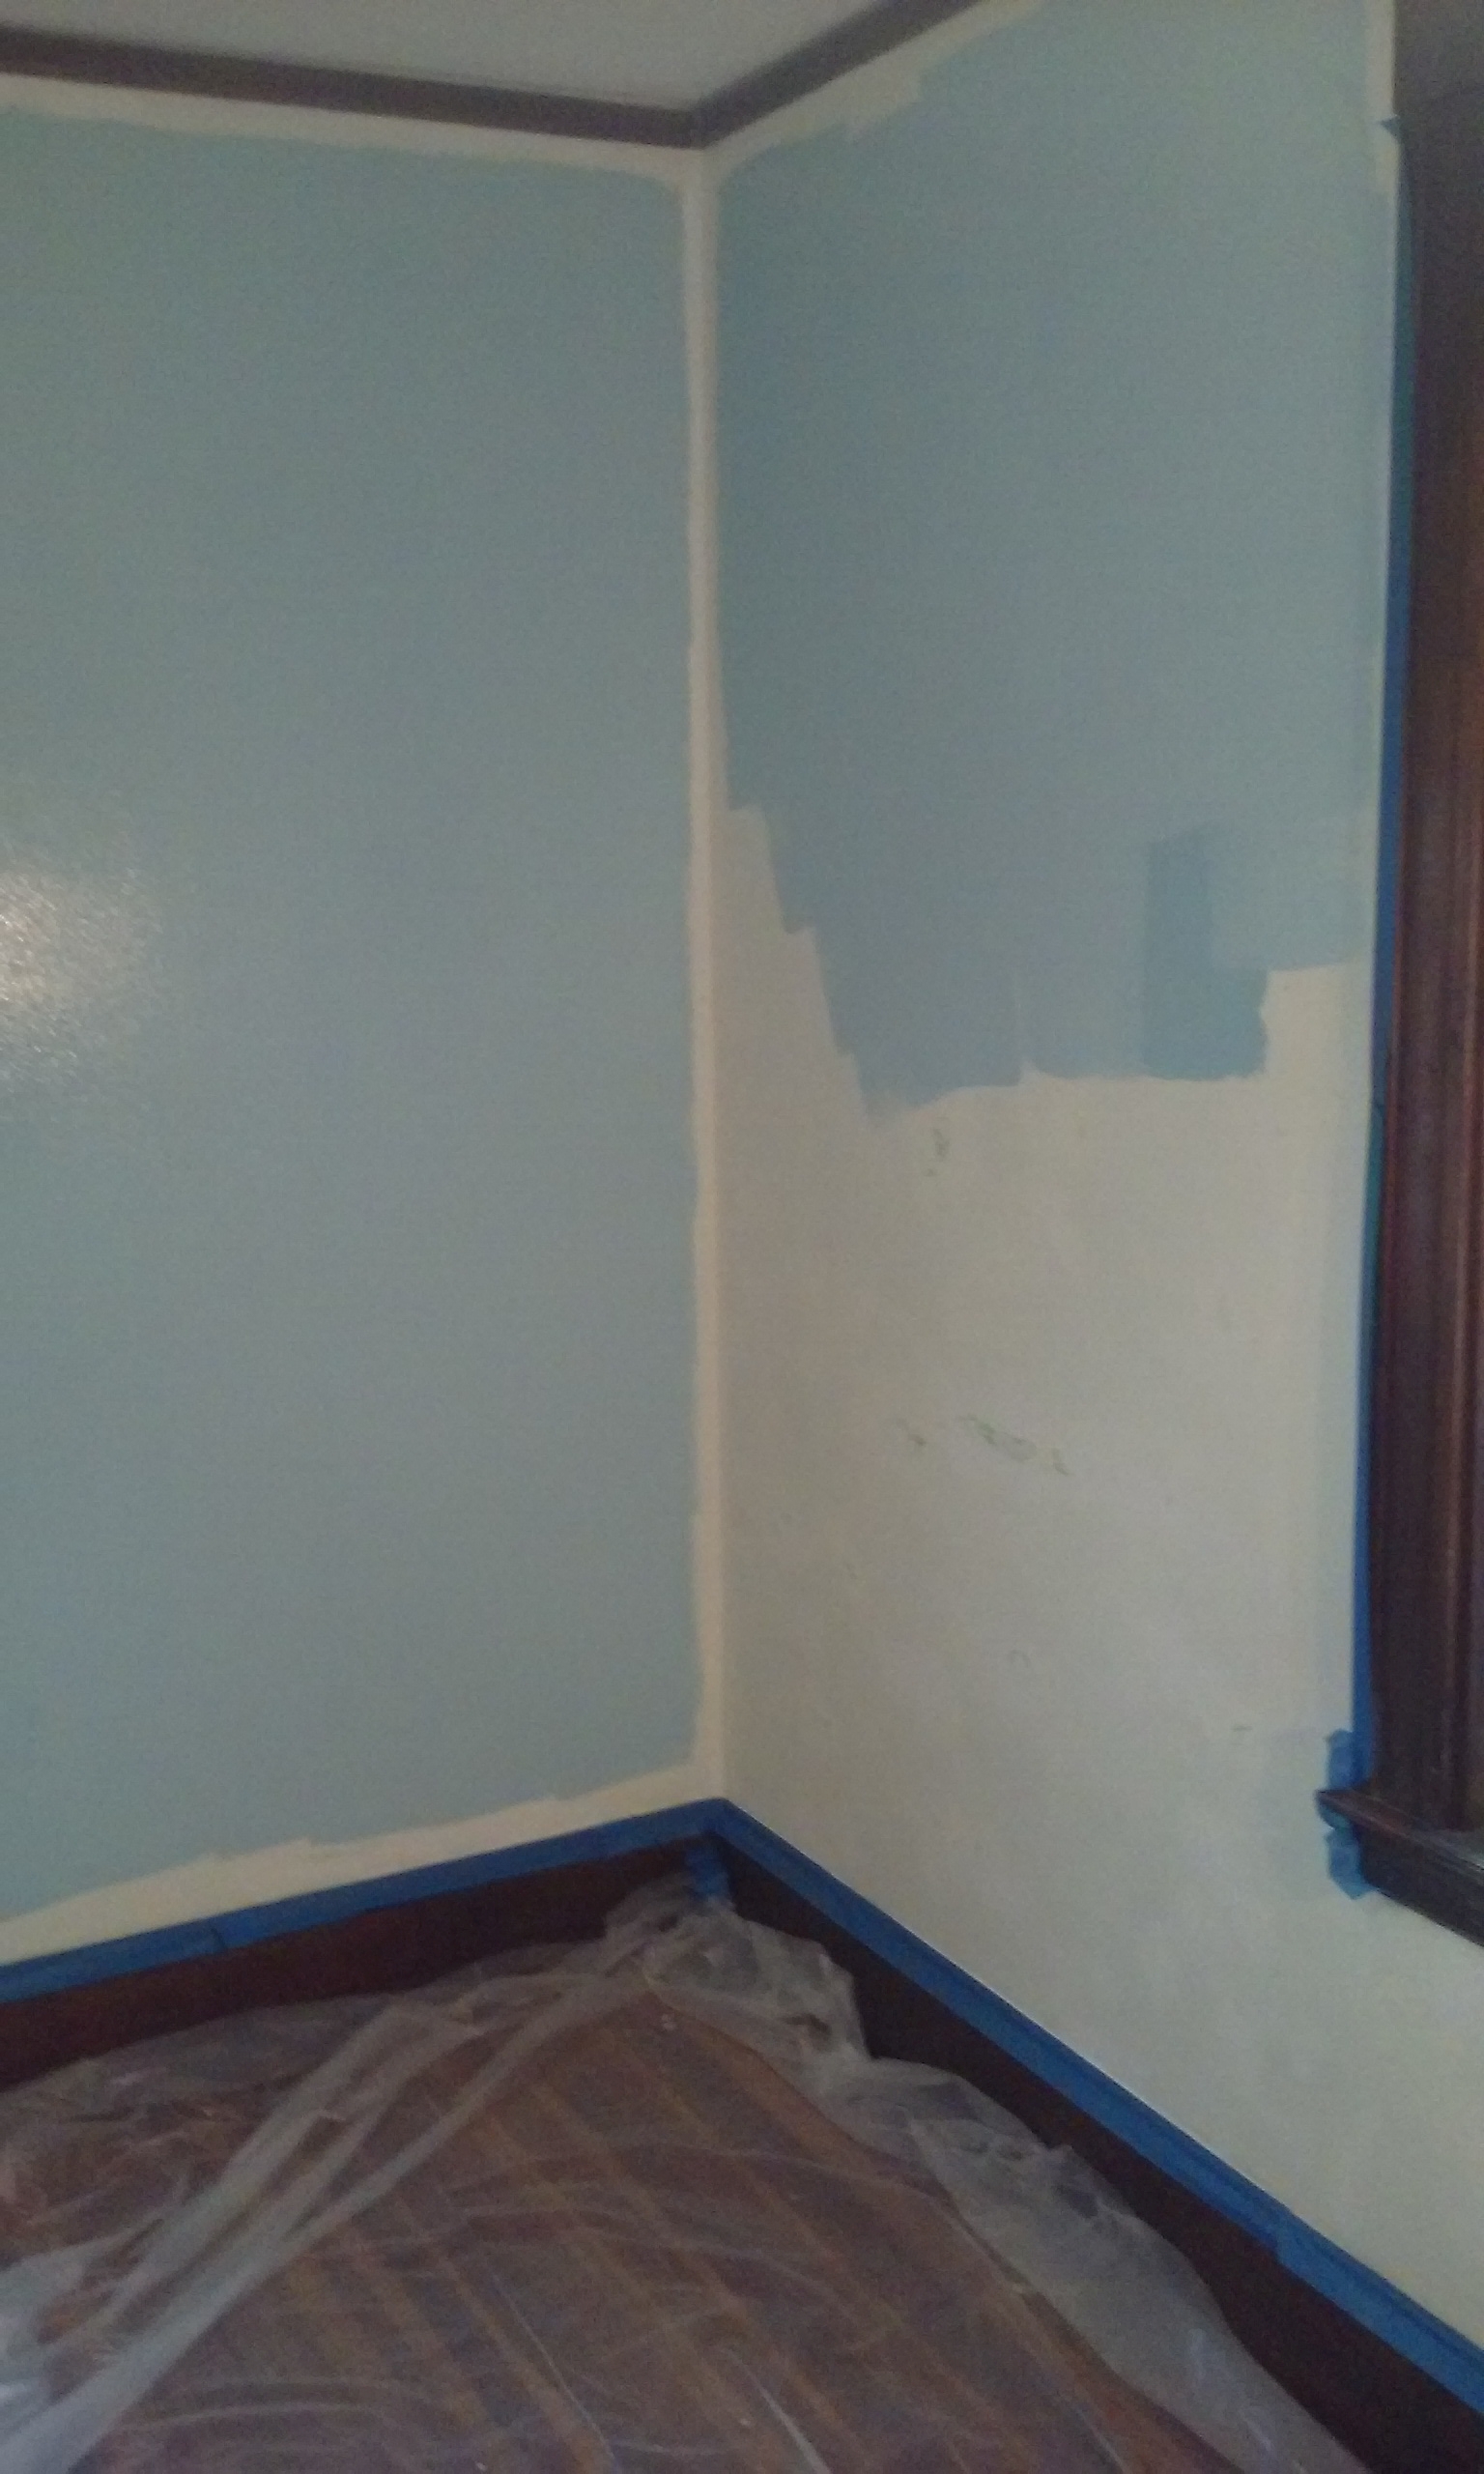
At last, time to start painting.  This is always the most fun and rewarding part.14a


14b


14c


14d


All told, the ceiling trim, baseboards, windows and doors added up to over 1o0 feet of edging that all had to be carefully done (twice, as it needed two coats!!) as there were all sorts of little pockmarks to be filled in.  But, persistence paid off.  It’s all done.17 18

And, though I say it who shouldn’t, it looks spectacular.  Client is thrilled and so am I.  What a job!   It’s Miller time!

Window Sill Refinishing

I tend to market myself as a “small project specialist,” as opposed to someone who can build a deck for you.  I do like doing little fixes that have the greatest impact.

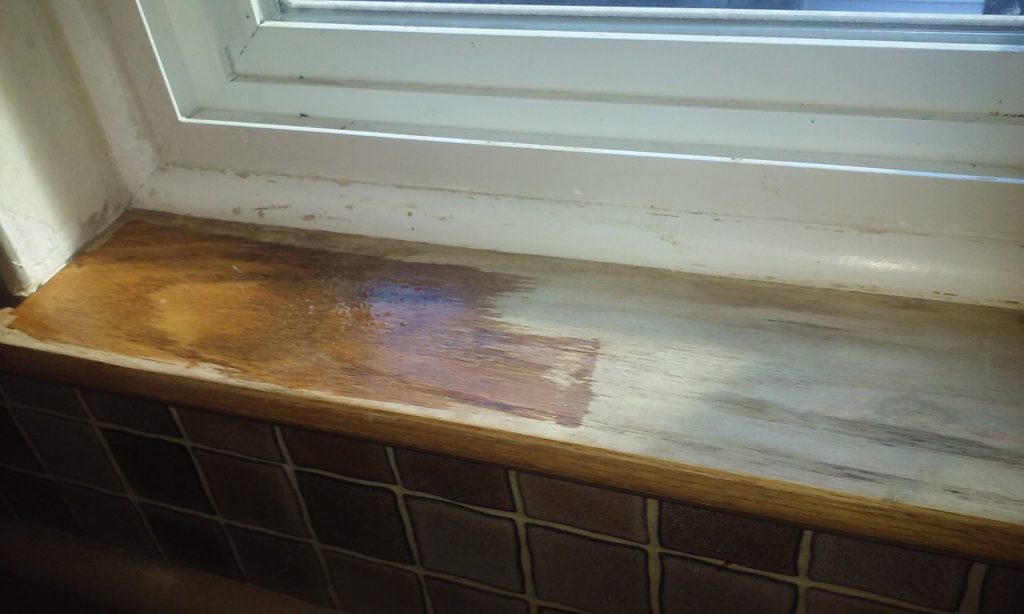
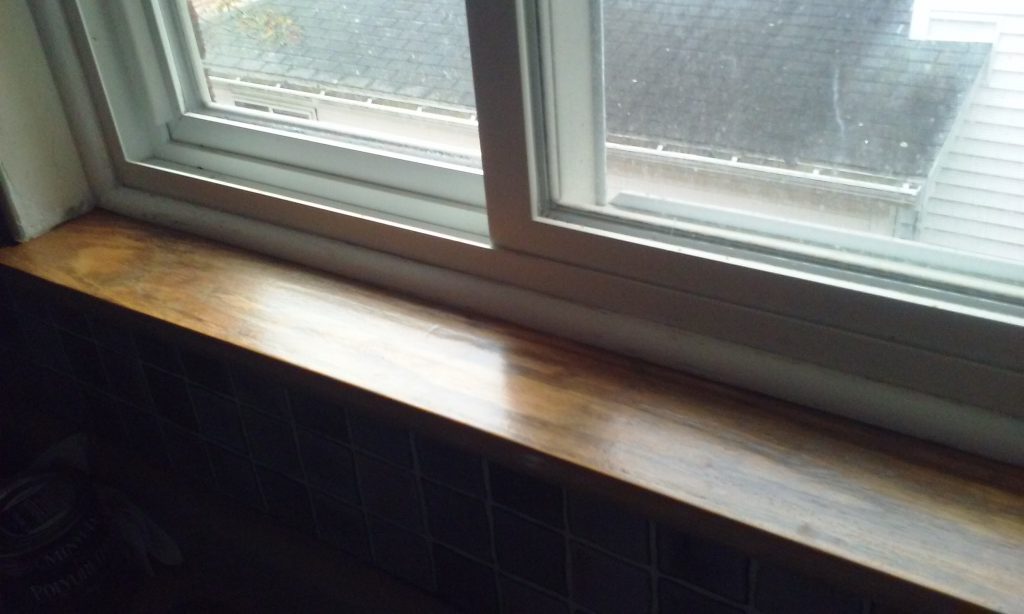
A client in an apartment building had some window sills that were in need of some love and attention.  One was above a kitchen sink, and over time the finish had worn off and water was getting into the wood (from the watering of plants that lived there).  So I sanded off the vestiges of the old polyurethane finish (in painting and refinishing, surface prep is EVERYTHING) and started to apply new.

20161031_111931I won’t bore you with the many interim steps– suffice to say I applied multiple coats and it just came out wonderfully:

20161105_092327Talk about job satisfaction 🙂  I really prefer to finish wood with tung oil but for this often moist environment, the waterproof poly was the way to go.  Next I have to paint the trim!


I Don’t Build Shelves . . . BUT

So again, I am what I think of as a basic handy . . . man.  Guy.  Person.   Whatever.  I don’t have a big truck full of power tools.  My #1 tool is my little problem solving brain.

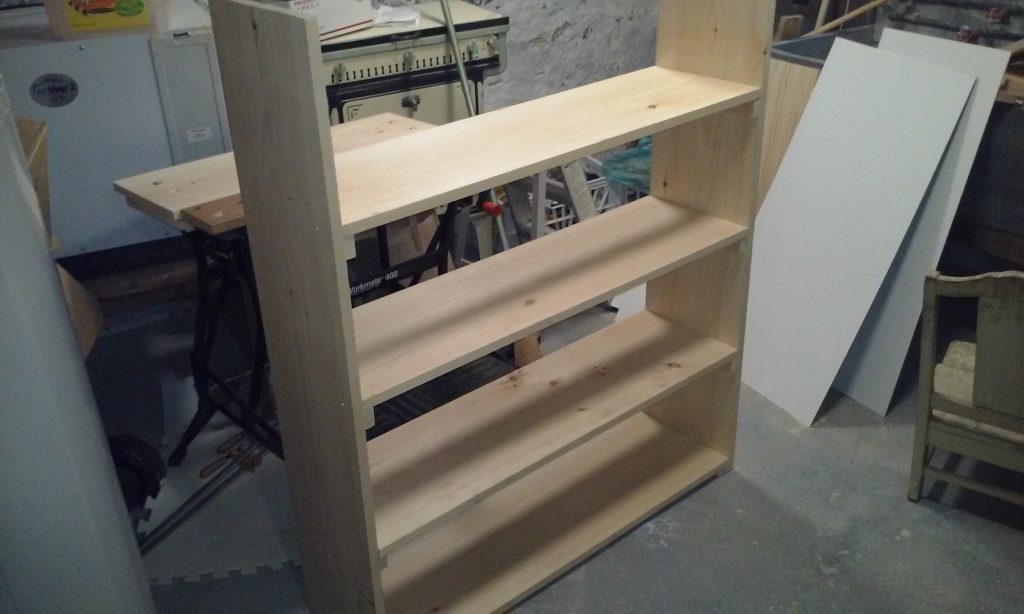
That said, I have a customer who wanted some shelves for her basement.

A little aside here, one thing I learned about “handymanning” is, you rarely ever just do a single job.  Once people have me in their house doing one thing, they right away bring out a list, and I end up being a regular caretaker.  I have my monday client, my tuesday client, for a month or two at a time.  Or more.

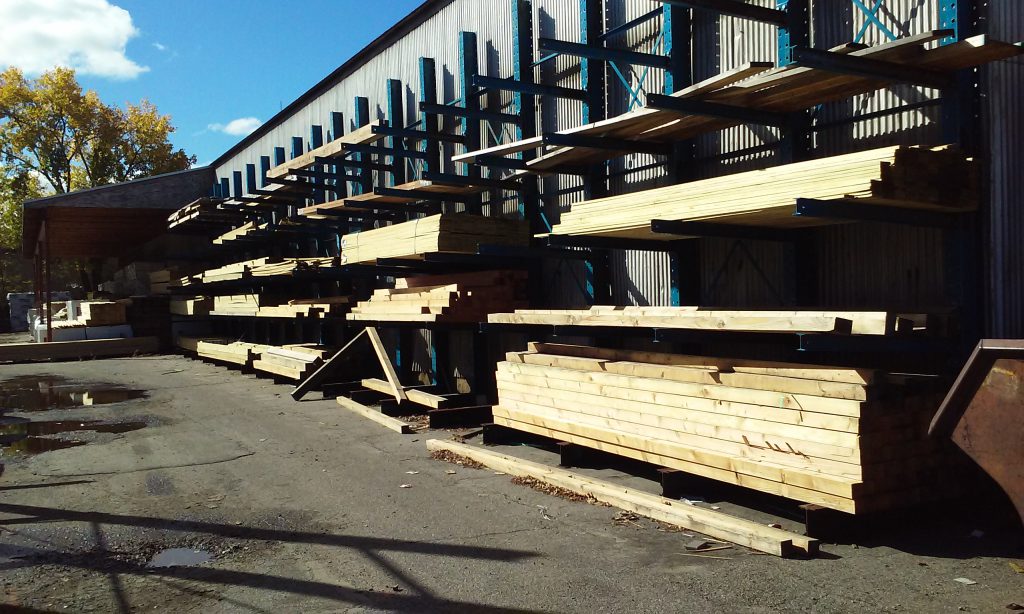
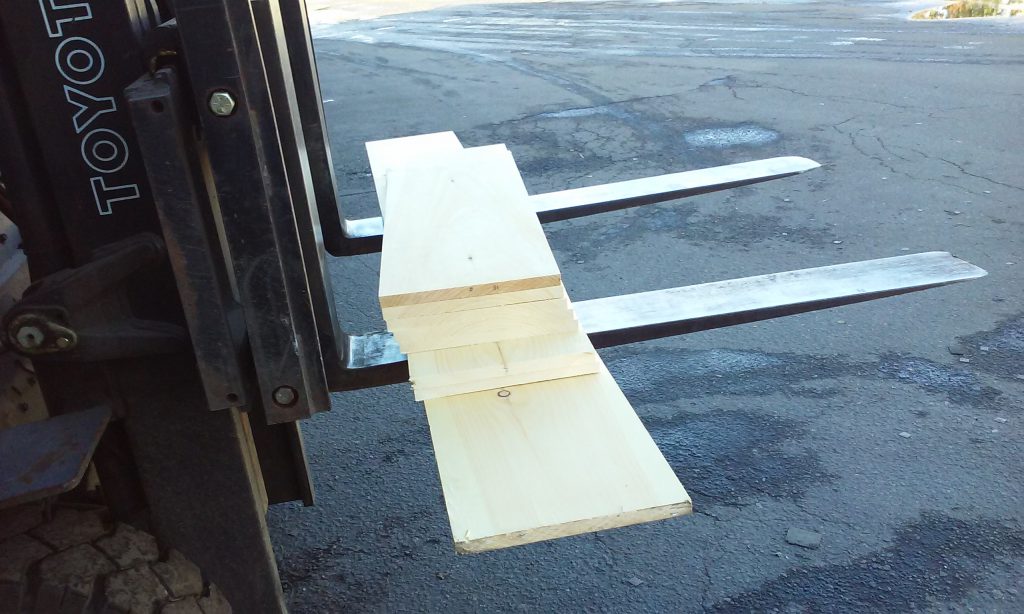
So anyway . . . AGAIN . . . I don’t build things, I don’t install doors or windows, I fix existing . . . BUT . . .  this one customer, oddly enough, had a whole workshop with a work bench and a circular saw (which is all you really need to build shelves aside from basic tools), she said help yourself, and I love new toys, so, off I went to Sterritt Lumber in Watertown.

20161031_115458 20161031_115901And just 3 hours later, voila:

20161031_165626

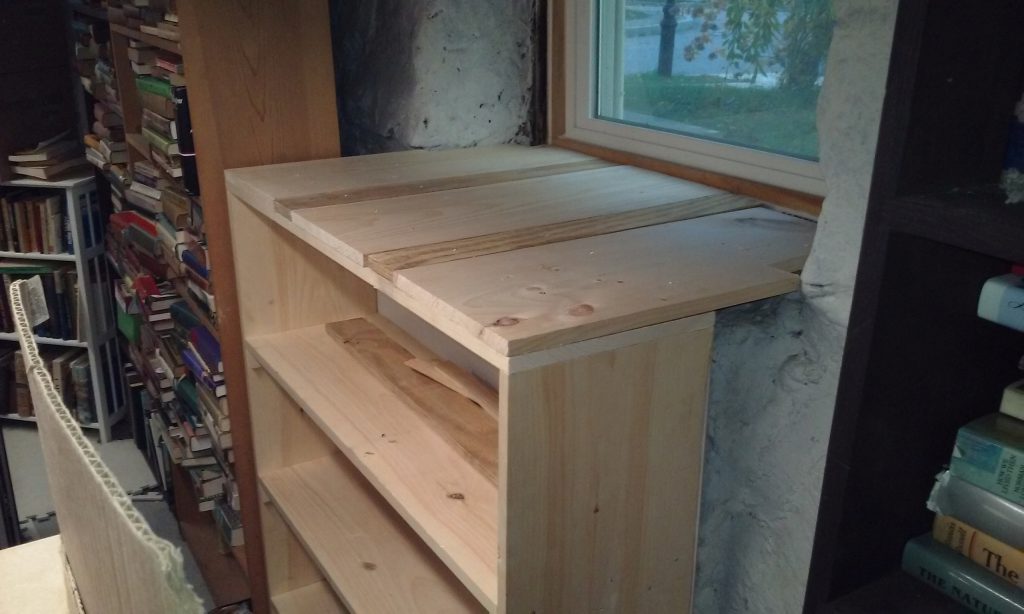
Being simple basement shelves, I have a simple design system of placing supports on the two end pieces, tacking them into place, and then when the main shelves are on them I can drill holes and put in screws to hold the shelves for real, and everything is nice and and level.

In this basement they had an odd situation with a window, so I added some carefully cut extra pieces to extend the top all the way to the window for extra space.

winshelvesNot bad for a guy who does not build shelves 🙂


The Birds

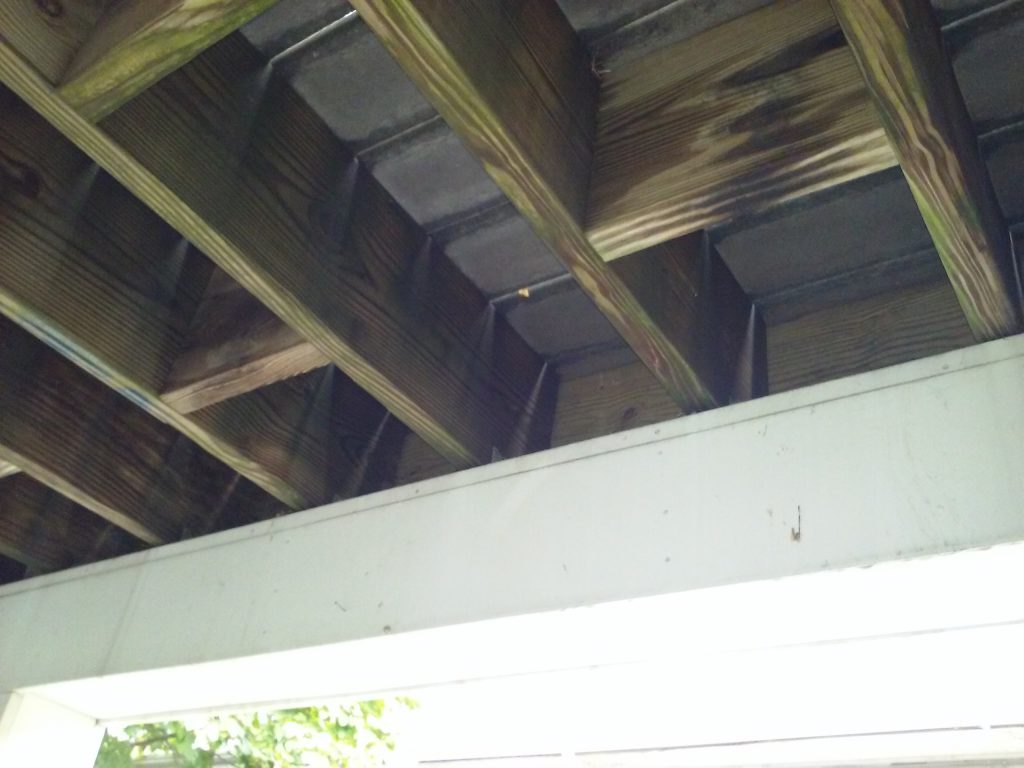
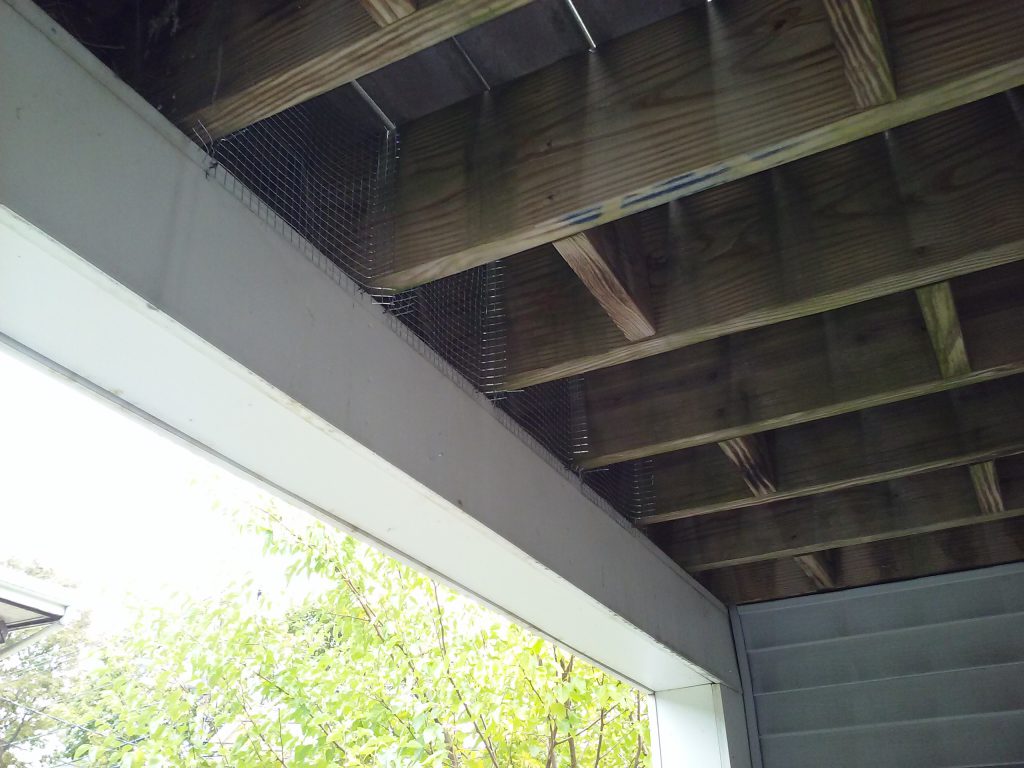
Okay so I had a customer call with a bird problem.  Above her porch, they had built the upper porch of the building in such a way that they had created perfect nesting areas for birds.  Here you are looking up at a ceiling of rafters, and to the right you can see these perfectly designed bird house ledges at the top of the white wall.   They were all filled with bird nest material.  
20161018_150528-1

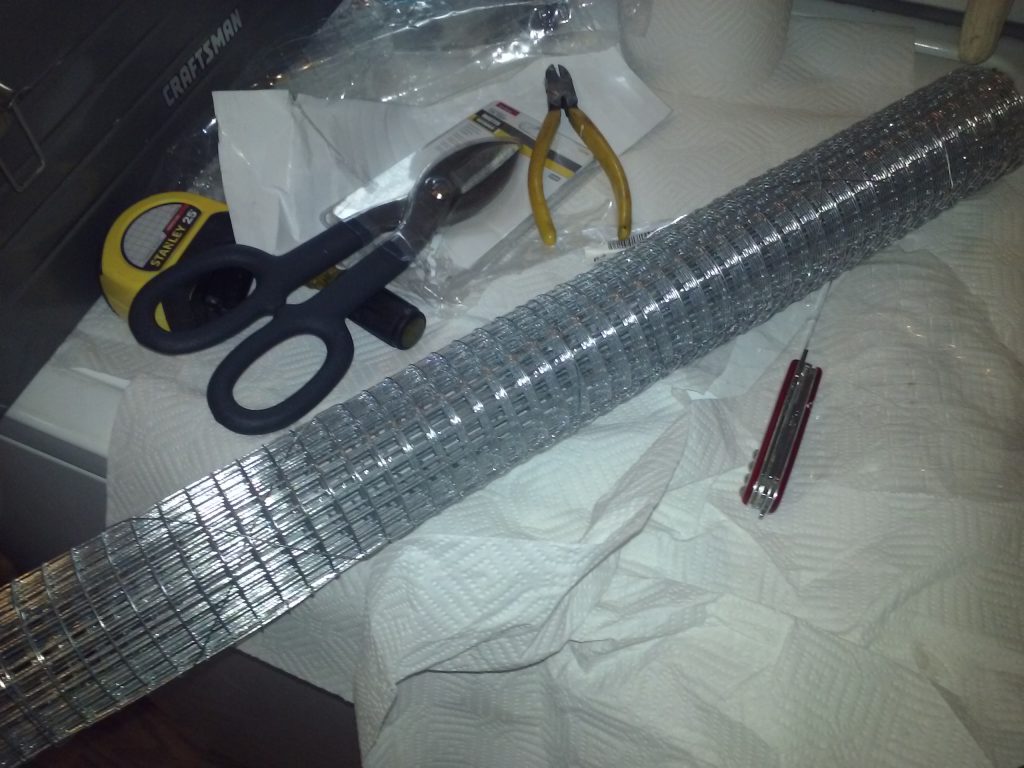
SO . . . I went to the hardware store and searched for some kind of chicken coop anti-bird material, and I came up with “hardware cloth.”

20161020_141417Also see my new toy, a pair on tin snips for cutting it.  So with much measuring and plotting I cut pieces of the wire mesh and placed these fitted pieces in the enclosures . . .

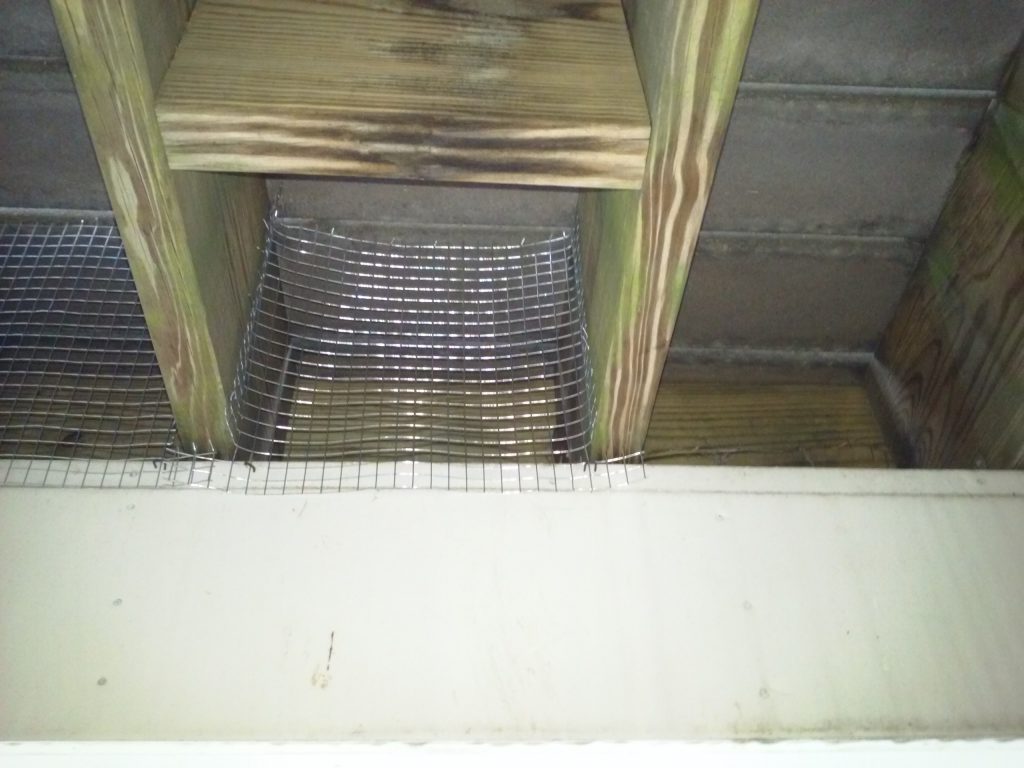
20161020_150133It’s not done yet– I still have to go back and smooth it all out and put in more brads,

20161020_151517But at last the customer is bird free.  She is so happy.

Getting Rid of Paint on Old Varnish

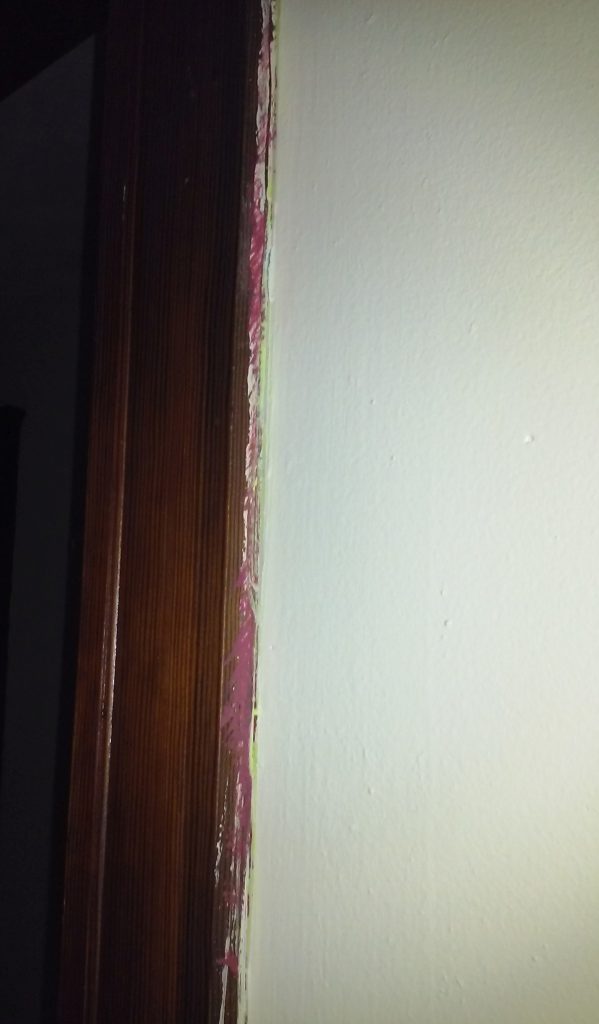
Something I truly hate to see is nice old varnished woodwork where previous occupants have done a sloppy paint job and gotten splotches of paint all over it:

doorold1

As you can see, it was both red and light green paint.  God knows how long it was on there.

Such sloppiness is an insult to the spirit, feels like slum living really, so when this client asked me to paint this bedroom, I had to start by reviving the beauty of the woodwork.

I had to go at it, as my grandmother used to say, “like killing snakes.”  There was no advice on youtube on how to do it, so I just went at it with every tool I had.

So the first step was to take my Swiss army knife and just try to shave off the biggest chunks and just generally “break the seal” of the paint.  Then I actually used a dental cleaning tool to scrape the next layer off– I had to always be careful to not go too deep and ruin the finish or the wood.  Then I took a toothbrush and some alcohol and baking soda and again, it was like a dental cleaning, scrubbing it off.  Amazingly, the alcohol did not take off the original finish, but it softened the unwanted paint enough that it would scrub off.

It took a lot of hard high pressure scrubbing and it killed my hands, but I finally got 2 door jambs and two windows back to nearly original look.

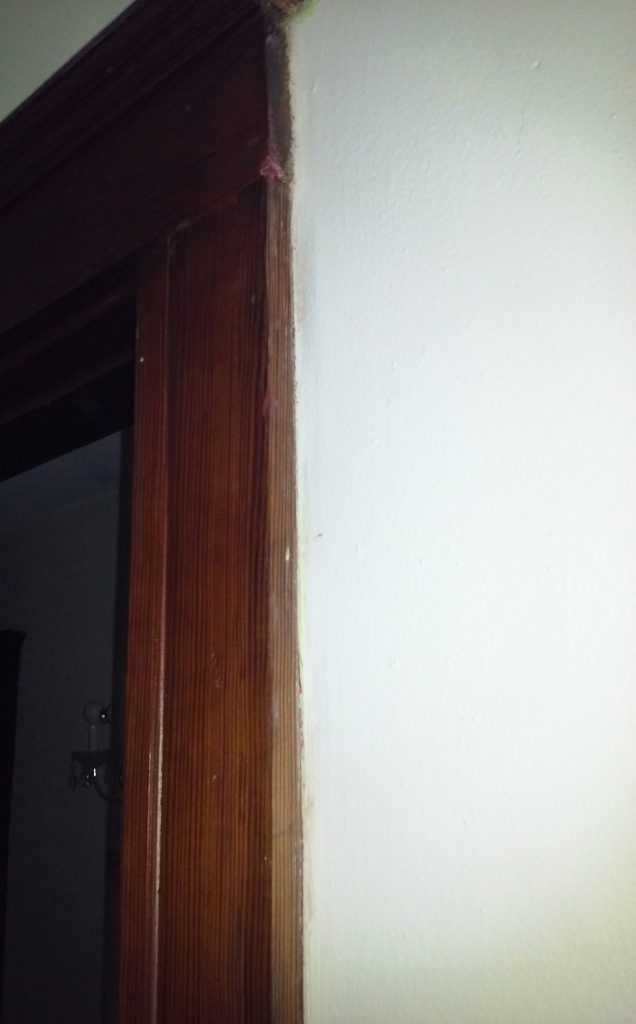
door-222222222222

Still looks a little sloppy in this pic as I have not painted the wall yet, and I need to take a stain pen and fix a multitude of sins.  But oh my what a difference.


Mortise Lock

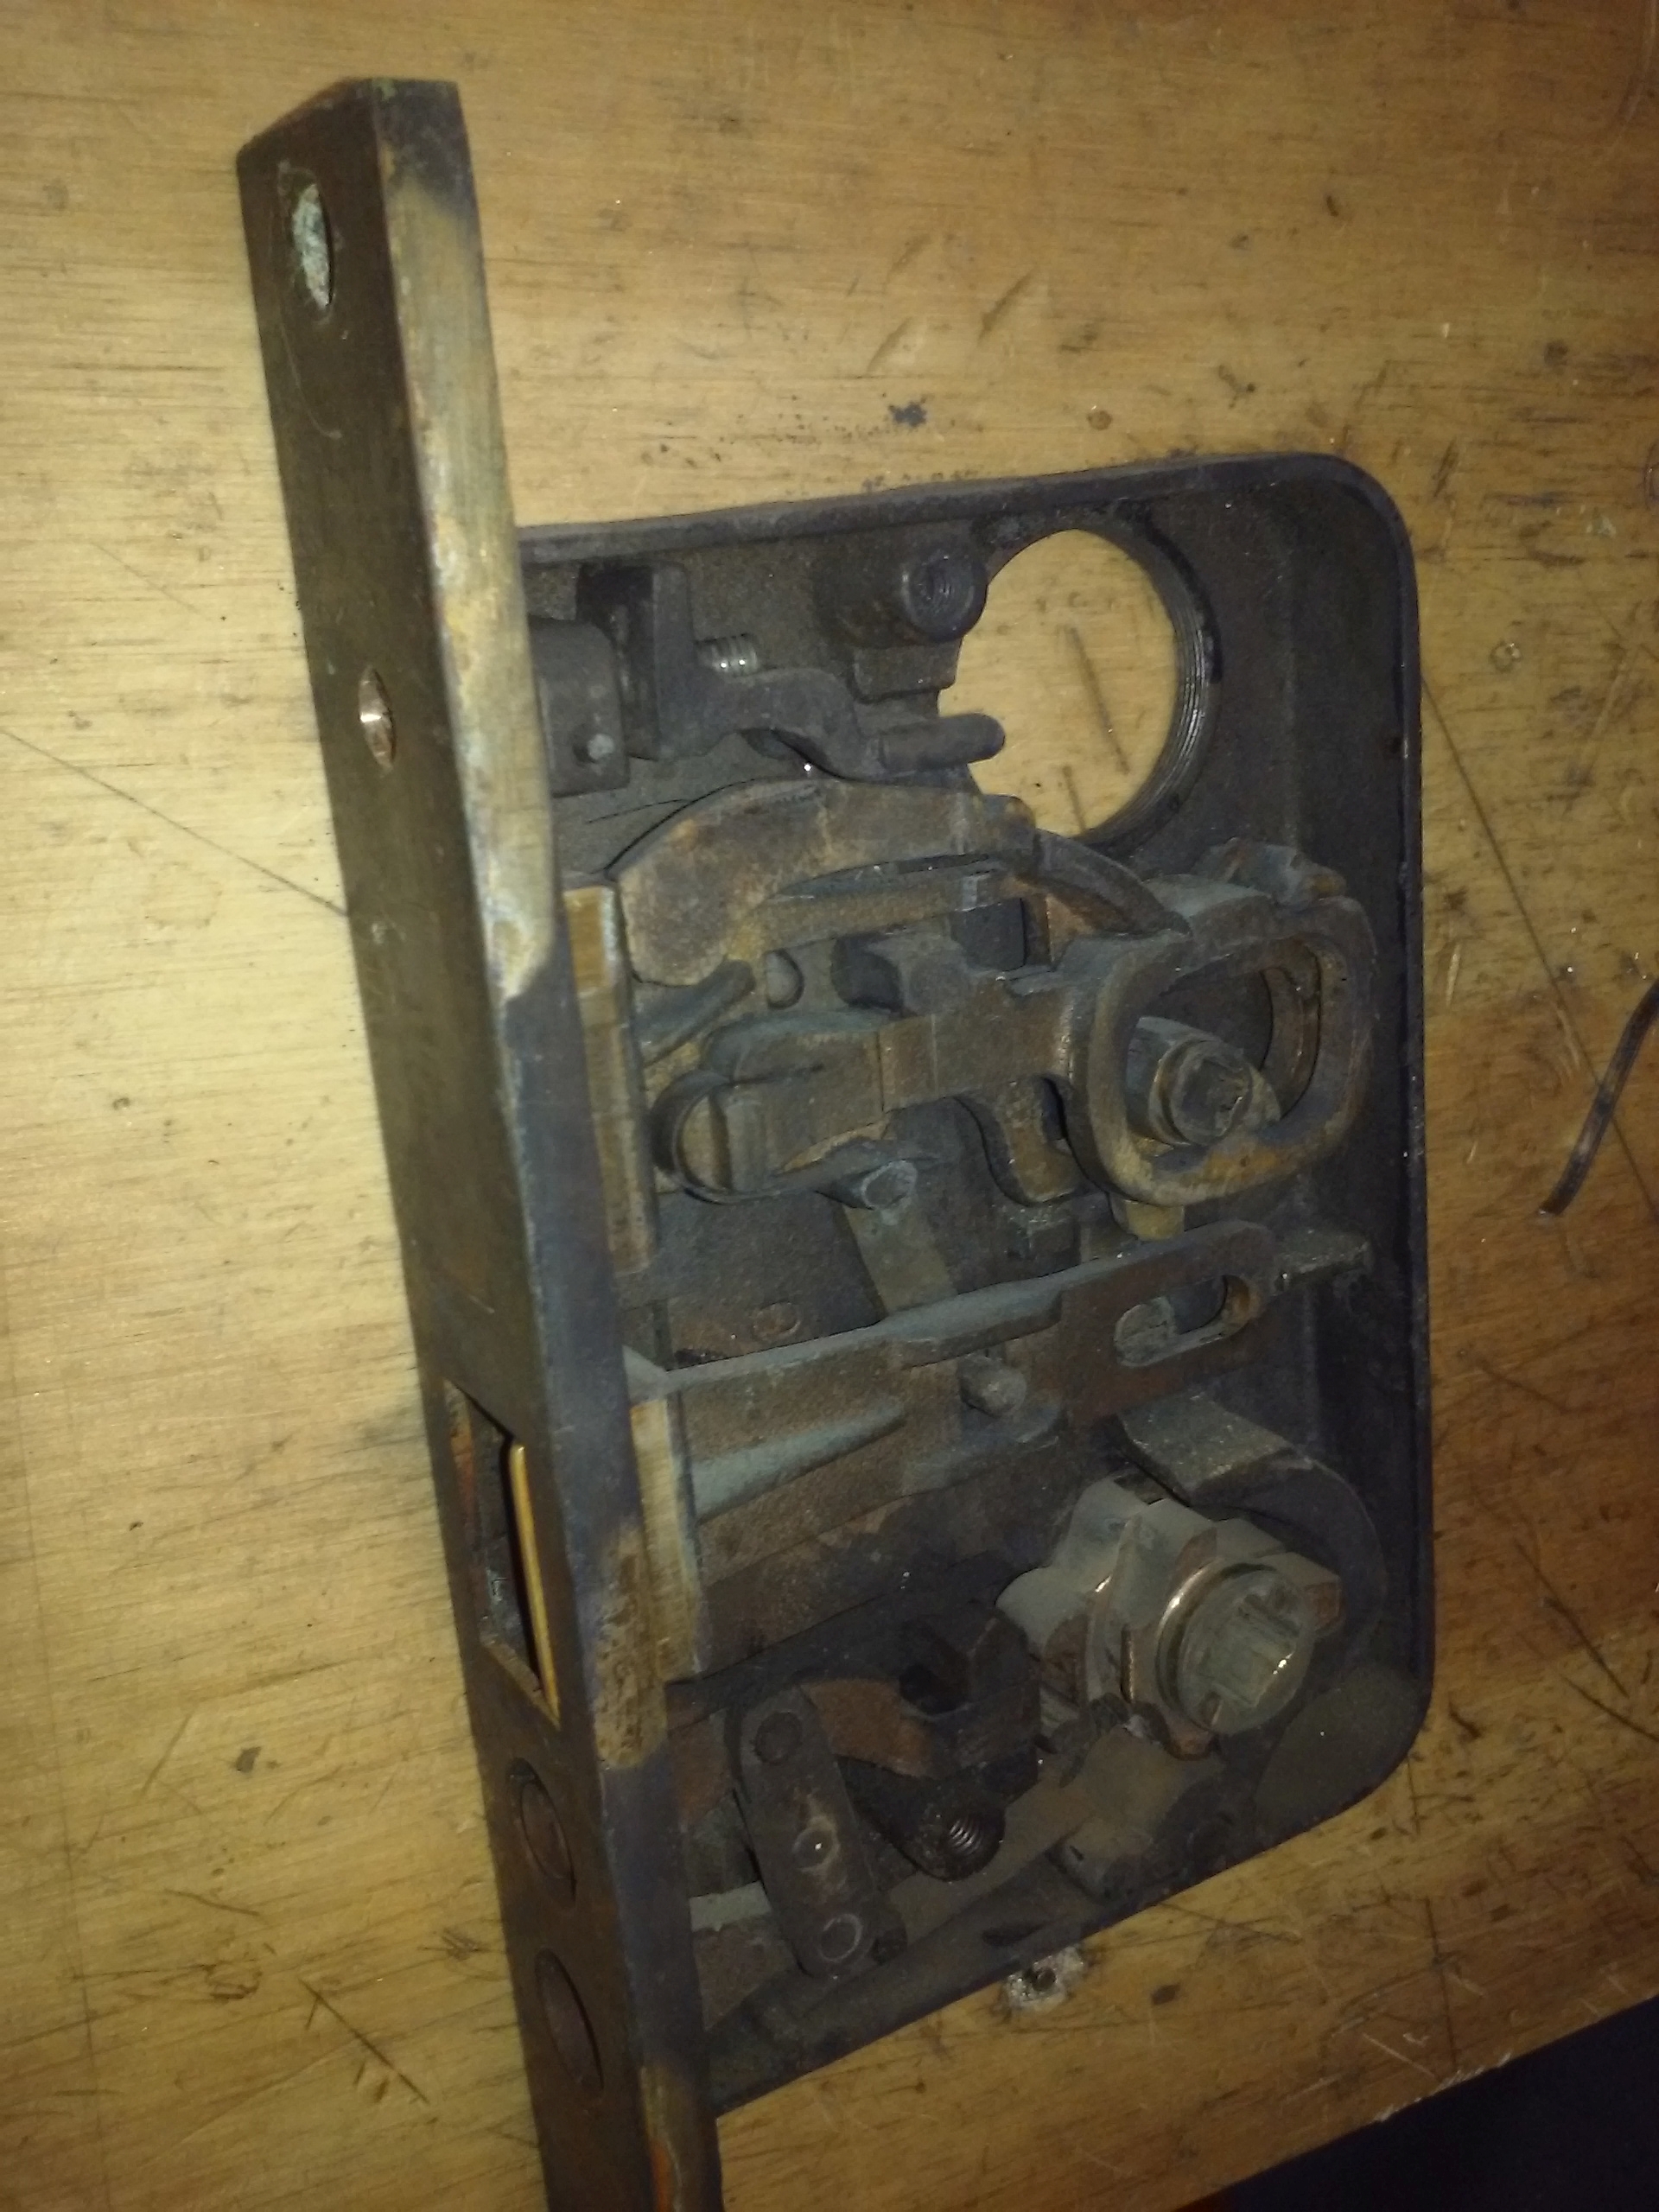
Okay if you live in one of these fabulous old Boston area houses you probably have an original equipment mortise lock on your front door.  I had one of these on my apt in Jamaica Plain.

lockaaaaaaaaaaaaa

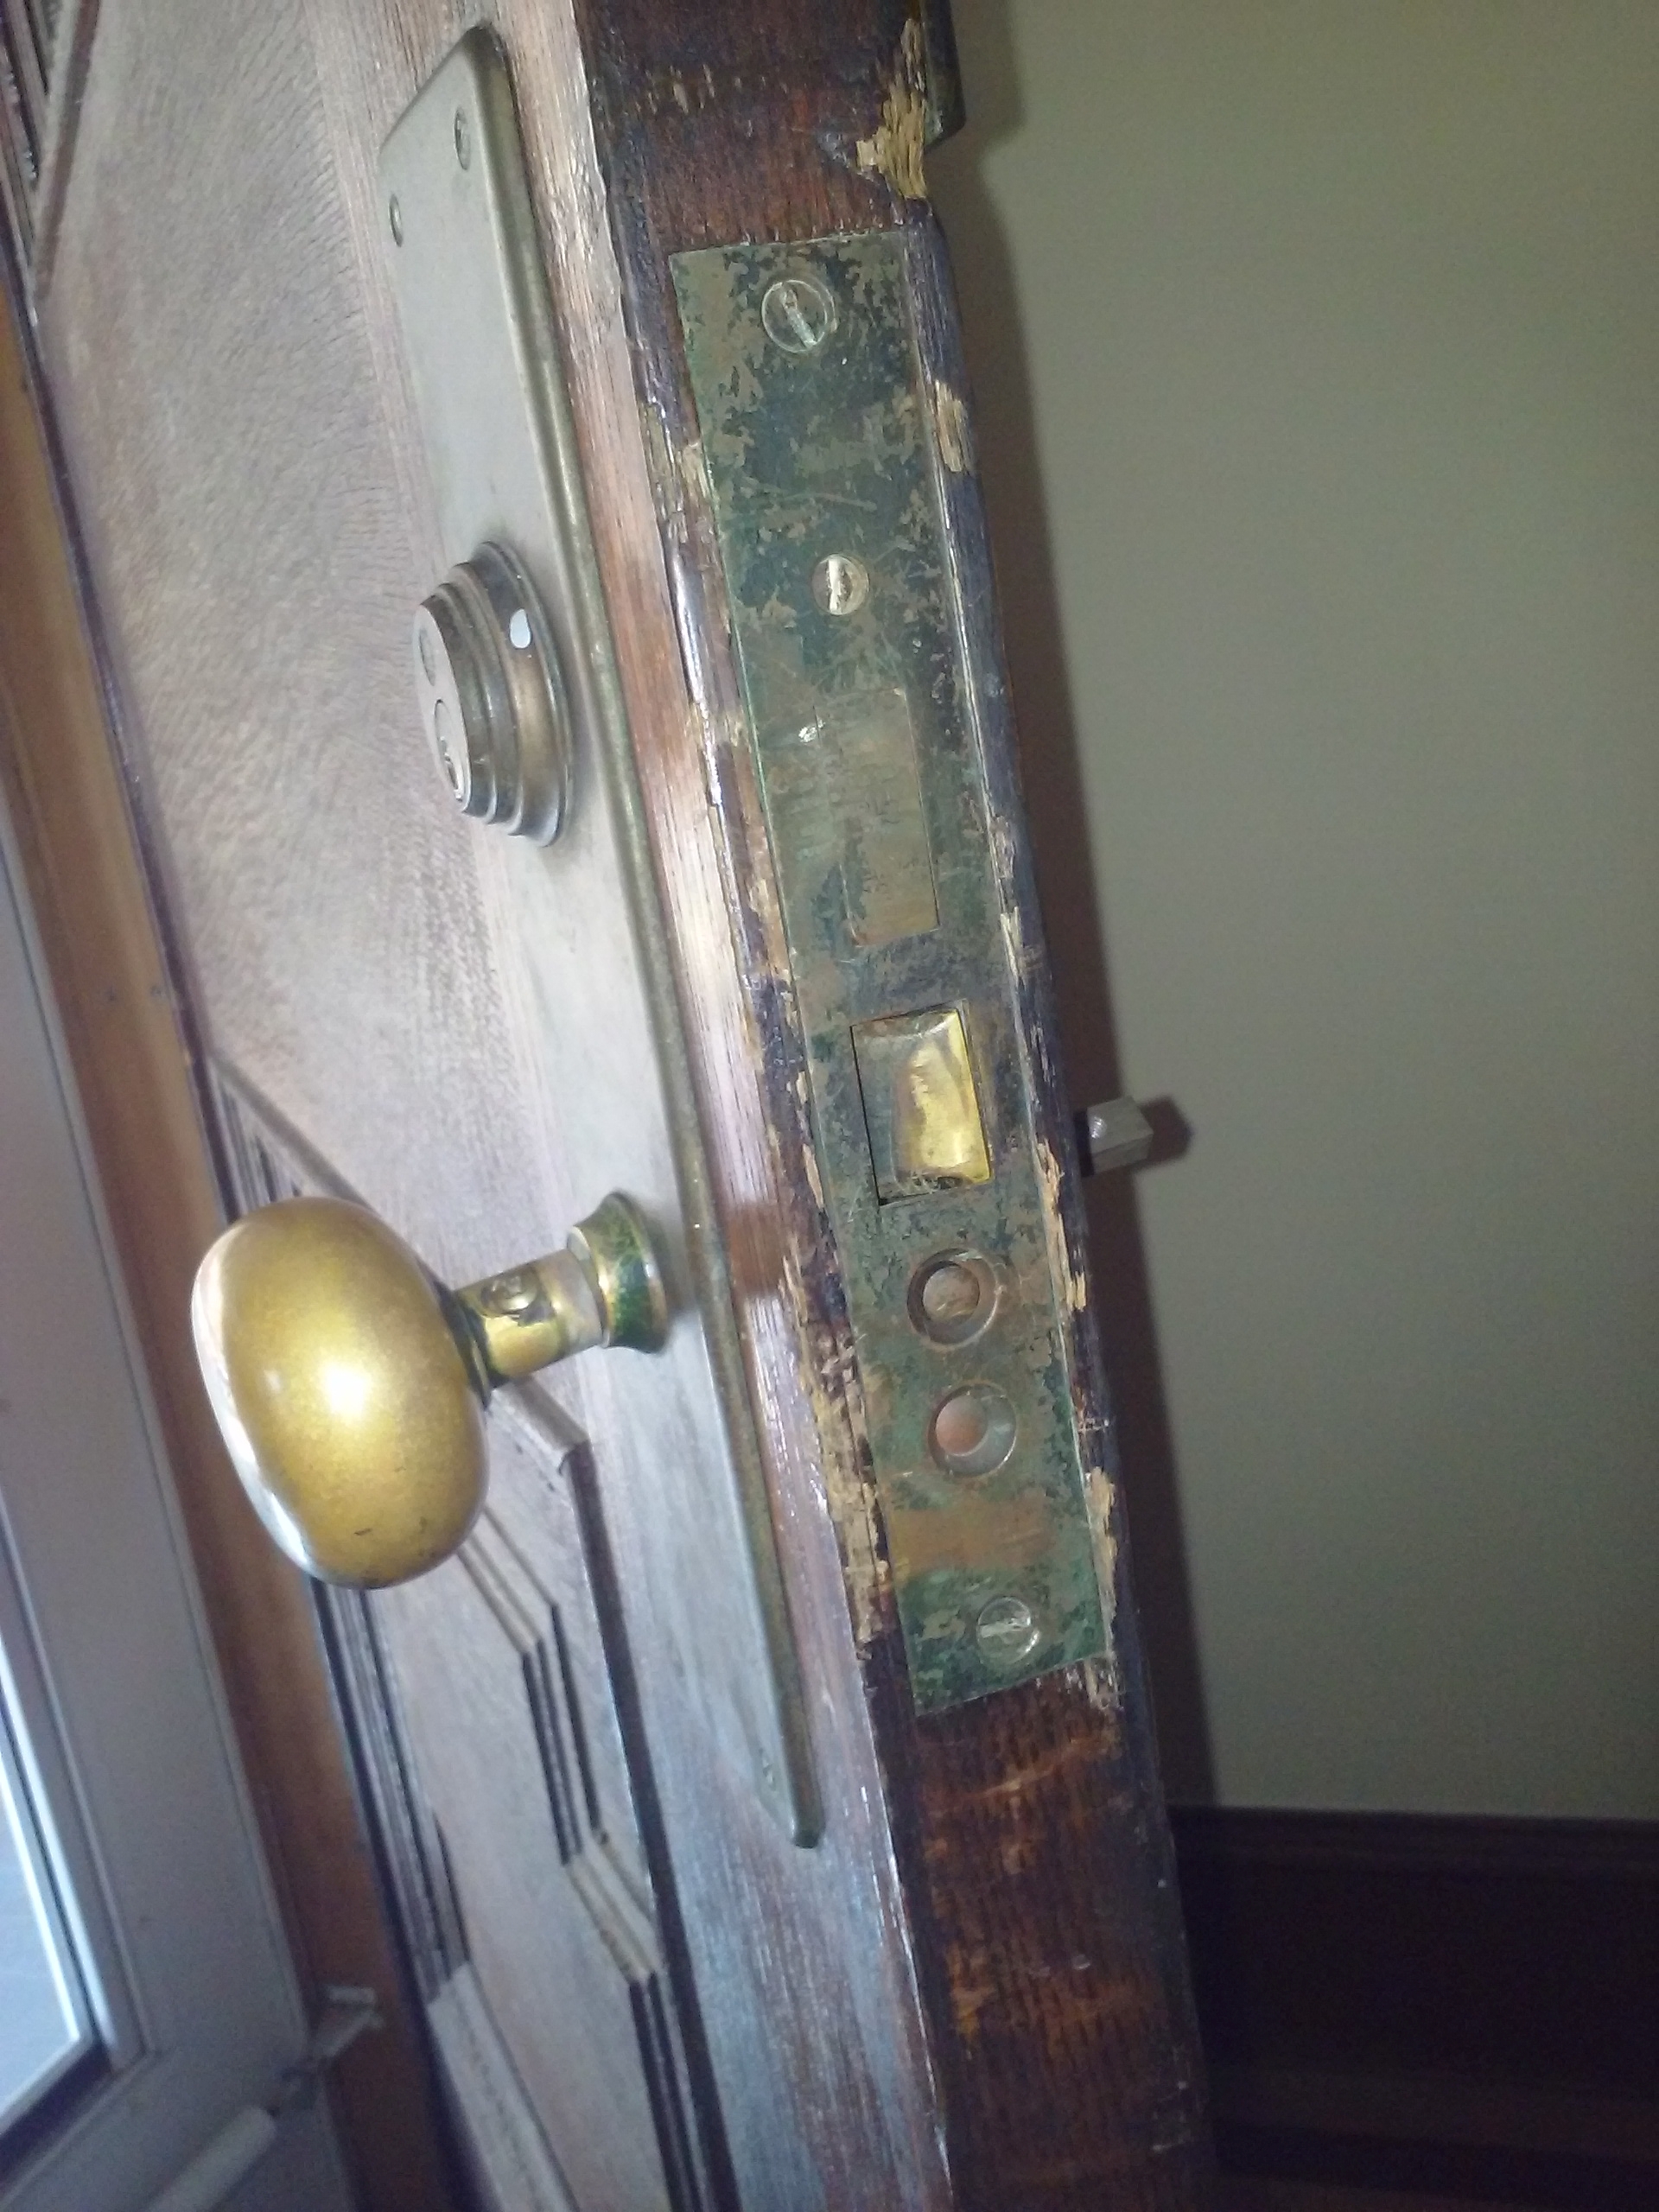
This was a fancy one.  It had a deadbolt above and a latch below.  The two buttons allow you to make the latch lock the door when closing it.

So I managed to remove it (btw “mortise” refers to the deep pocket carved into the door)

lockccccccc

I took it over to a local locksmith and they took a look

lockdddddd

The spring that pushes the latch outward had broken.  Amazingly, Kenny’s locks in Dorchester figured it out and had it fixed within an hour.

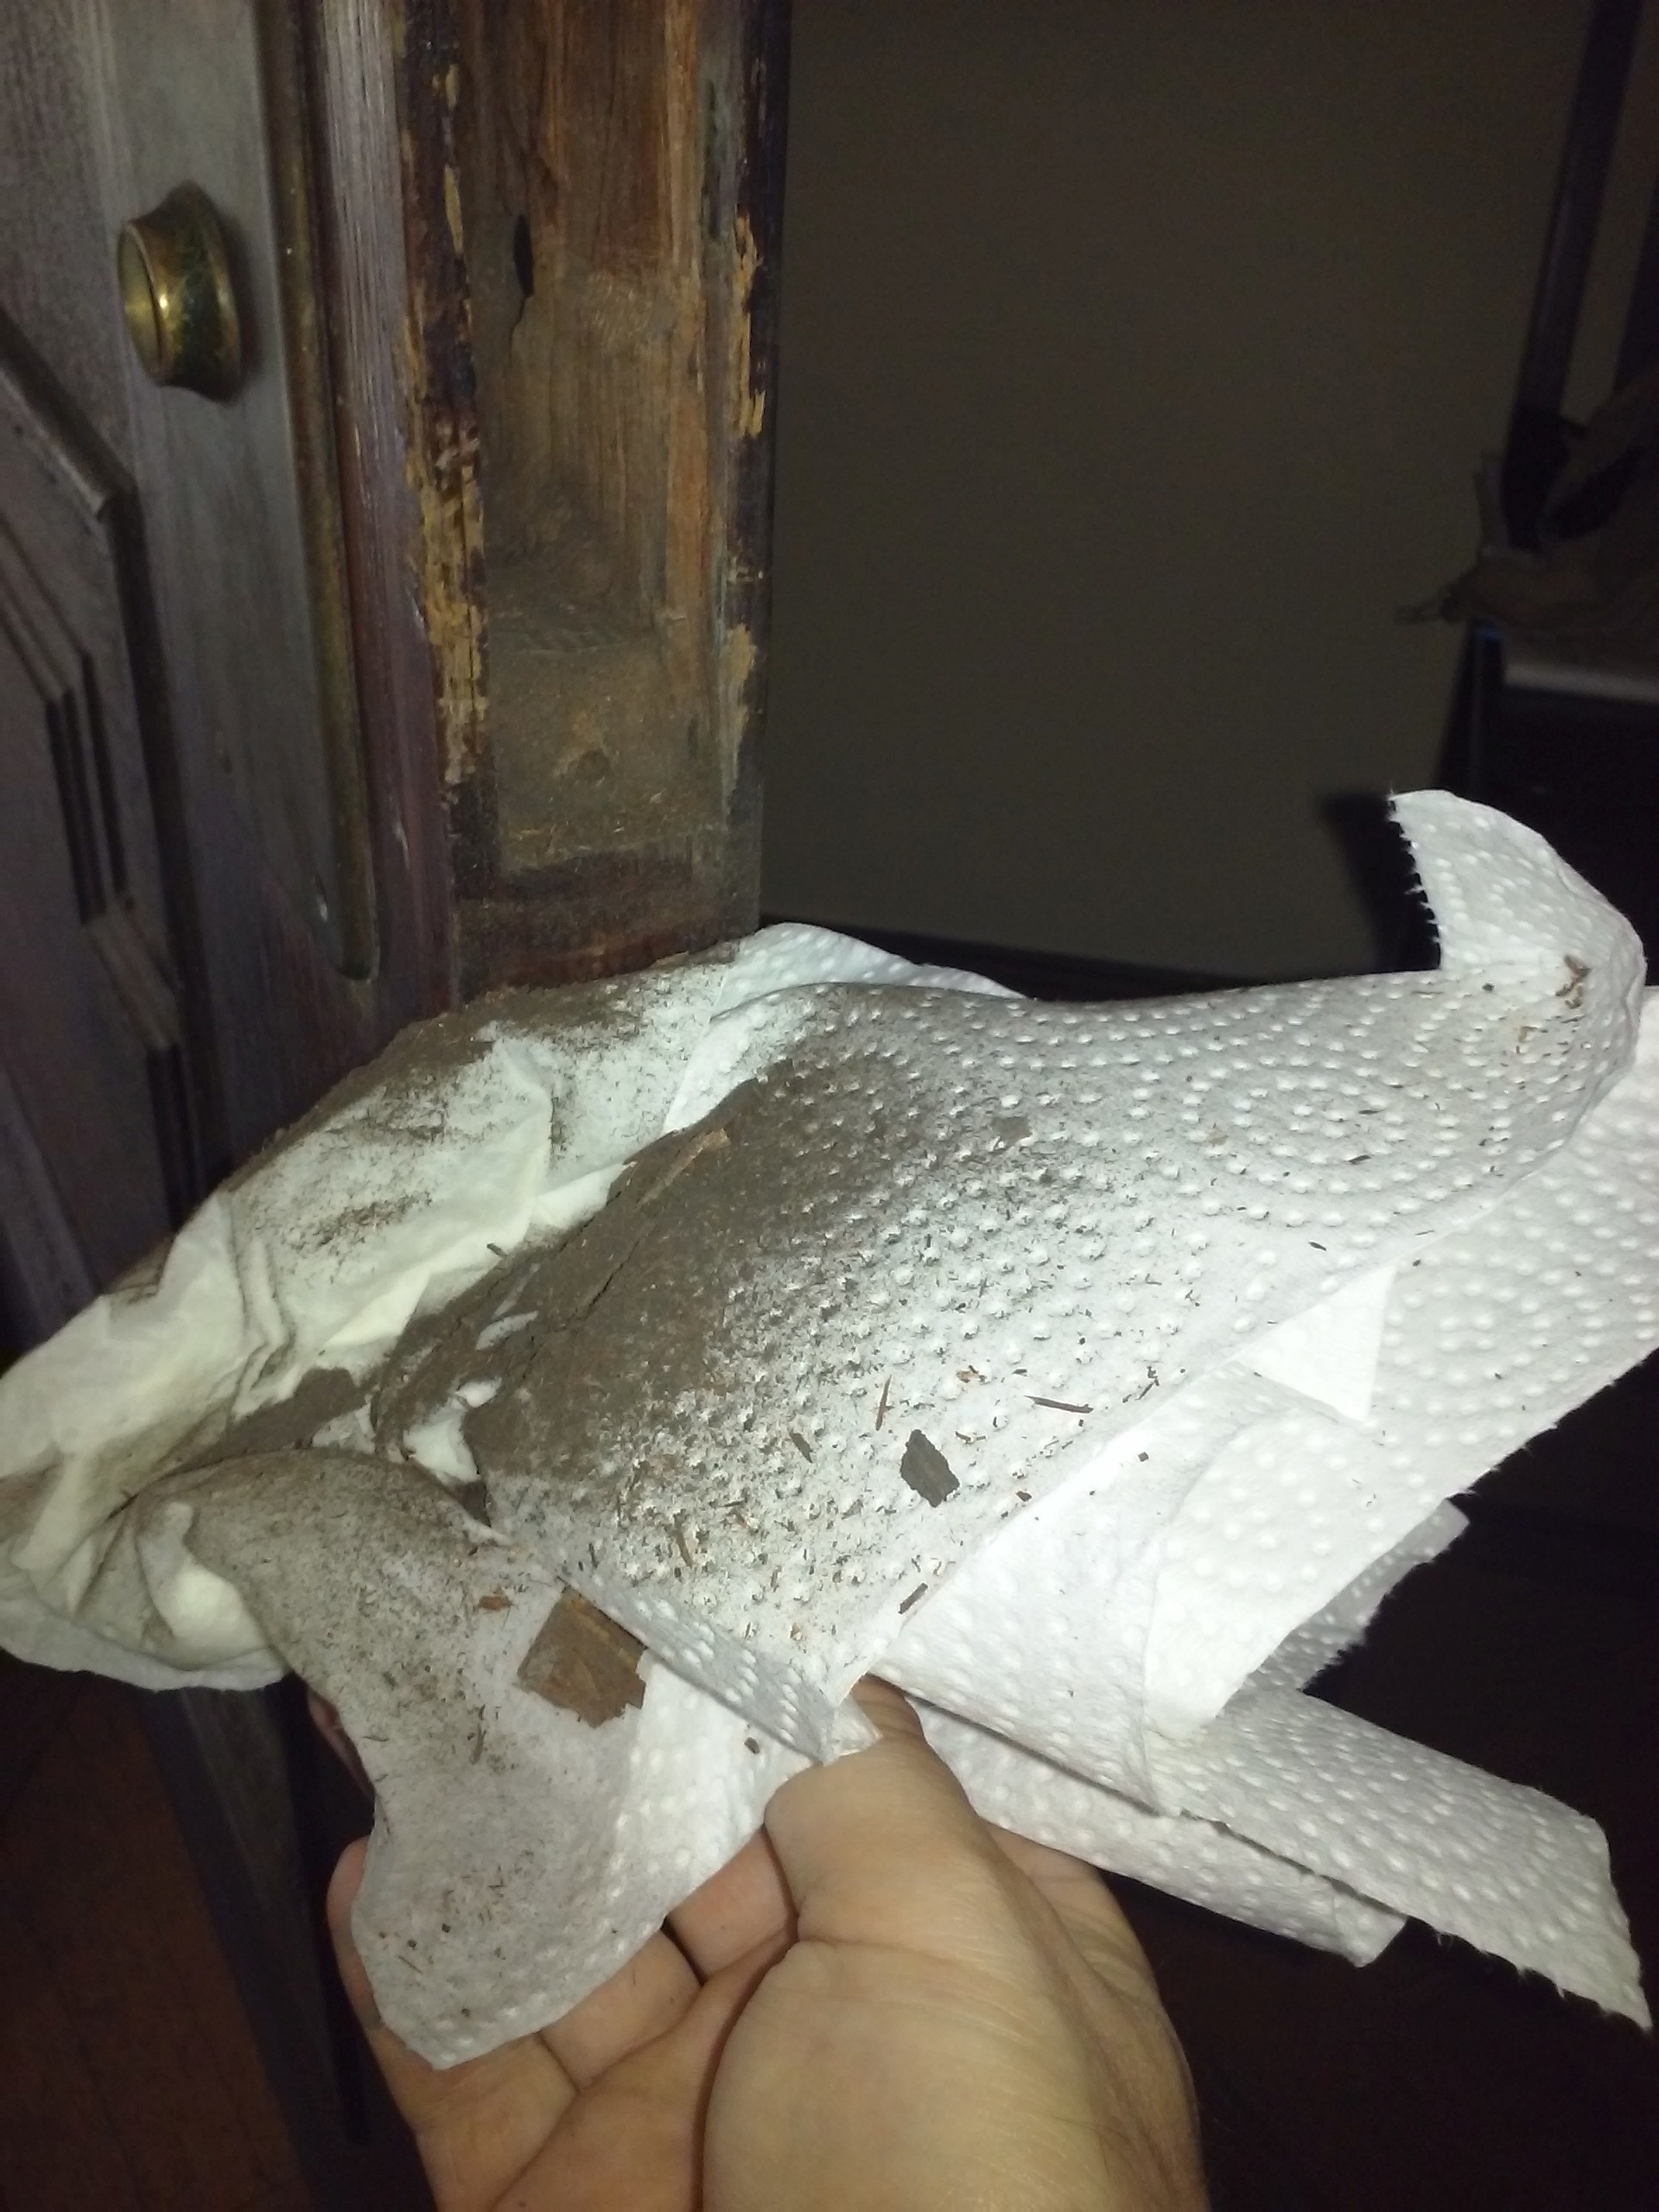
Before putting it back in I decided I had best clean things out — oh my goodness, 100 years of dirt was hiding in there.

lockeeeee

all fixed!


A Fun Project for a Customer’s Garden

So a very nice lady called me and asked if I could do (as is so common) a long list of little fixes around her house. So I went over and did all kinds of things, including removing a most annoying beeping smoke detector, assembling a storage box from IKEA, re-attaching a drawer knob, making her phone answering machine work, it was quite a list.  Finally, she asked me to do a plumbing job.

She is an avid gardener, but her hose bibs are towards the front of her house and she really wanted to be able to access water with a hose bib in the back yard. A previous handyman had put a rather bothersome jury rig together, running a garden hose to the back yard and attaching it to a hose bib valve and mounting it on a wooden stake.

old-stake

This was not very elegant– In this pic the valve/bib is gone, but it gives you a sense– the hose ran straight out the back into a post.

This would have been okay except he didn’t attach it properly– hose bibs are standard plumbing threads, and garden hoses are entirely different, they don’t mate/ match. So my predecessor had just forced the hose into the back of the valve and layered on lots of Teflon plumbing tape, and of course it blew up within a week.

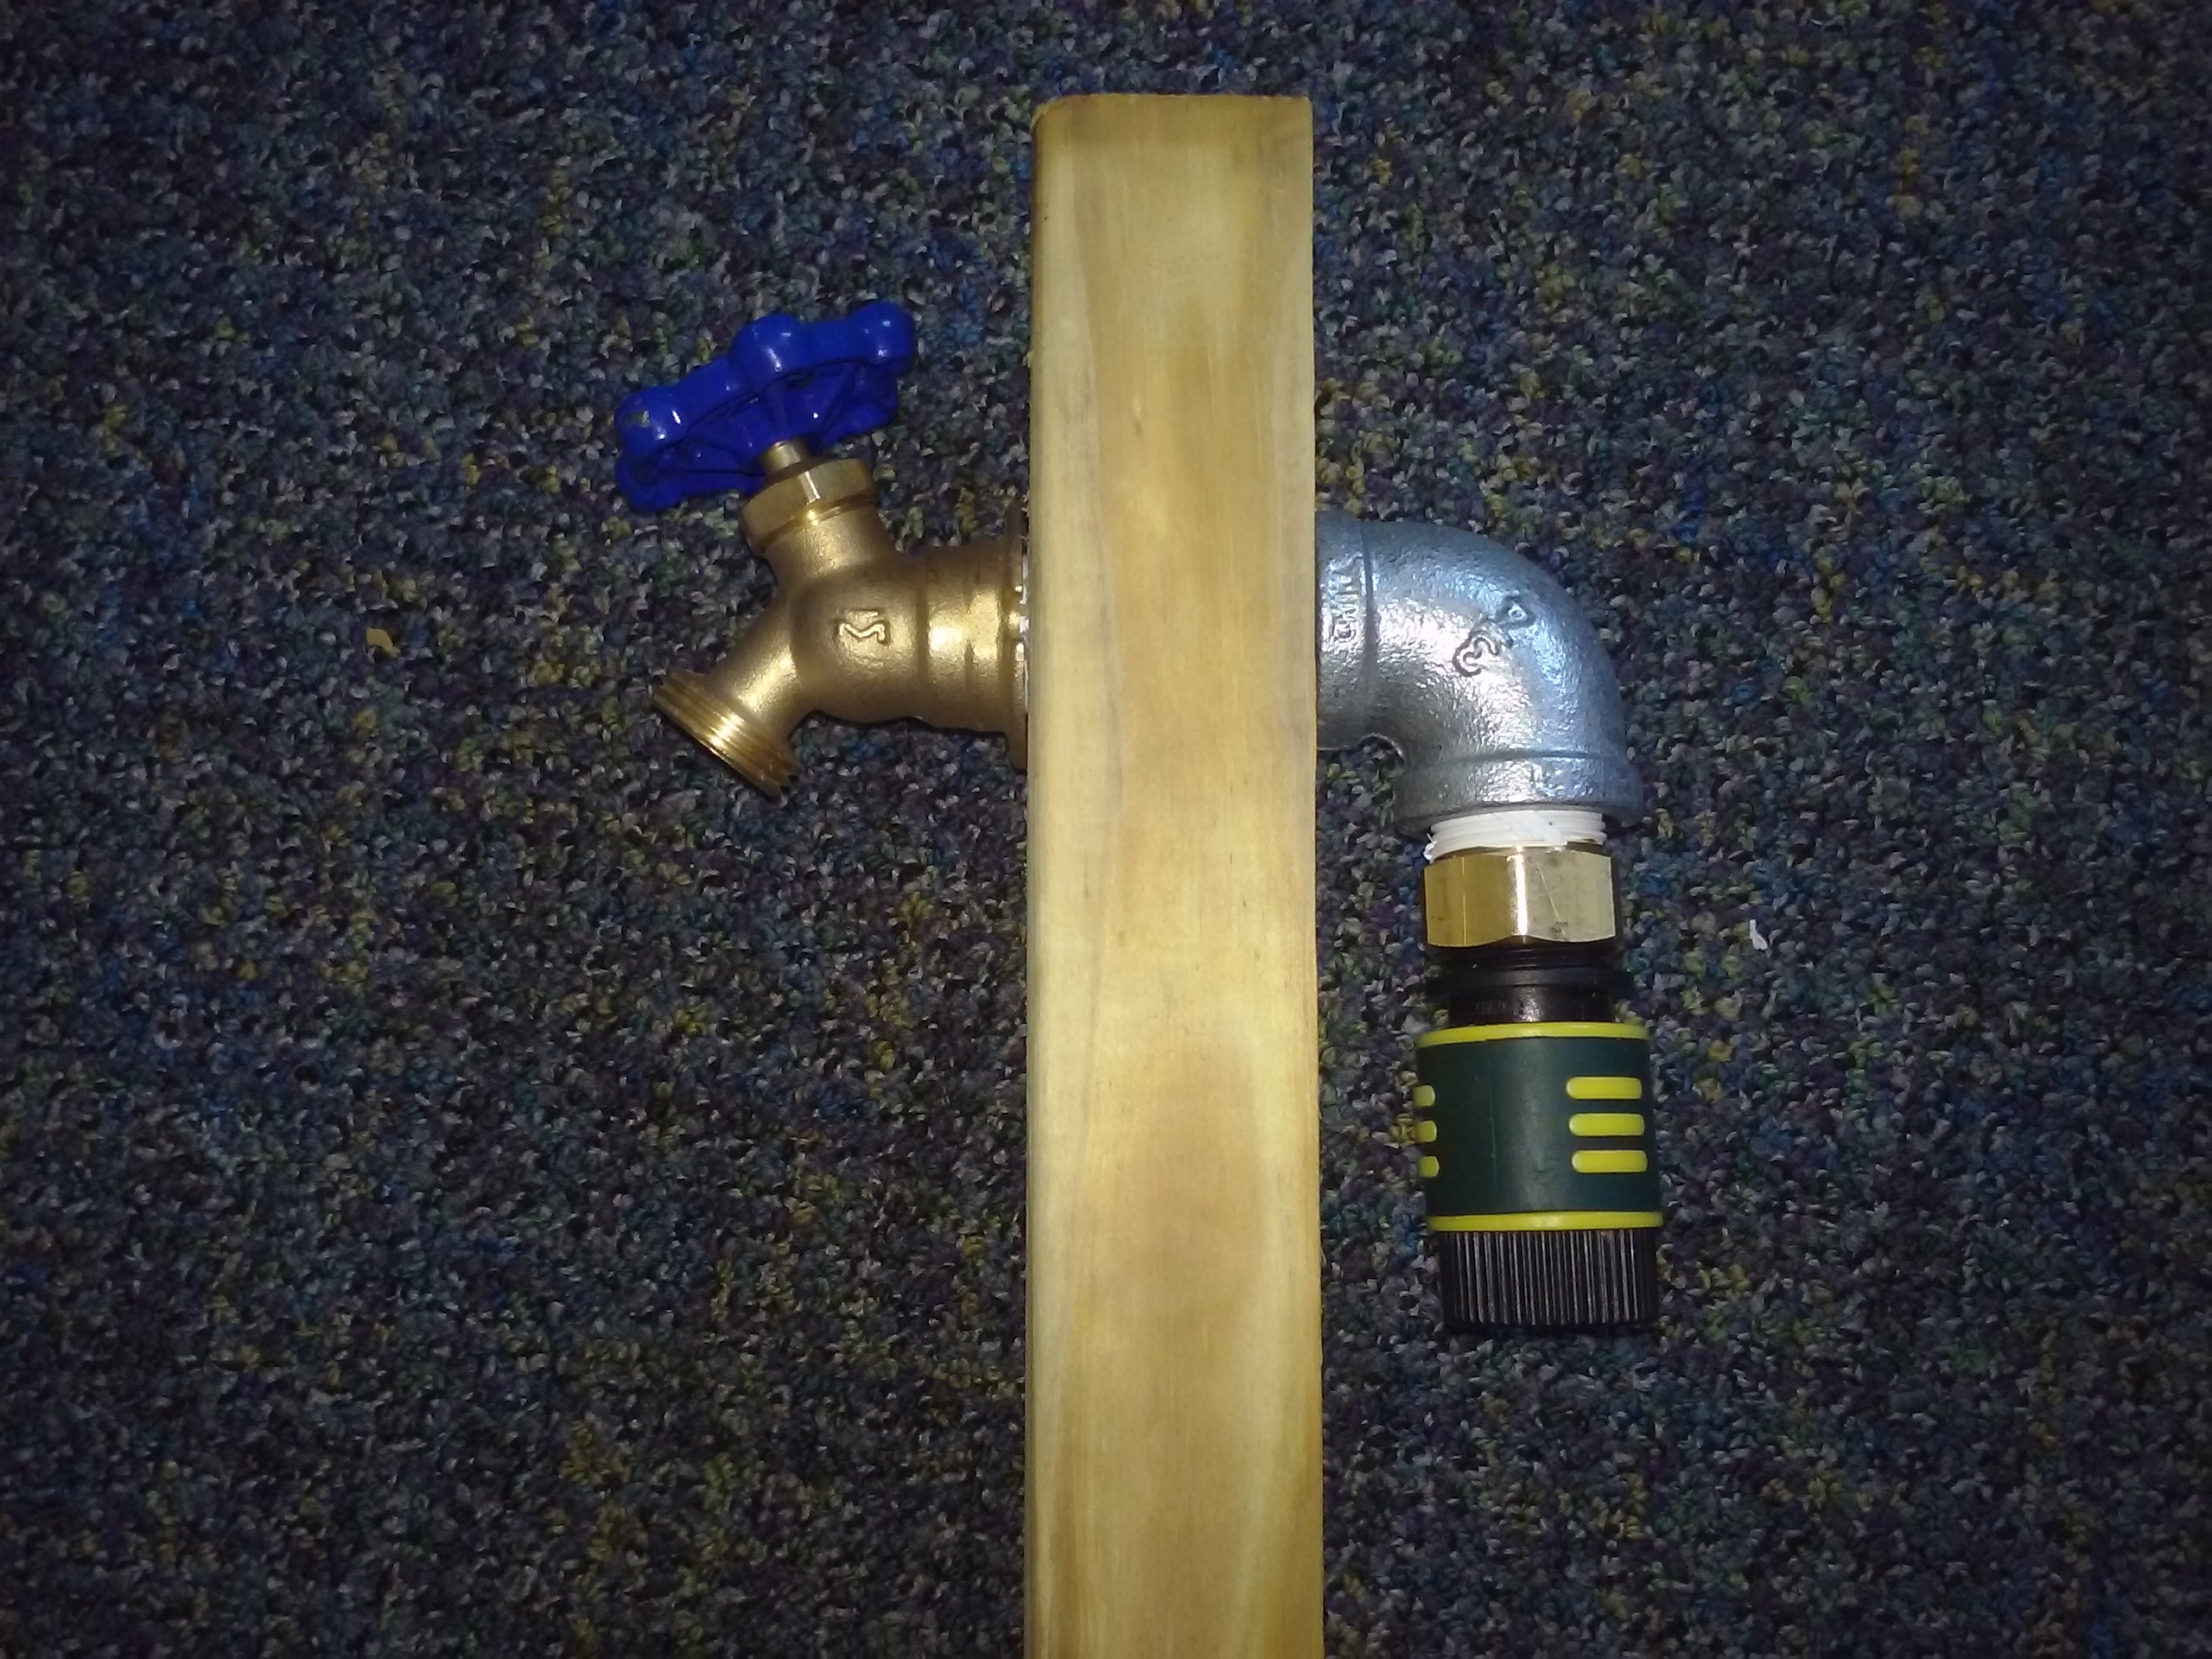
So long story short, I decided a job worth doing is worth doing well. I went to Lowe’s in Framingham and picked up all the parts I needed, which included a pressure treated 2×4, an adapter from garden hose to MIP (Metal Iron Pipe), an L joint (so the hose would go straight down, not stick out the back), a little extender, and a new hose bib.

Again, being a handyman I do not generally do plumbing, but since this was outside there was no major issue if I screwed it up. I cut the 2×4 in half, drilled a hole to mount the pipe, fitted all the pieces together with Teflon tape on the threads, and also added a snap on adapter so the hose would be easy for the customer to remove.

20160713_111542

I dug a hole, sawed a point onto the 2×4, and mounted it at a proper feng shui angle in her back yard and at last, she has the water source she needs to take care of her garden.  Please excuse the not yet rolled up hose etc.!


hose-bib