I Am not a Carpenter BUT

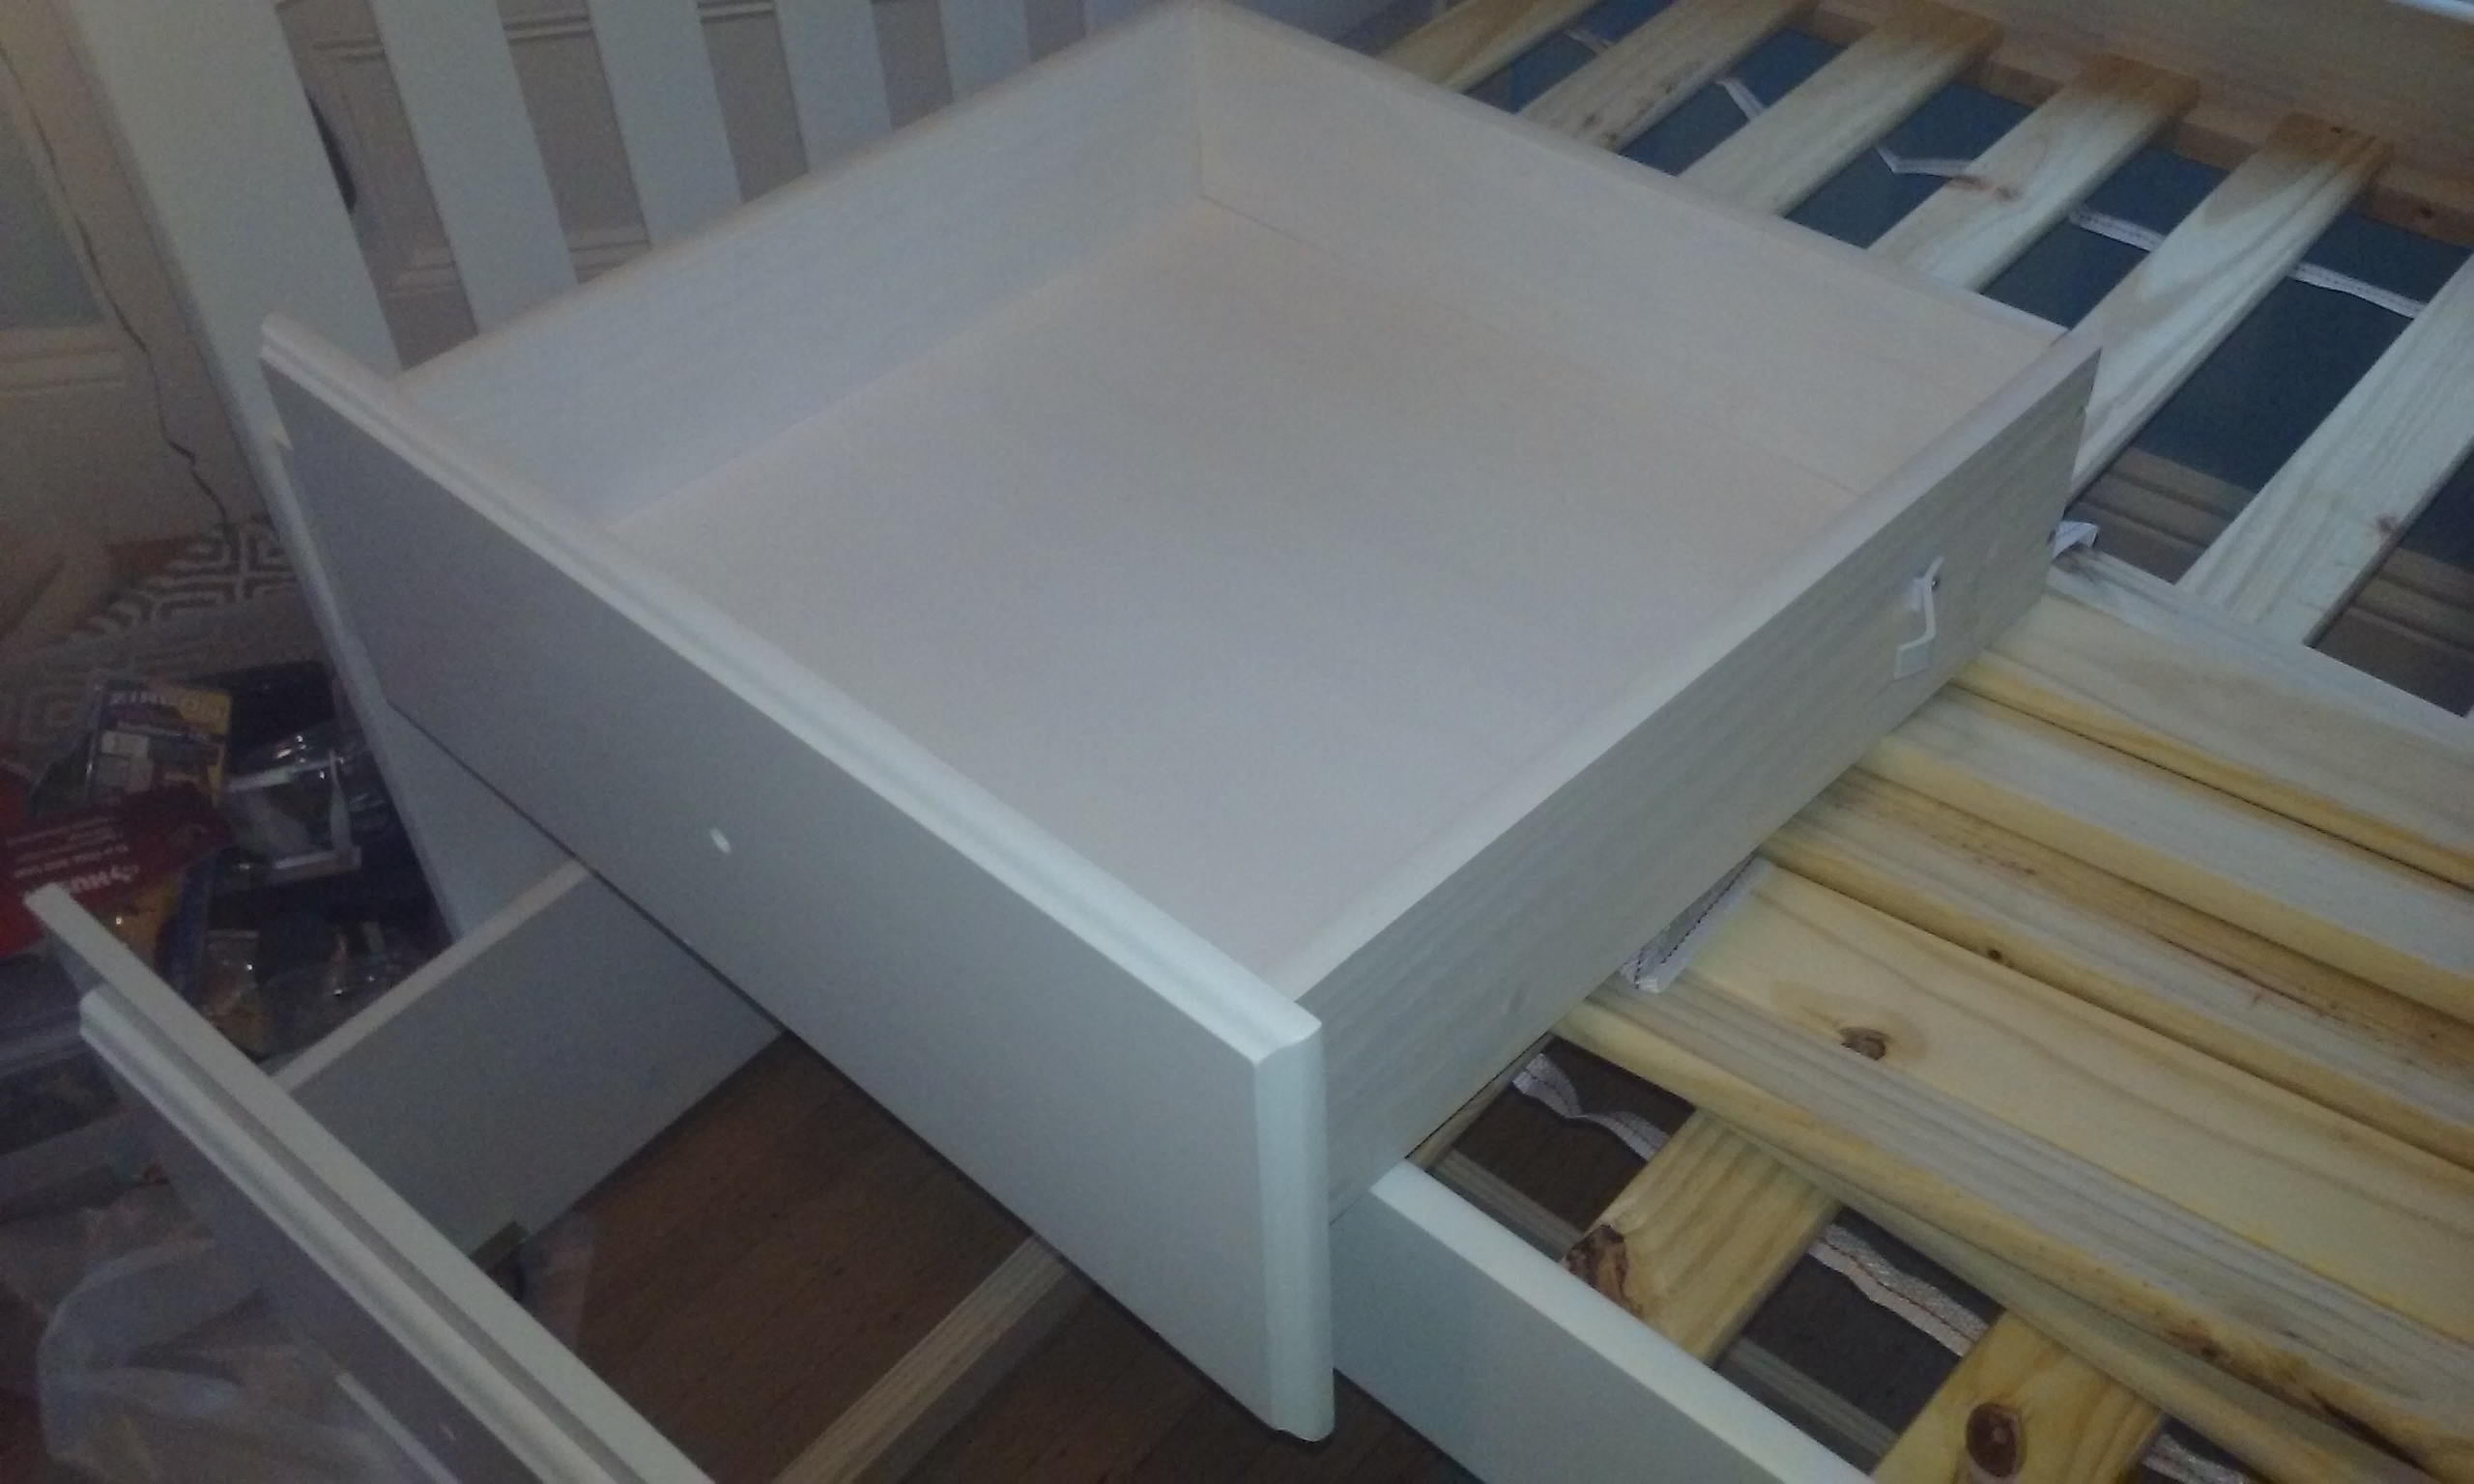
So what happens when you are a handyman is, you get regular clients who have old Victorian era houses that just need endless amounts of work.  So you tend to be more or less on retainer going back again and again.

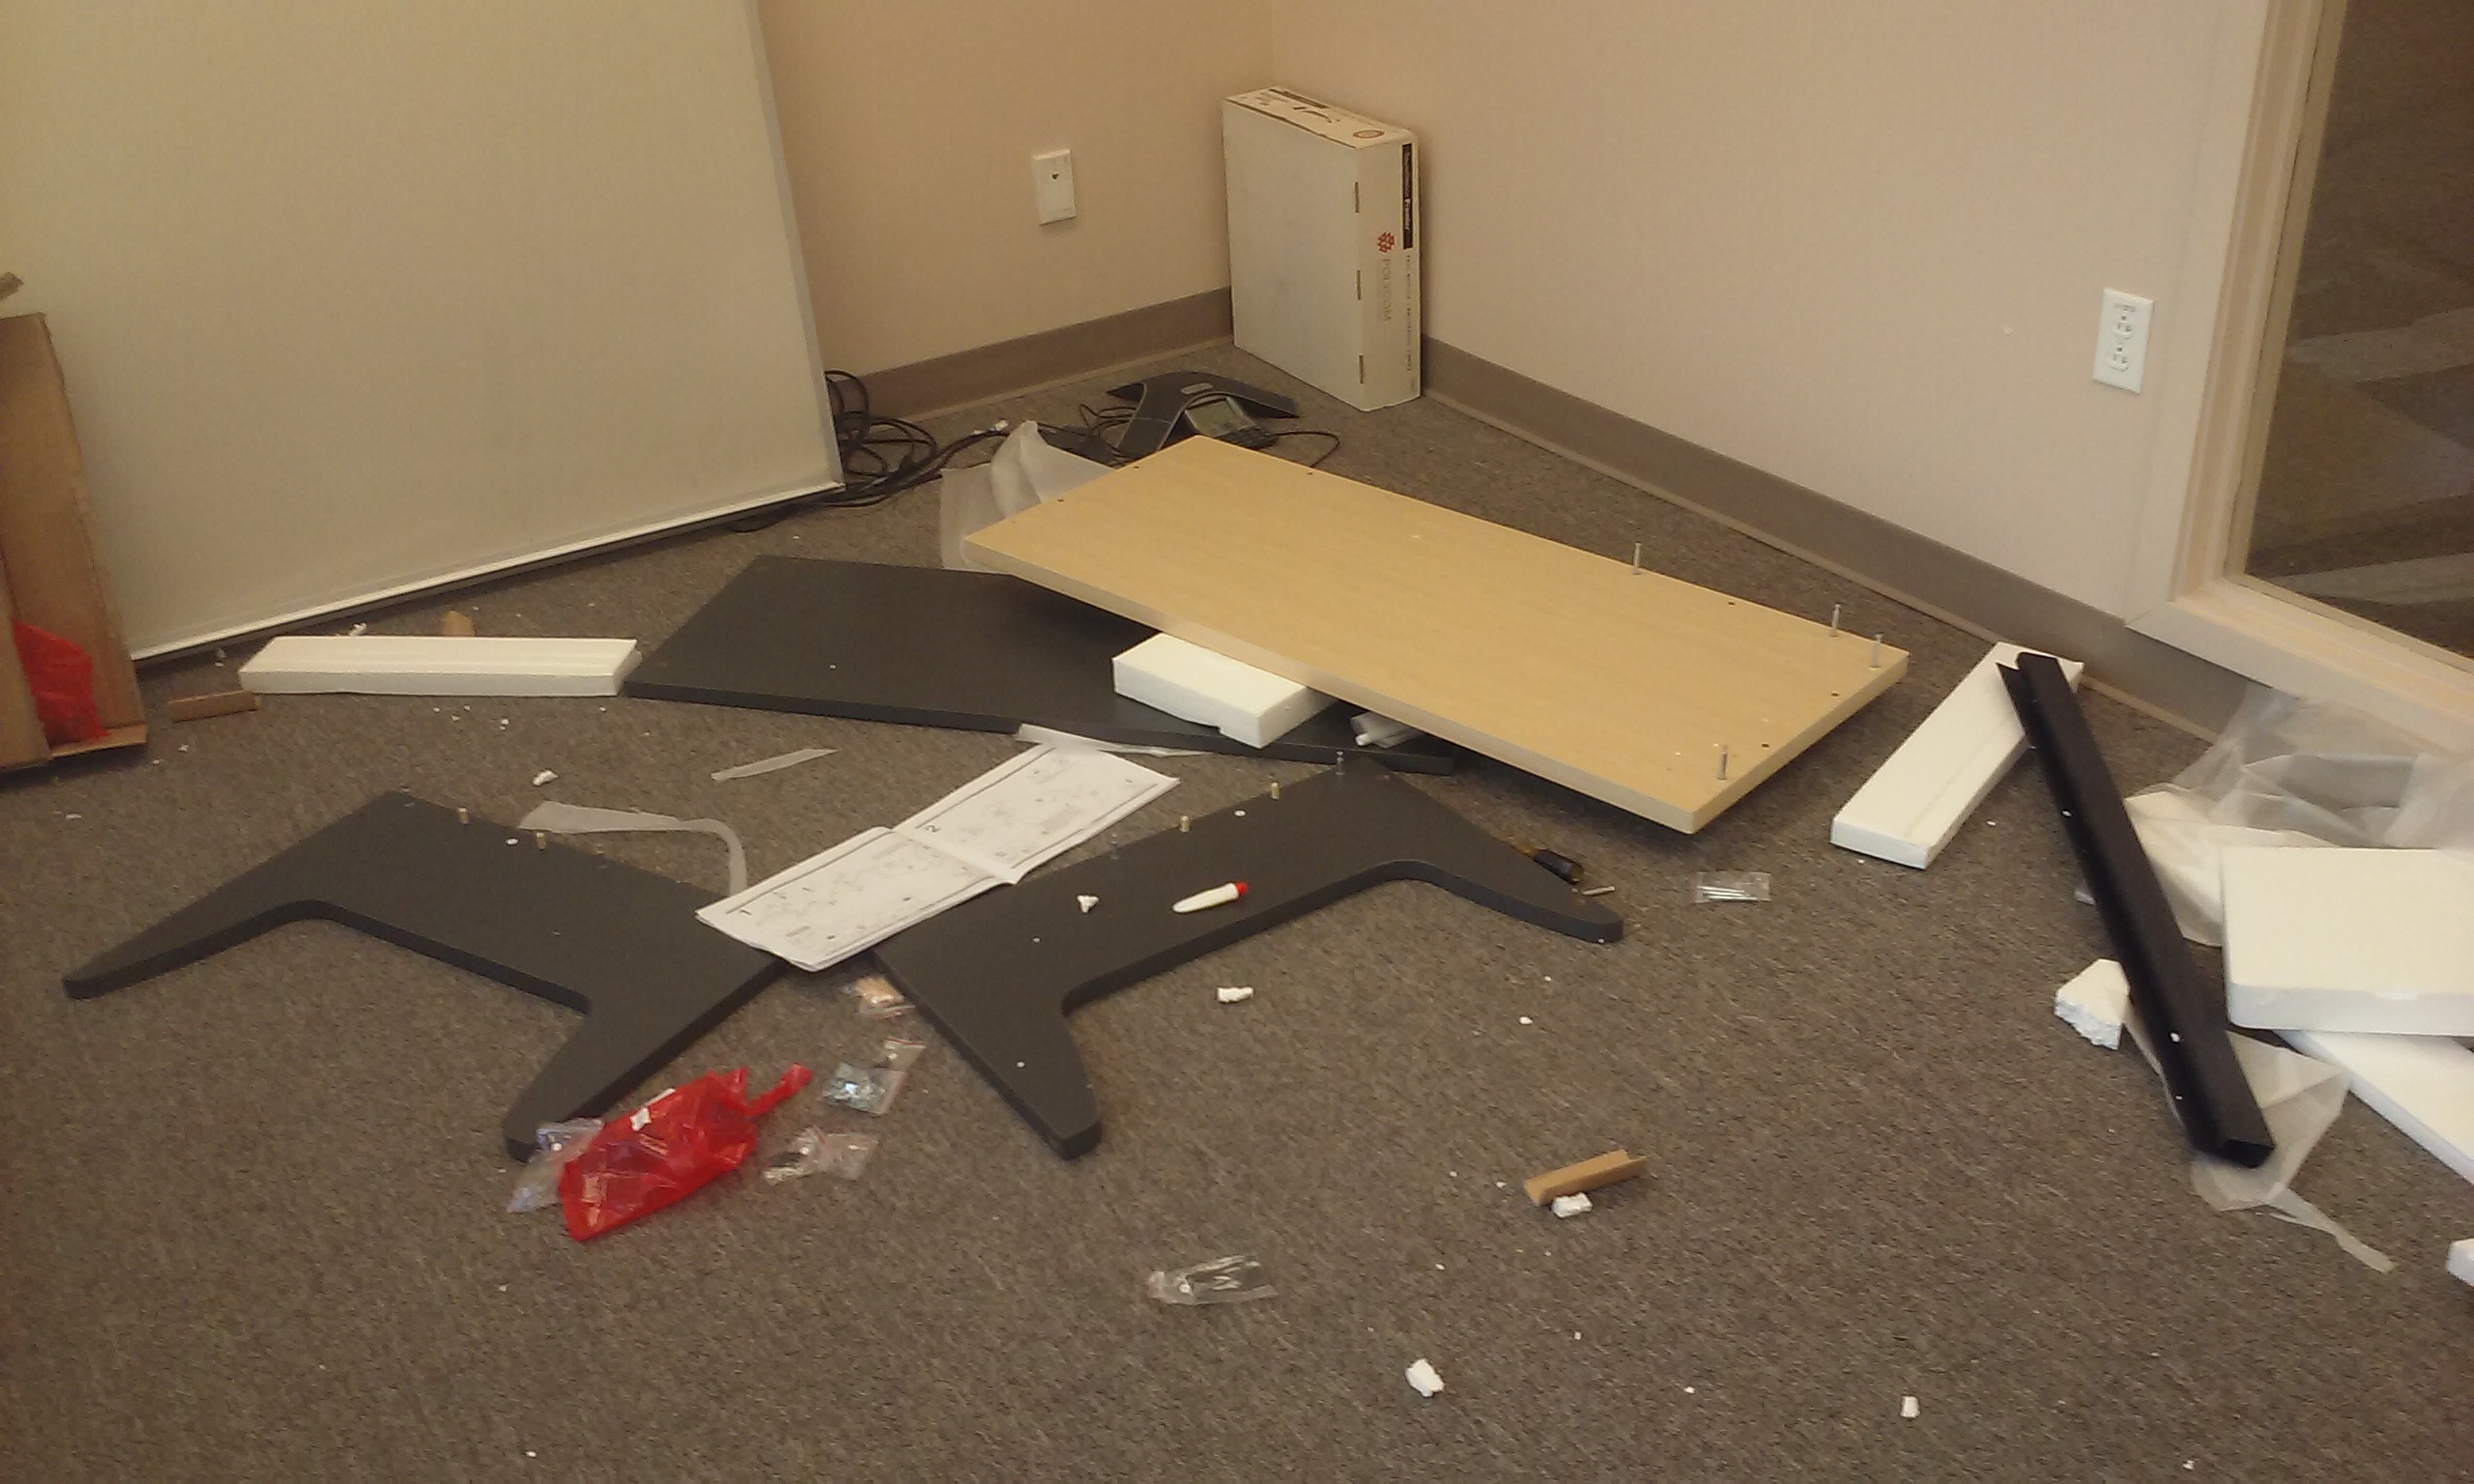
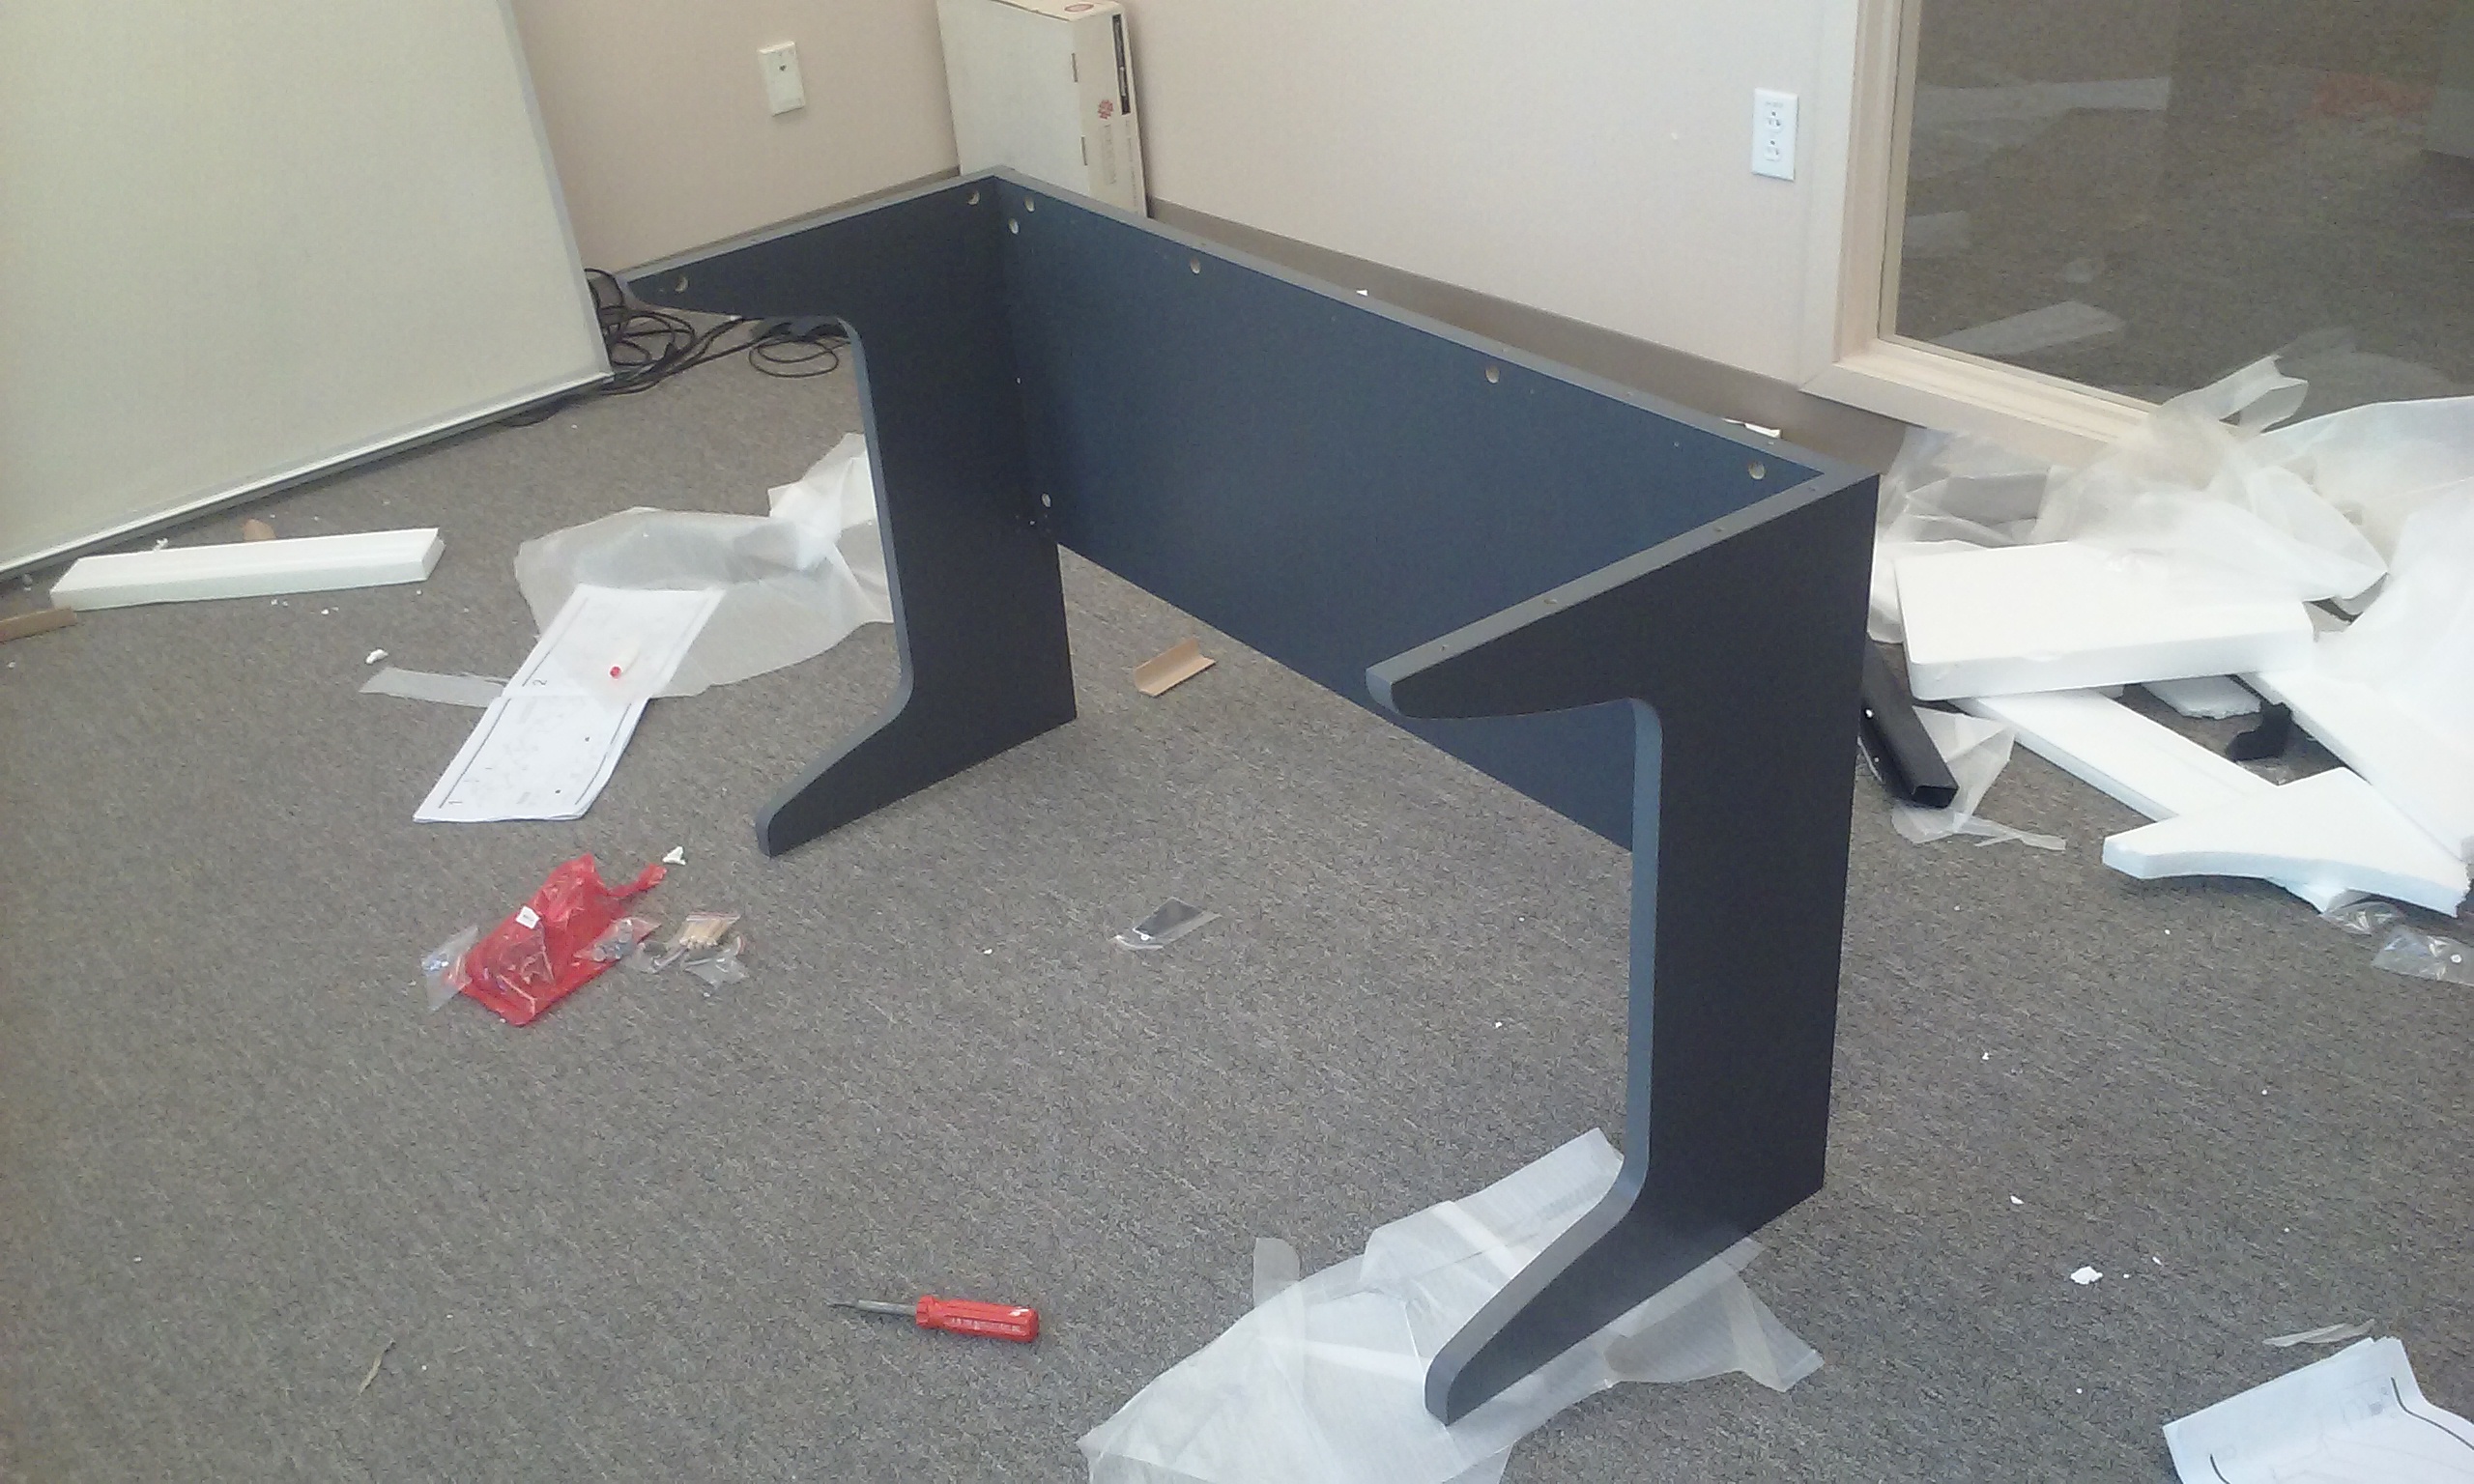
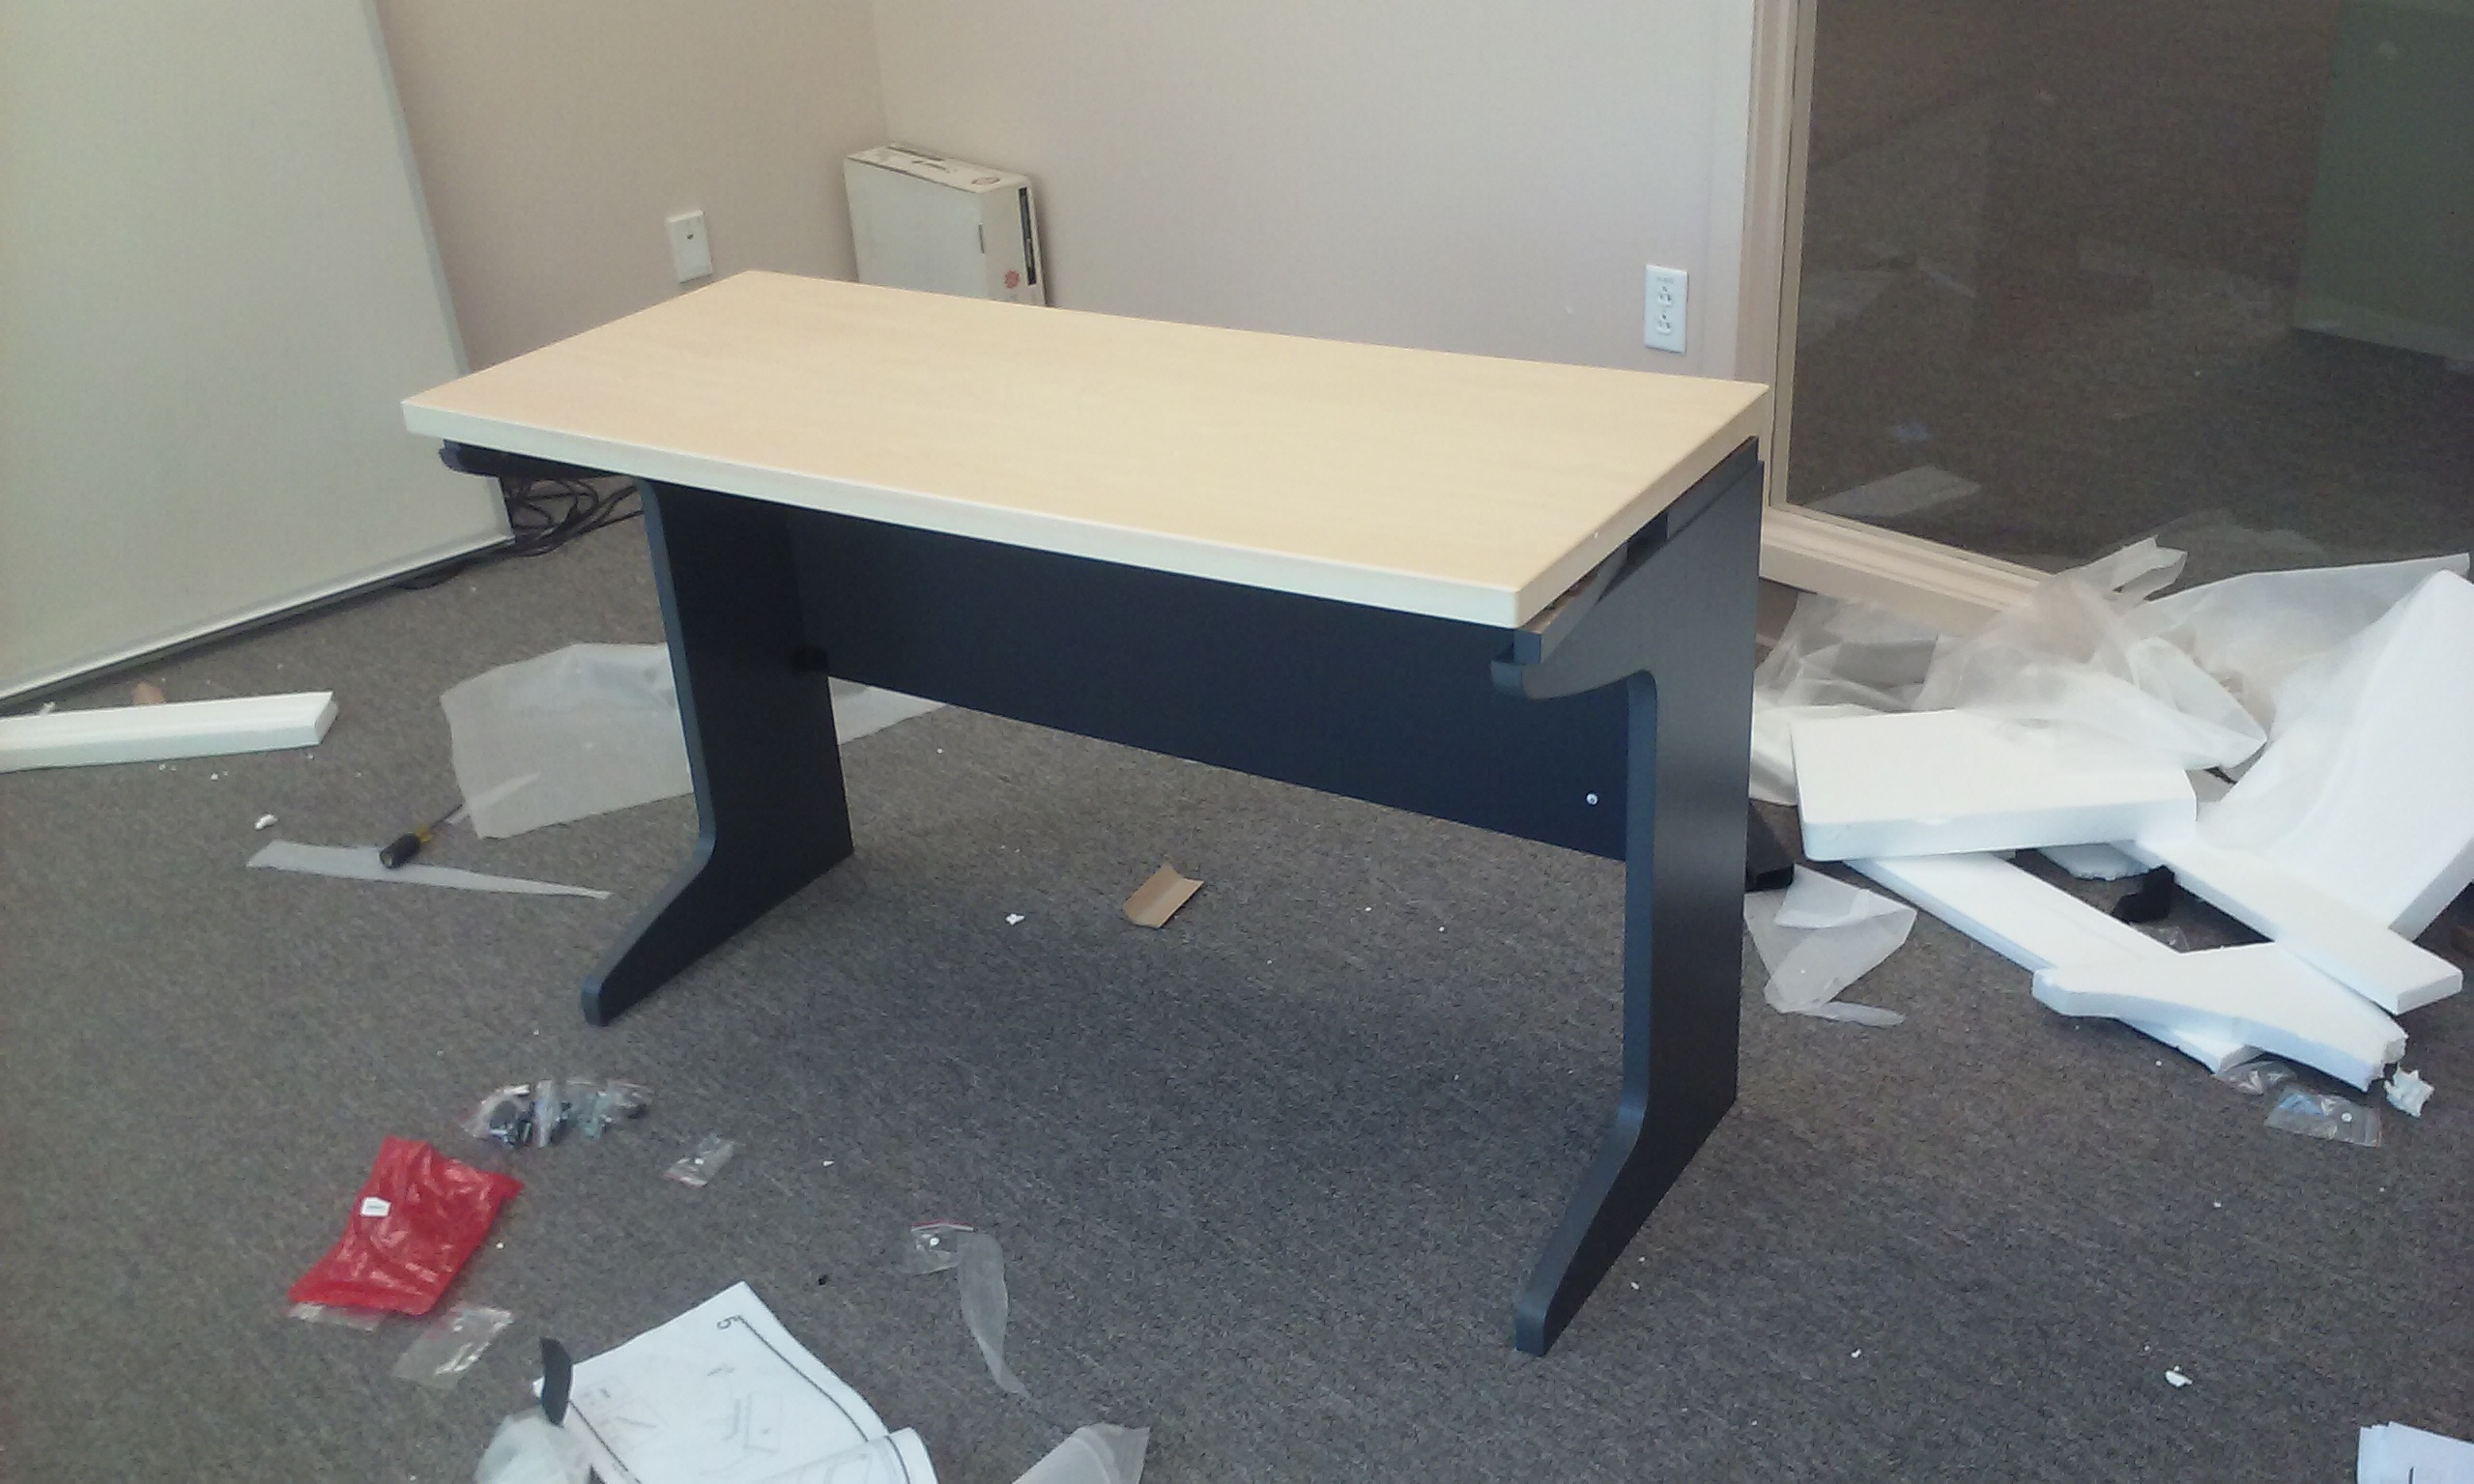
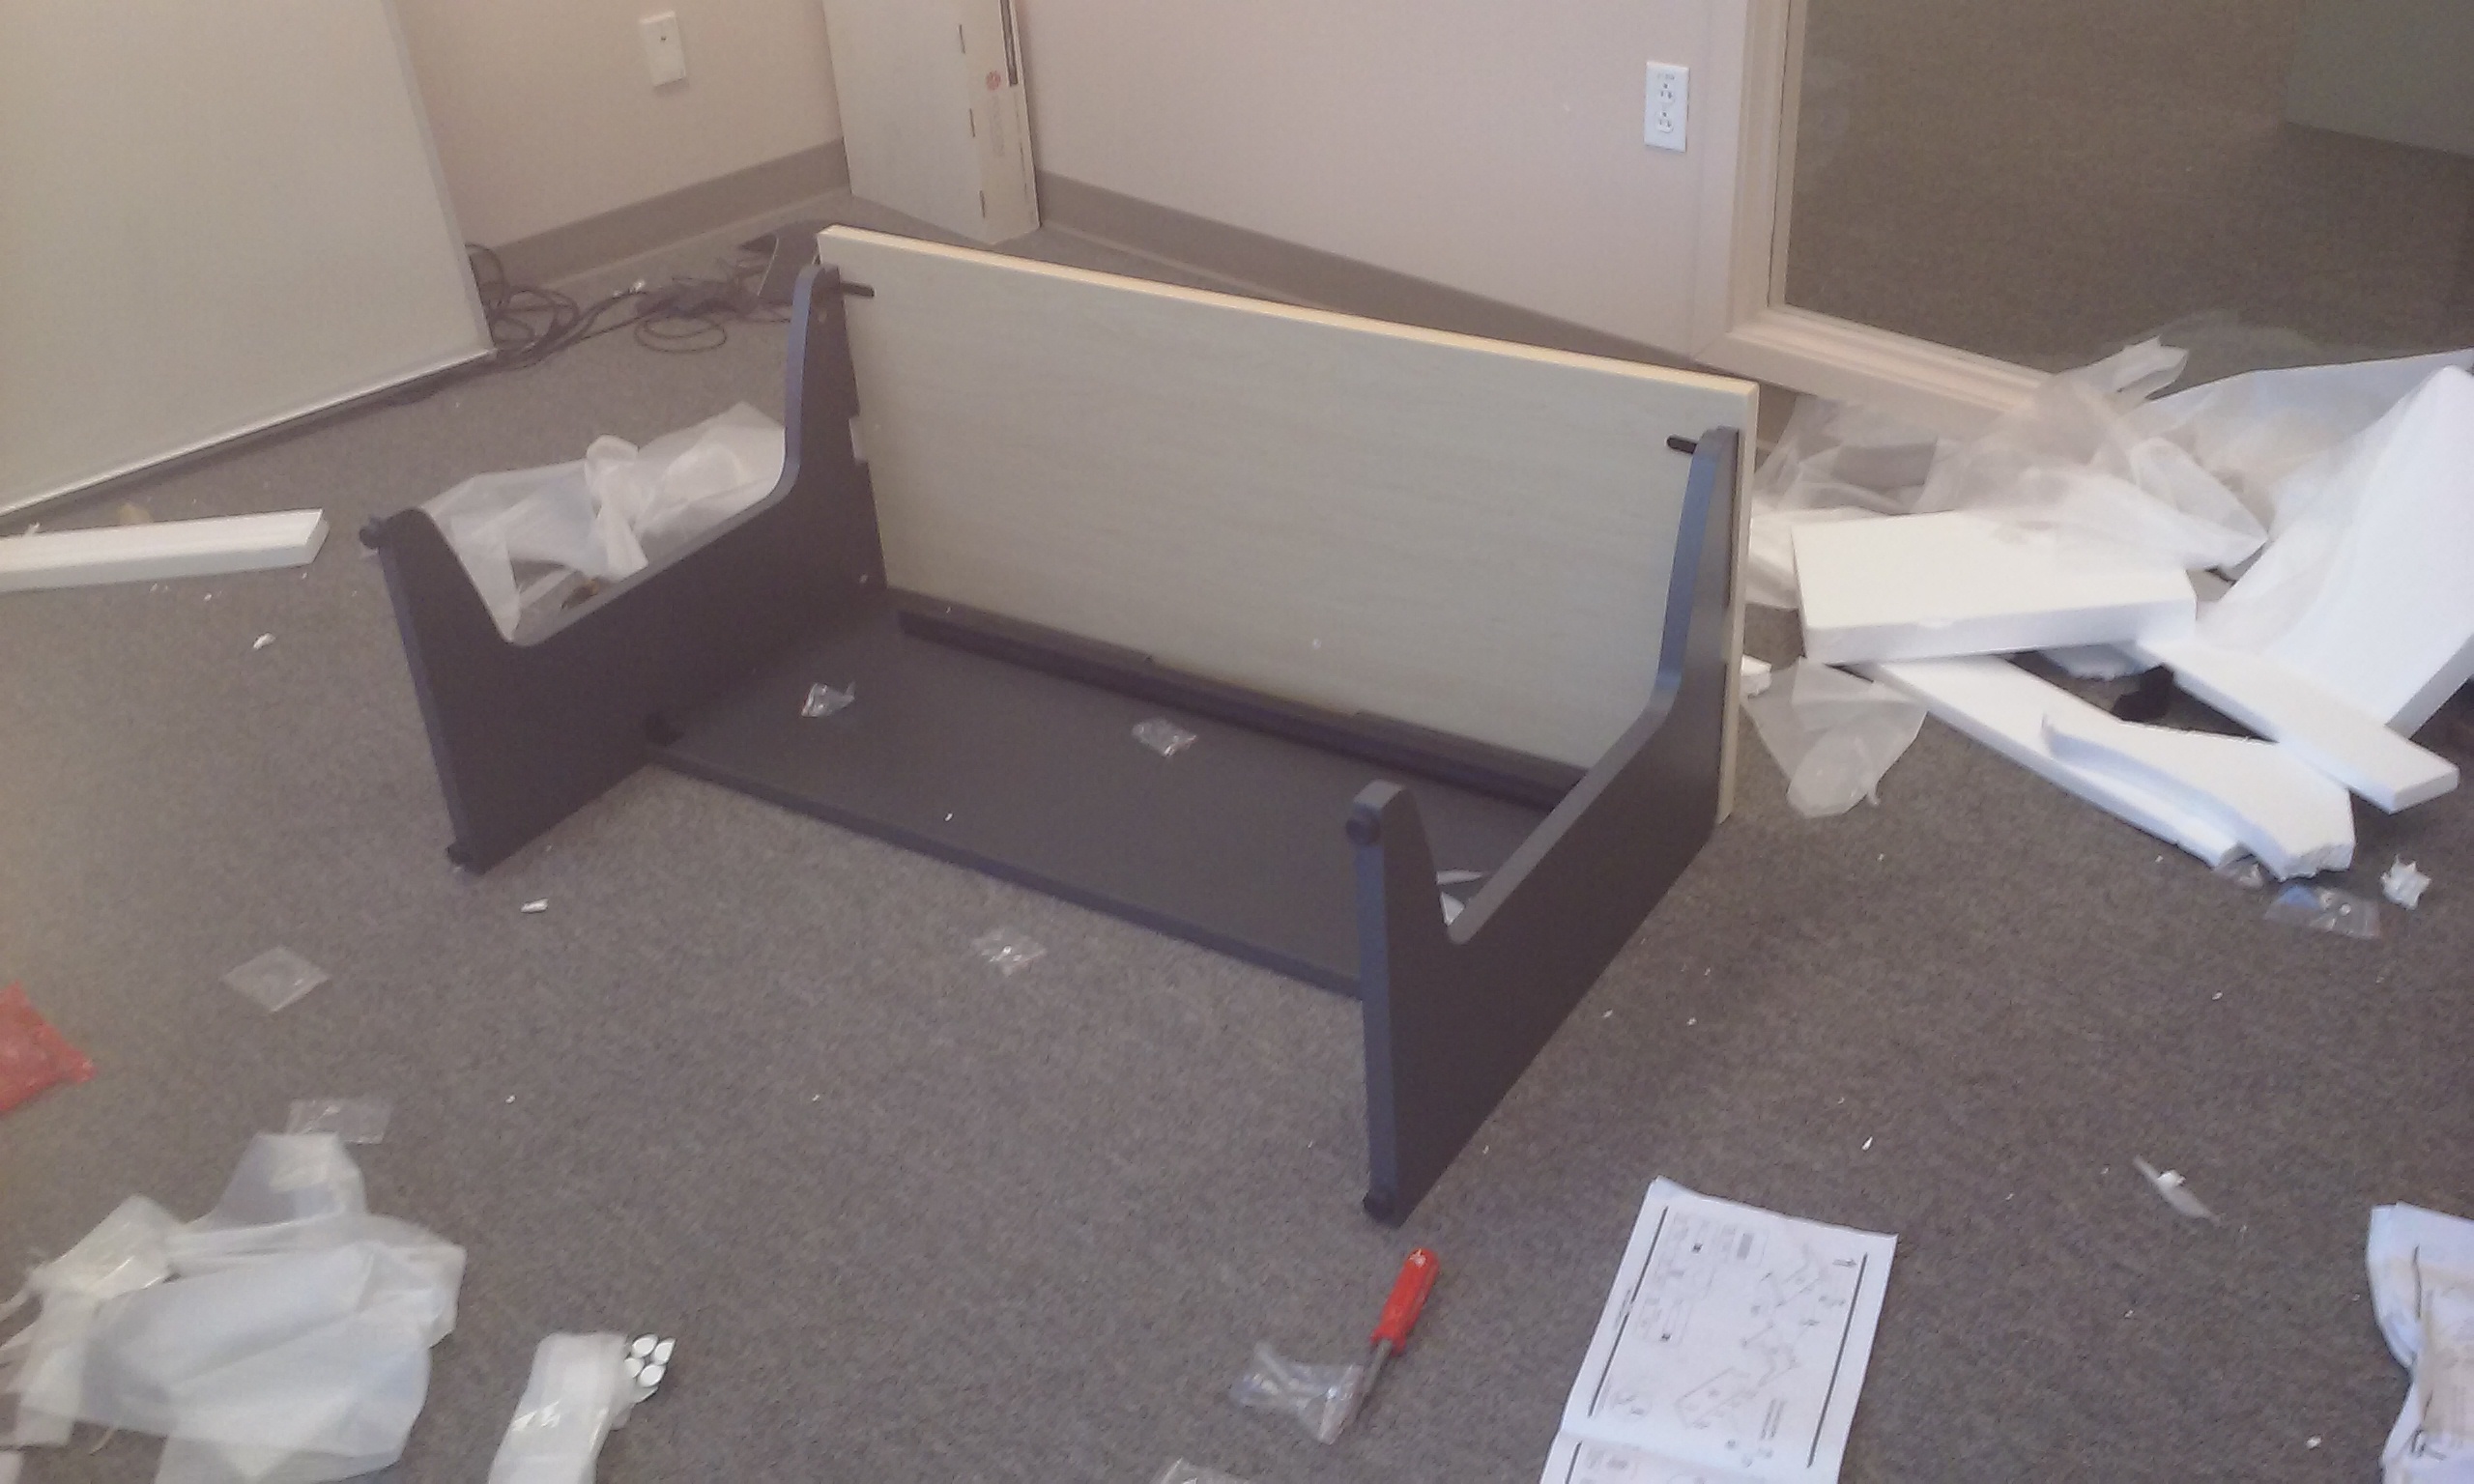
Another thing that happens is, no matter how skilled you are or how many power tools you have, inevitably these clients will ask you to do something that isn’t really your “thing” . . . but you want to try and do it anyway because they are such great customers.

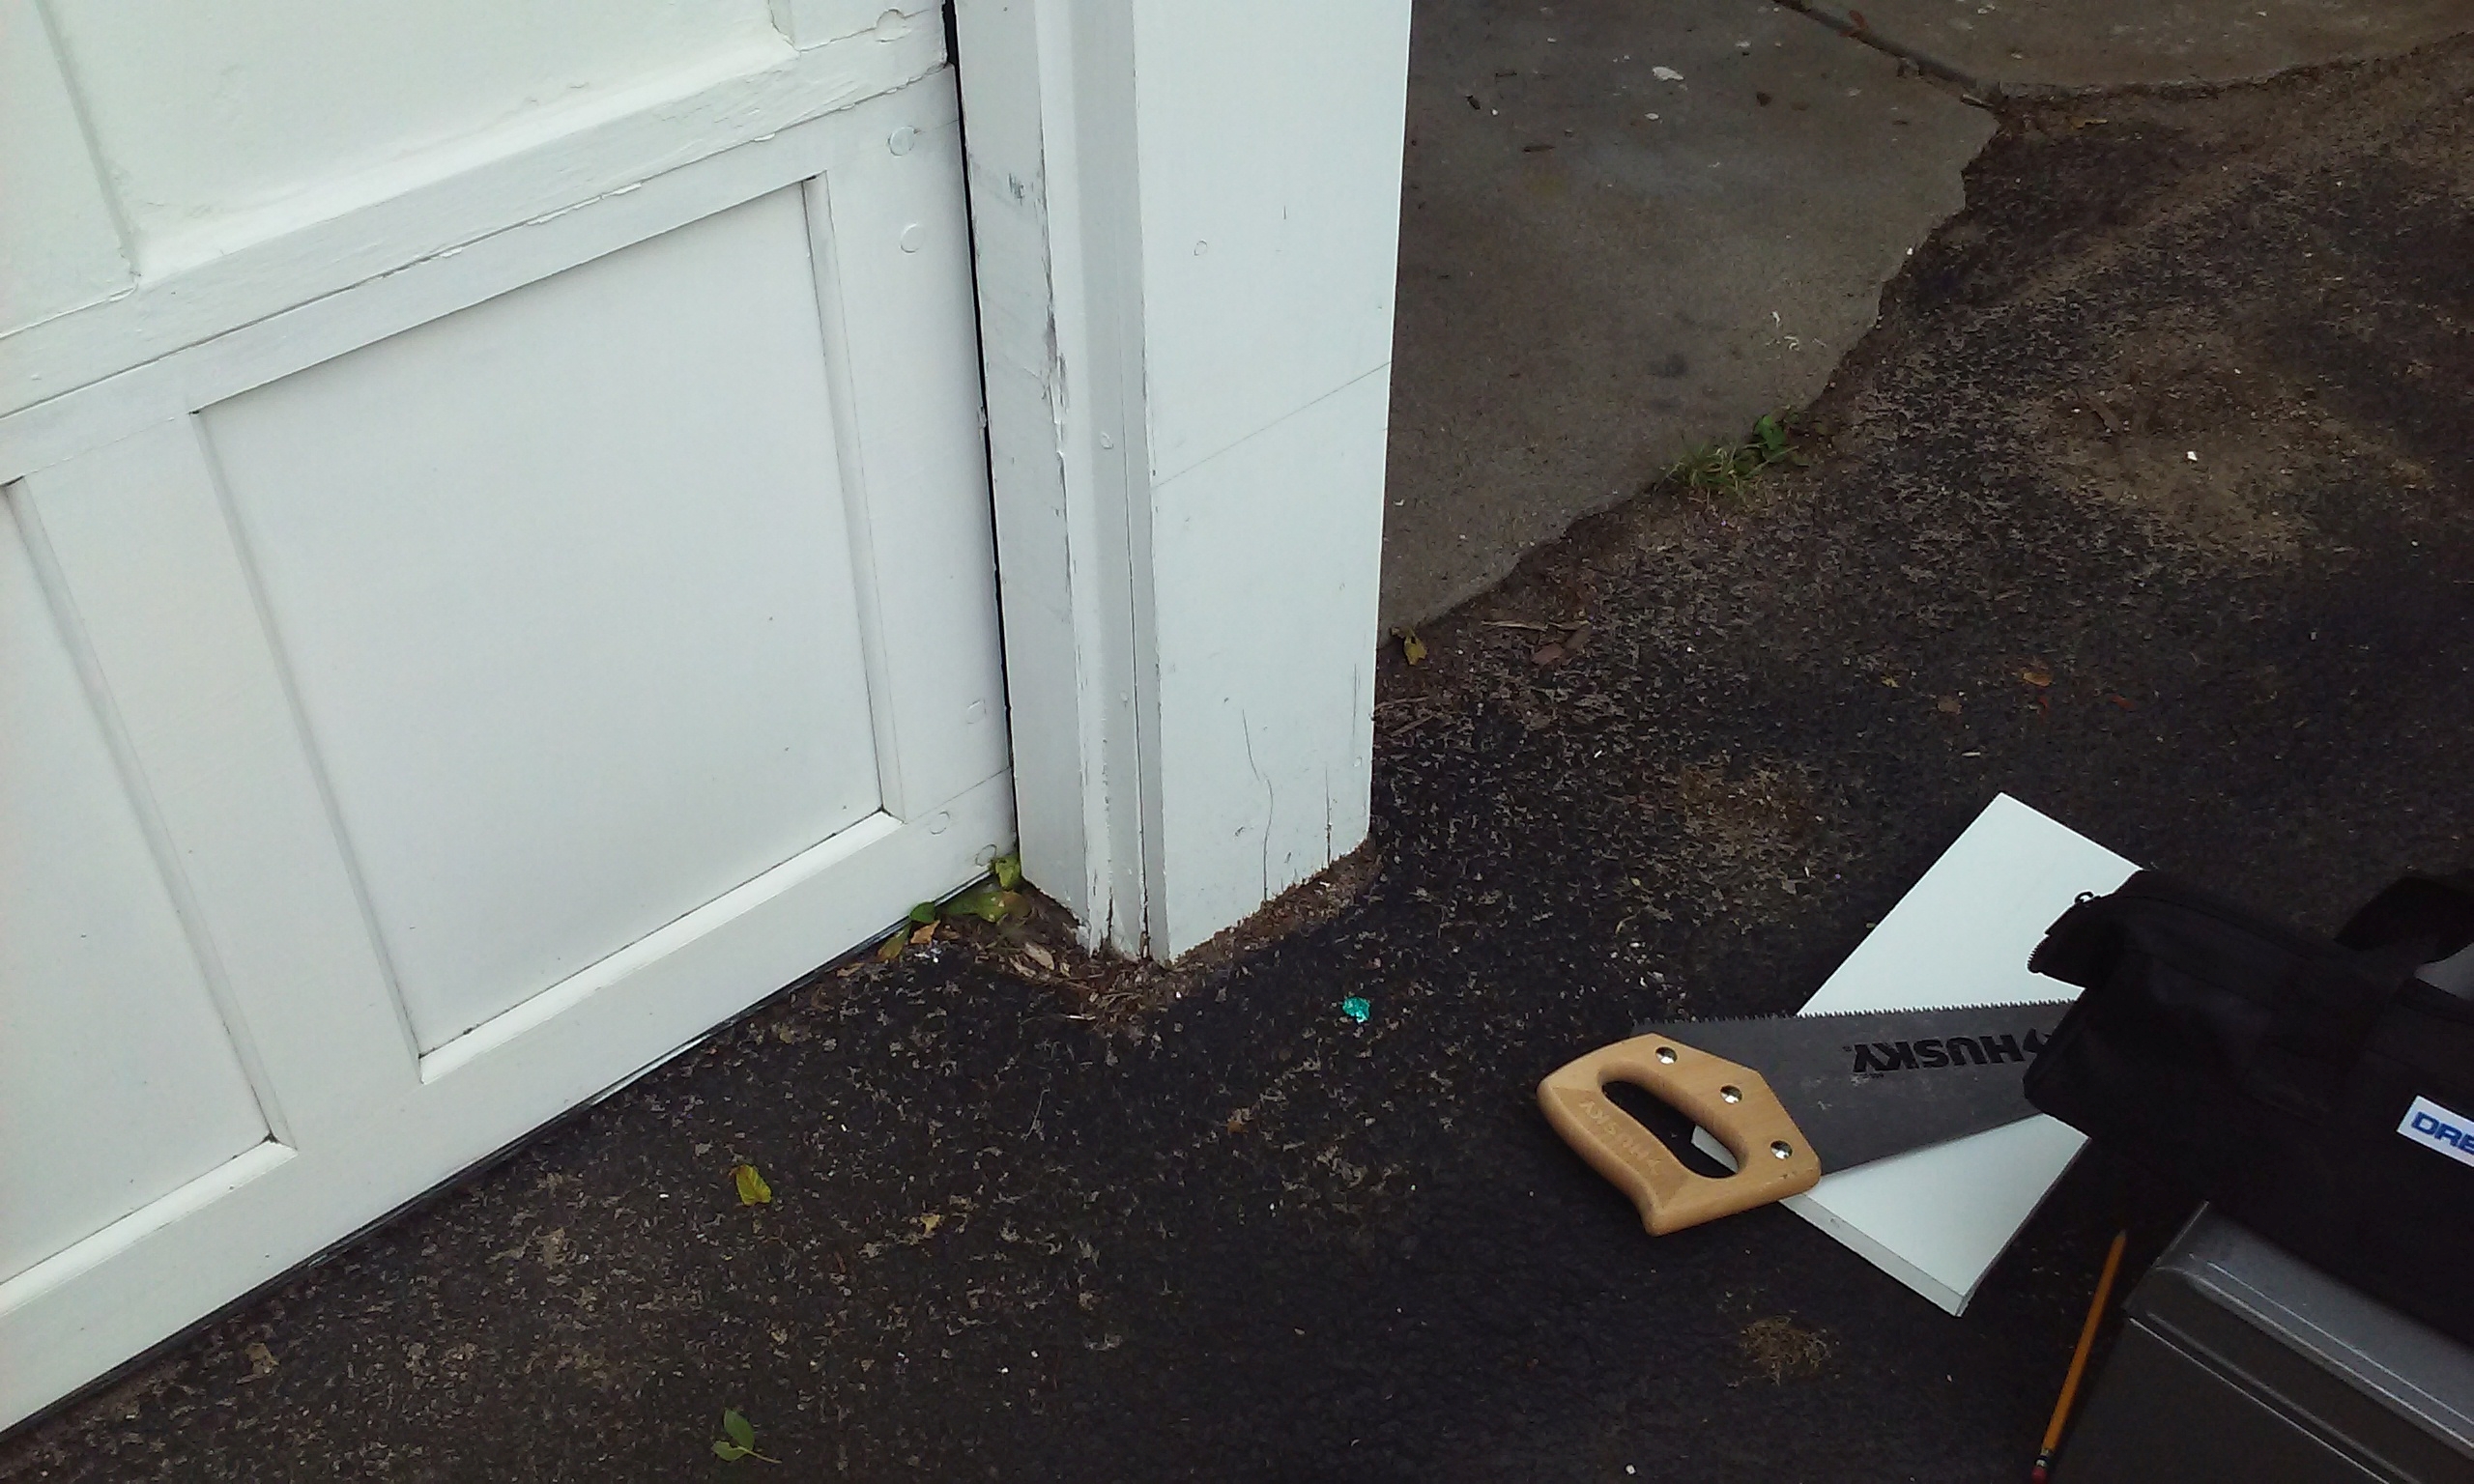
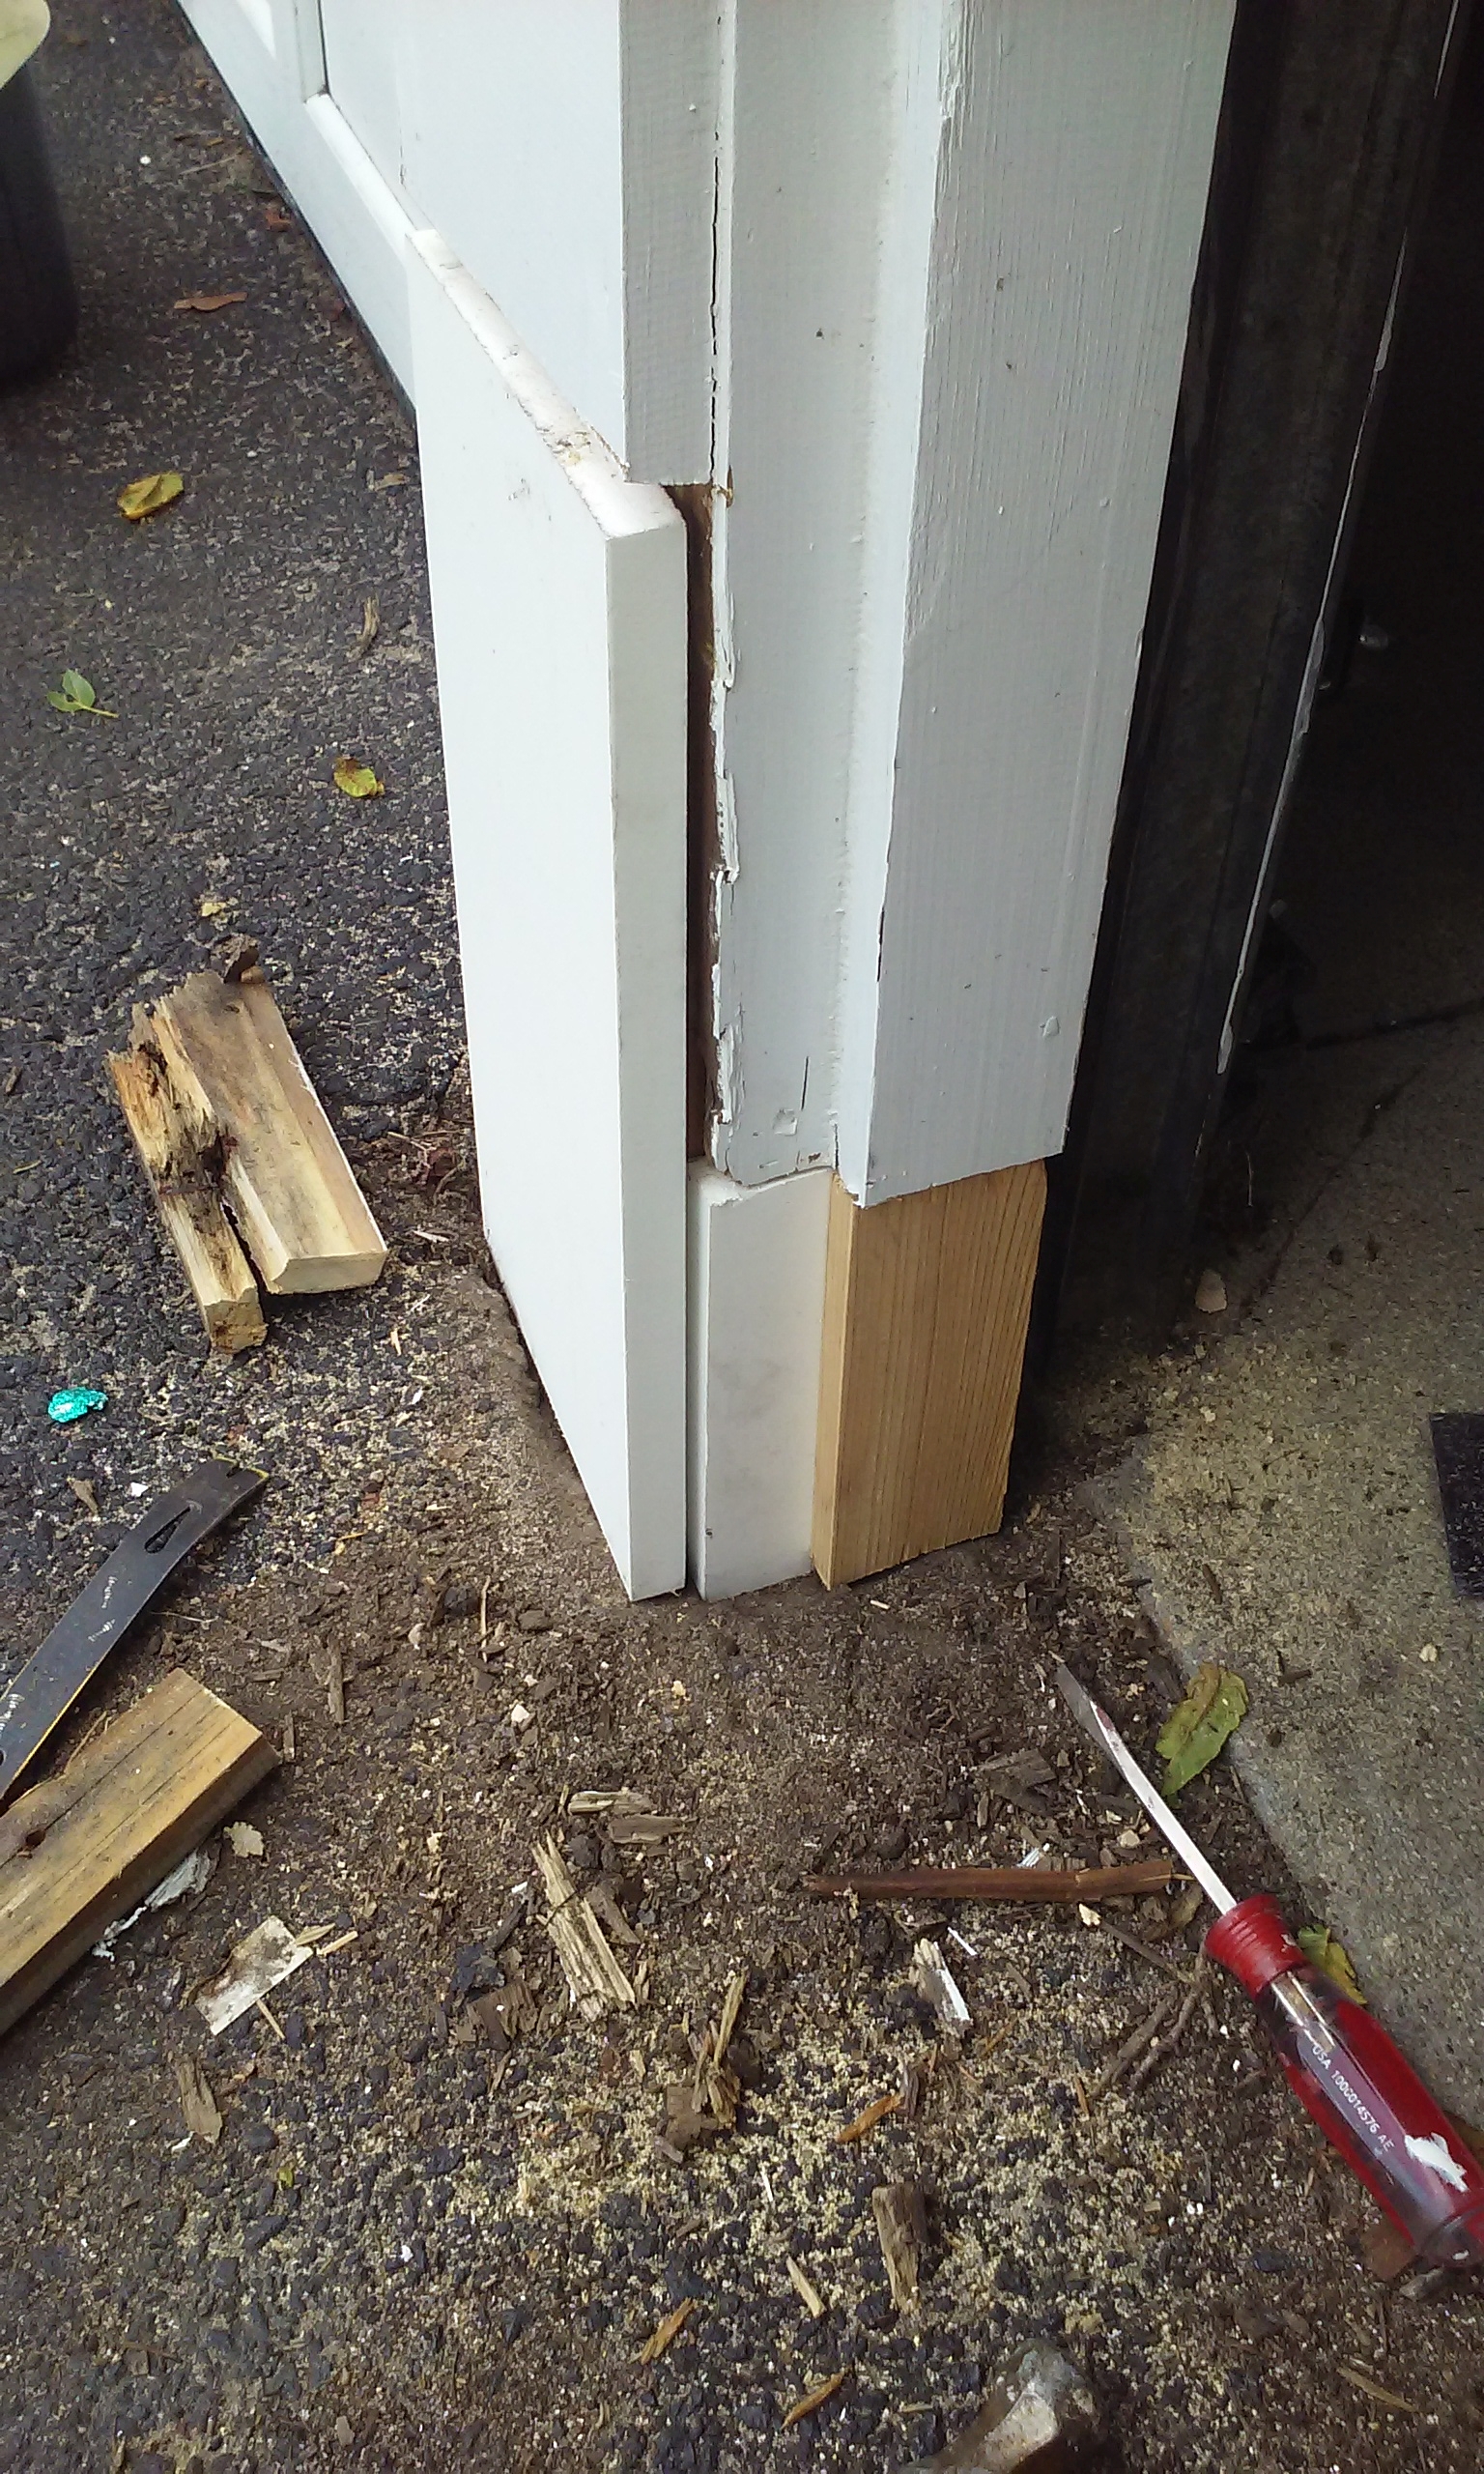
So, this one client has a garage that is just very old, and the little sections between the doors, the bottom 5 inches or so all got rotted and full of ants.  So even though I am not a carpenter, well, nails are nails, so a lot of times the only issue for me is not having a table saw to make a precise cut.  So I was lucky enough that a guy in lumber at Home Depot took pity on me and made the cuts I needed on a piece of PVC board.  (PVC board is the same stuff as PVC pipe– the advantage of it is, it never rots.)

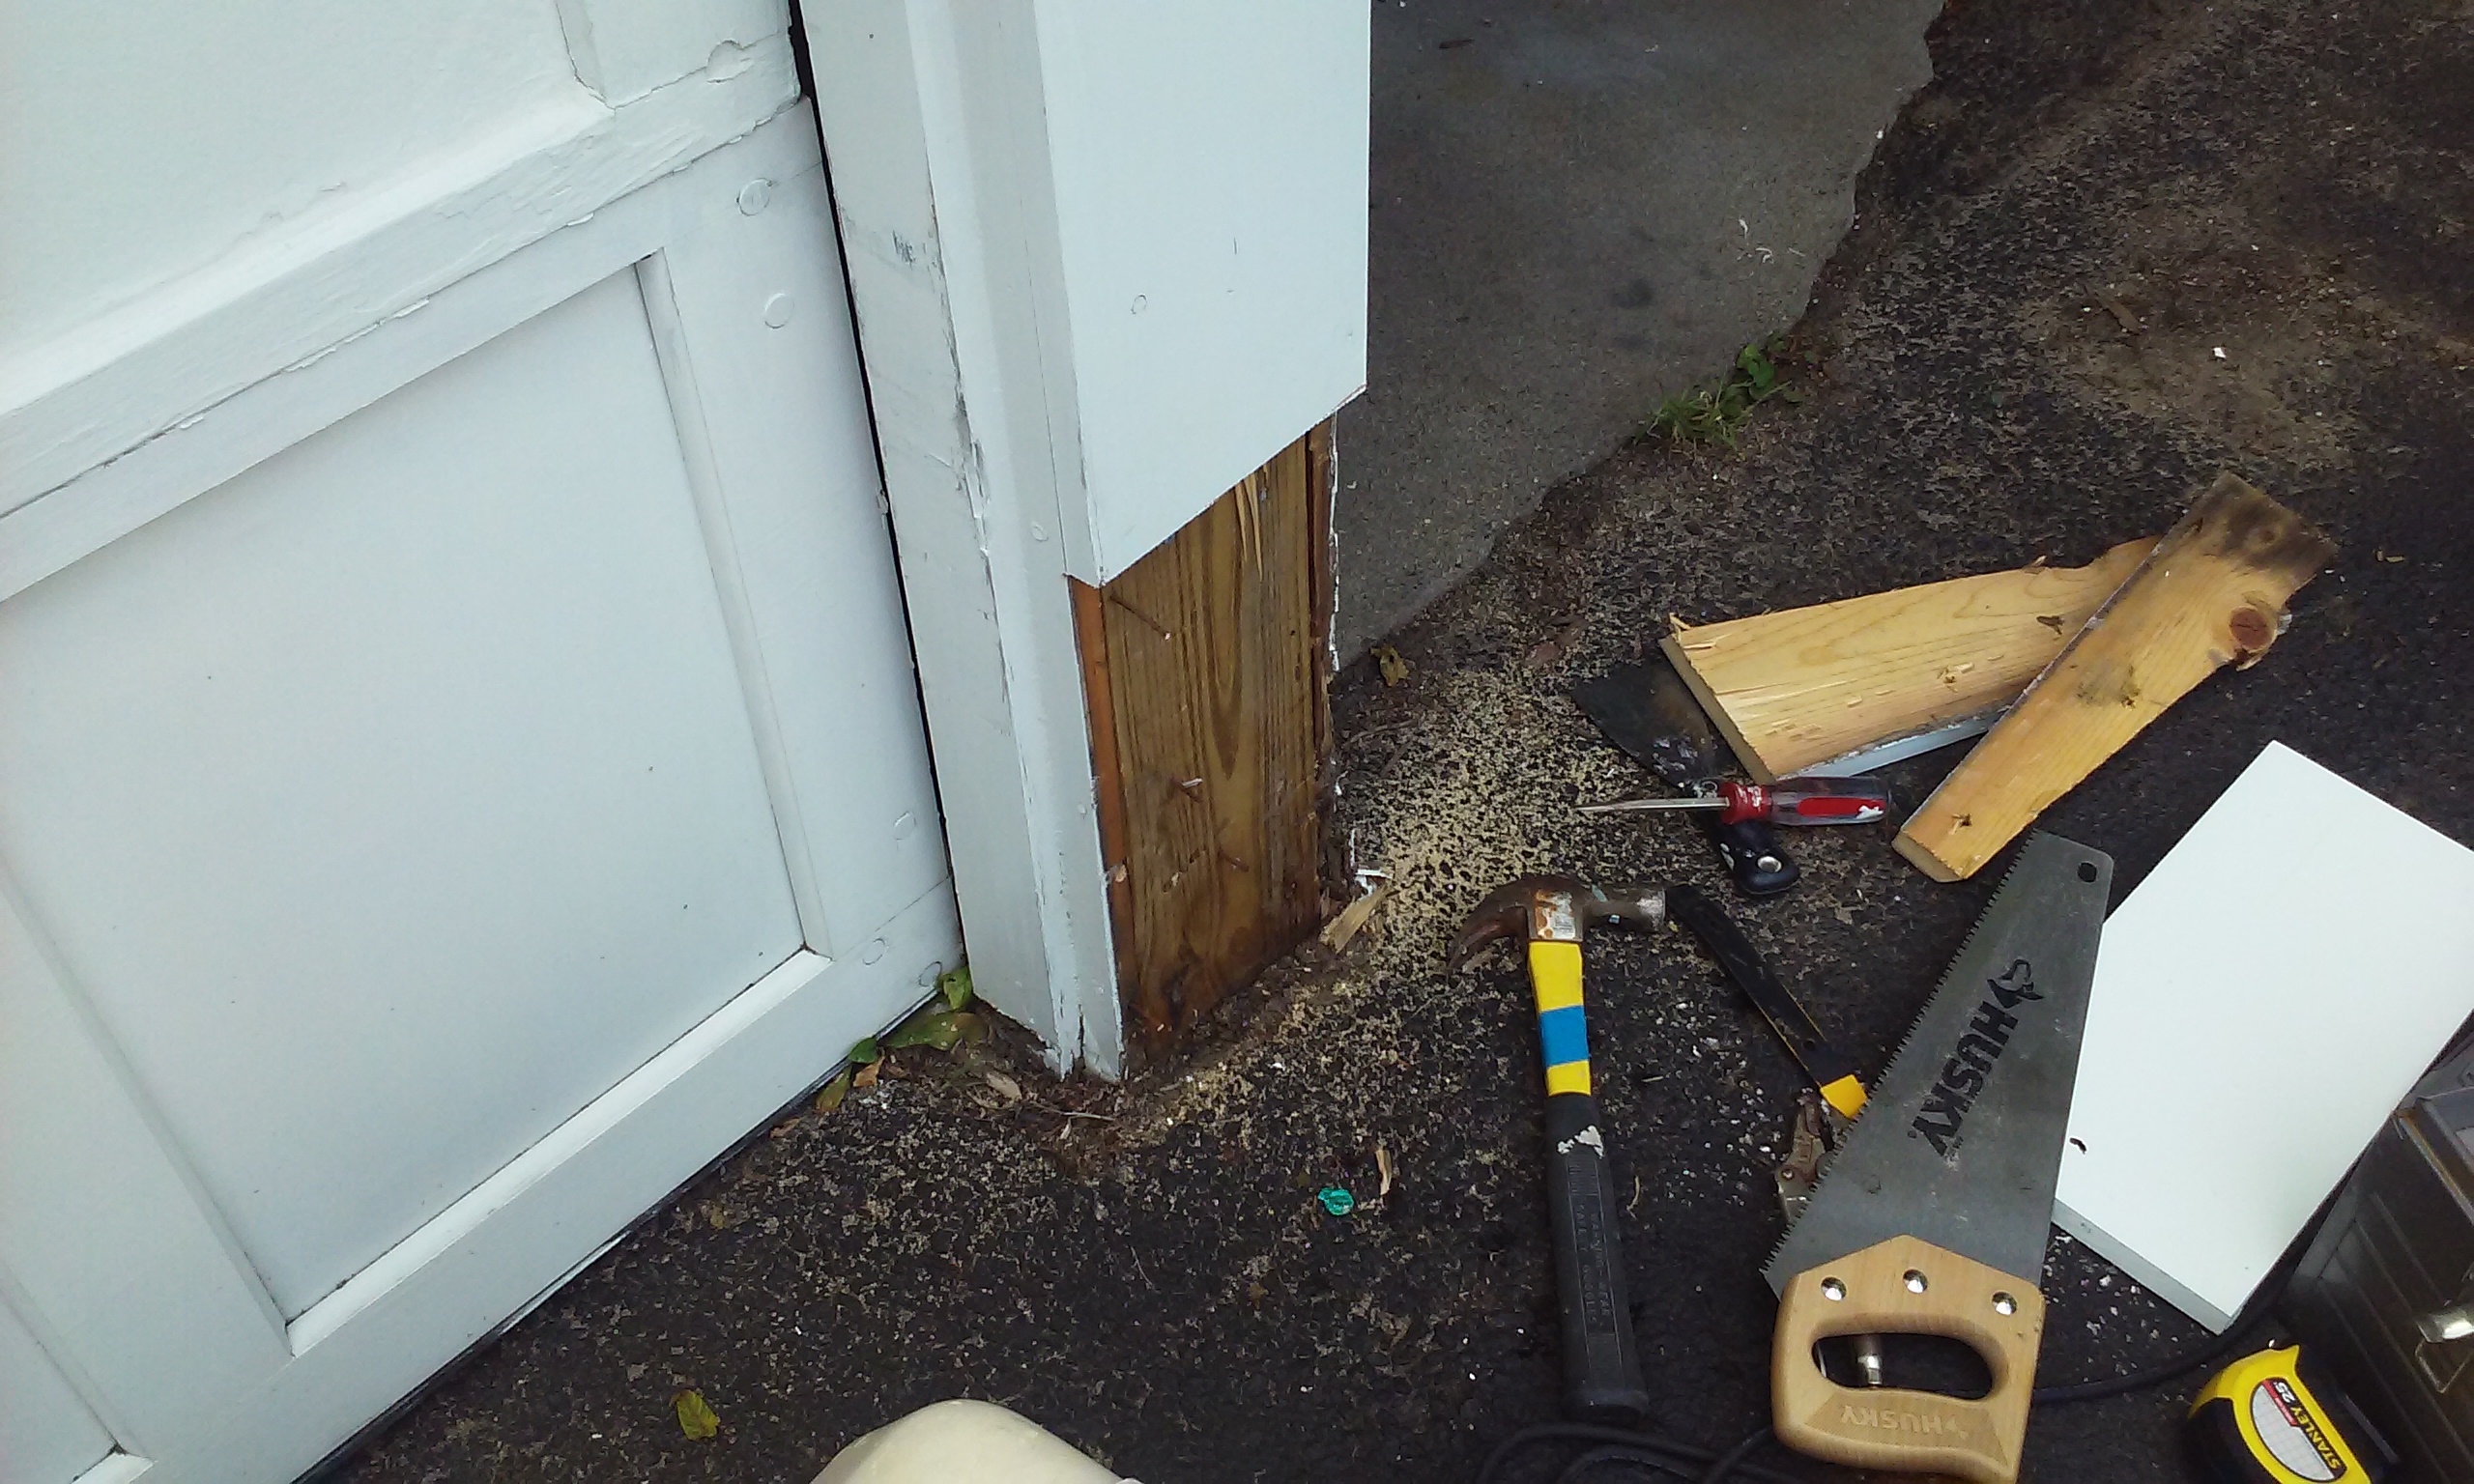
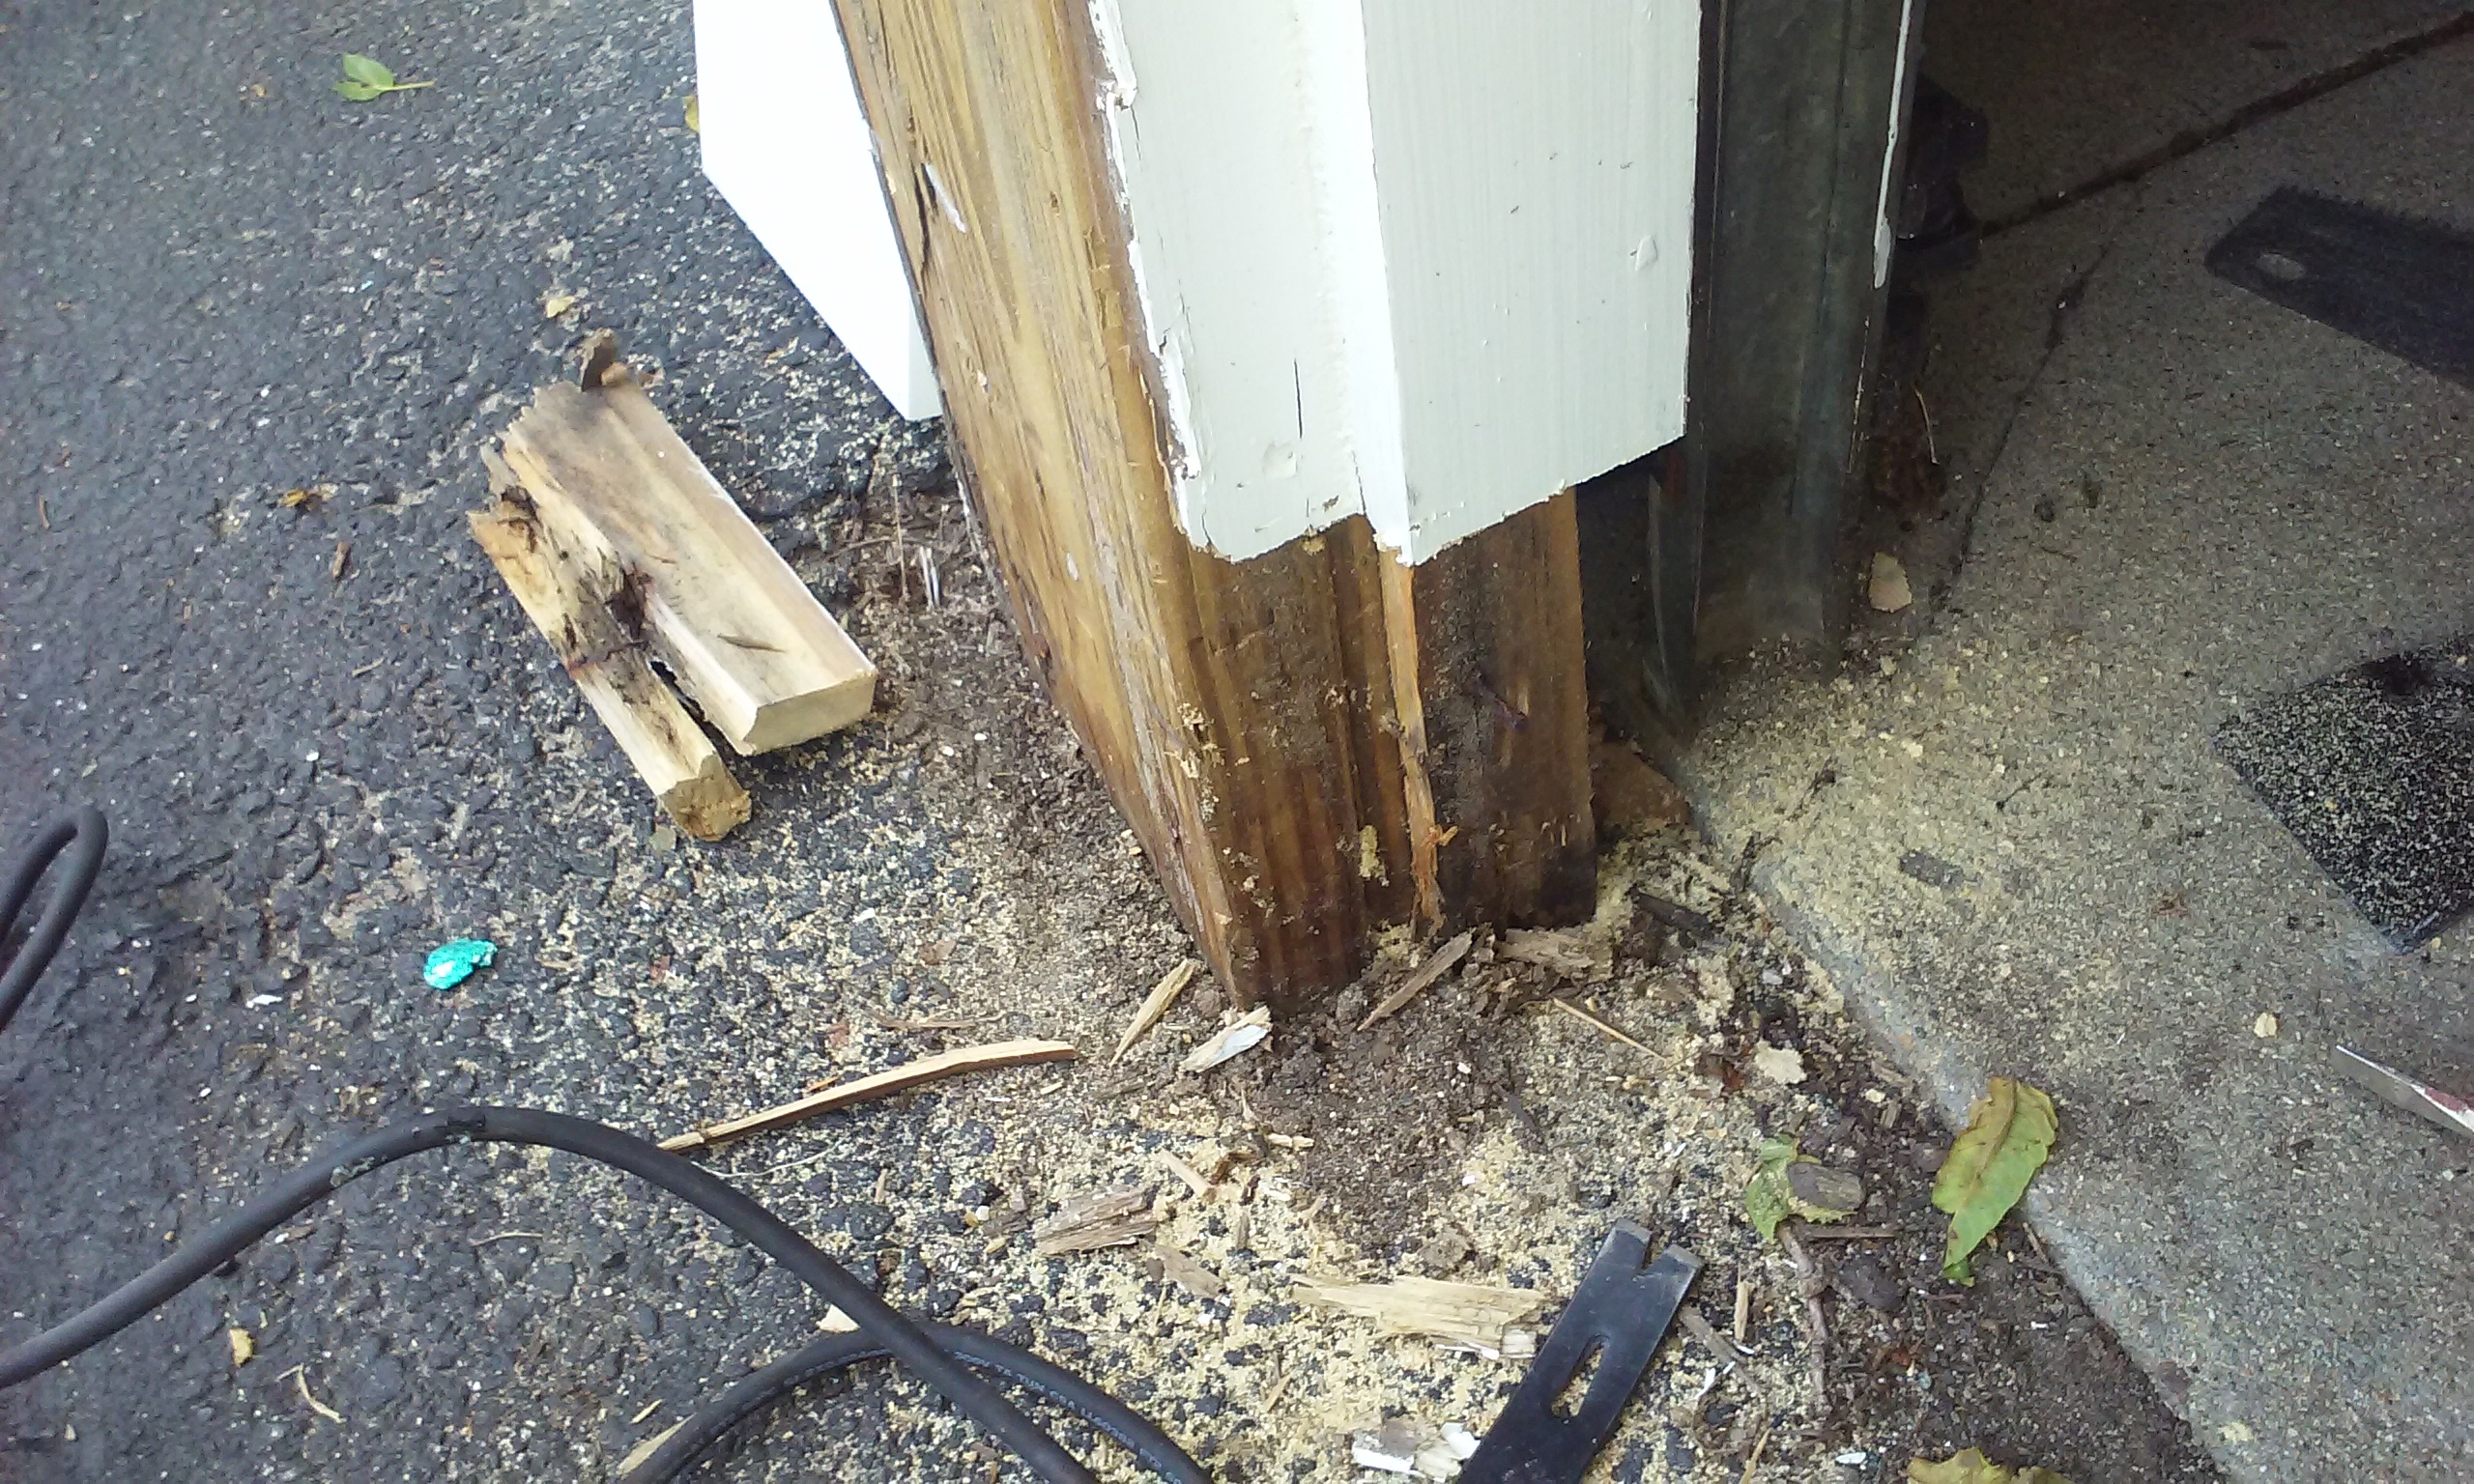
So I dove in, using my latest toy, a Dremel multi tool, to cut out the old rotted sections.  And then I just put it all together.   It was quite the challenge, as the left, middle, and right sections were all different sizes.  I will add more pix later, the other sections were in far worse shape, and it still needs a topcoat of paint, but this will never rot again.

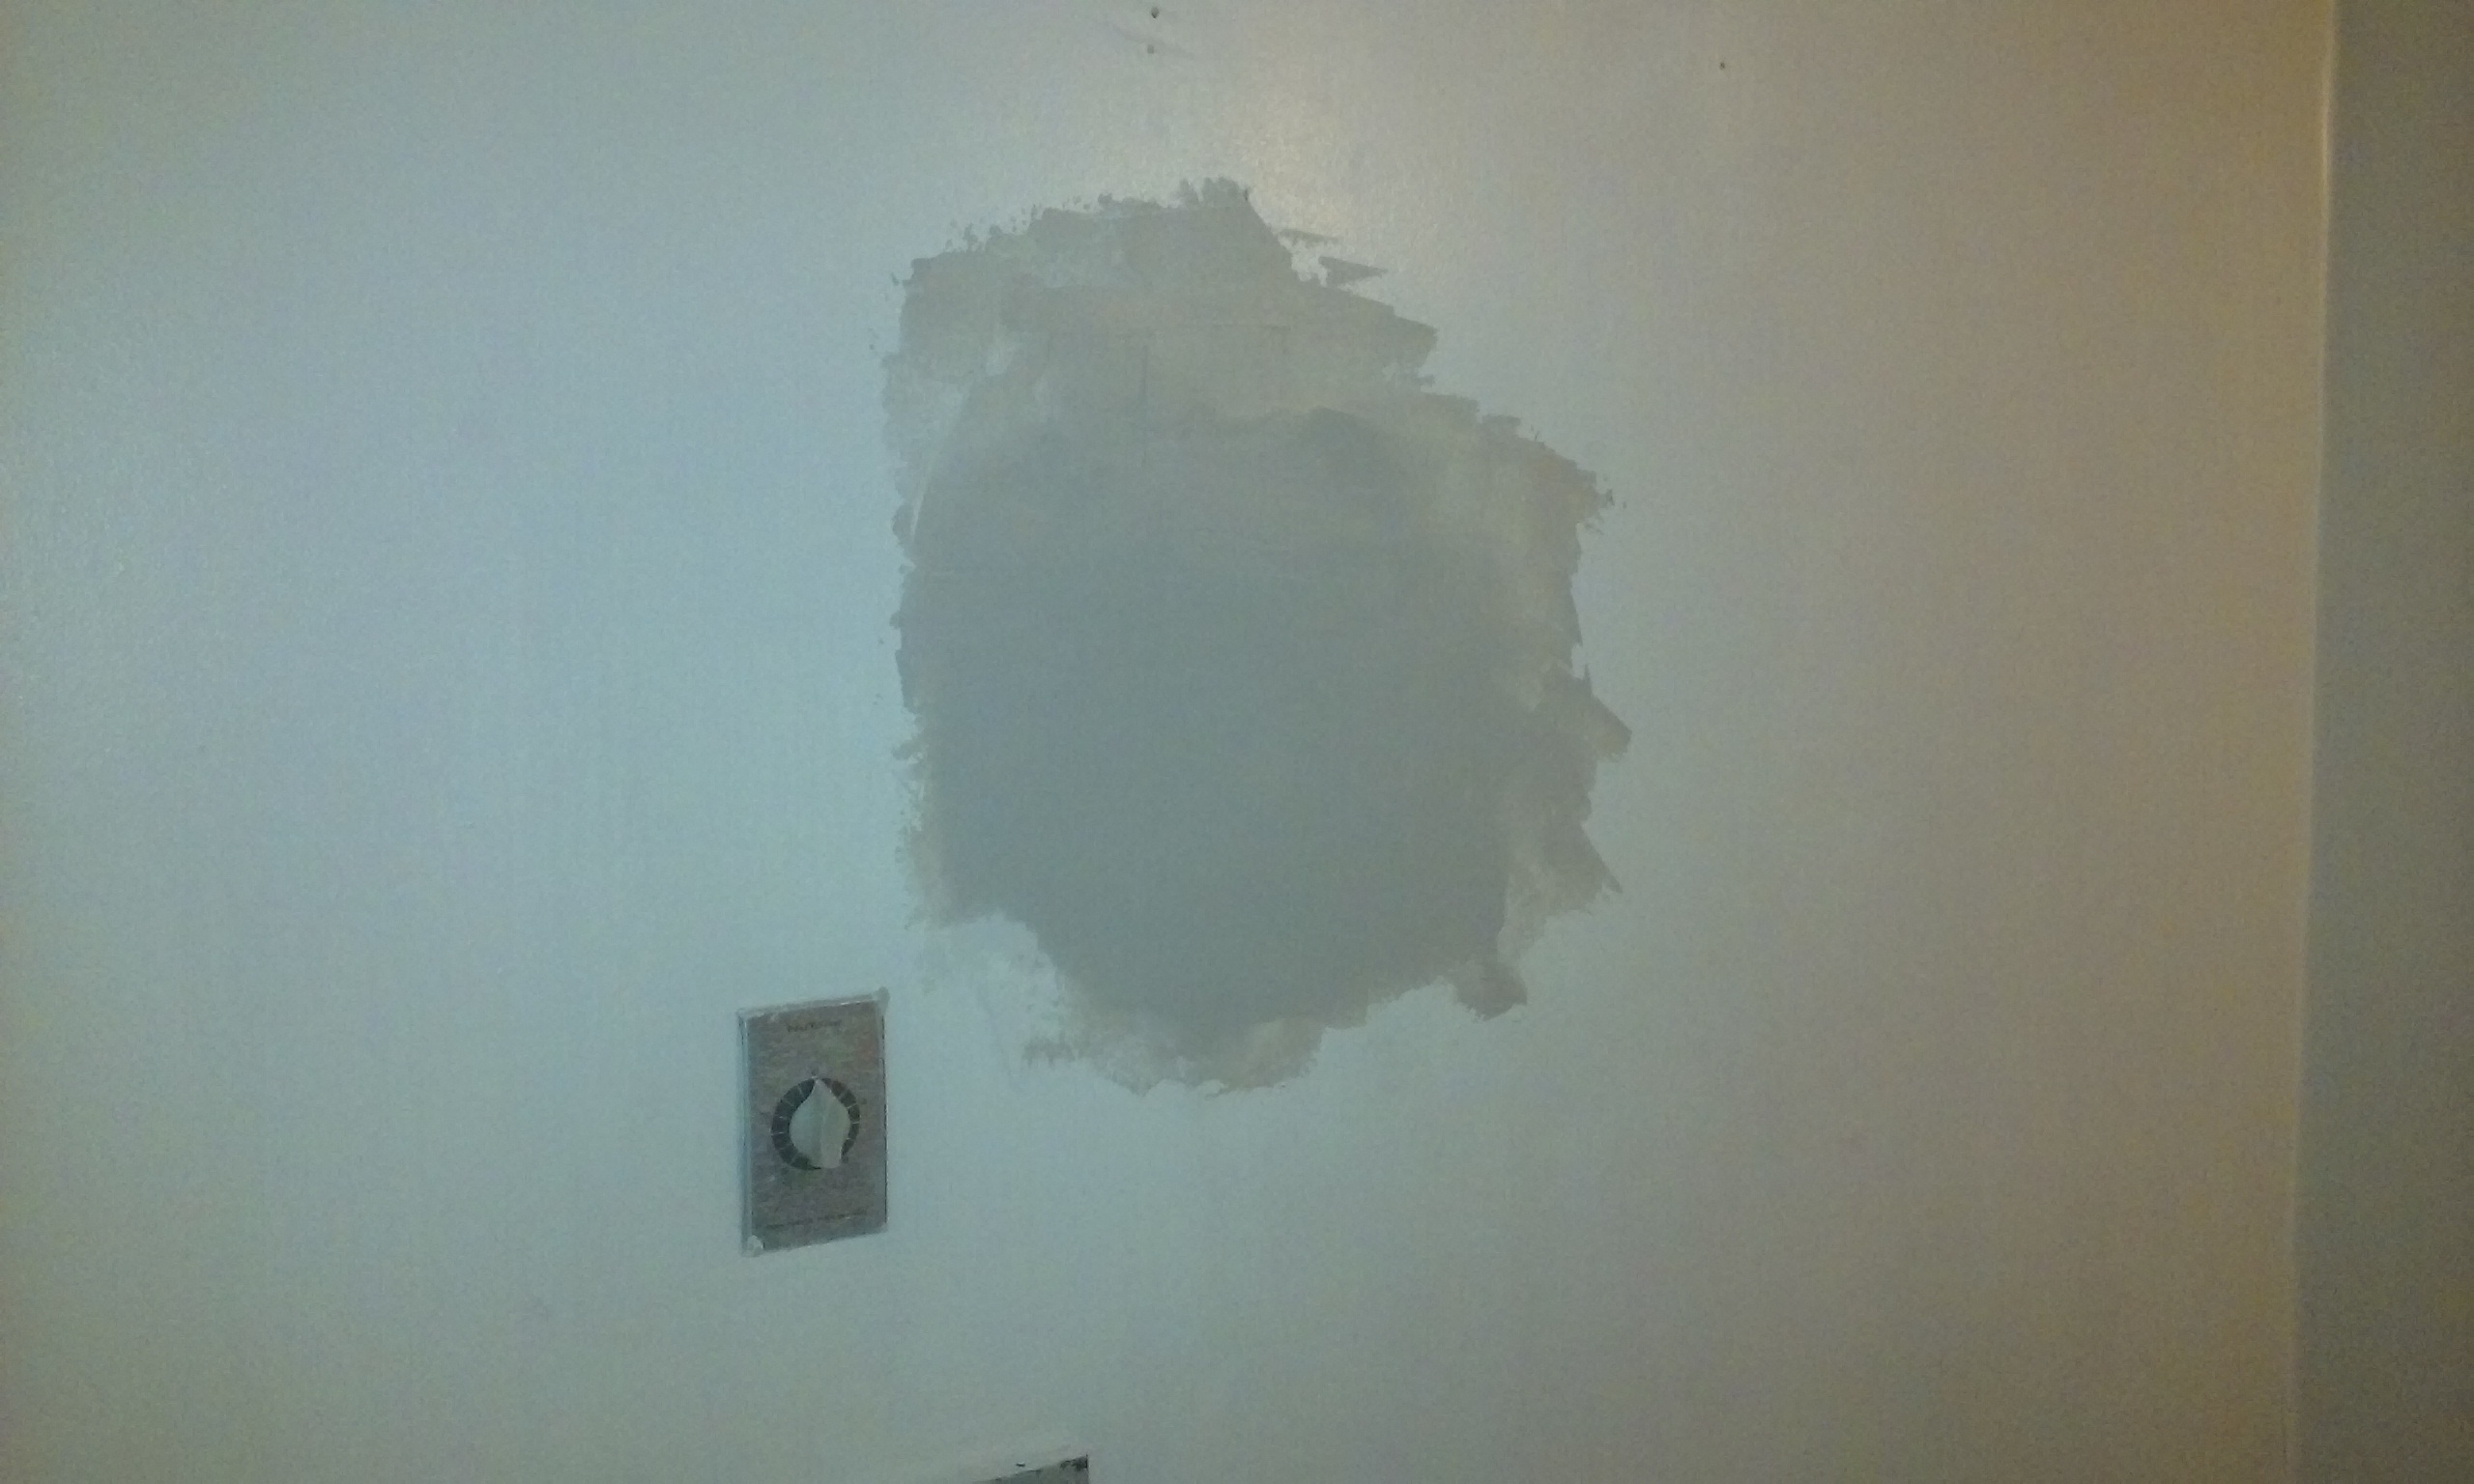
This center section doesn’t look so bad but but believe me, the bottom 5 inches were all rotted out:


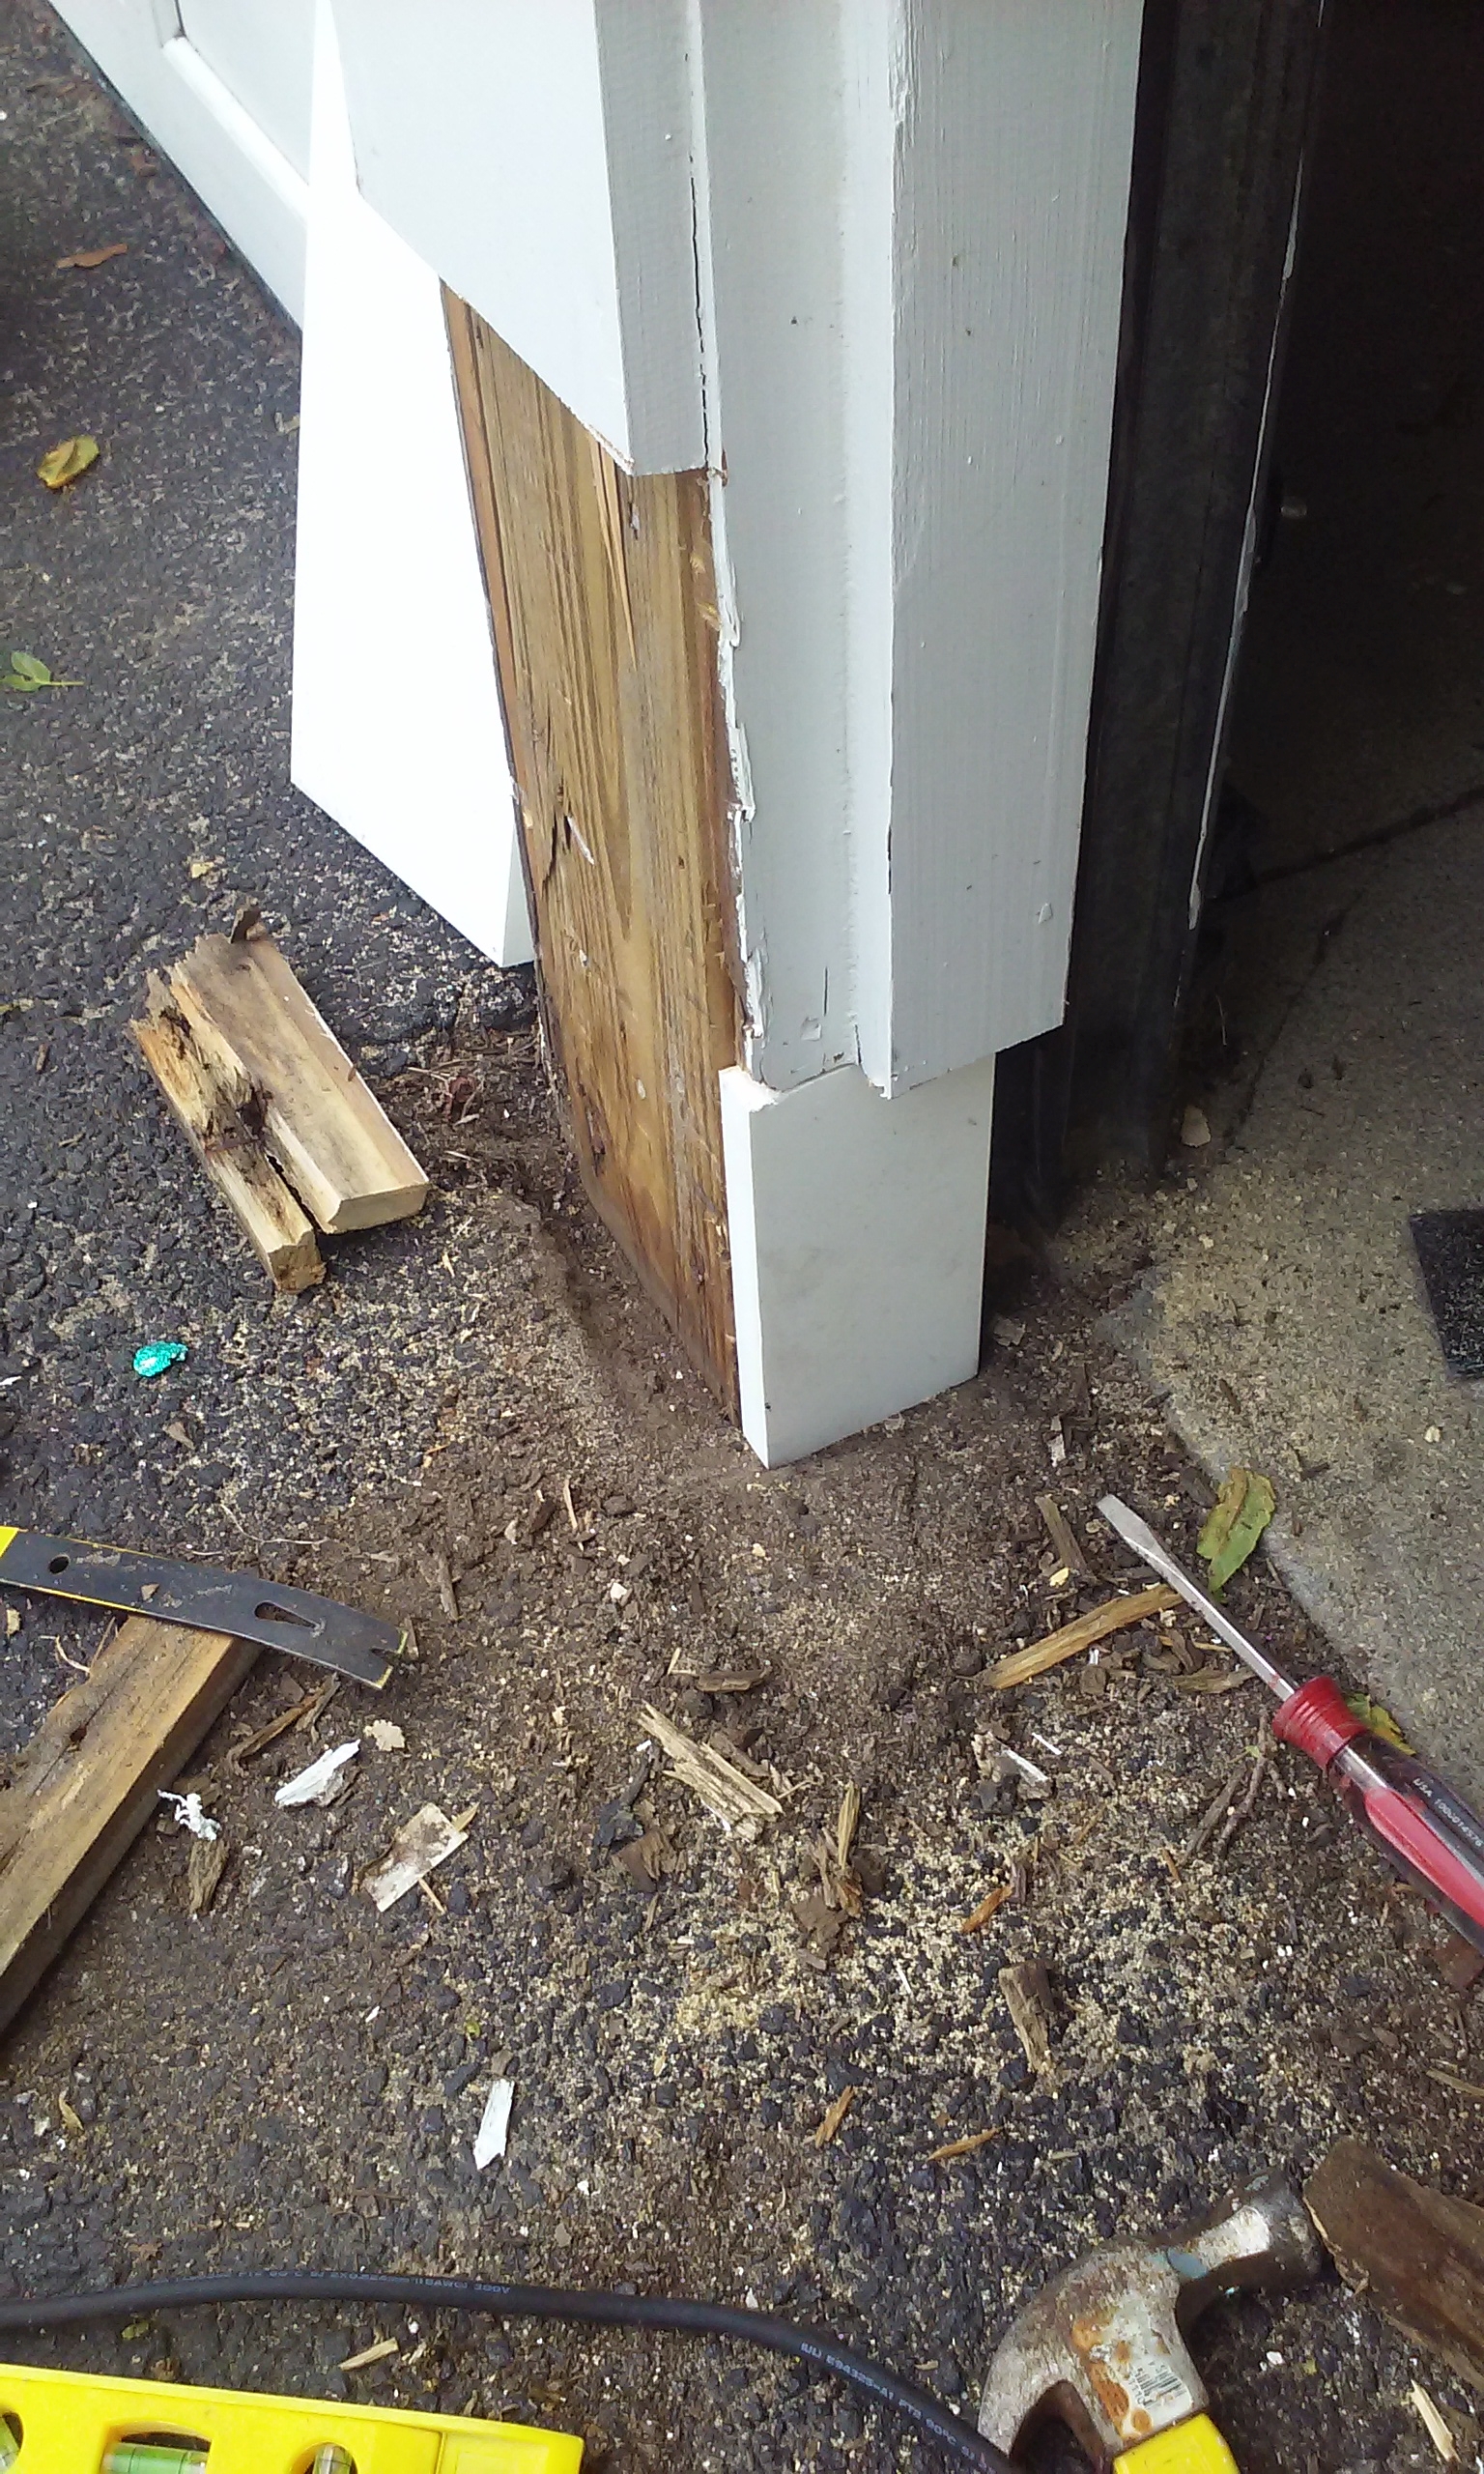
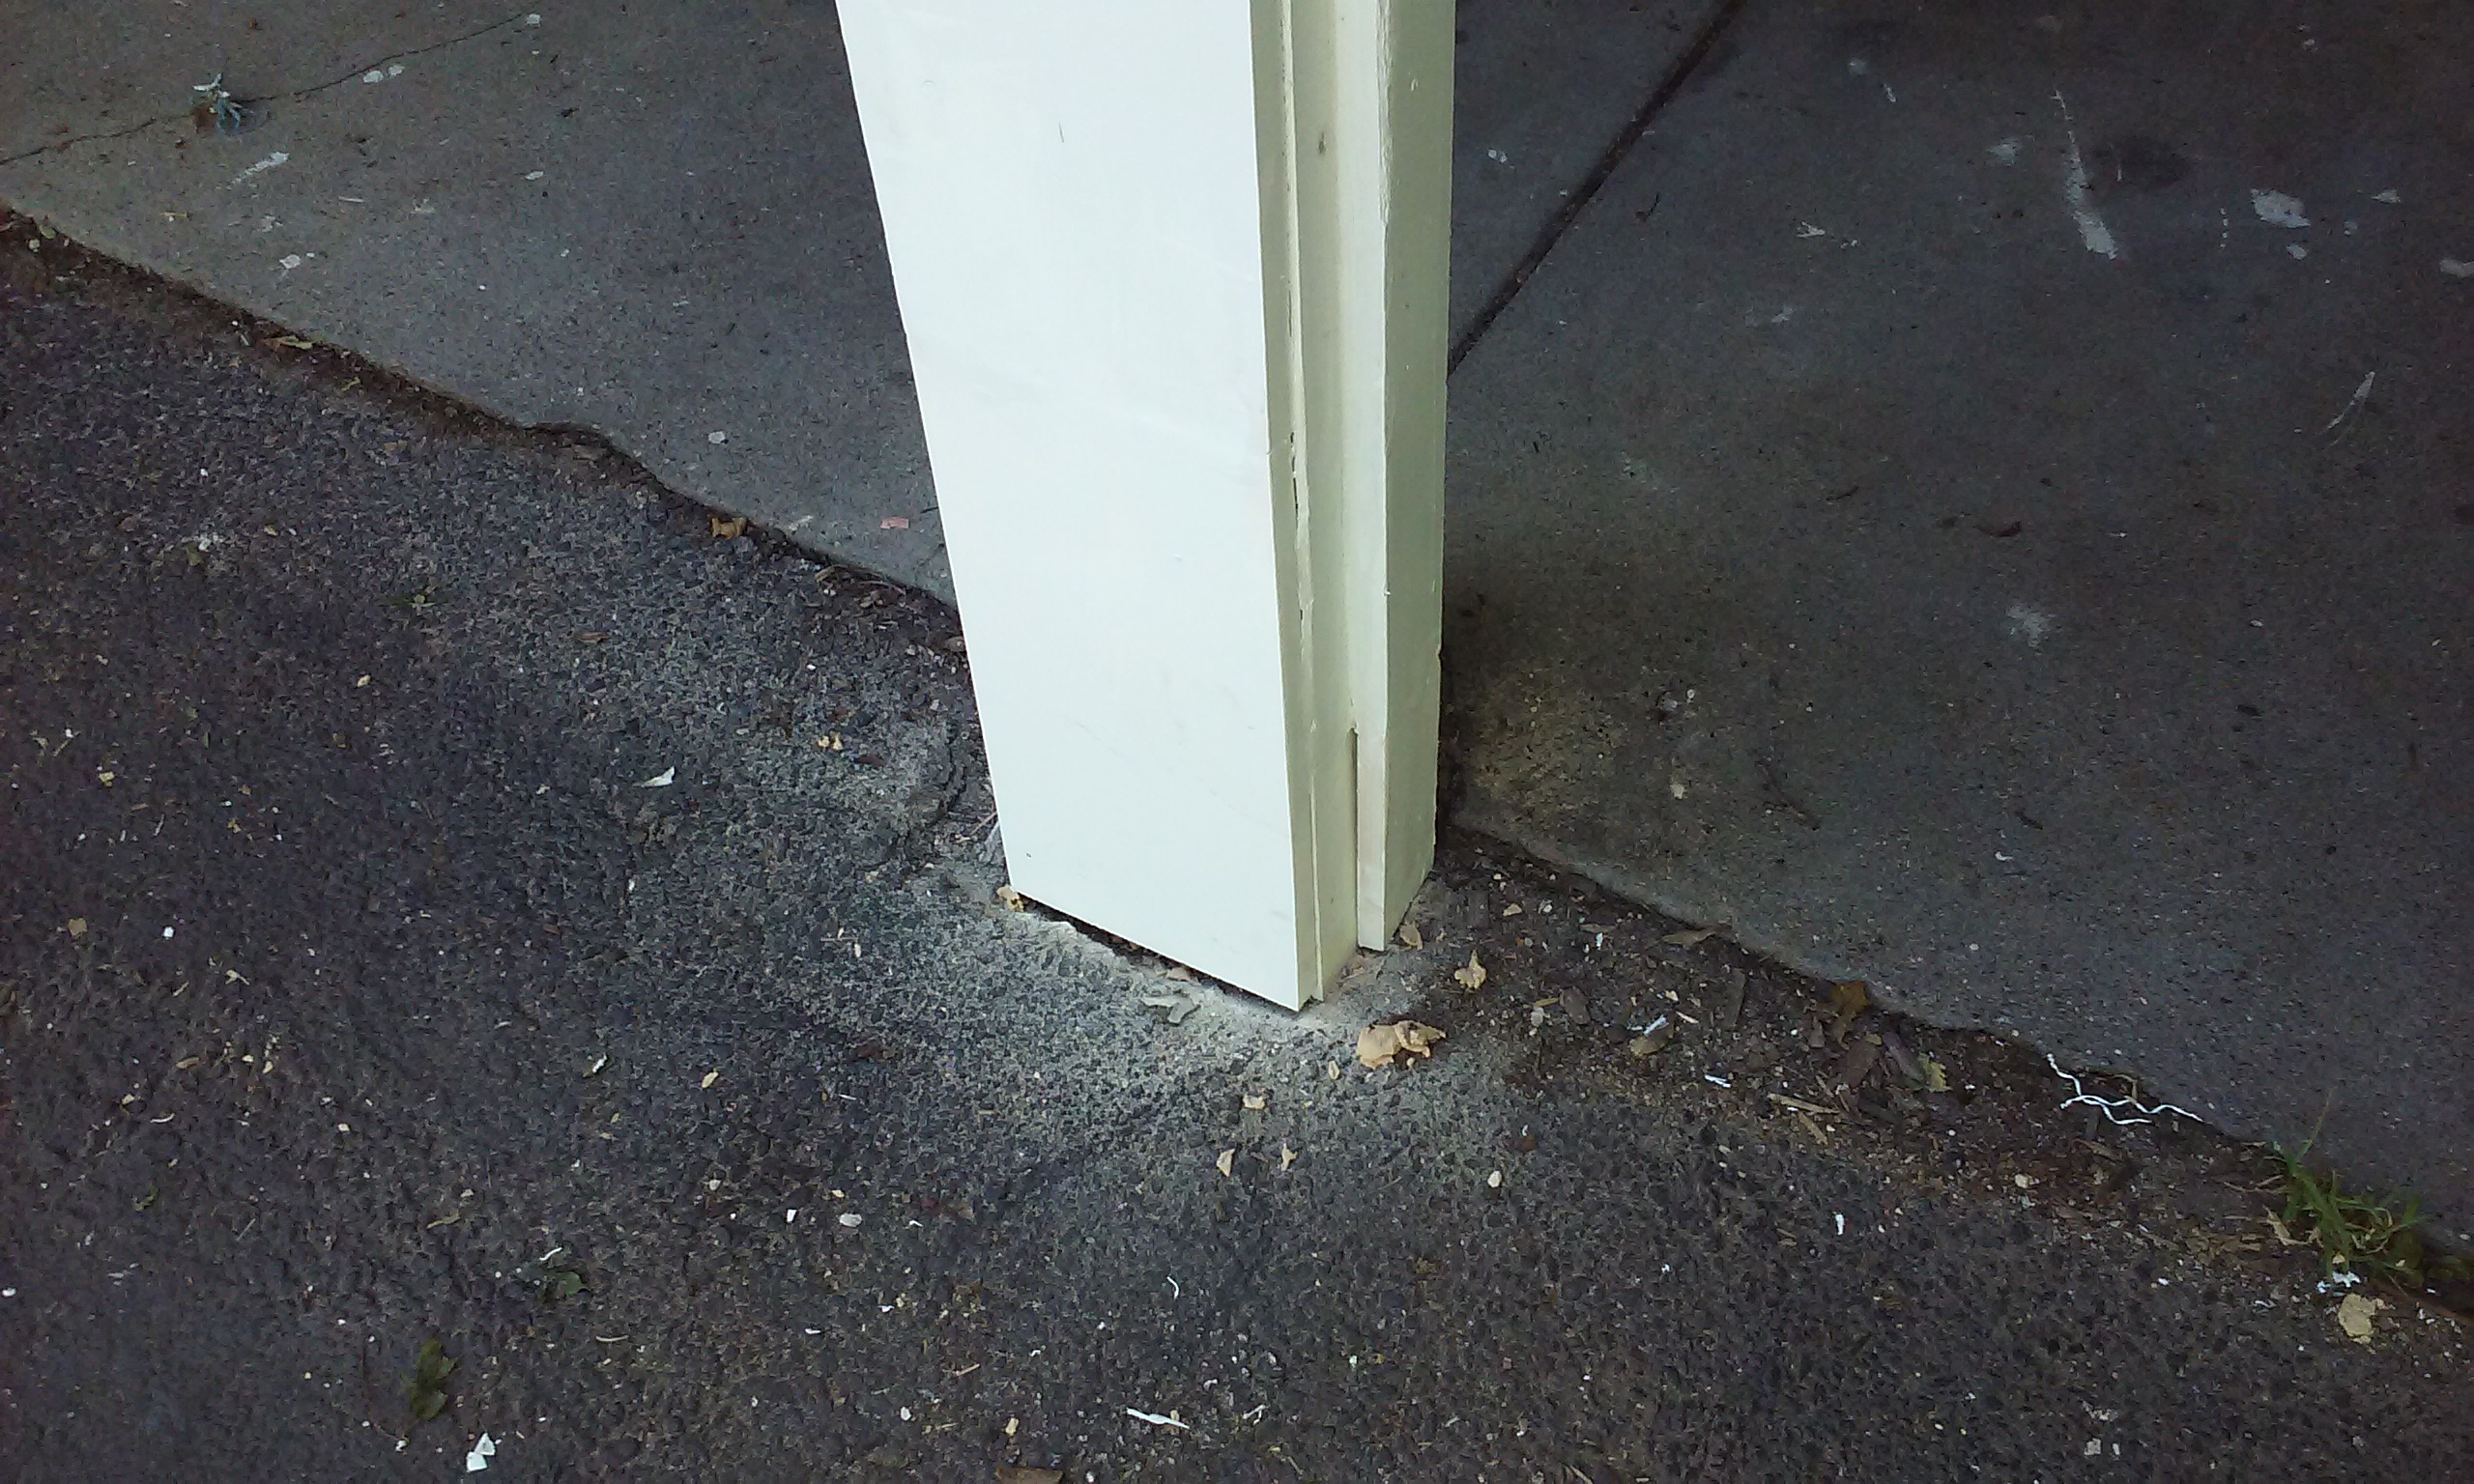
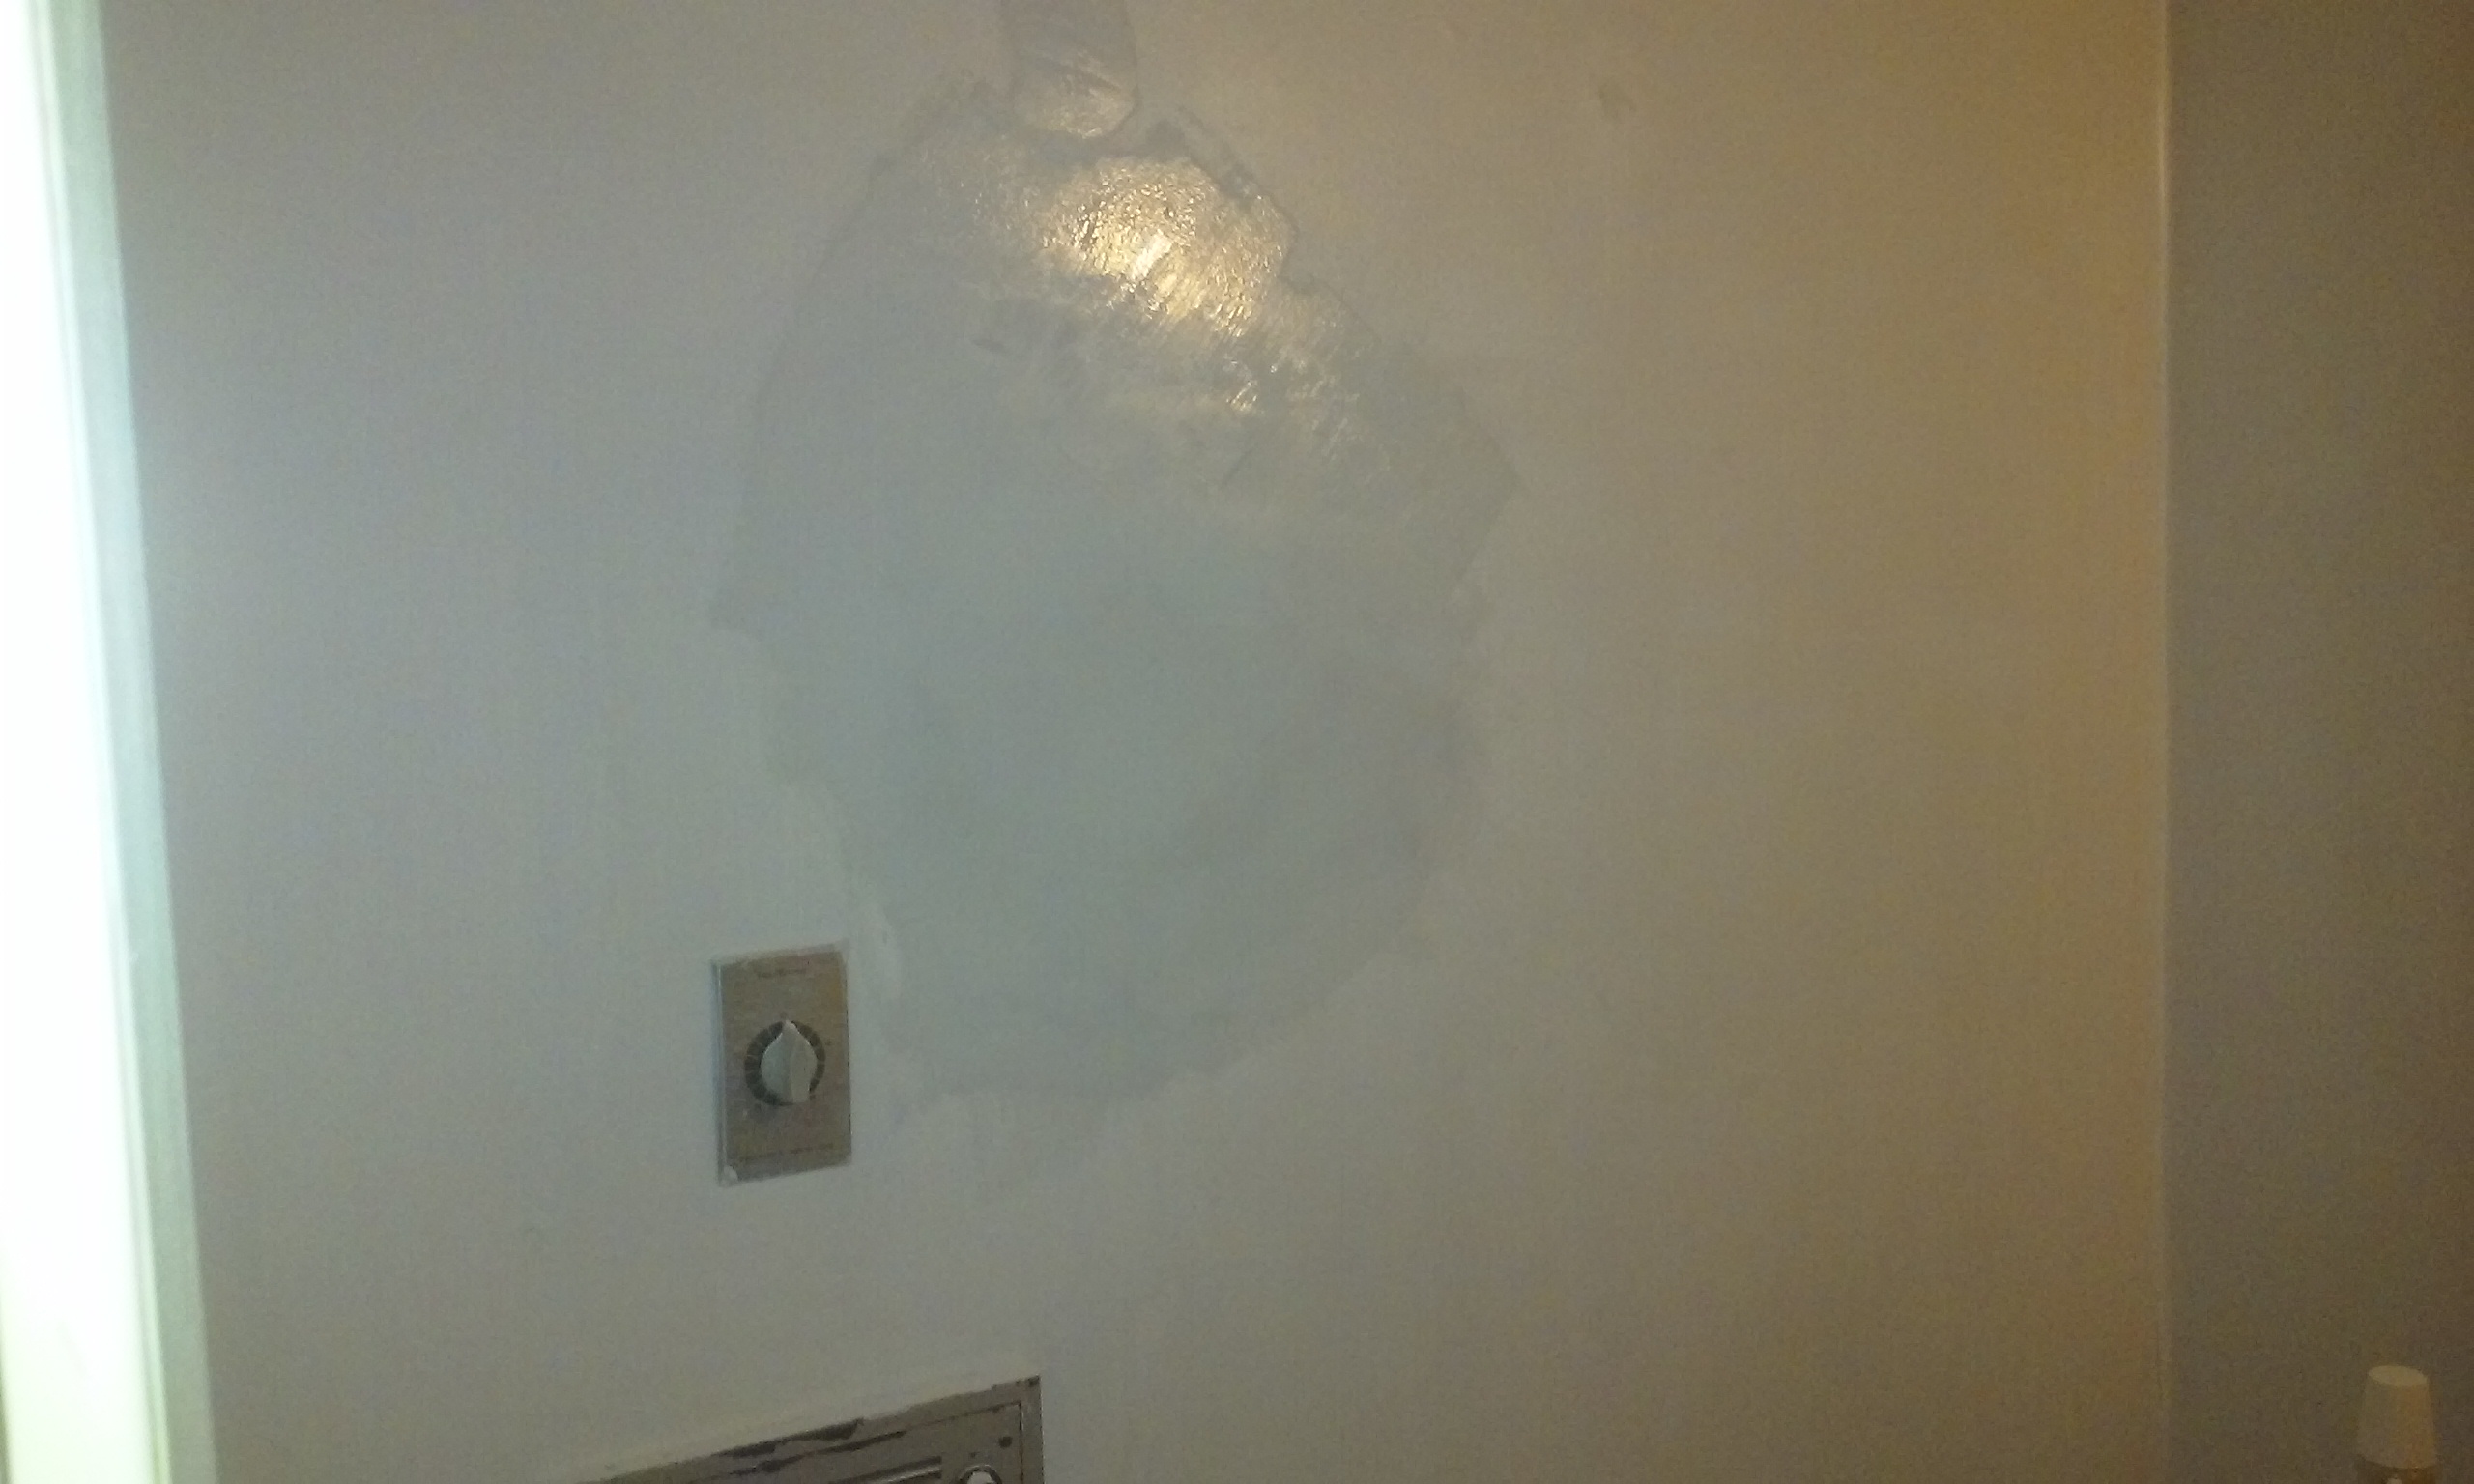
I patched the seam with wood putty  . . .  and applied some primer, and voila:

All this in the middle of a 90 degree day by the way!   All in a day’s work.


Painting an Exterior Staircase

Hello all, sorry I have not posted for a while, I scratched the lens of my camera so I could not take good pix . . . and only just now have fixed the problem.  ANYWAY

Last April 2017 I was hired to paint an exterior staircase on an apartment building.  The issue was, it was in rough shape– it had not been painted in at least 10 years, and probably more like 20.

This is the kind of peeling paint I was up against.  OY!  I tried everything else but the only option was to take a 7-in-one painter’s tool and scrape it off inch by inch.

So here you see the side of it, with the loose paint scraped off.

So anyway, I got all the paint scraped, and after I did the upper railings, i started on the surface.

So I am using a paint called “Deck Cover” which actually looks more like tomato paste.  It requires a 4 day period of no rain– 2 to dry out, one to apply it, and another for the paint to dry.  Plus it needs 2 coats, no excuses.  You can see how beat the old surface was!!

Since this is an outdoor staircase I was concerned about the surface being slippery, SO . . . I sprinkled sand on the wet second coat, and it literally created a sandpaper surface which is great.

Another pic of the top landing:

It took months to get 4-day-long periods to paint in but today I finally finished it.  Wahoo.  What a difference.

A Word to the Wise about Hazards in the Home

Something that really does not get enough attention is the issue of hazardous materials that you may encounter when fixing up your house.  I confess, way way back in the day, I used to think nothing of painting my run down old built in 1910 house in Jamaica Plain.  Little did I know, I was dealing with all sorts of hazardous materials.

First and foremost is lead.  If a house was built before 1978 it probably has lead paint in it.  Of course back then we all used to inhale lead that was in gasoline as well– it is astonishing that we went that long putting all that toxin in our environment.  Anyway, here is the best video I have seen explaining, not just the hazards, but the liabilities of working with lead paint, highly recommended for anyone buying, selling, or repairing a house built before 1978:

The next thing to worry about is vermiculite.  I am sad to confess, back when no one knew what it was, I used to pour that stuff out like crazy in my attic.  Now, it has become known that most of the vermiculite sold in the USA was contaminated with asbestos.  So if you have it in your attic, LEAVE IT ALONE and treat it like a severe hazard.

So that’s my public service announcement for today.


Siliconing a Tub

I hate to be the one to have to say this, but as you know, there are quite a few people out there working on houses that really don’t do the best possible job.  A good part of my week is involved with undoing things that other people have done incorrectly.

Something that I see repeatedly has to do with bathtub installations.  I will get right to the point:  if you are having a bathroom redone, meaning, the tile and the tub is being replaced, here are the three things I see being done wrong:  One, the tub is not level,  two, the point where the tile meets the tub is not big enough, and three, they use tile grout between the bottom row of tile and the tub.

Tile grout is lovely as grout, but houses shift with time and temperature, and you need to allow for those tectonic plates to shift without creating cracks.  That’s why you leave 1/4″ of space between the tile and the tub.  Also, ok, use grout, but then you must then fill the tub half way so it sets and cures in a stretched out position, otherwise when you fill the tub it pulls the grout and cracks it.

Also, silicone caulk is really hard to work with– it’s messy and sticky.  You have to know what you are doing.  So, caveat emptor.

So anyway, I am always amazed at how often I am asked to caulk a tub.  And here is a sample of the process, which yes takes about 4 hours to do correctly:

0


It’s not the best pic in the world but you get the idea, this had caulk that was all blackened with mildew stains.

So . . . in we dive.  Basically you clean it out using a razor blade.

2

This tub had two layers of caulking in there, a top layer of some kind of caulk (probably acrylic, not silicone– easier to apply but cracks and does not really waterproof anything).  Under that was tile grout, hard as a rock.  I broke several razor blades on this one.  .

3

Starting to look a little more civilized with all the gunk removed, but above is not fully clean yet.    Like most jobs, surface prep is key.  After cleaning it with a razor blade, I scrub it with baking soda and a scouring pad, then I brush it with alcohol.

Next– we tape.

4

Some people just wing it using a caulking gun and their finger, and while it works I guess, I think it always looks sloppy.  Anyway, at this point there is no longer time to take pix, as the stuff cures really fast.  and VOILA:

6
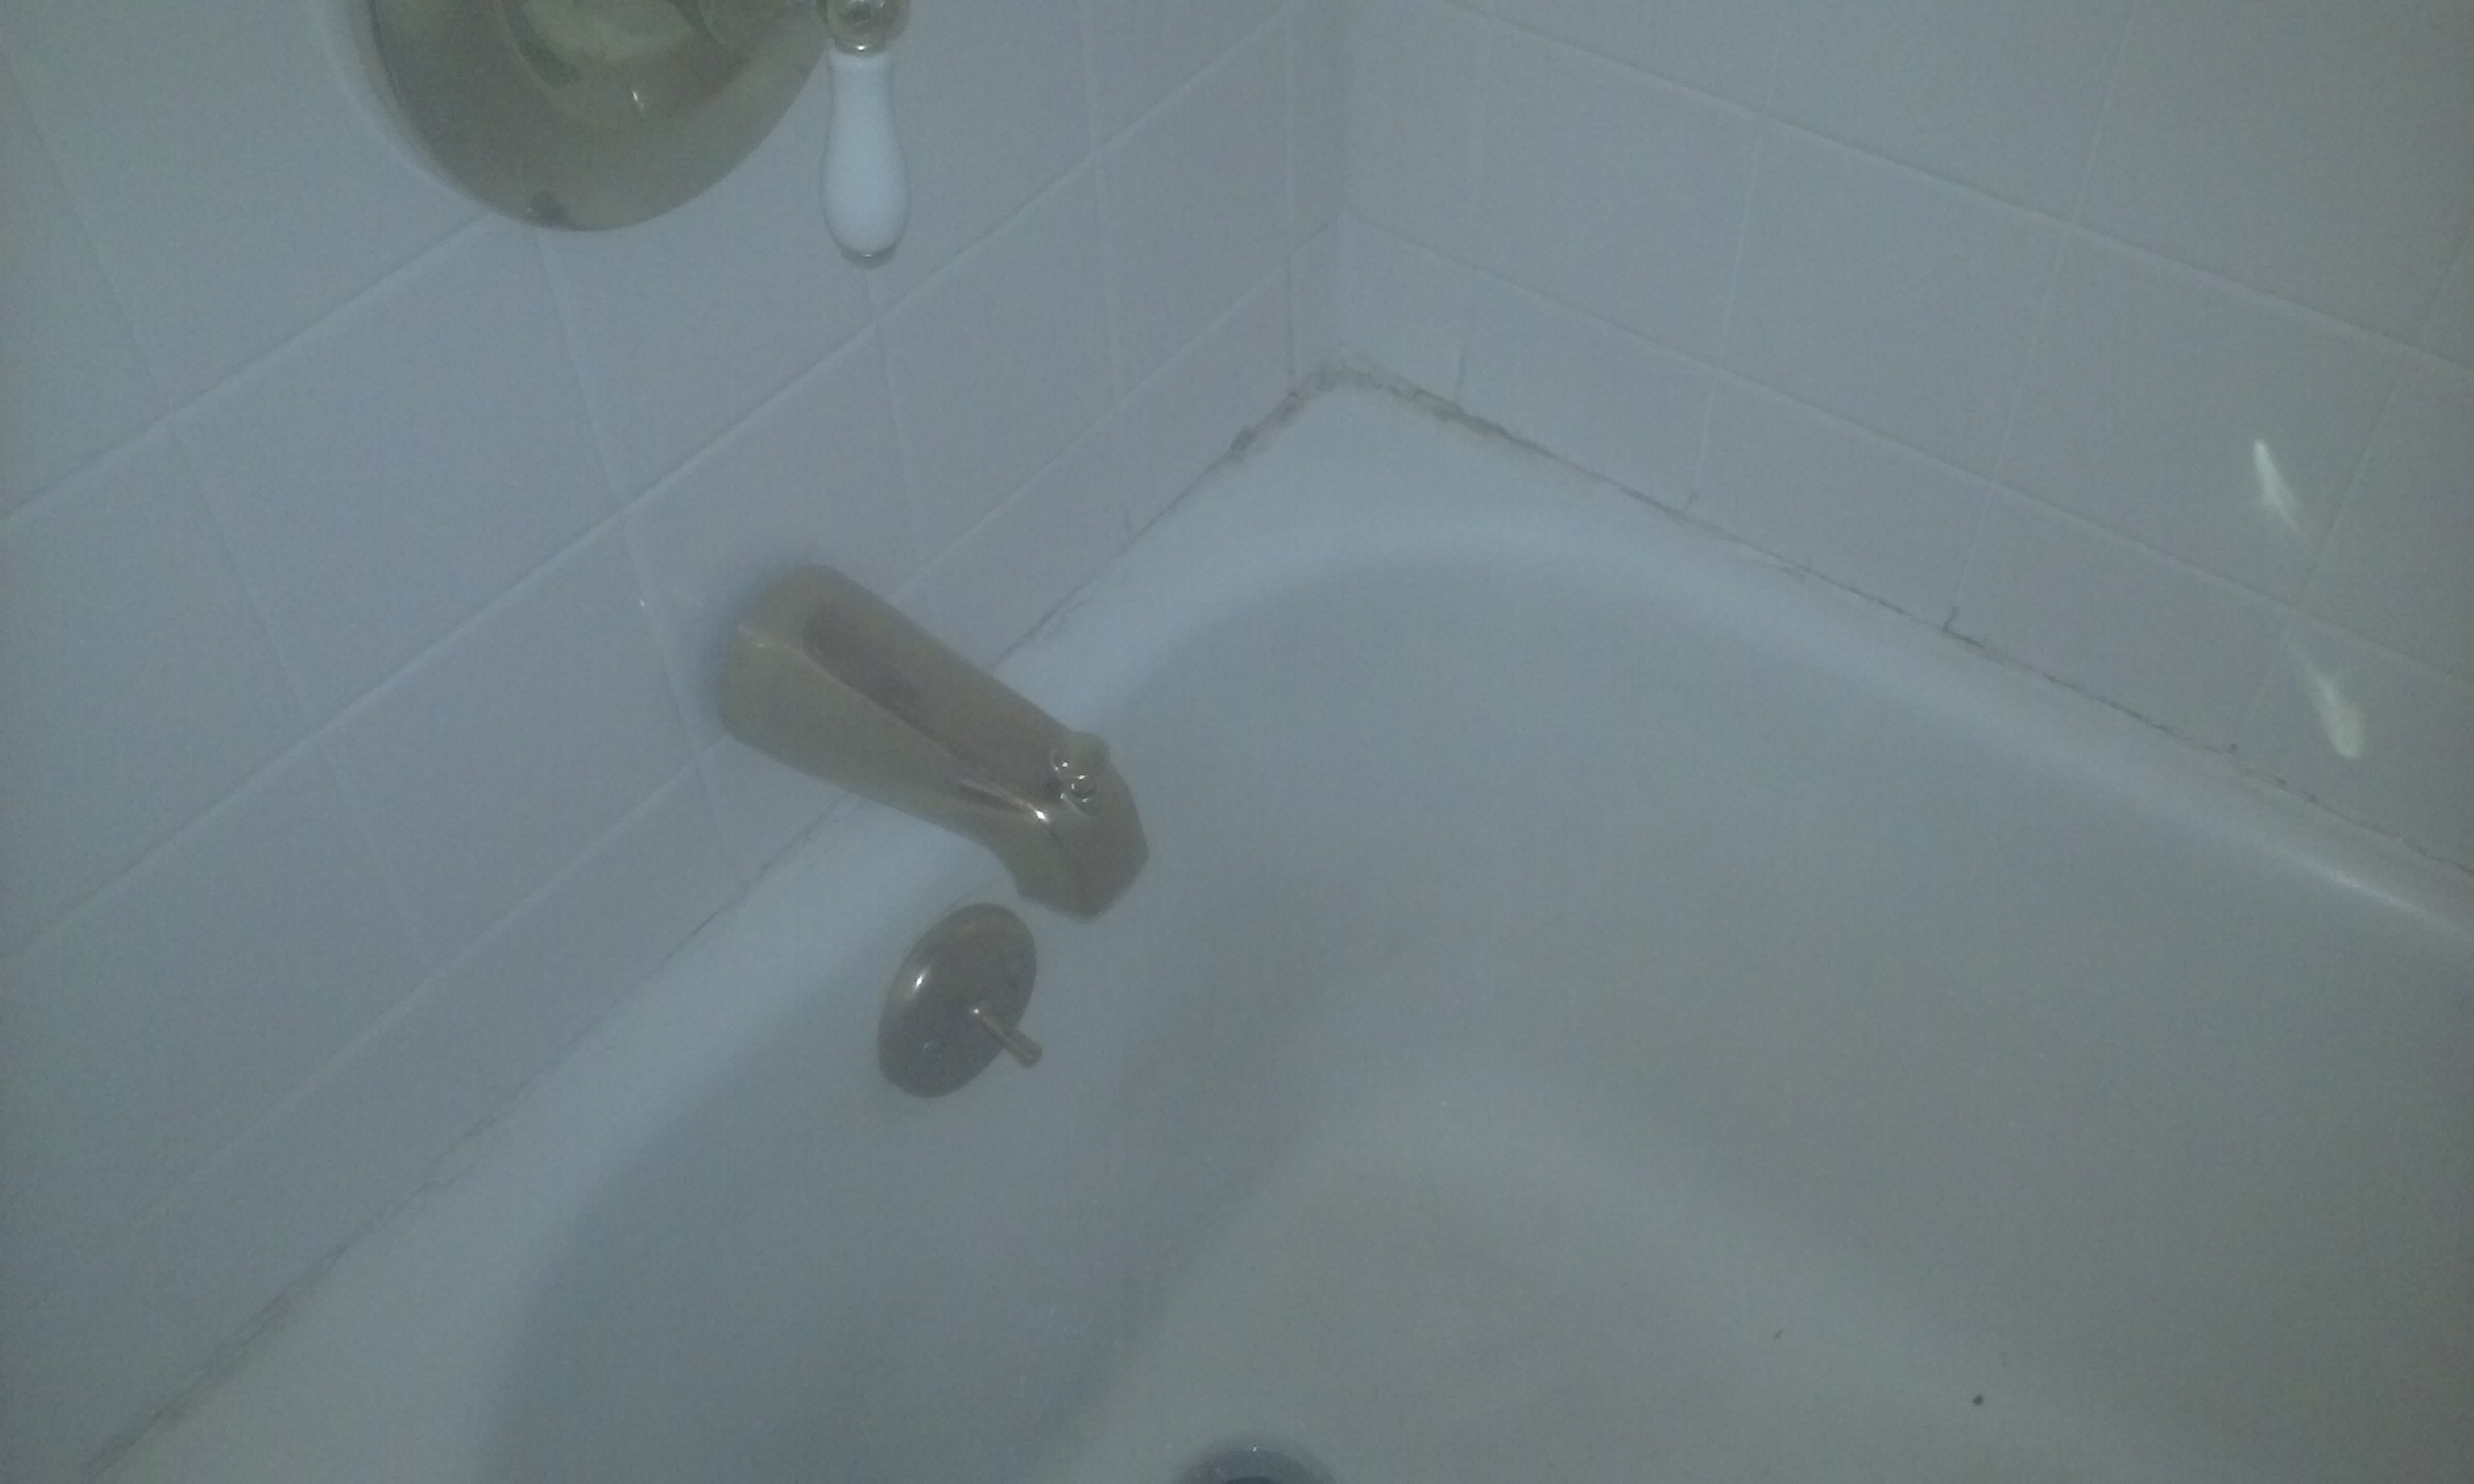
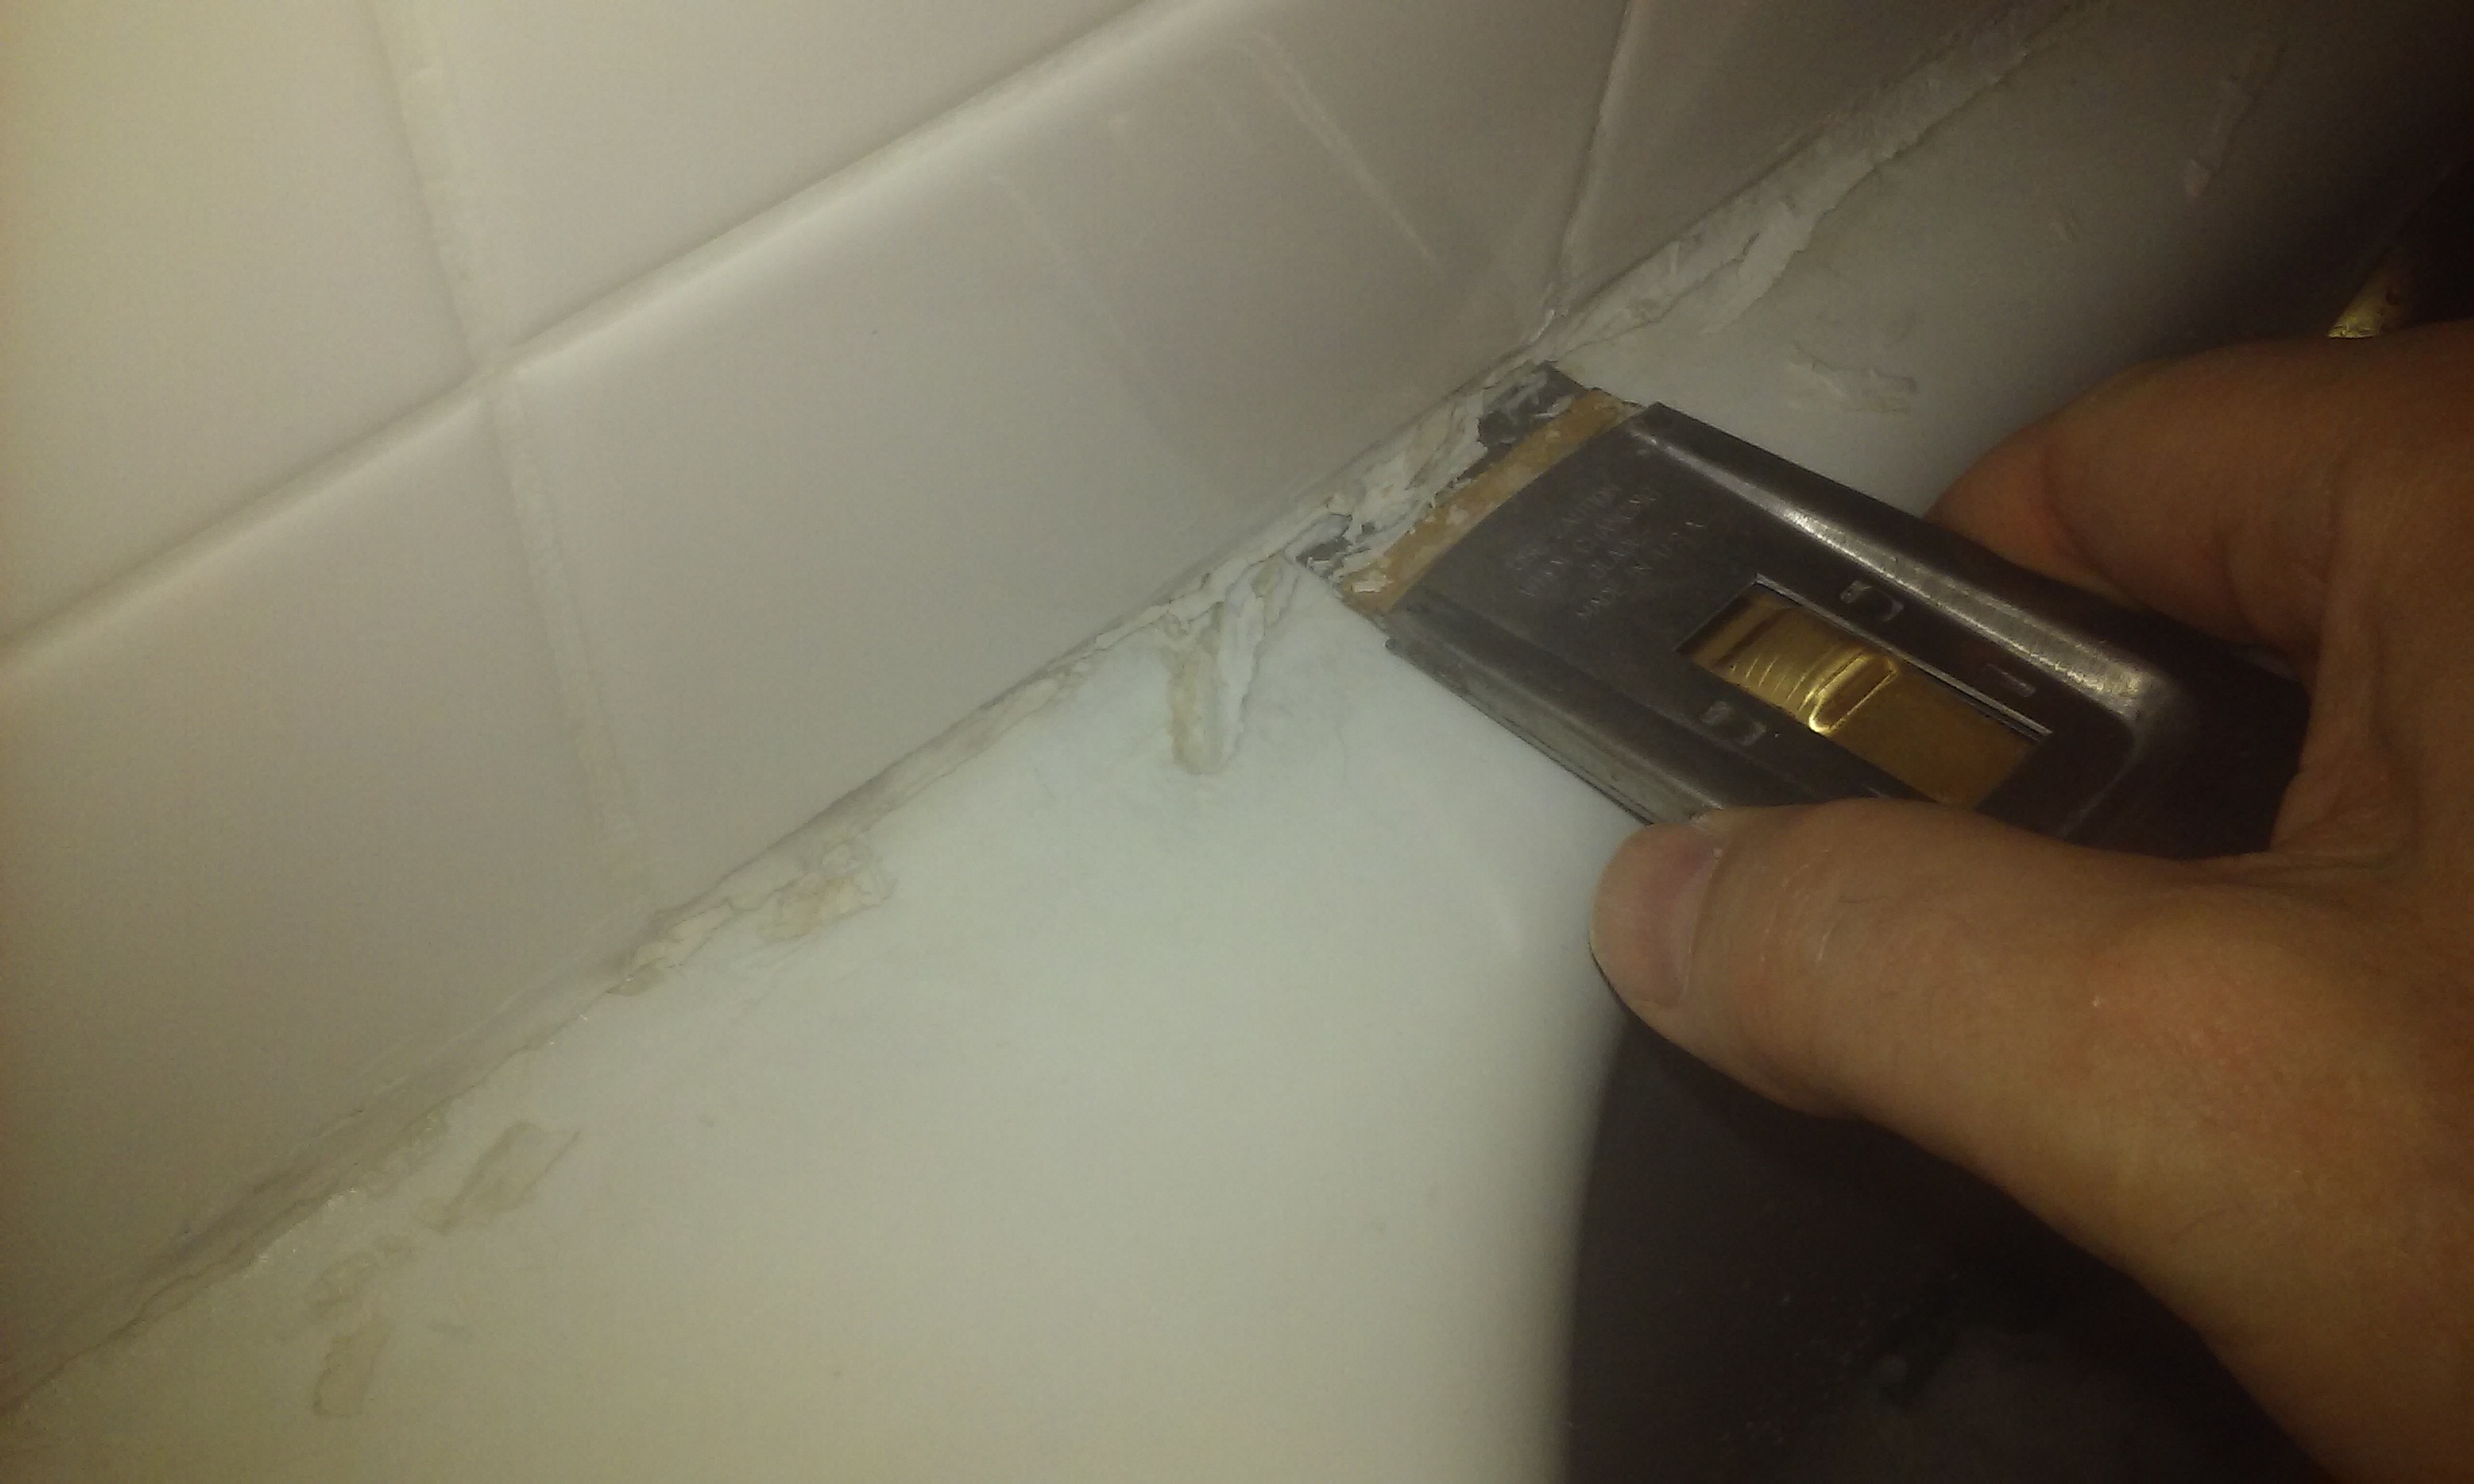
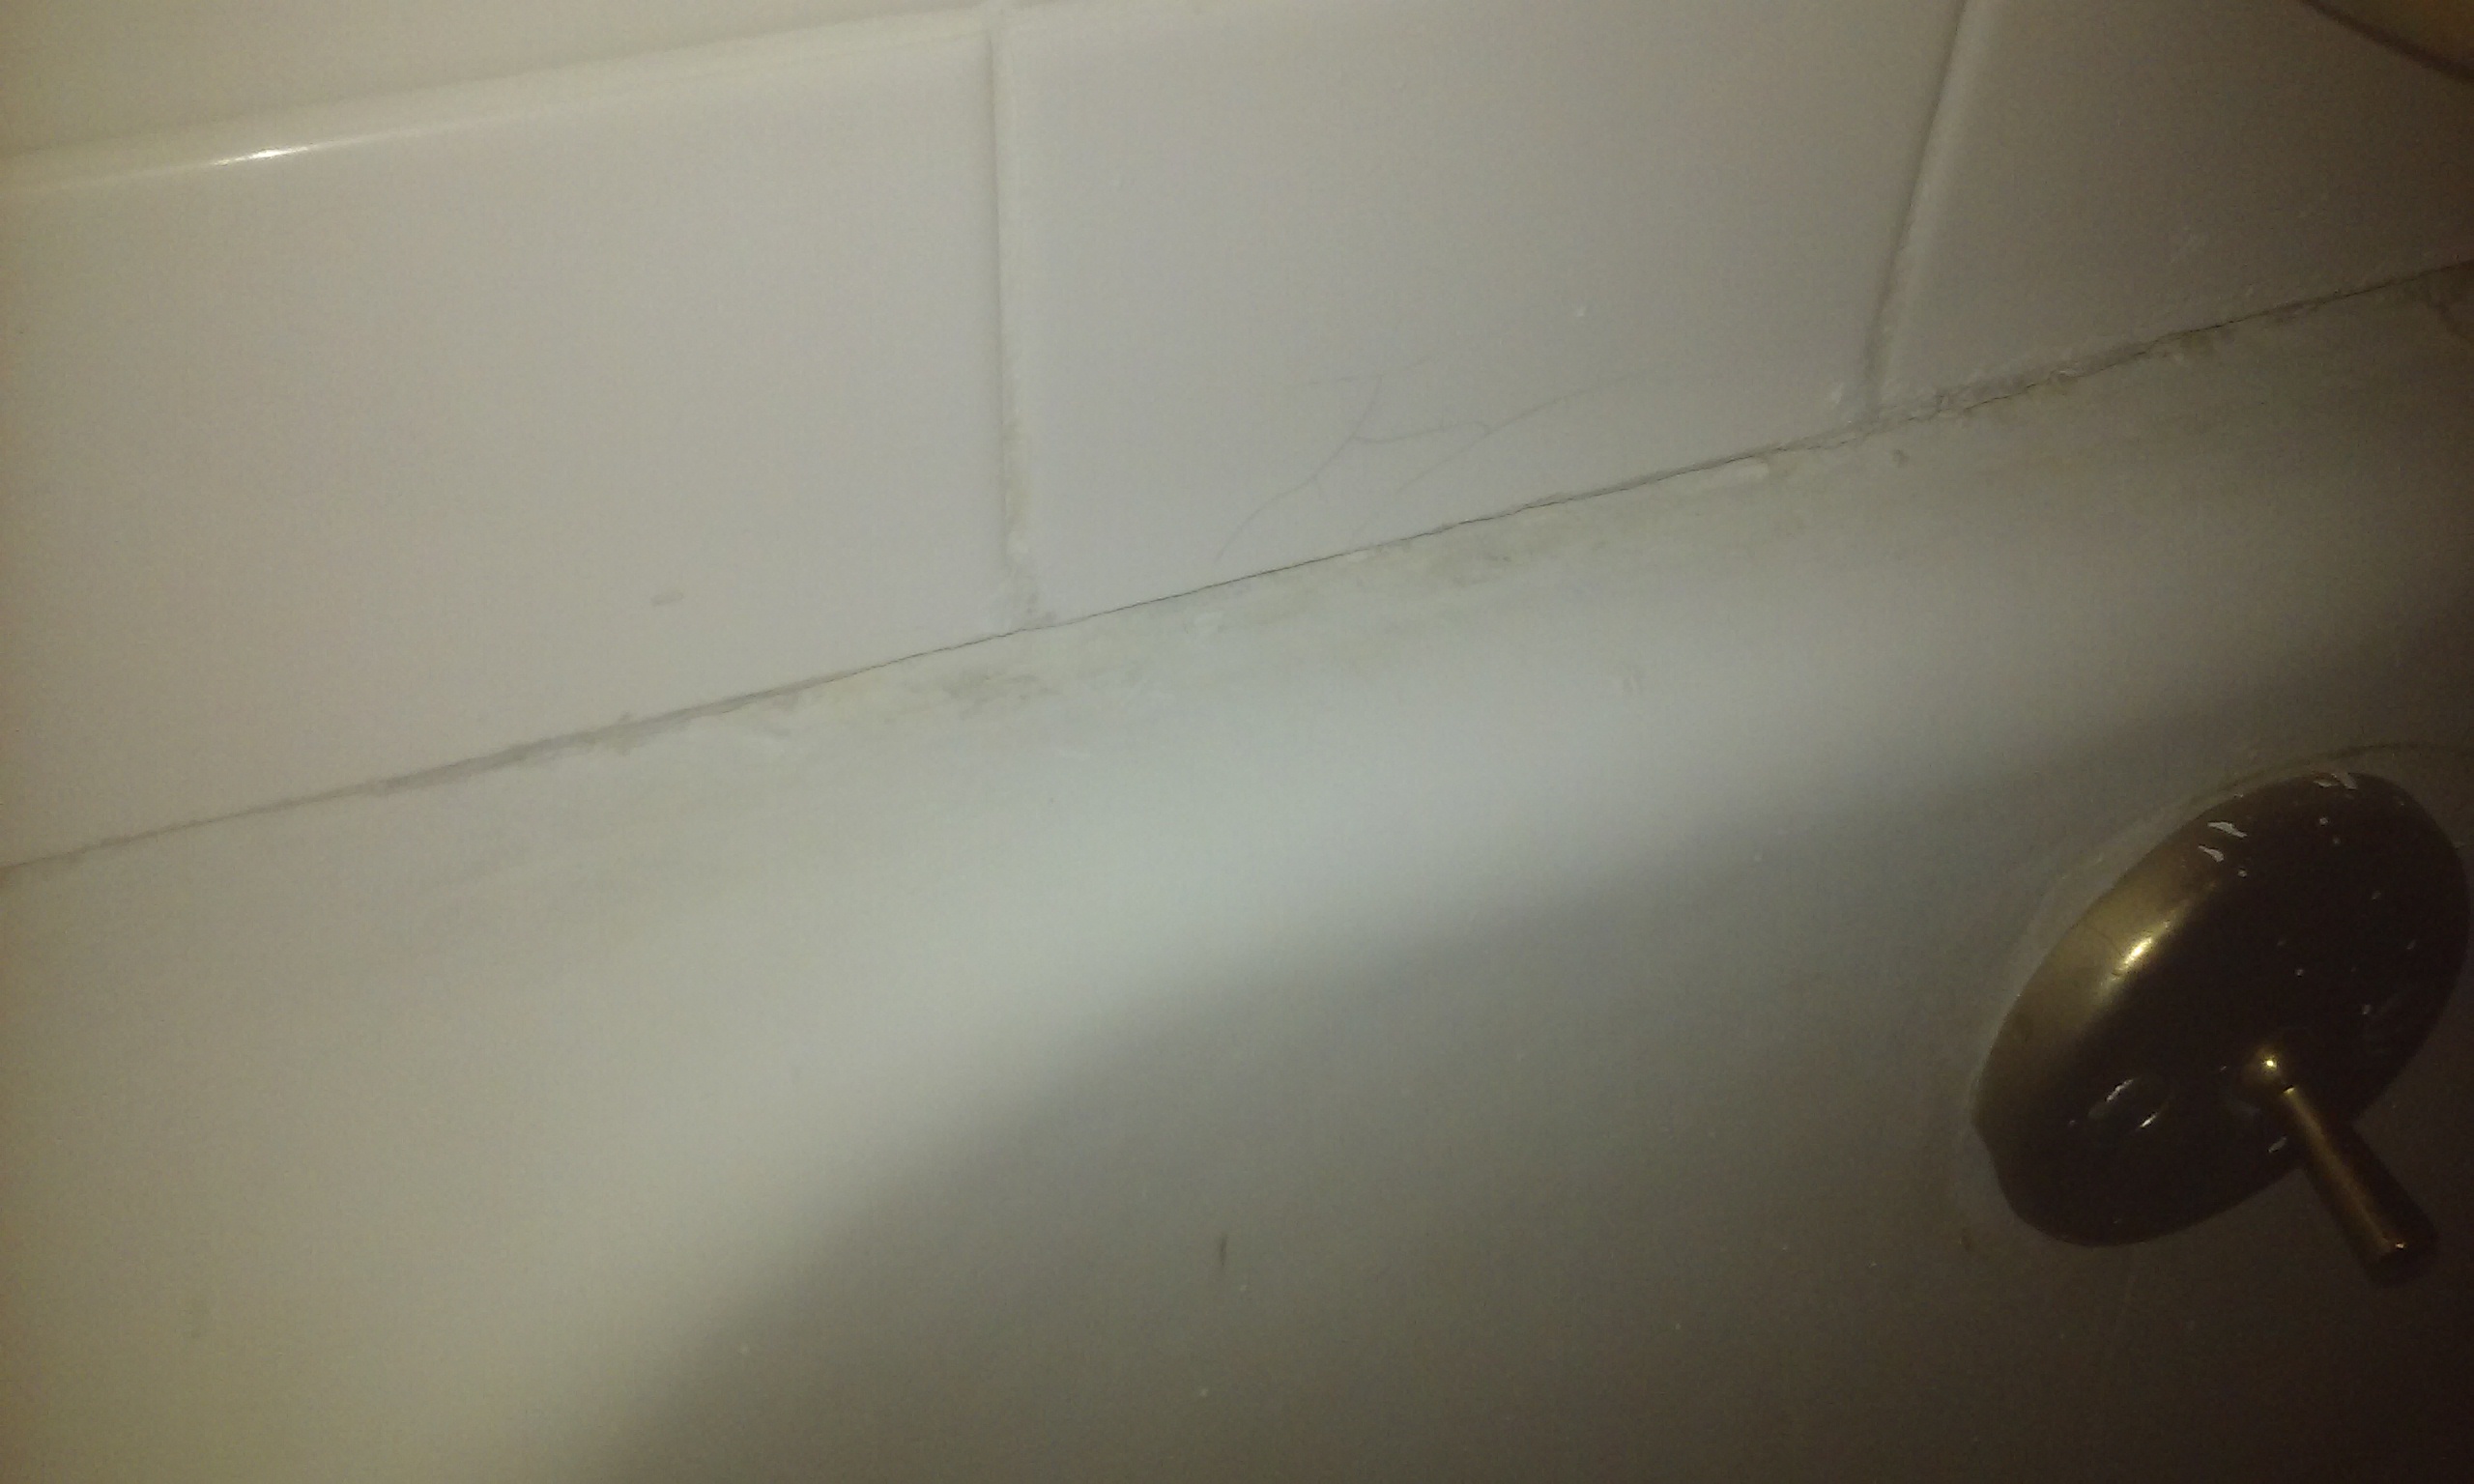
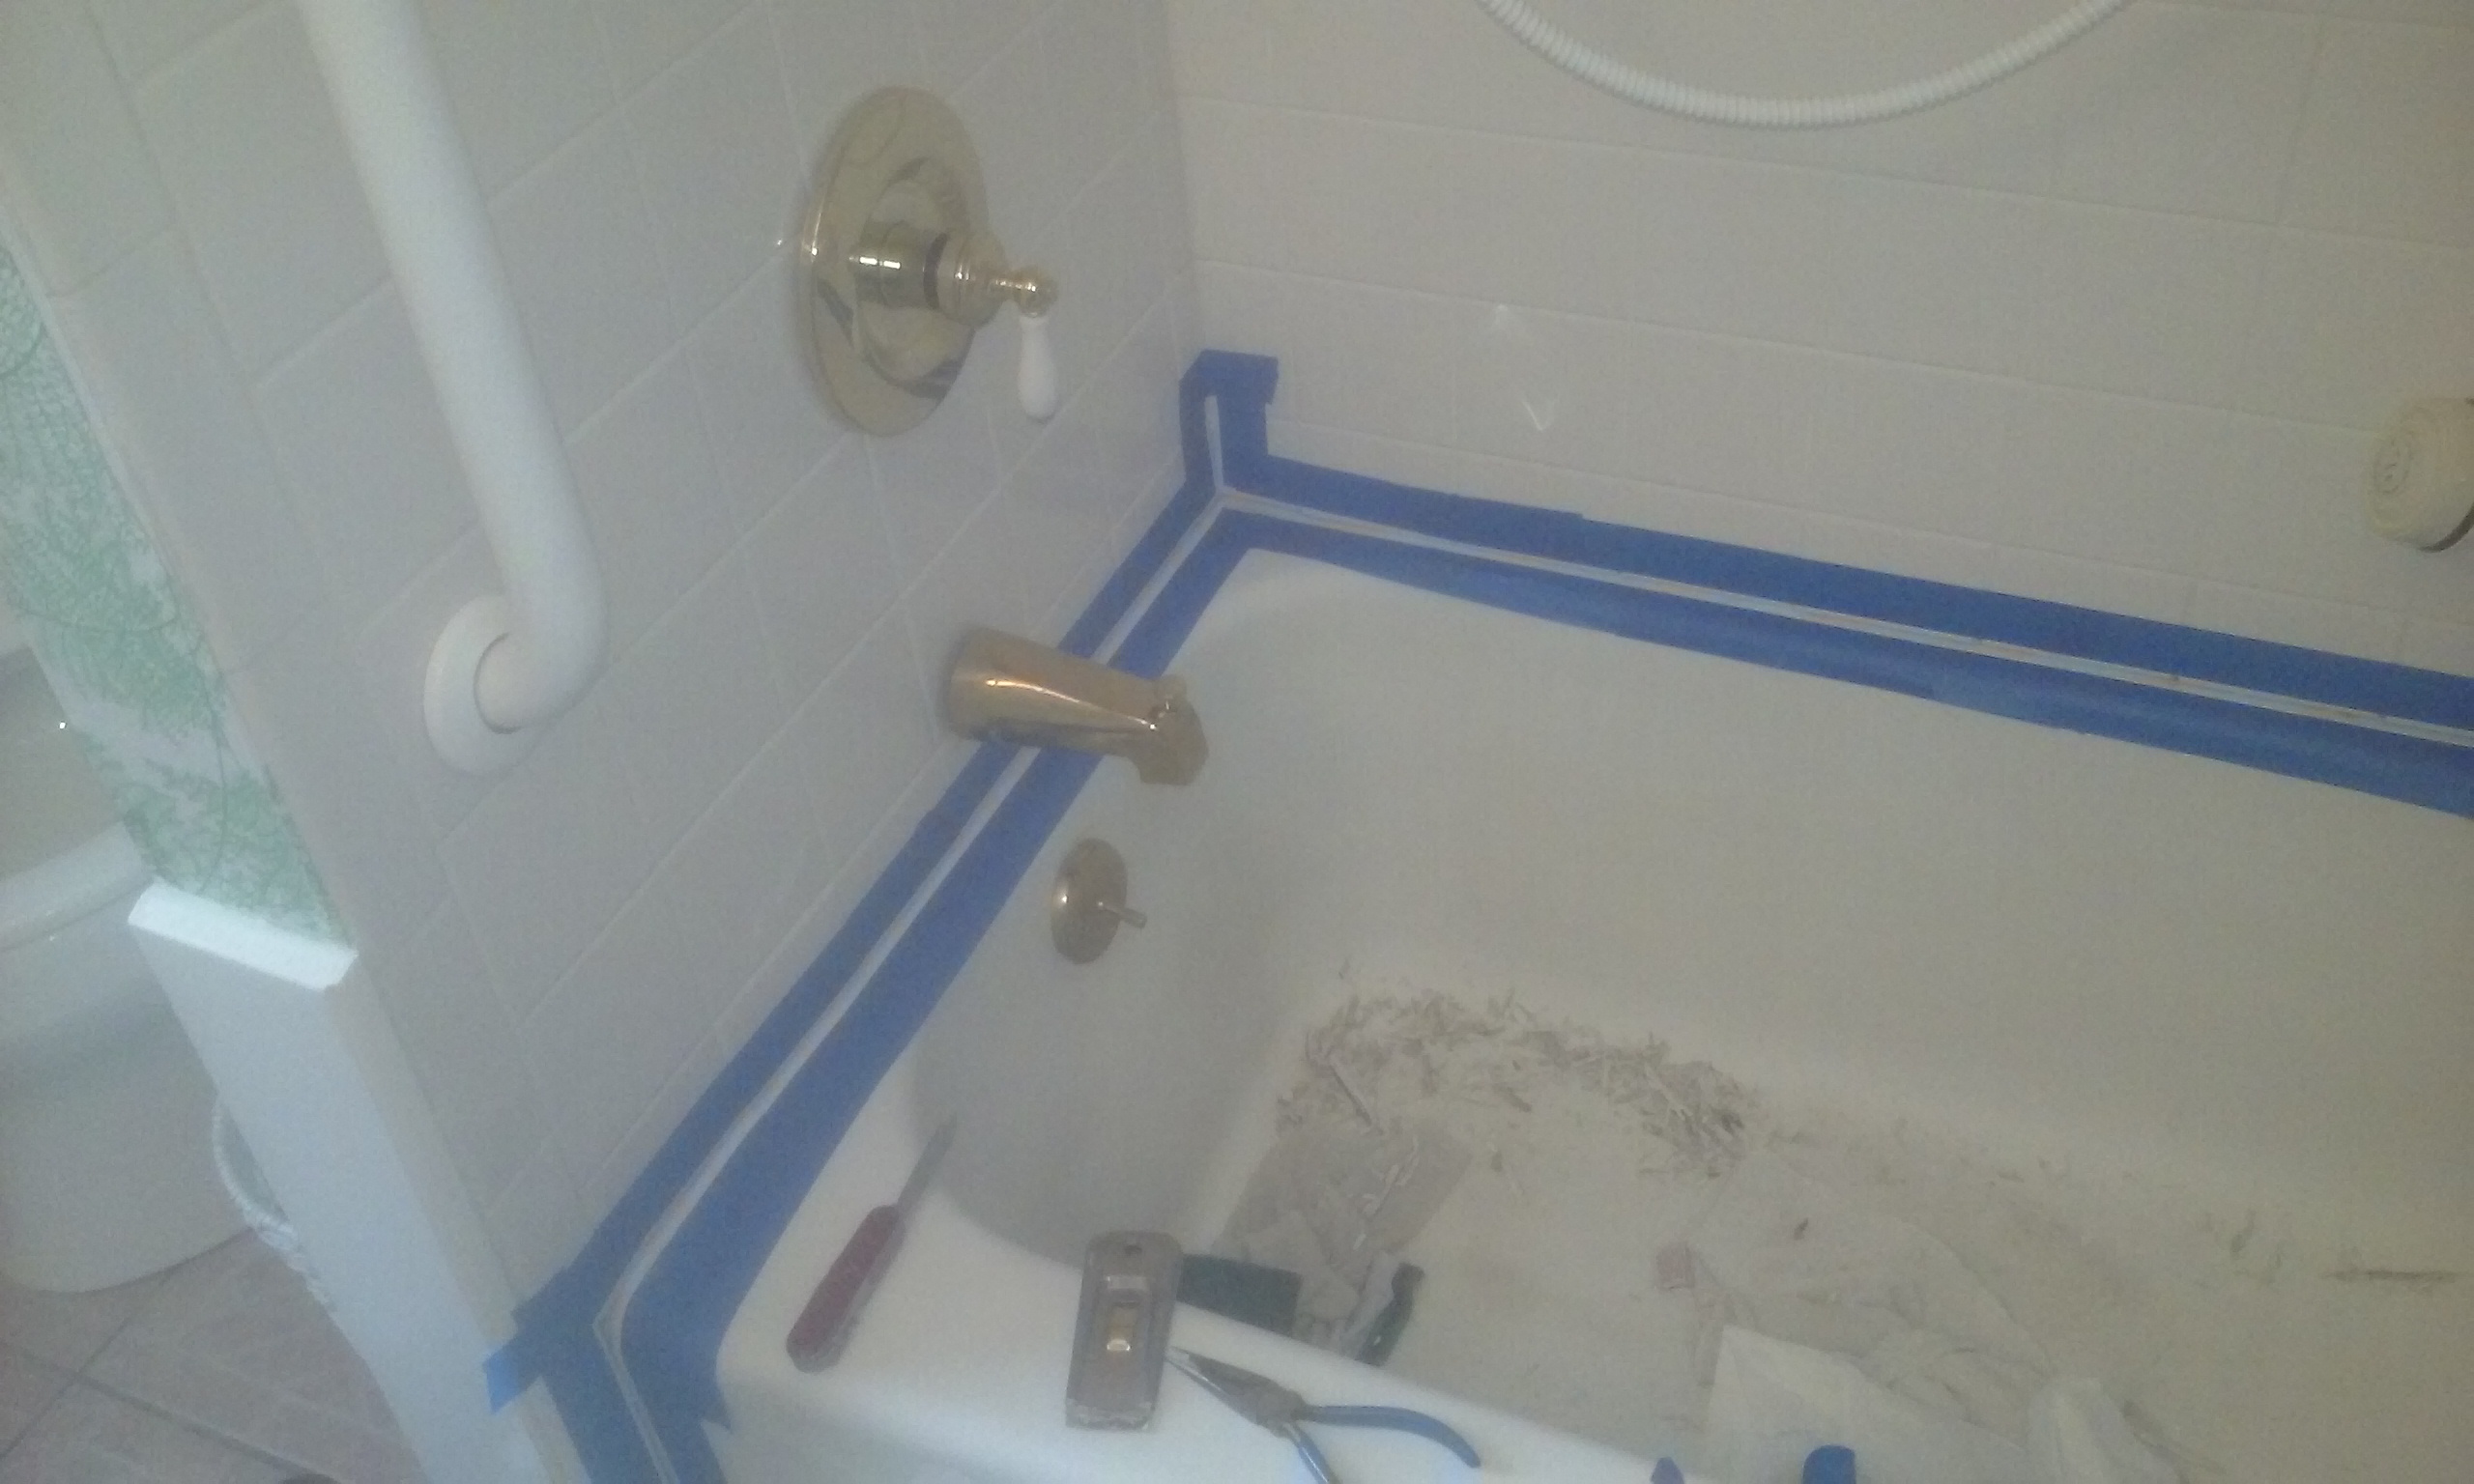
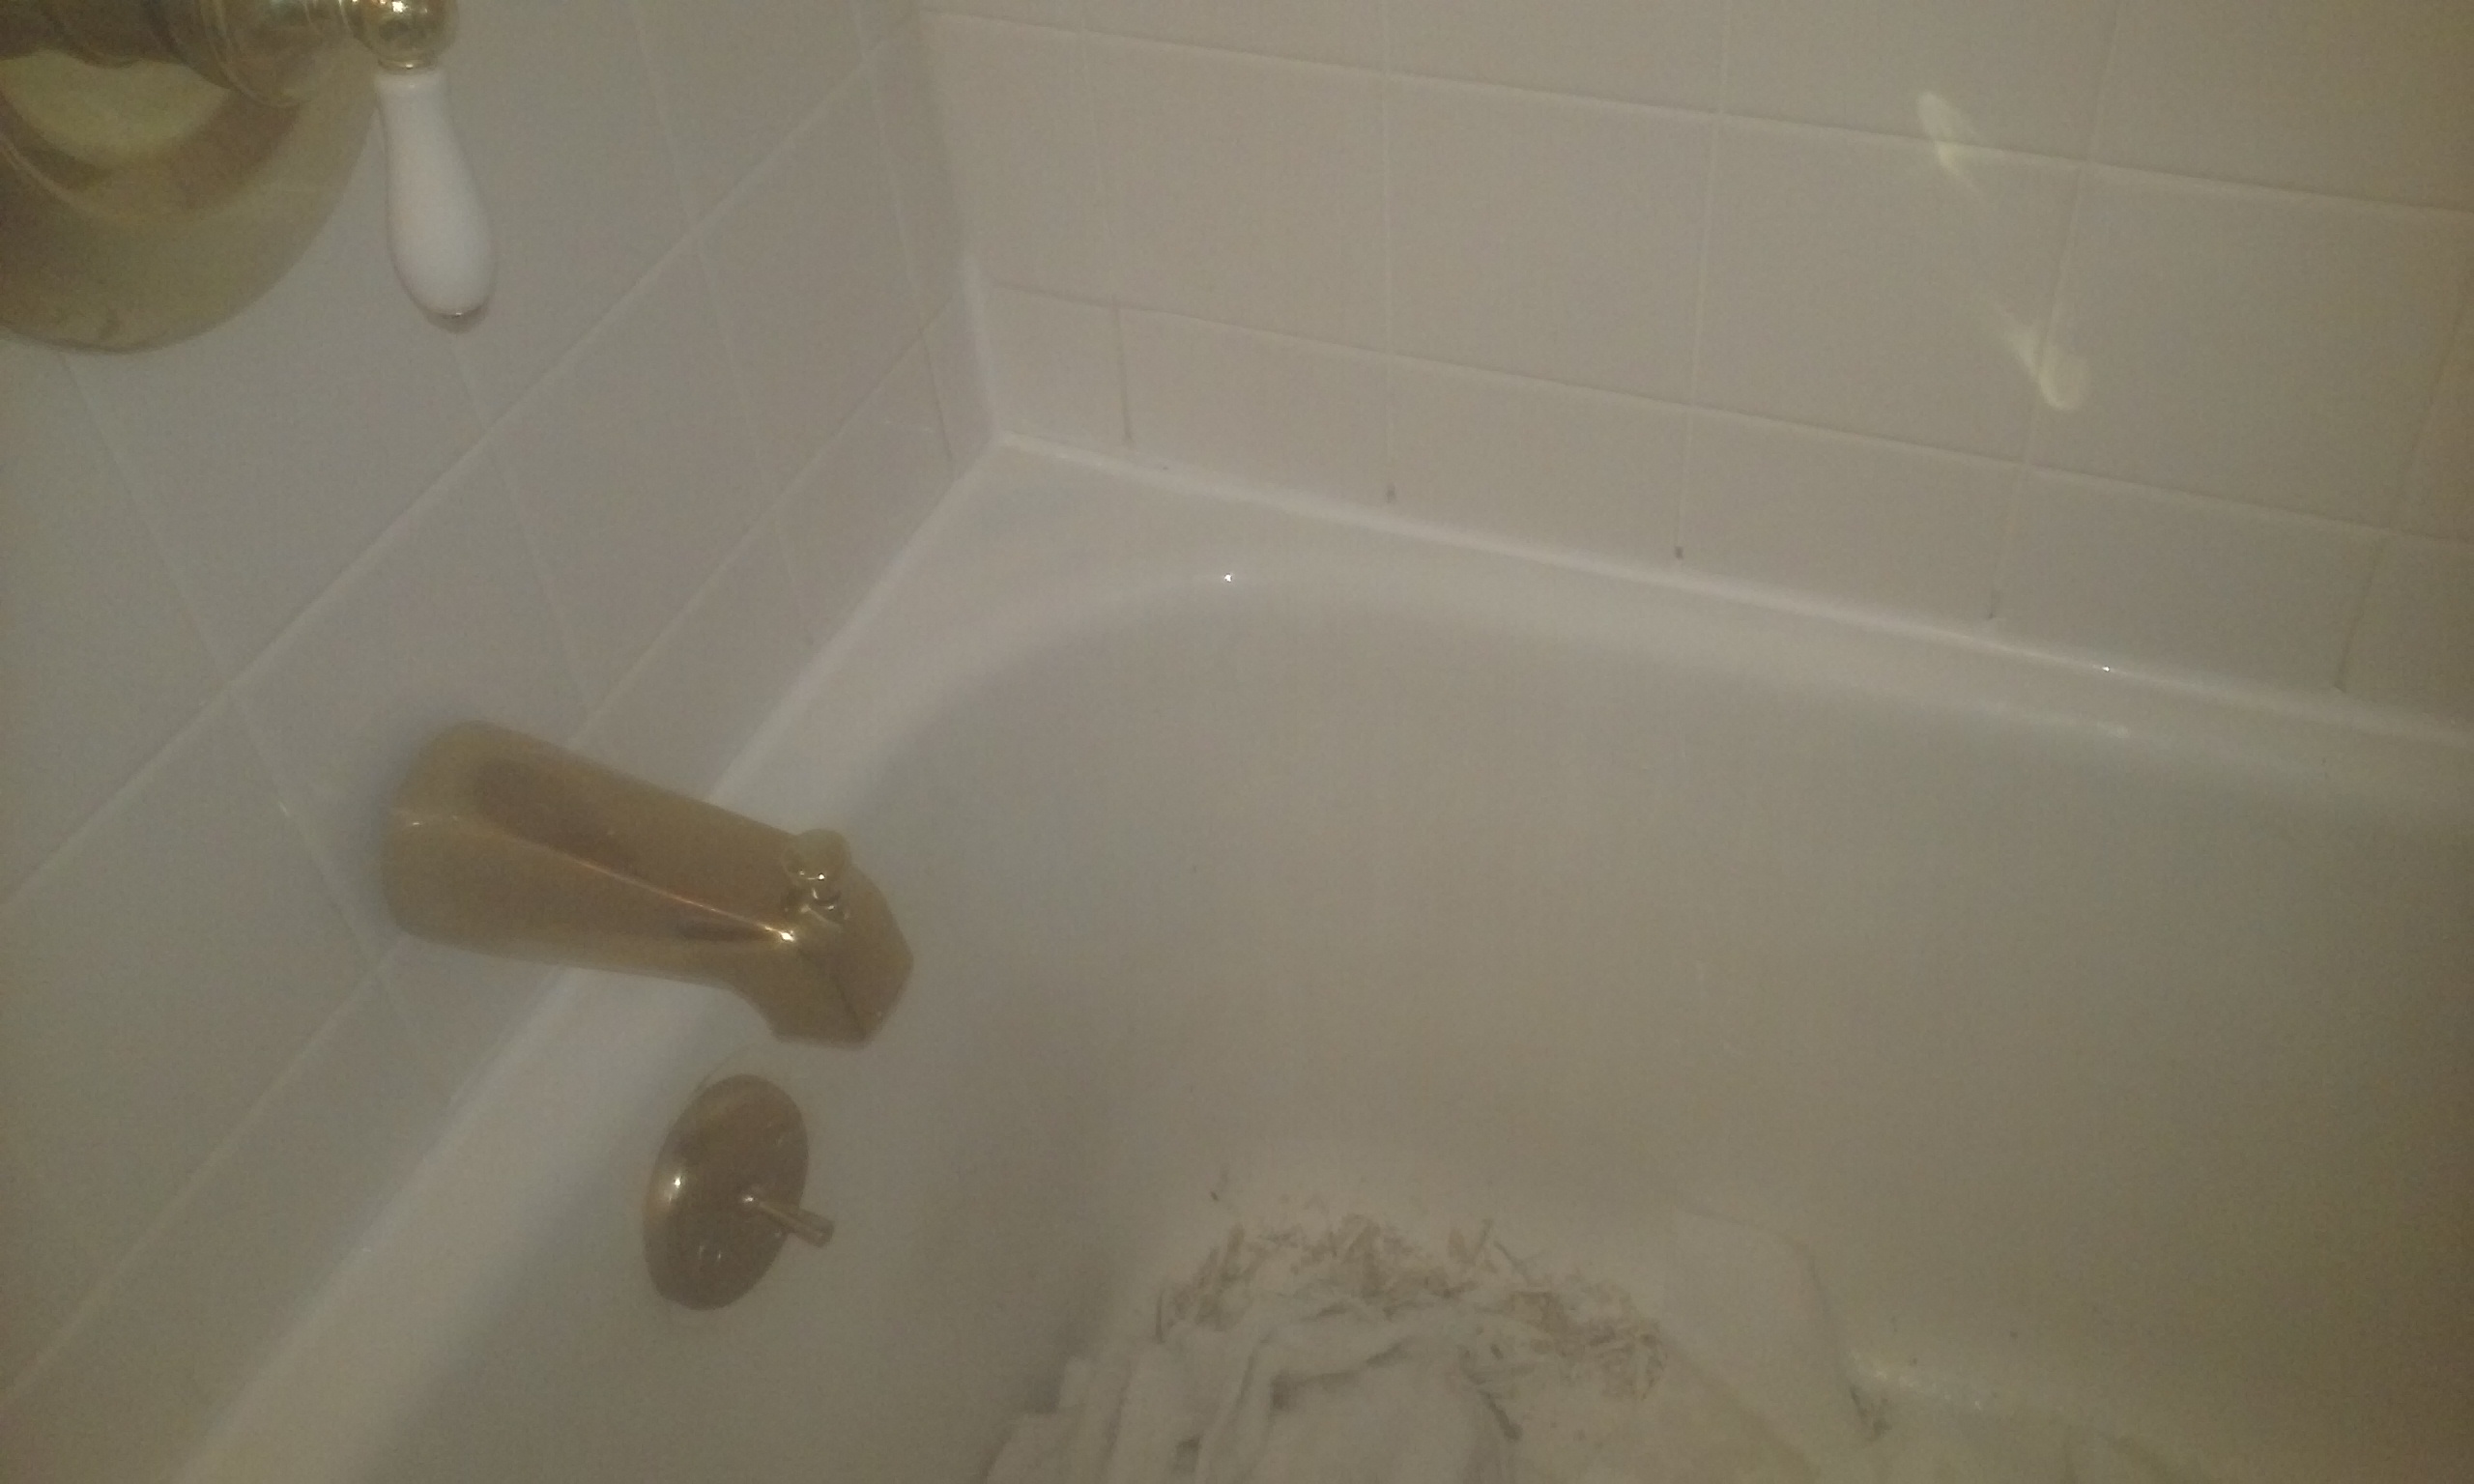
It’s always hard to get good pix of a tub caulk job because everything is bright white, but hopefully you get the idea.  The added benefit of using high grade tub/bath silicone is, it will kill all mildew in sight, and if you have issues with dark stains appearing on the bottom of your tub, this will reduce them by 95%.

Another day in the life . . .


Assembling a Bed

So a new client called and asked if I could put a bed frame together.  Sure, I said.  I figured, two of those steel bed frame doodads, put on the four wheels, 2 sets screws, and done.  HAHAHAHAHAHAHA.  Silly me.

So it turns out it was a Woodcrest Pine Ridge Mission Captains Bed.  It seemed simple enough, three boxes on a pallet.  Off we go.

The trick to any self assembly furniture is to not think too much, or try to do anything without consulting the directions.  I will say, as a reviewer, this kit gets about a C- from me.  One problem was, the bag of connectors was kinda hard to work with:

In better kits, each different connector comes in its own re-sealable plastic bag.  This was one bag with 10 or more compartments, so once you cut things open it was VERY easy to mix things up or lose them.  If I had it to do over, I would bring a bunch of little tupperware containers to keep them organized, as there were almost 180 connectors, and many of them were almost the same size.  ANYWAY back to the job!

Of course it is always a thrill when it starts to take shape!

I will also add, as part of my overall product review, this was harder than it had to be because the slats here were not uniformly cut, and I had to do some sawing on one or two to make them fit.  But hey, I am a handy . . . person.

More pix . . .

Once I got to this point I figured I was almost done, but NOOOOO . . .  I literally had to build the drawers, all three, pretty much from scratch.

Another issue, the posts for the knobs had been painted, making them too big to fit in the holes, so all 6 had to be sanded down with a file.  Yeesh.  But, success.
I hope I don’t sound too negative here, I love putting furniture together, it’s like doing a massive jigsaw puzzle, and often it’s very much of a “me vs. them” challenge which I adore.  But I will say about this particular item though, the directions were more difficult than most– there were at least two points where I had to make a critical decisions, and I simply had to make an educated guess.  I guessed right, but it was close.   And I was a little surprised at how barren the drawer parts were, I would have expected more pre-drilled holes in a kit.  Things were so basic I found myself wishing I had clamps and a workbench, but, I managed to make do with tools at hand.  Also many of the pre-drilled holes for the bed slats were either nonexistent or not in the right place and I had to work around that.

On the plus side, the client was fabulous, supplying me with snacks and bottles of water throughout the 6 hours.  So, despite the many difficulties, it was a success.  All in a day’s work 🙂


Dishwasher Puzzle

It seems like every week someone calls me to solve a problem that no one else has been able to figure out.  This time, a client had someone install a dishwasher, but they didn’t do it right.

You can’t see it in the above, but various things were wrong here.  The dishwasher was listing to starboard, but more importantly, the “mounting tabs” that keep the thing from tipping over into the kitchen were not installed.

The reason for this was, the flooring of the kitchen was higher than the untiled subflooring under the dishwasher, so when it was shoved into the space, it dropped about half an inch.

This made for a really ugly look of course, but also, the gap made it almost impossible to connect the mounting tabs.  And, sadly, the installer skipped town WITH the tabs, so we had to get new.

Well guess what.  No one has them.  Not Amana, not Home Depot, nobody.  Finally I found an appliance parts place in Needham that had them.

So it took 3 of us to manhandle the thing out of the enclosure because of the drop in the floor . . .

Bear in mind, I don’t install dishwashers, that’s way too much new plumbing and electrical.  Anyway, I bought some slats of 1/4″ thick wood at Home Depot, and cut them to fit, to make runners that were level/flush with the kitchen floor. Then I used the dishwasher’s “leveler feet”  to set the ideal height for the opening, slid it in, and connected the mounting tabs.

Looks and seems pretty simple now, but troubleshooting this and coming up with workarounds for that floor height problem took some serious synaptic activity!!!  All in day’s work . . .

Medicine Cabinet

One of the things you must do as a handyman is hang stuff on walls, and there are endless methods and techniques for doing so.

So today a regular client asked me to install a medicine cabinet in her bathroom.

Now I like to act tough and nonchalant as most guys in the trades like to be, but in my heart, I know that anything that weighs 30 plus pounds and in made of glass, well, it has to be done right.

So anyway, it starts with locating the studs and drilling some holes and putting in the screws and making sure it’s level, and deciphering the truly godawful hard to understand directions (Thanks, Kohler, for nothing in that dept.) . . .

There were many little steps, and it took two and a half hours, but VOILA

I will say with some smugness that this thing is ON THERE, with 3 inch screws driven into the studs on the bottom and molly bolts holding the top.

It’s Miller time!


Impressed with Nest

So a new client asked me to install a NEST thermostat for them.  A quick look at a “this old house” video made me feel emboldened, so off I went.

I confess I was much impressed with the “usability” of the product and their instructions.  The main things:  turn off the HVAC/furnace power, don’t let the therm wire escape into the wall, inserting the wires is a little tricky at first, and just follow the directions.  Whoosh.  All done.

Assembling a Conference Table

So this new client called and asked me to put a conference table together out of four boxes.  Not much to tell, the standard IKEA style connectors, but . . . well over a hundred of them.  I confess at a certain level this kind of project is fun to do, on the other hand, it is very demanding work, a lot of grubbing around on the floor and making sure one is doing it all according to Hoyle!

and, voila: