So a new client called the other day asking me to fix a broken window:
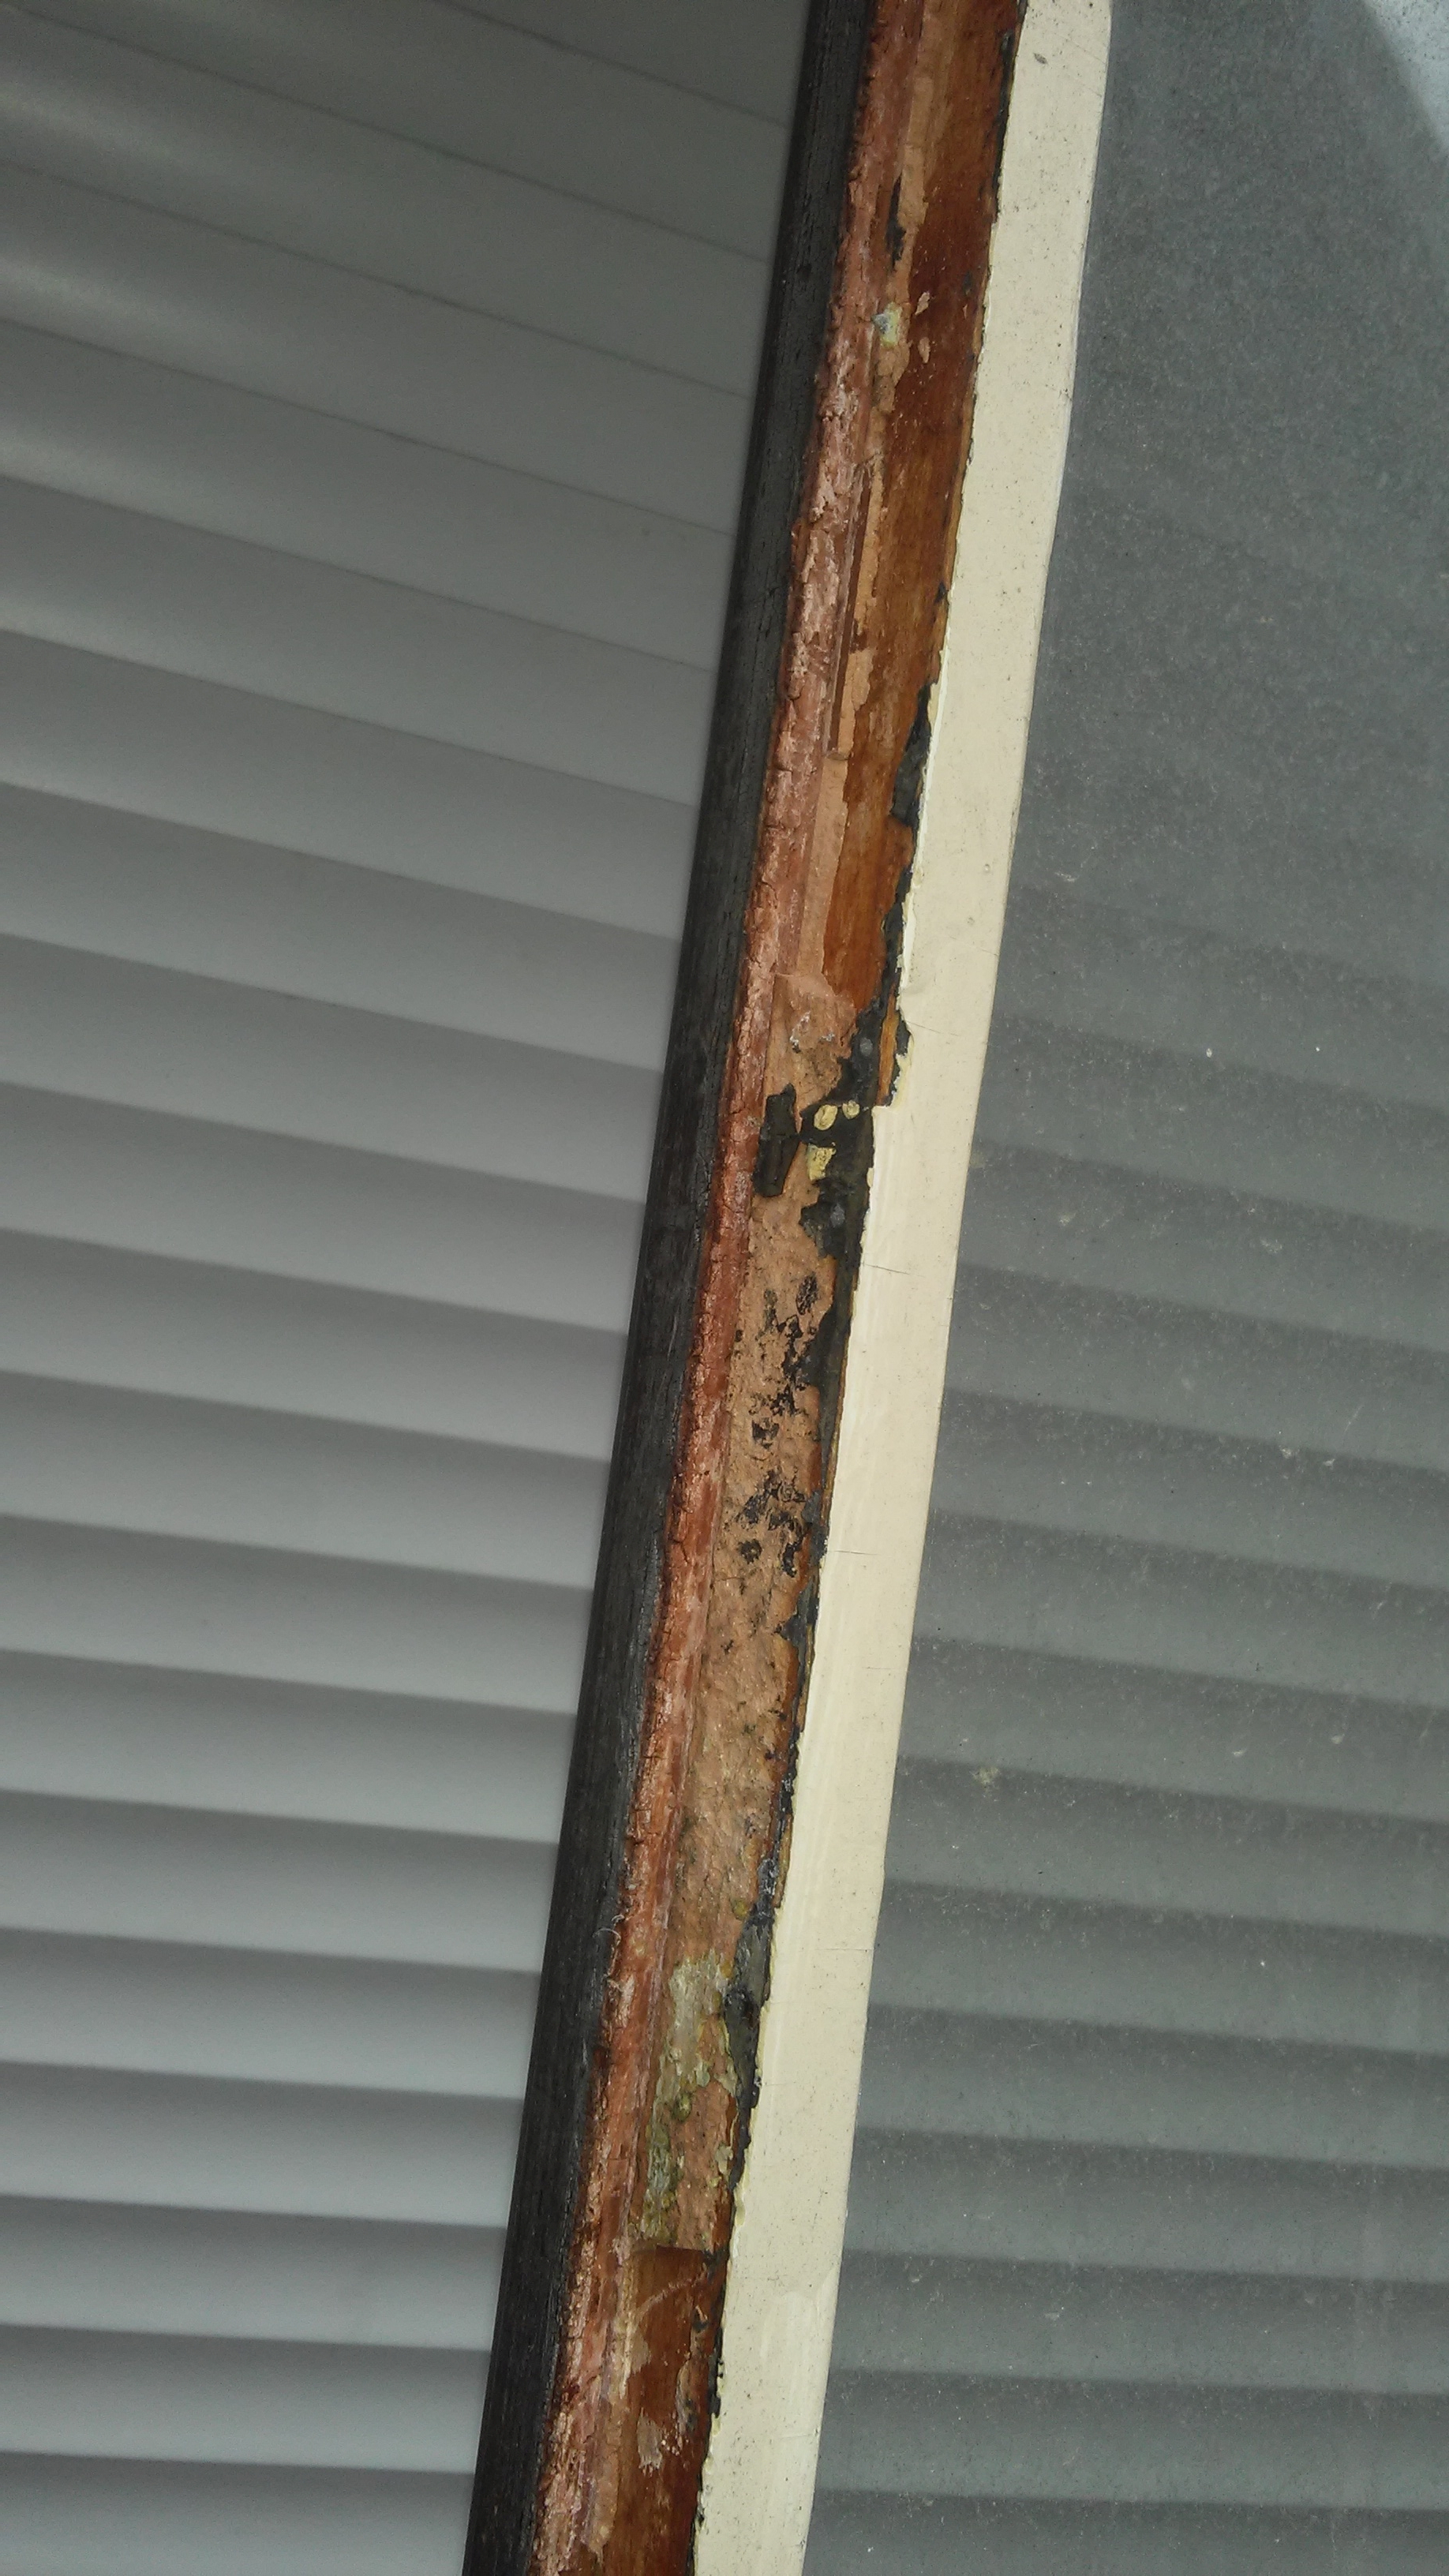
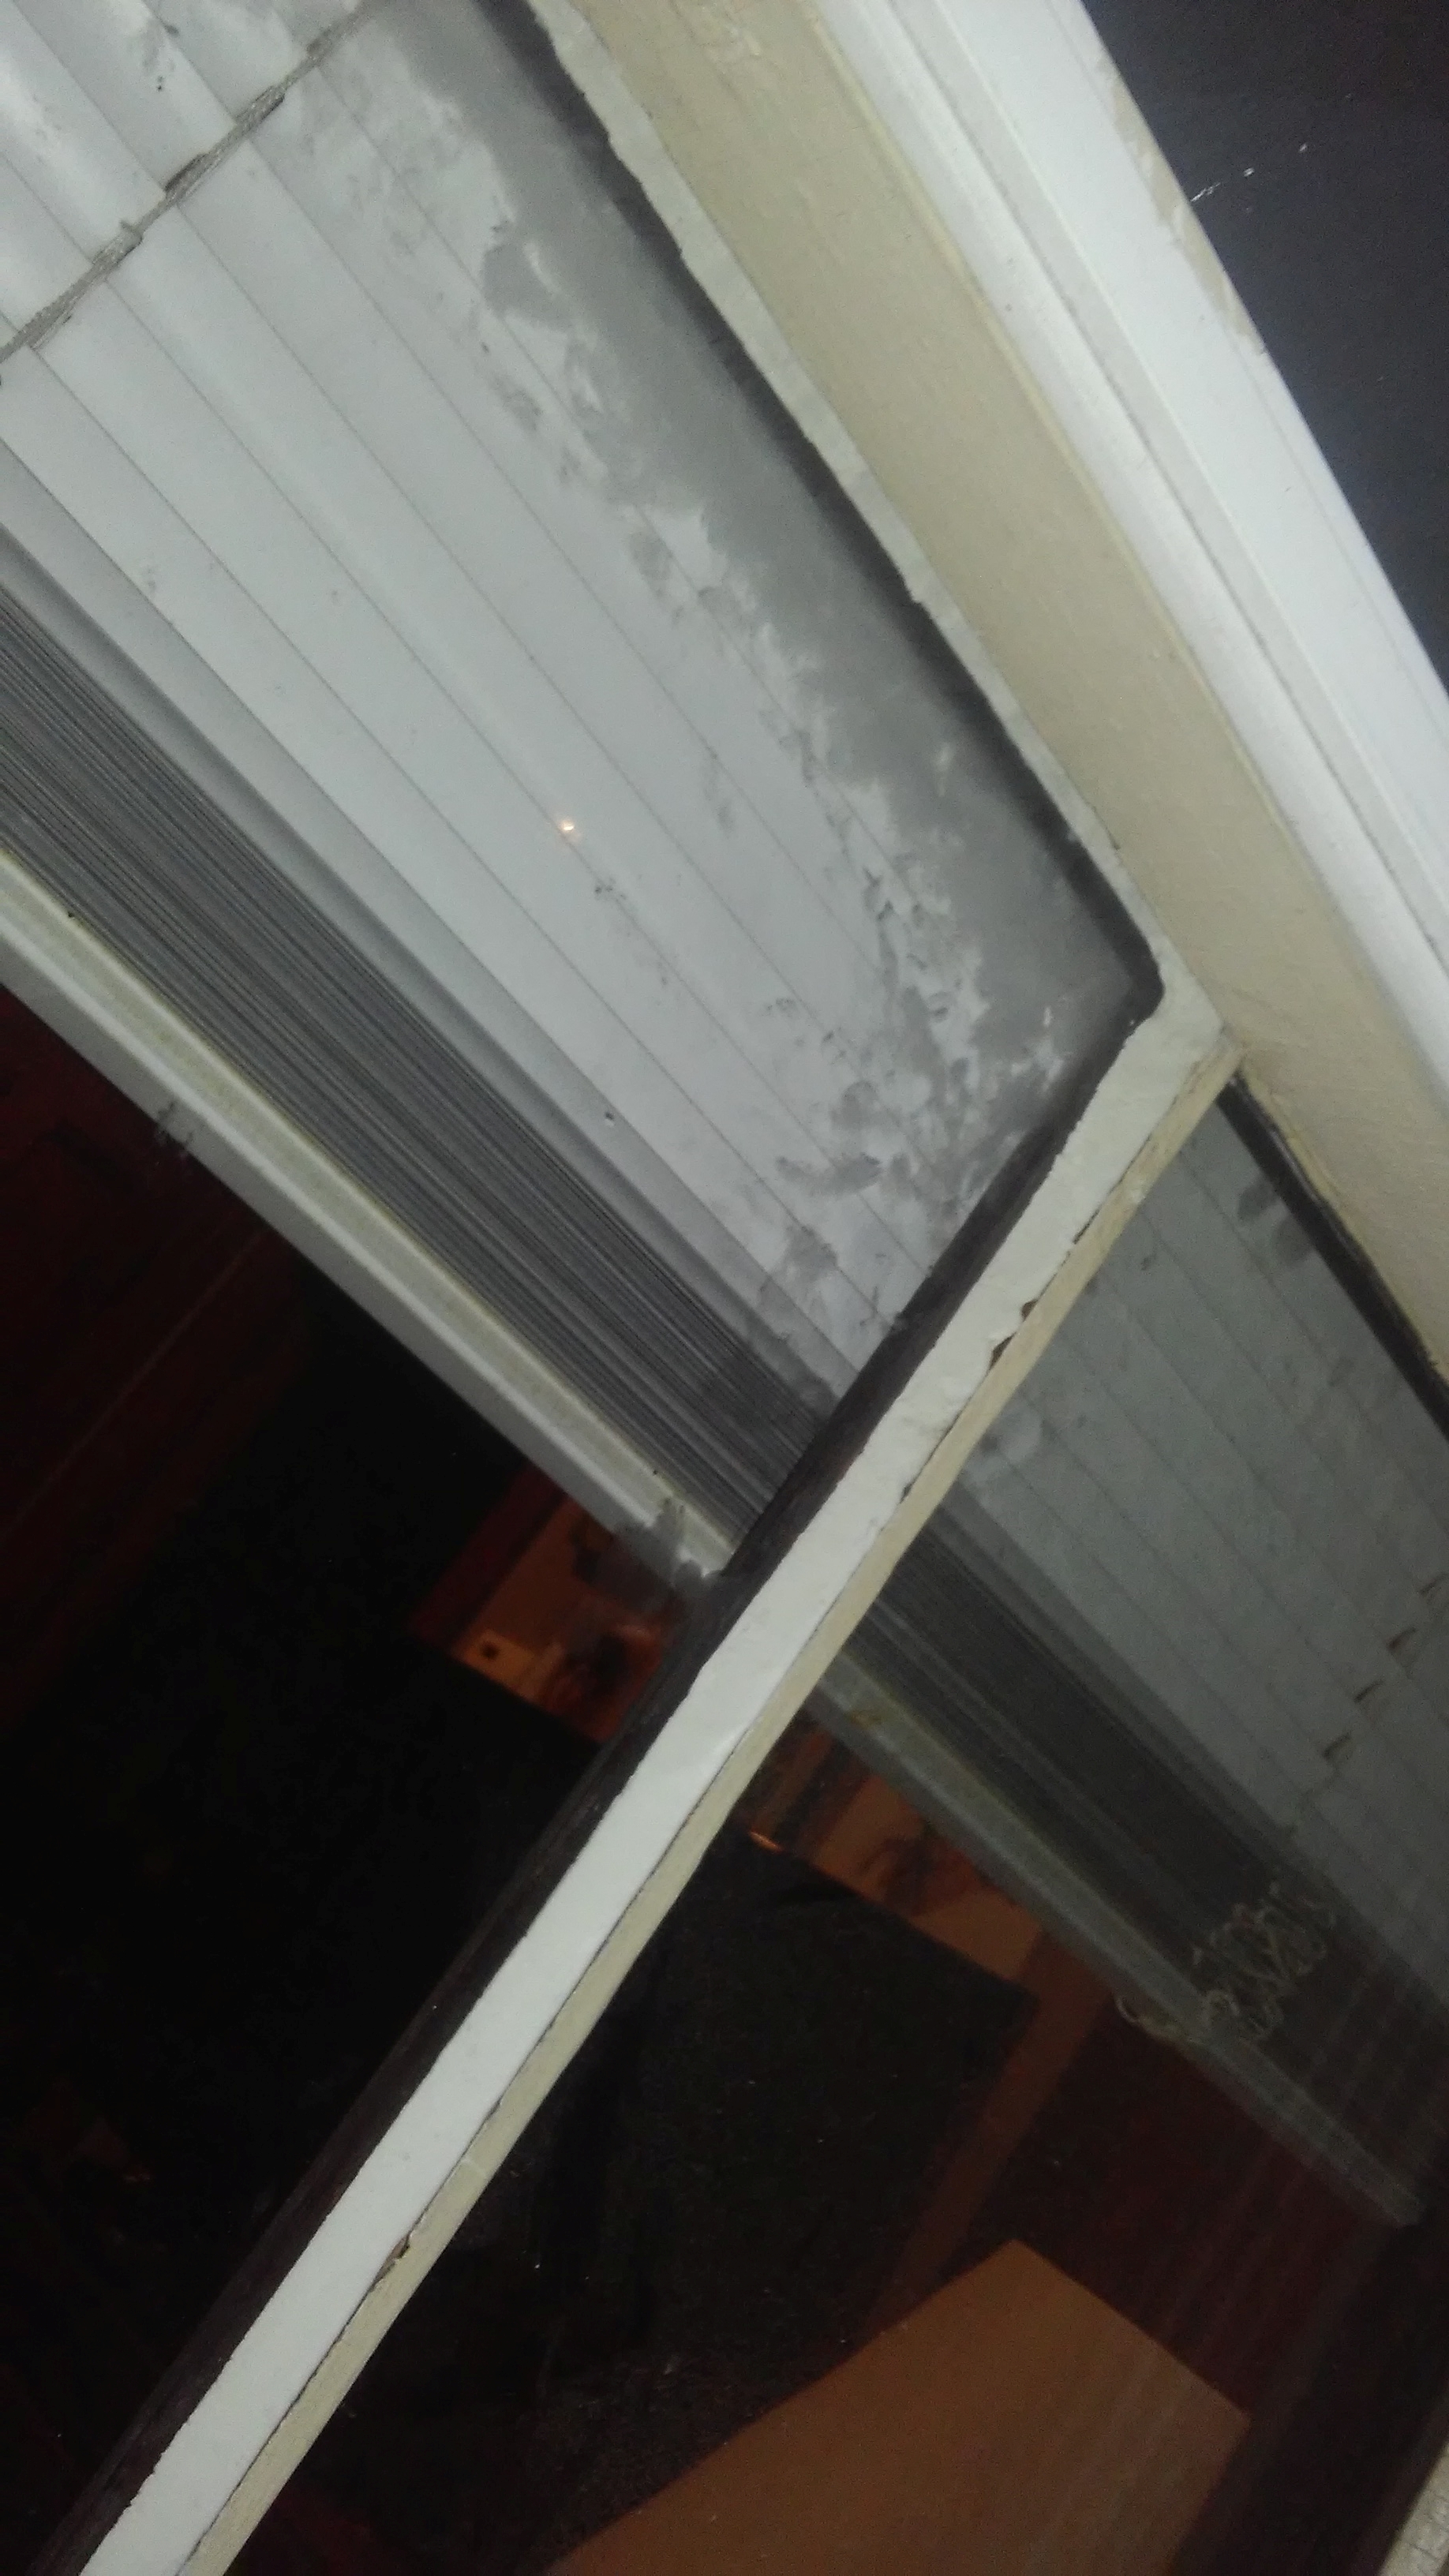
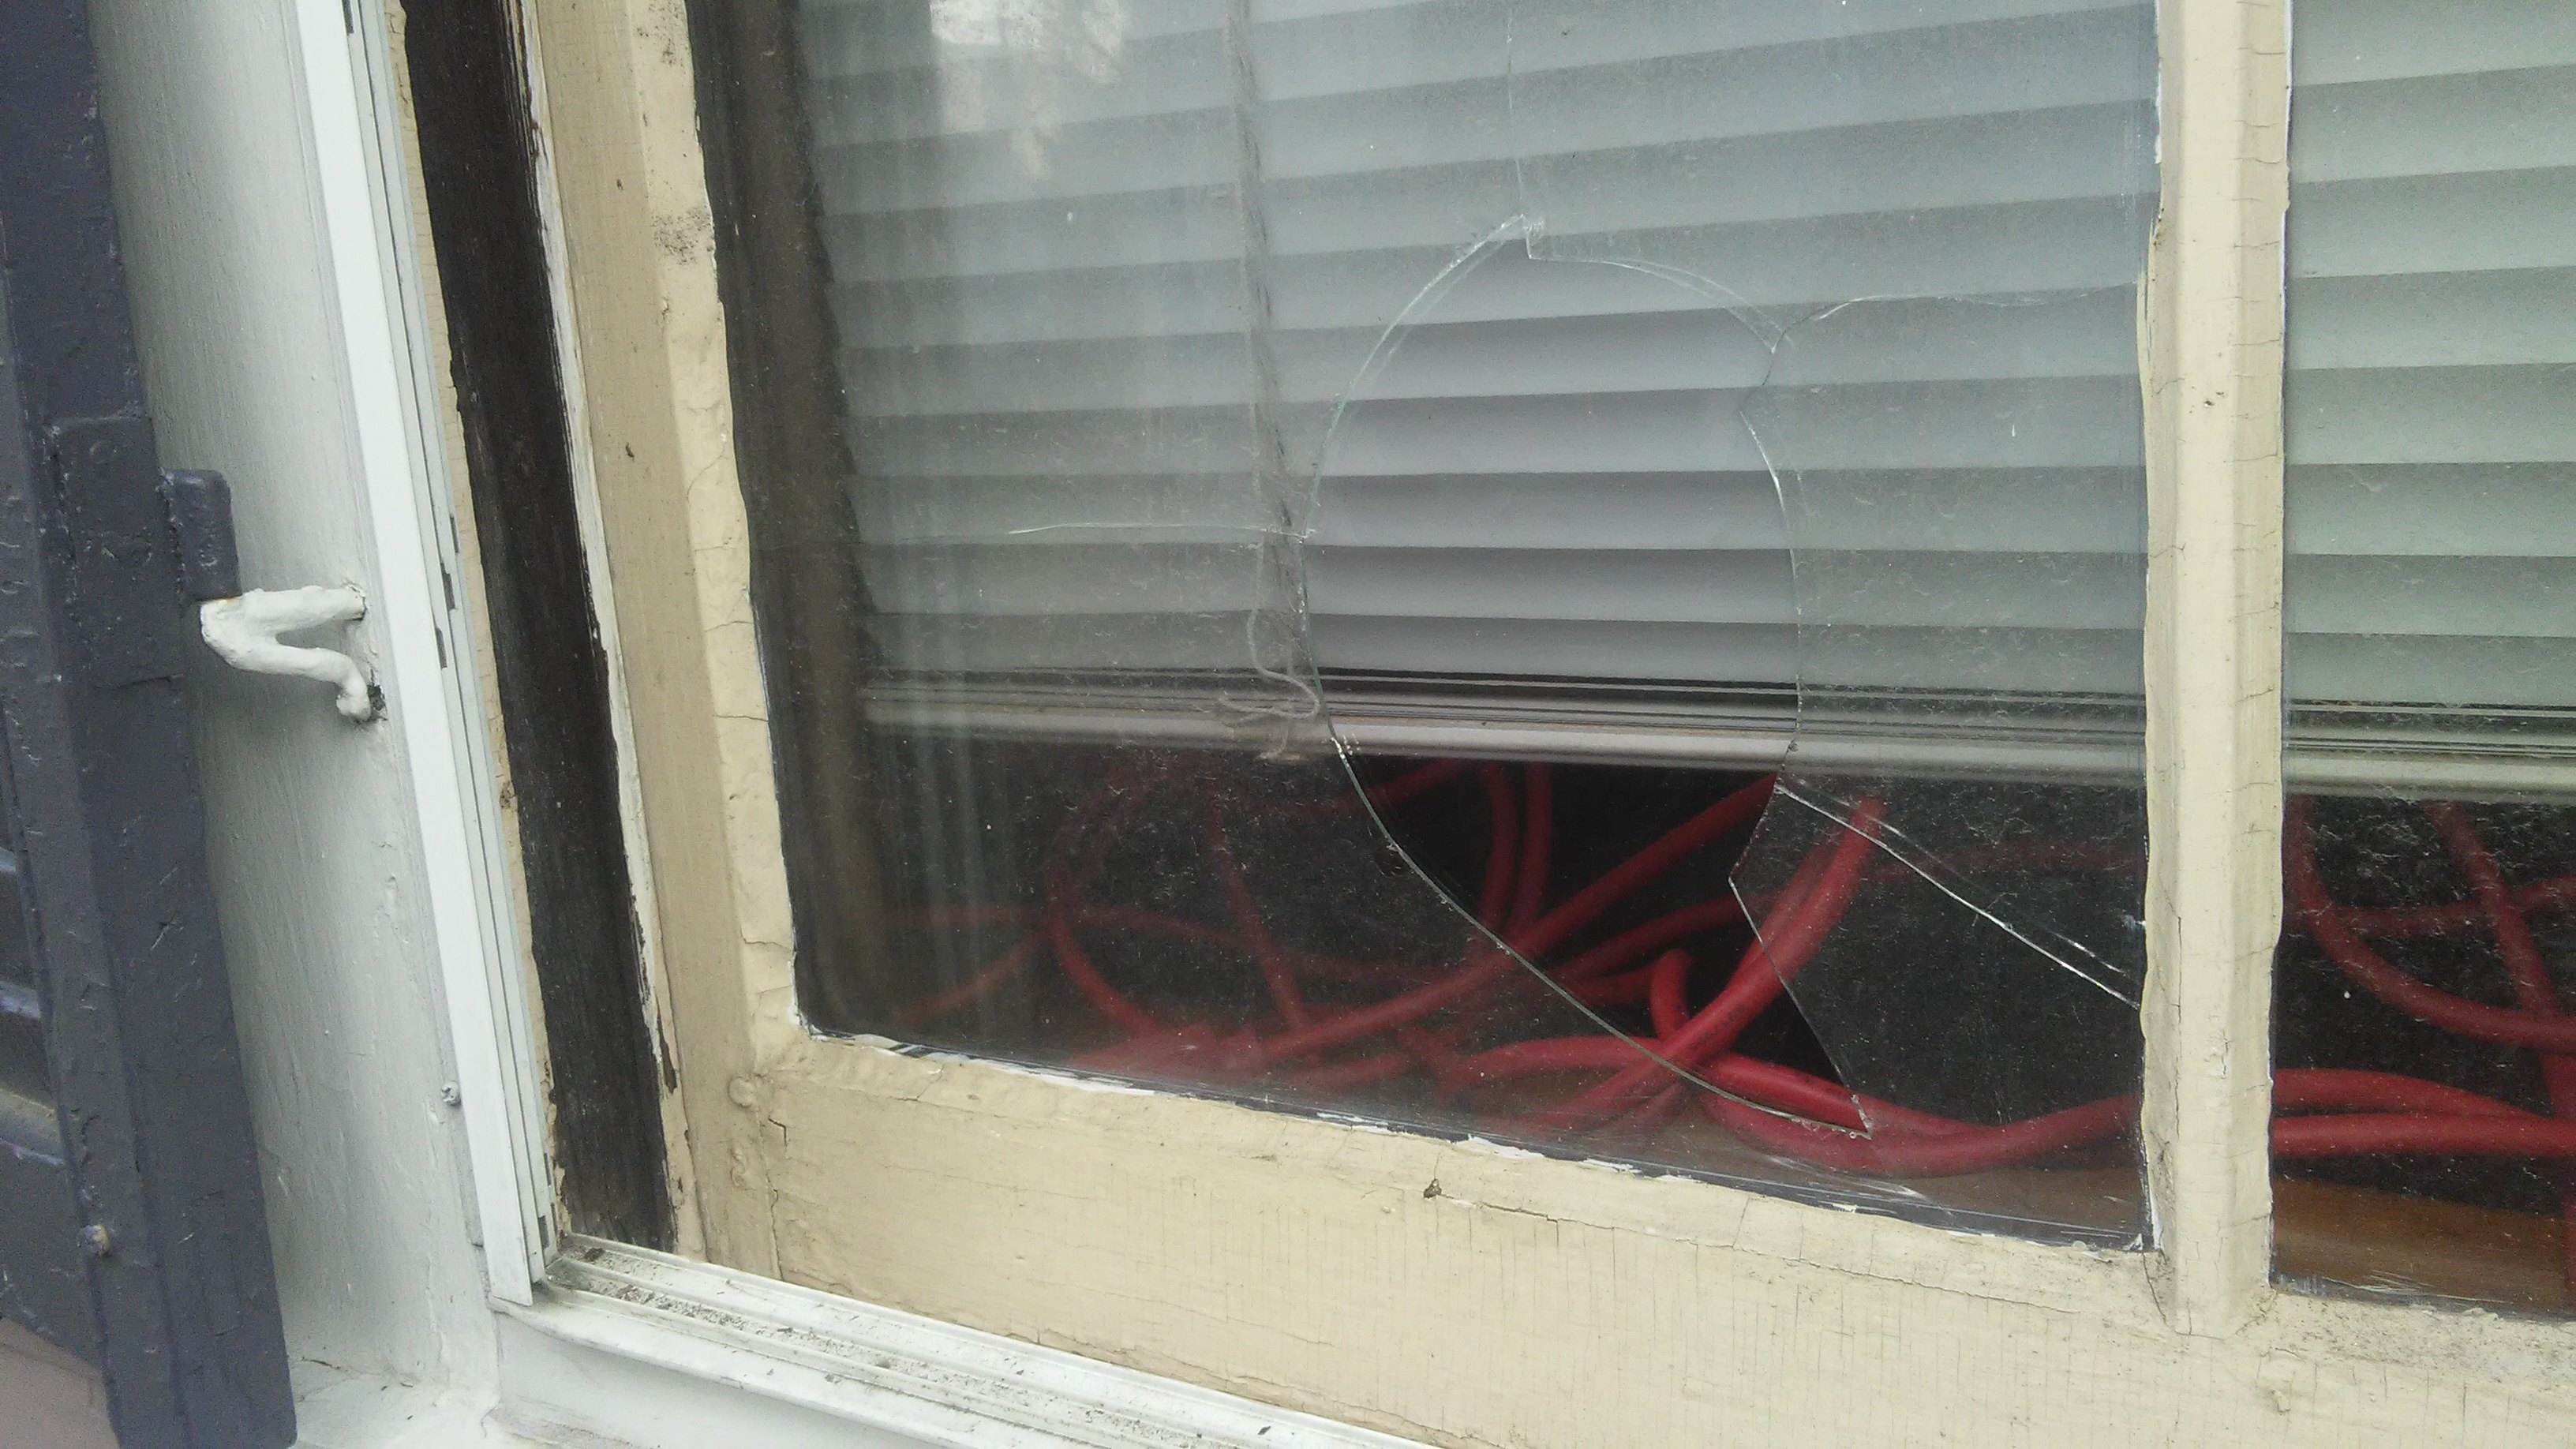 (Before proceeding, please take note of how sloppy and uneven the existing glazing is 🙁 –)
So, start at the beginning, by slowly chipping off all the old glazing:
 This actually wasn’t TOO bad, I have seen glazing that would not come off without power tools, but this all snapped off with the glass. I think a fair amount of water had penetrated over the years, since the last guy didn’t do such a great job.
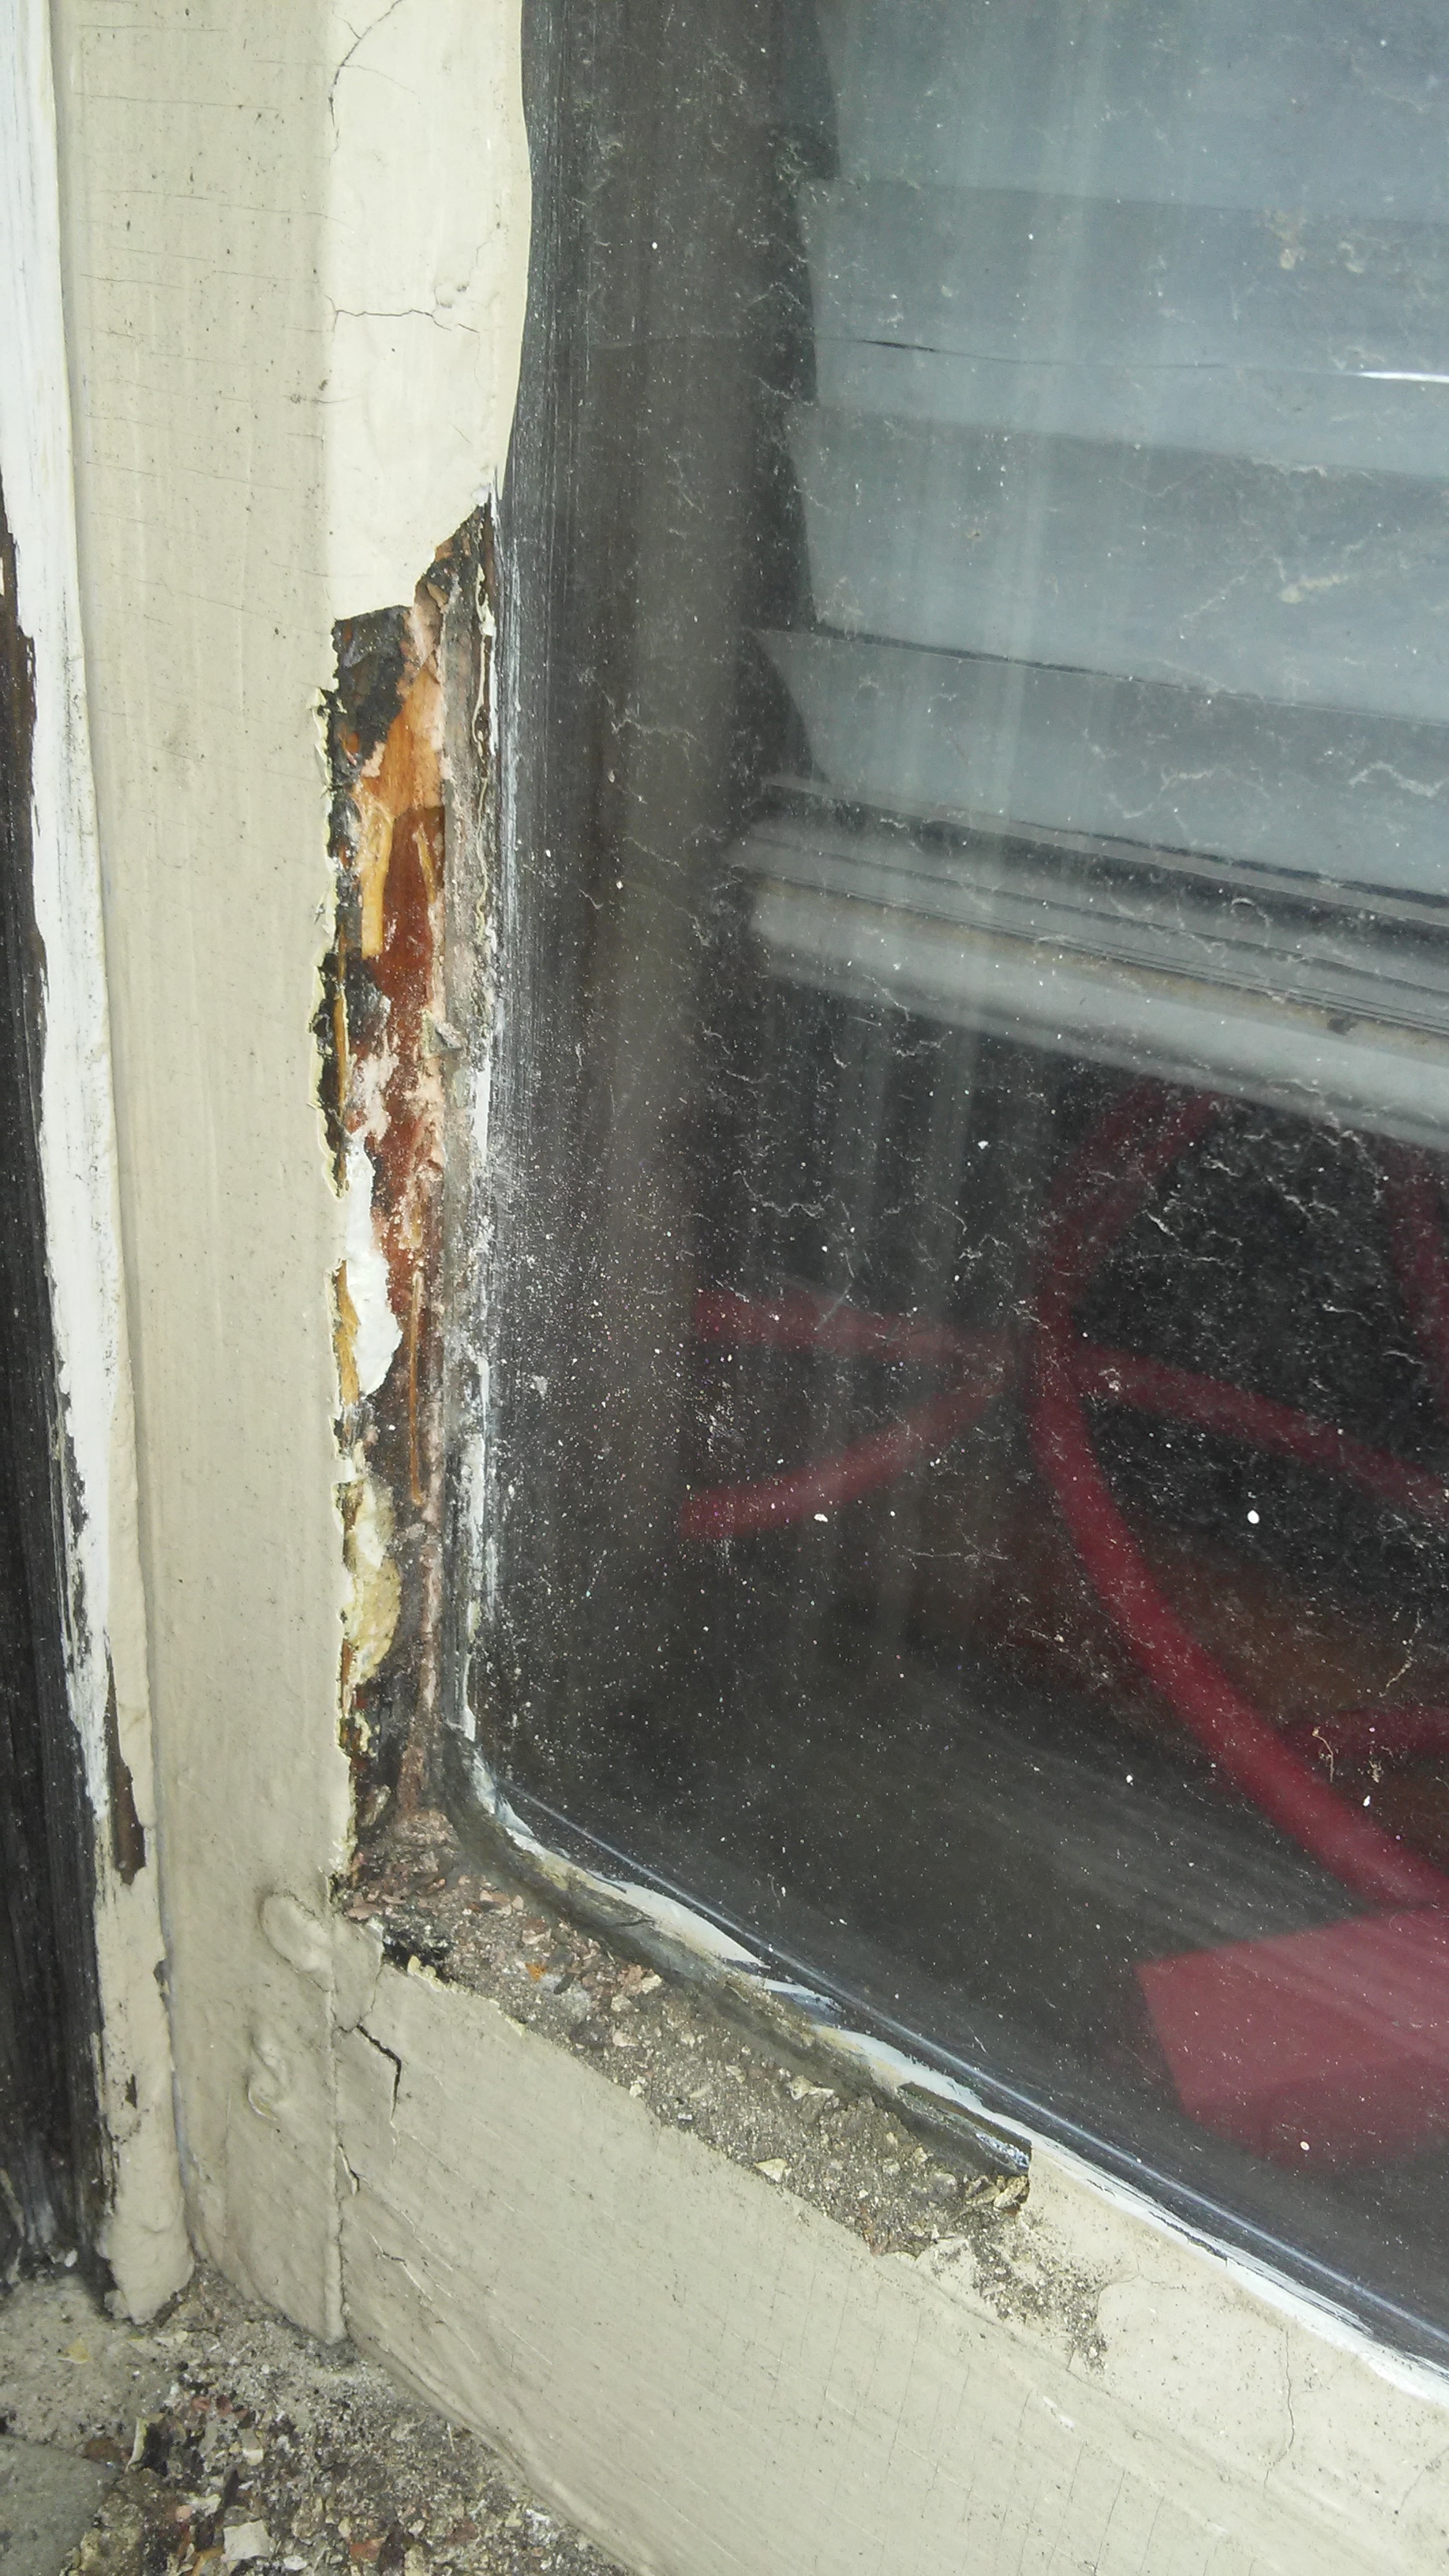
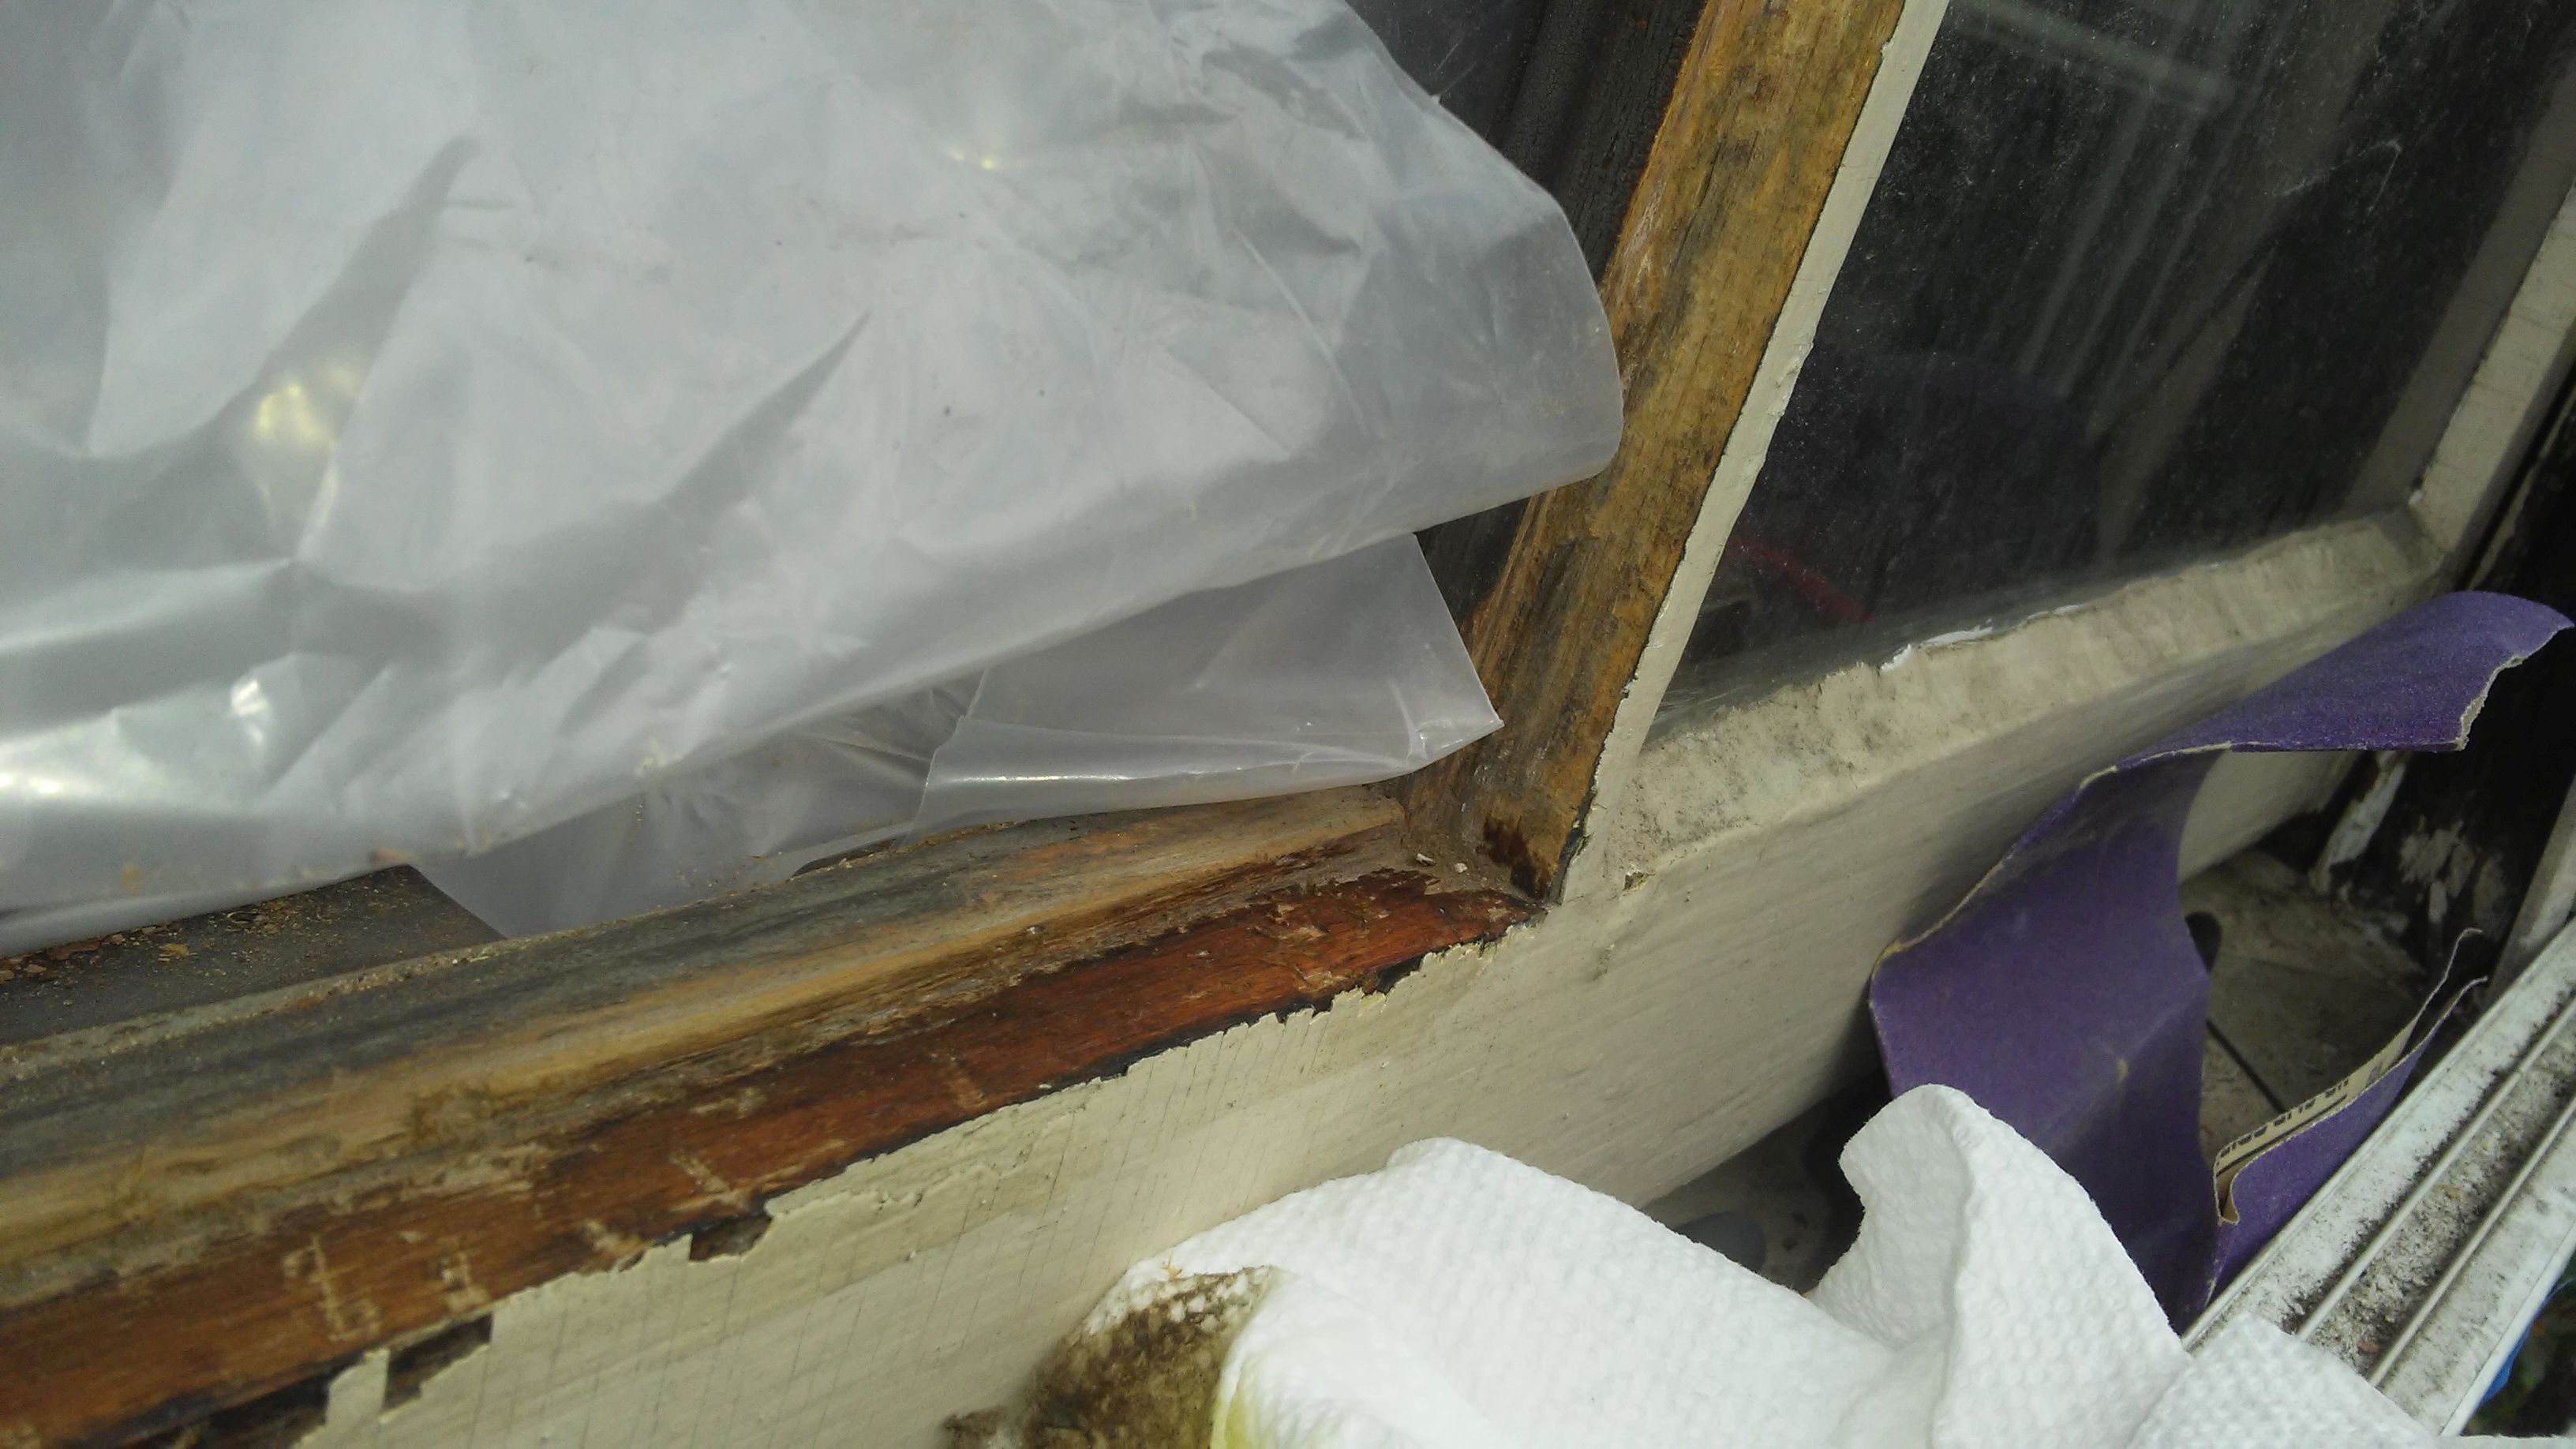
So anyway, once the main glazing is off there is always a bunch of residual crud to clean off– you must must must get down to bare clean wood. So here is a before and after of the mullion on the right side:
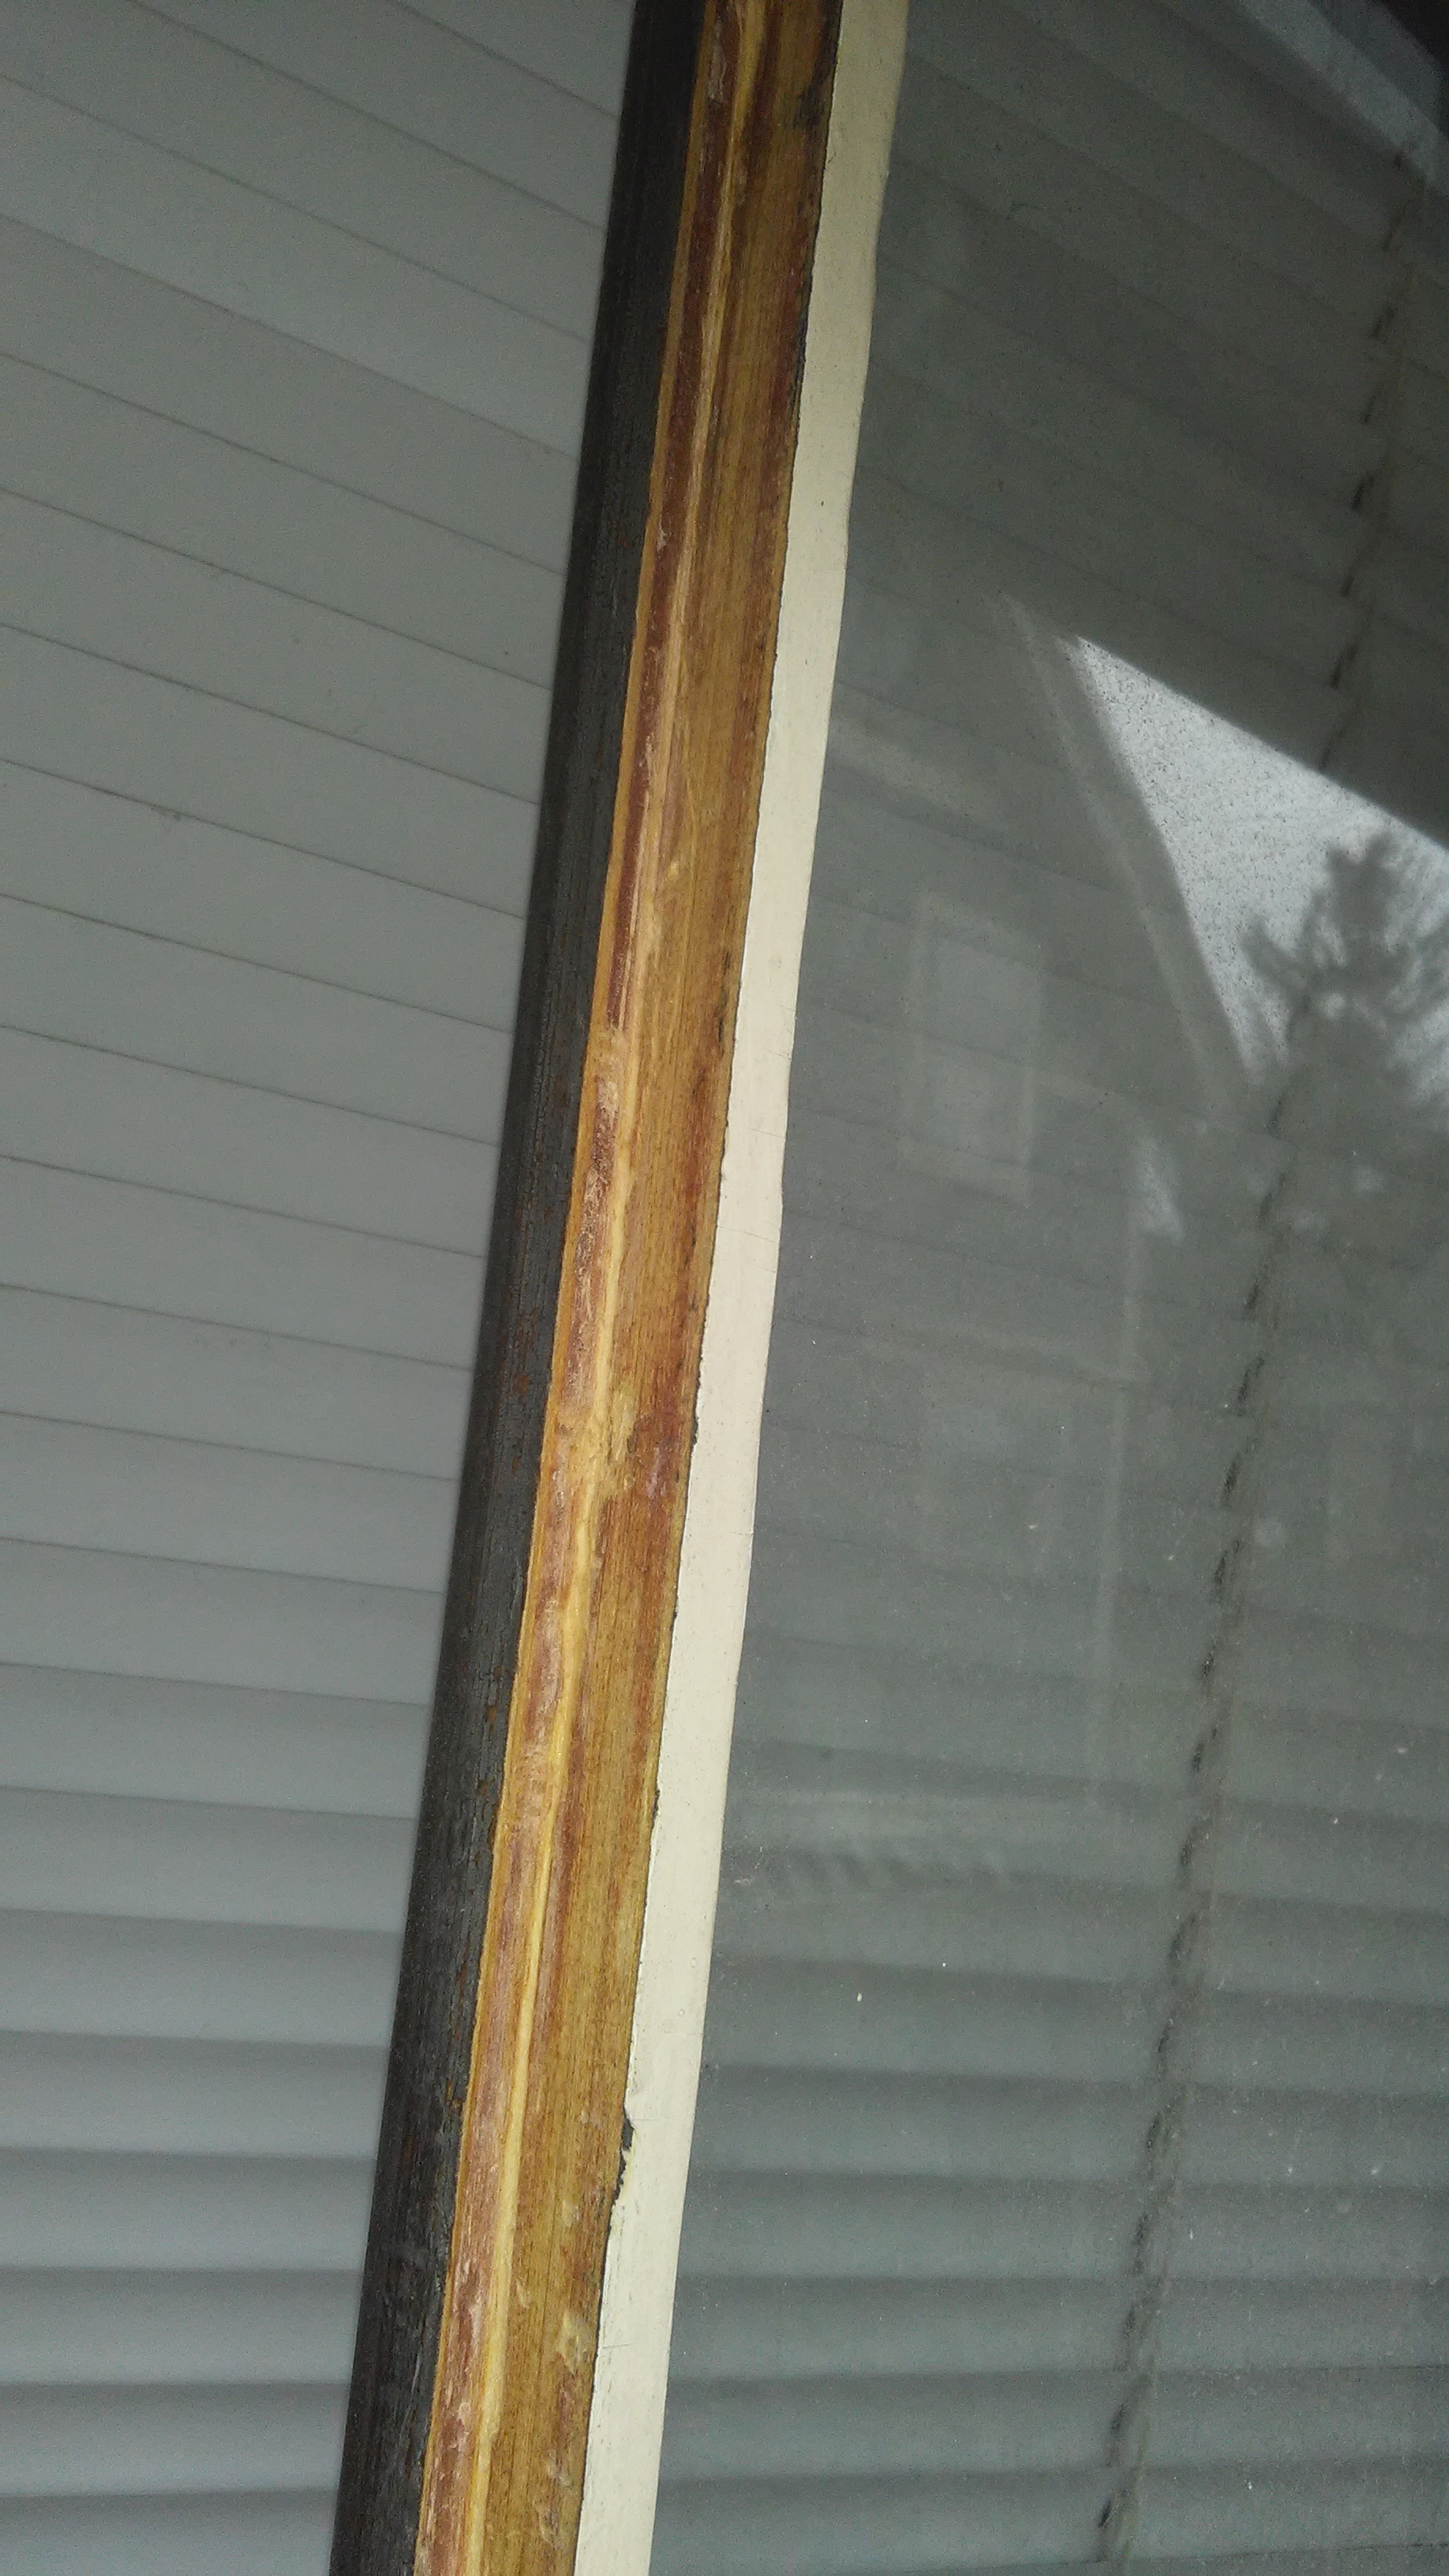
Again, I suspect this pane had been broken and replaced before, and I think this level of extra hard-as-rock gunk was from the original install, so I had to get that out before proceeding. Of course i had to be always super careful because this was a divided 2 pane sash, and god forbid I should crack the other pane.
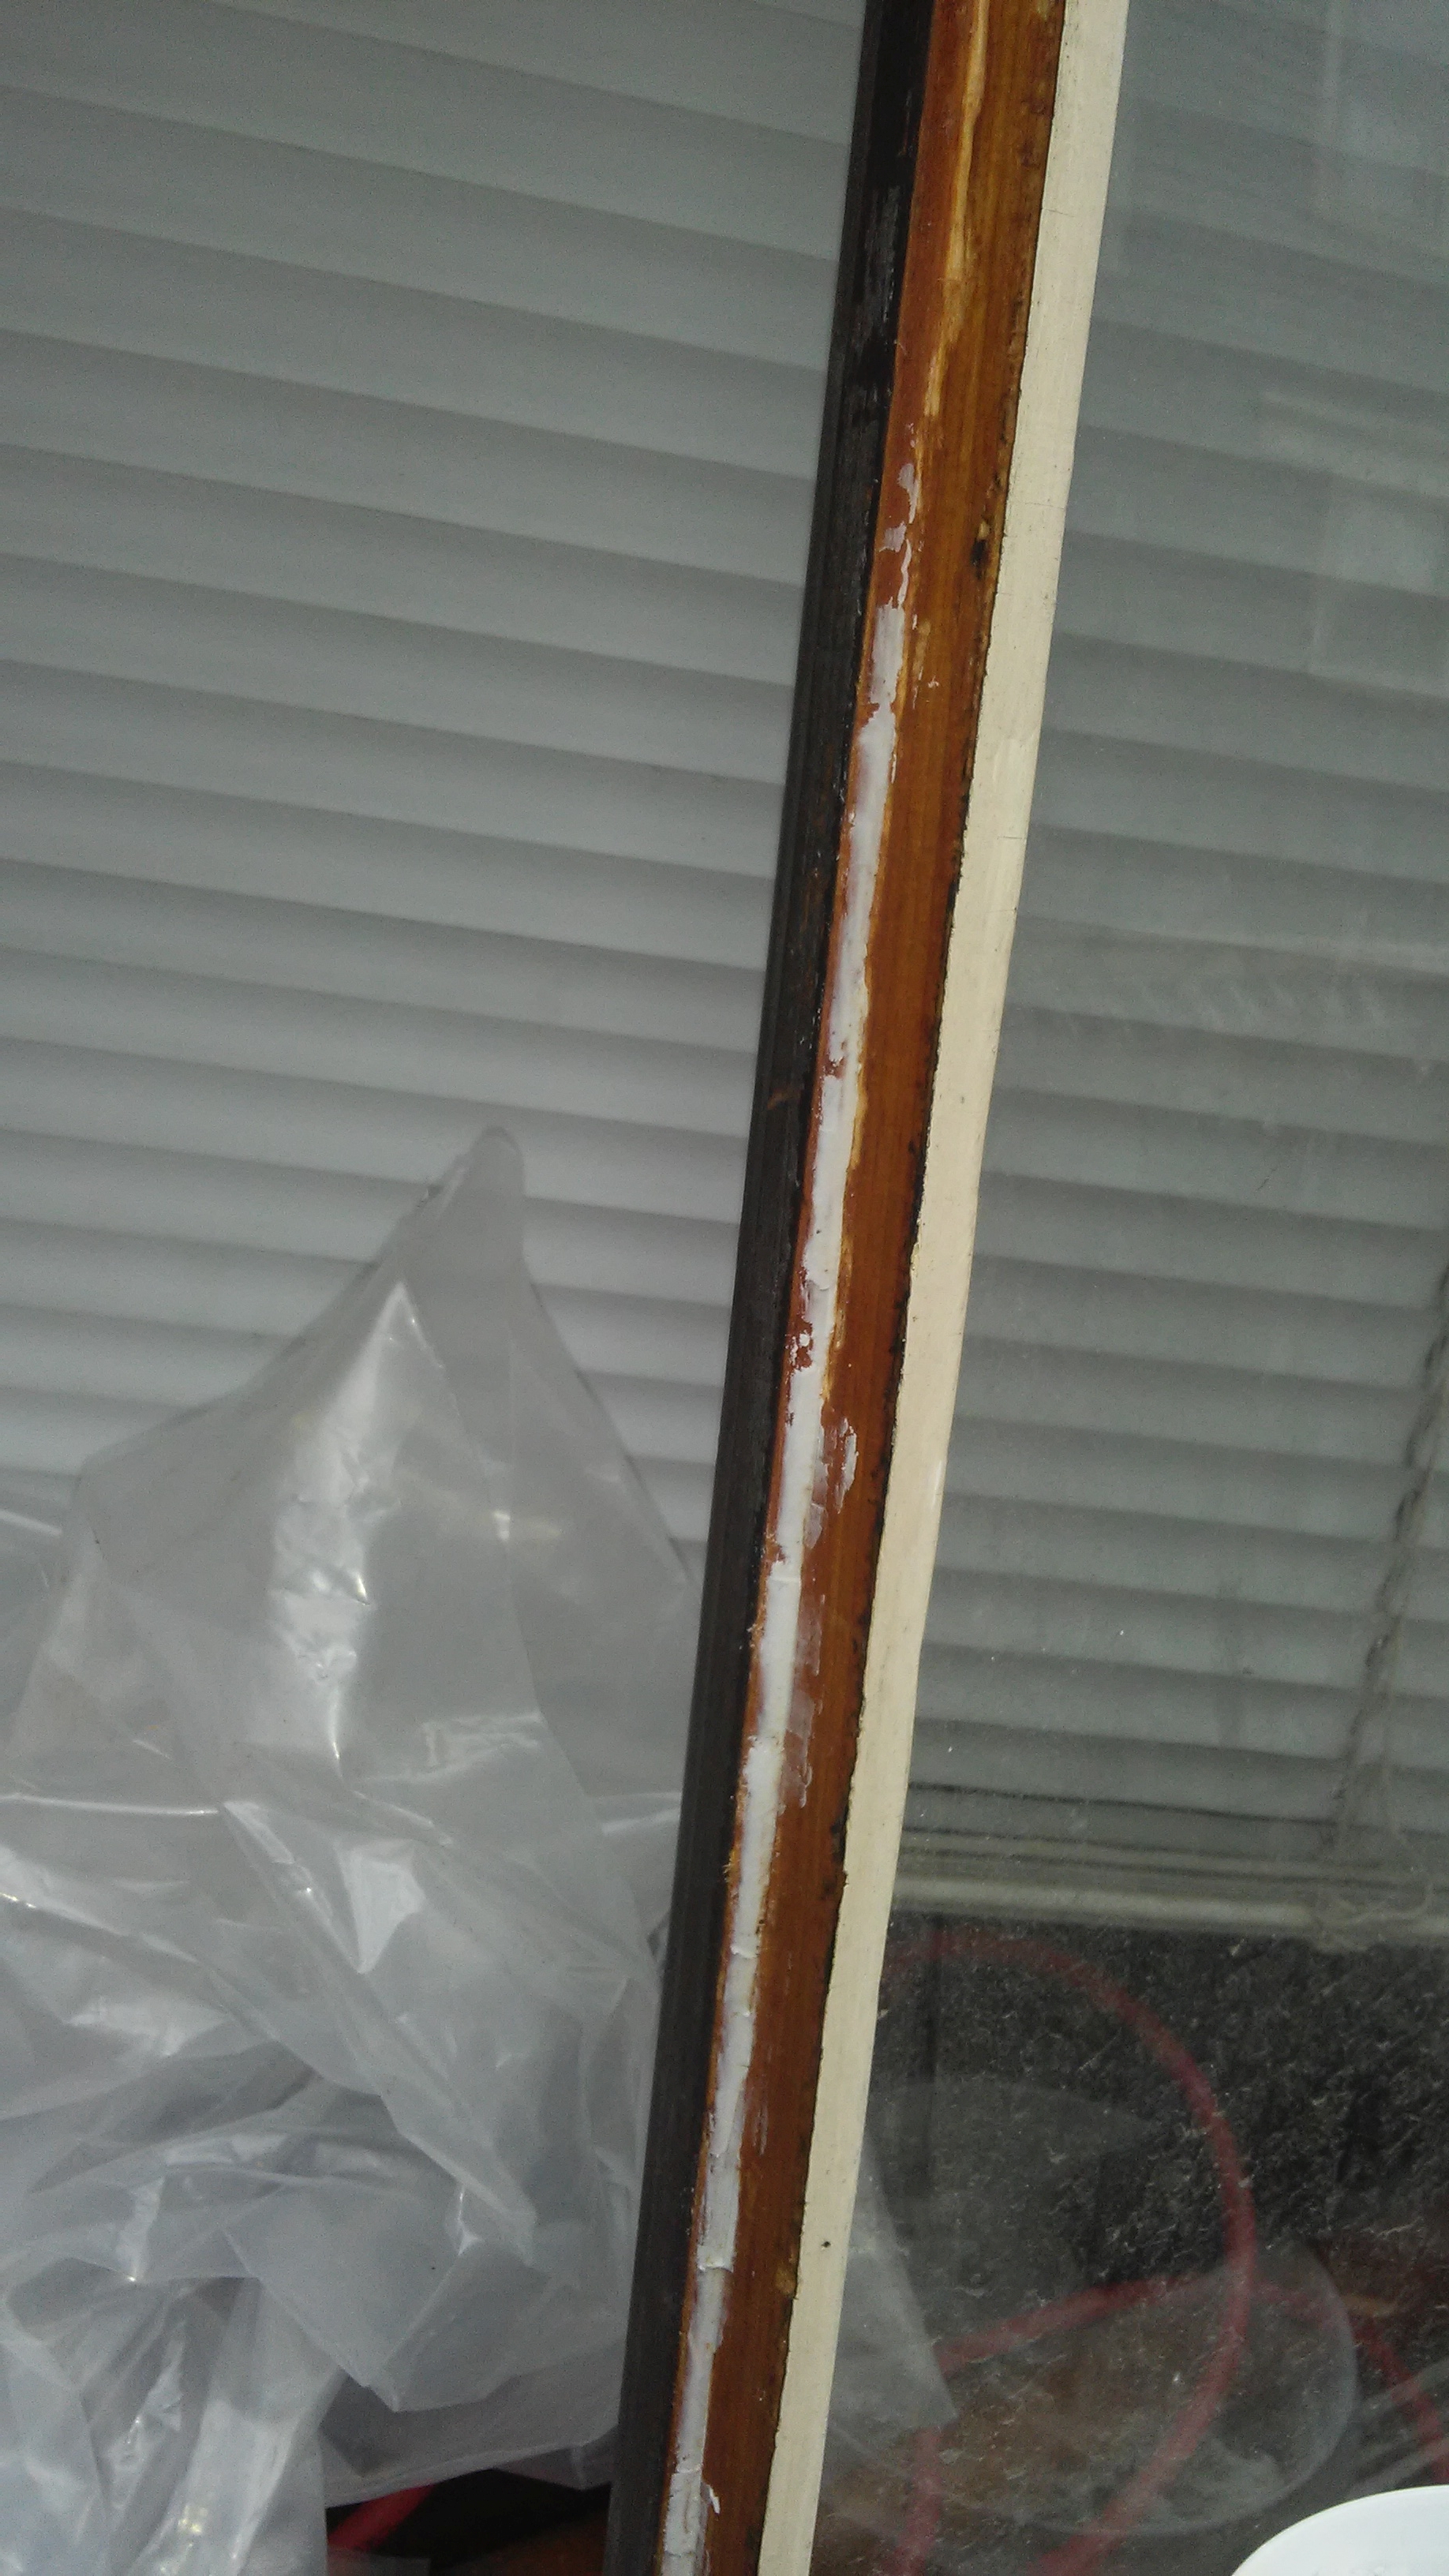
So even tho the tub of glaze did not ask for it, I put on a little linseed oil (this keeps the dry wood from sucking oil out of the glaze). In this pic, I have only oiled the bottom, hence the darkness:
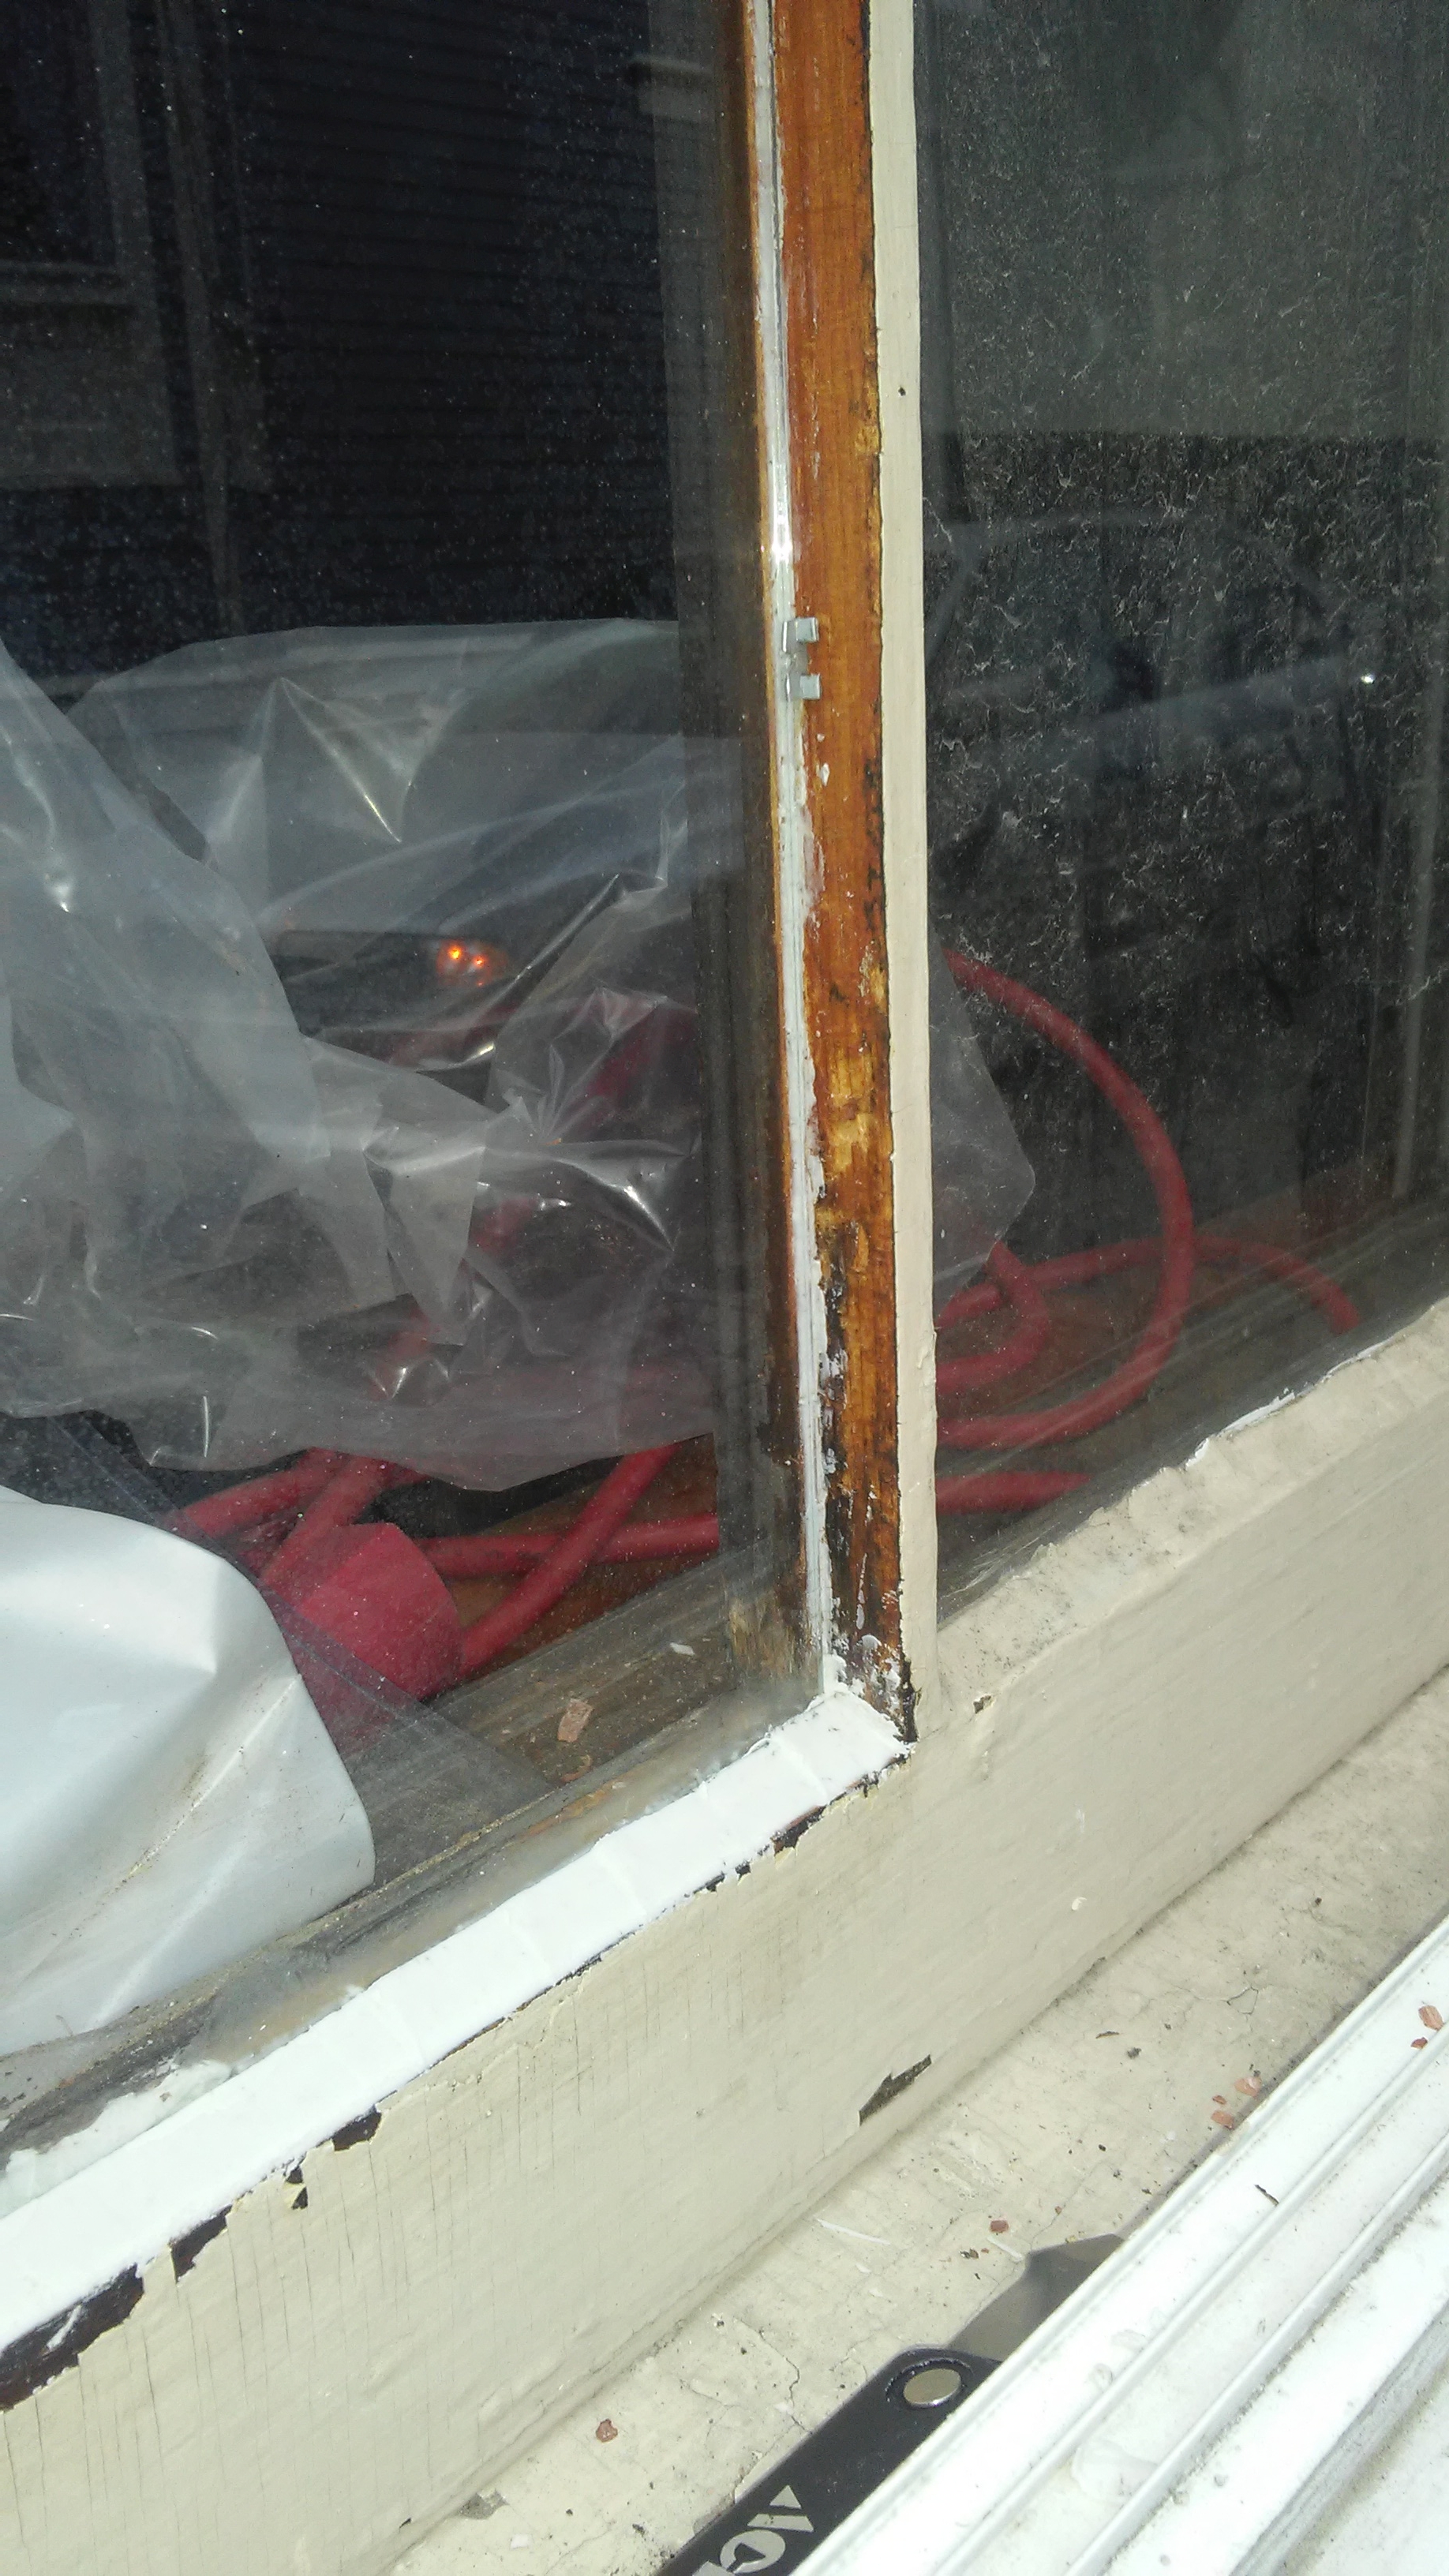
 Then a little layer of glaze on the inner ridge of the wood, to keep moisture out from the inside:
 At this point, the fun began. I pulled out the new pane of glass and UH OH . . . My hardware store guys, with the good intentions of sanding down the edge, had scratched the glass. so I had to stop the whole process and get a new pane, and then, because the wooden rim in this ancient window was only an eighth of an inch, I had to get a third pane, cut super close to size, and that fit perfectly. Once that was in, again, it being a narrow rim, I had to trim the glazing points (see little guy in center) with some pinch pliers and then the real fun begins of putting in the glazing compound.
So because of the mistakes by my usually fabulous hardware guys, and the pickiness of this old old window frame, and the sloppy work of my predecessor, it took way longer than expected, BUT . . . once the glazing cures (3 weeks) and it gets painted it will be good as new– actually better 😉 as everything here was done according to Hoyle. With a way nicer look because I used the right tool to get a flat angle.
 With any luck this will last another 50 years 🙂