Replacing a Thermostat

Well I am playing things as safe as I can these days but when a client calls with no heat I can’t just ignore it.  This guy’s thermostat broke, he called a plumber, and the plumber confirmed that the thermostat was broken and charged him $85.  yeesh.

So the client decided to go upscale with a new NEST thermostat.  It was a bit of a hassle picking it up at Home Depot as they keep them locked up (at $250 a pop I can see why).  And I was unsure about the compatibility with his system so I made some phone calls, and Google, which now owns Nest, said I was good to go.

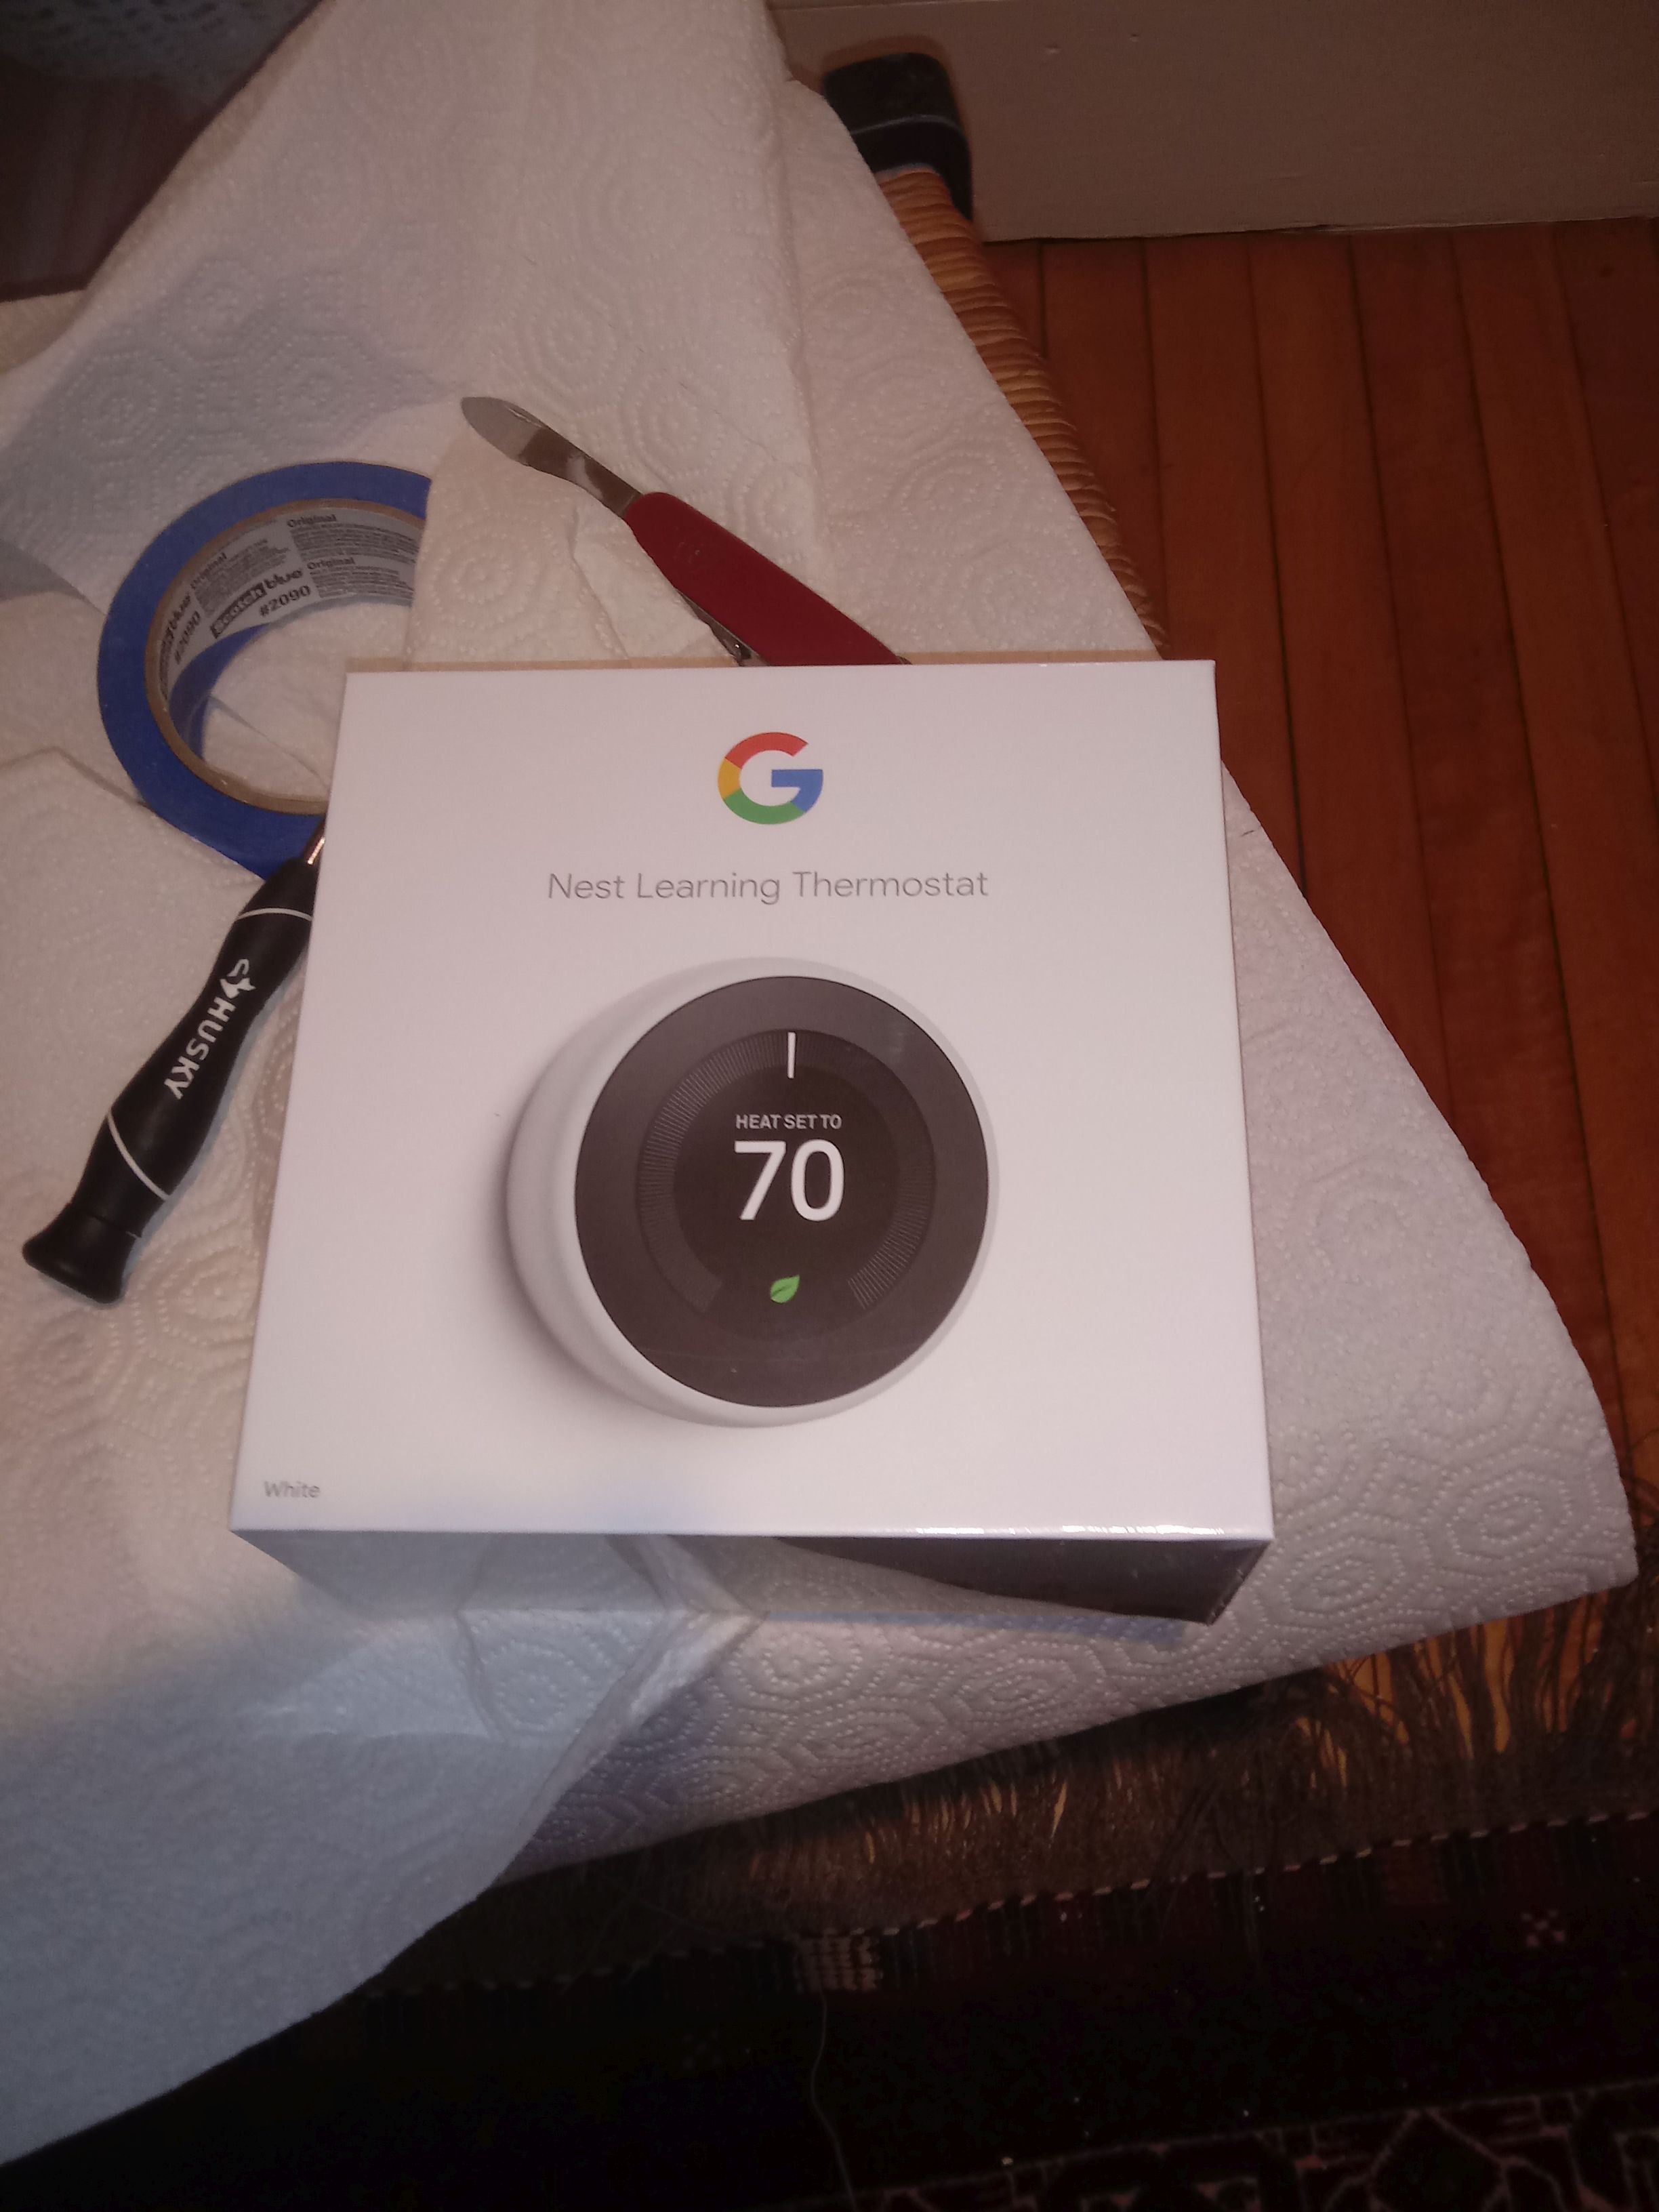
So in we start  Here’s the box:

So I pulled off the old thermostat,

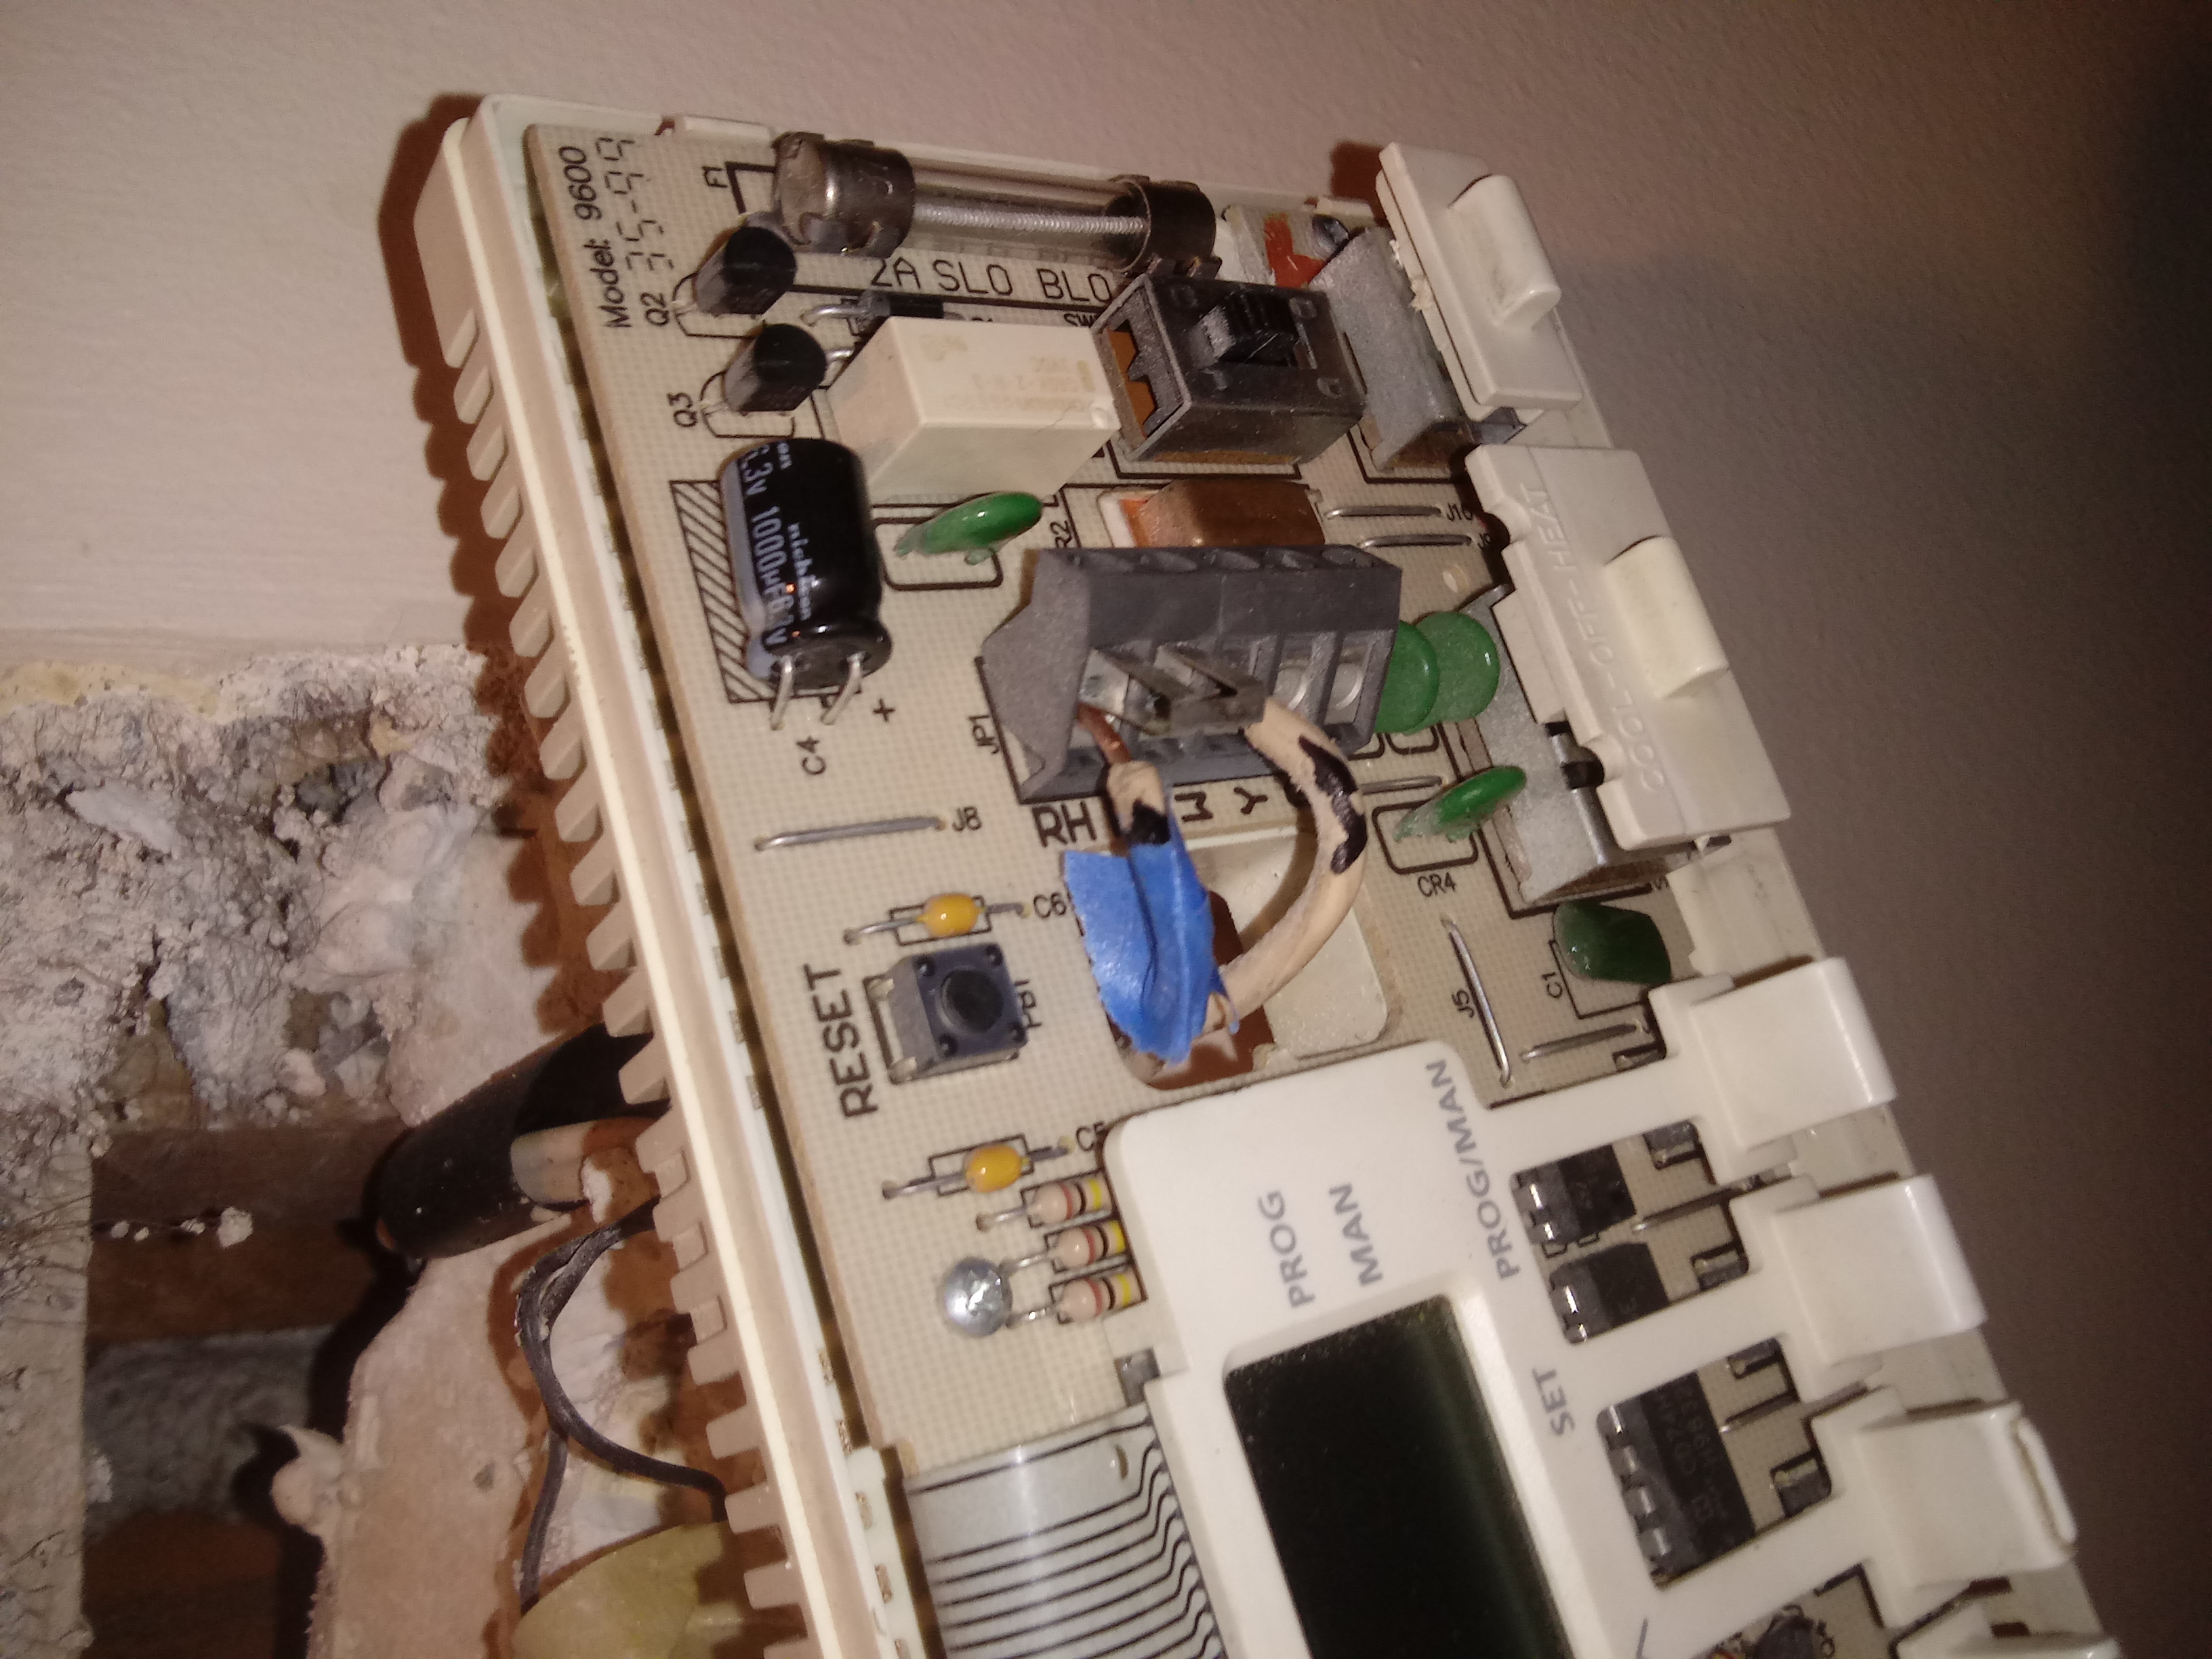
More on the hole later, for now I had to get the furnace going, so,

Two rules for installing a therm: 1) turn off the furnace first and 2) Do NOT let the wires slip back down the wall.

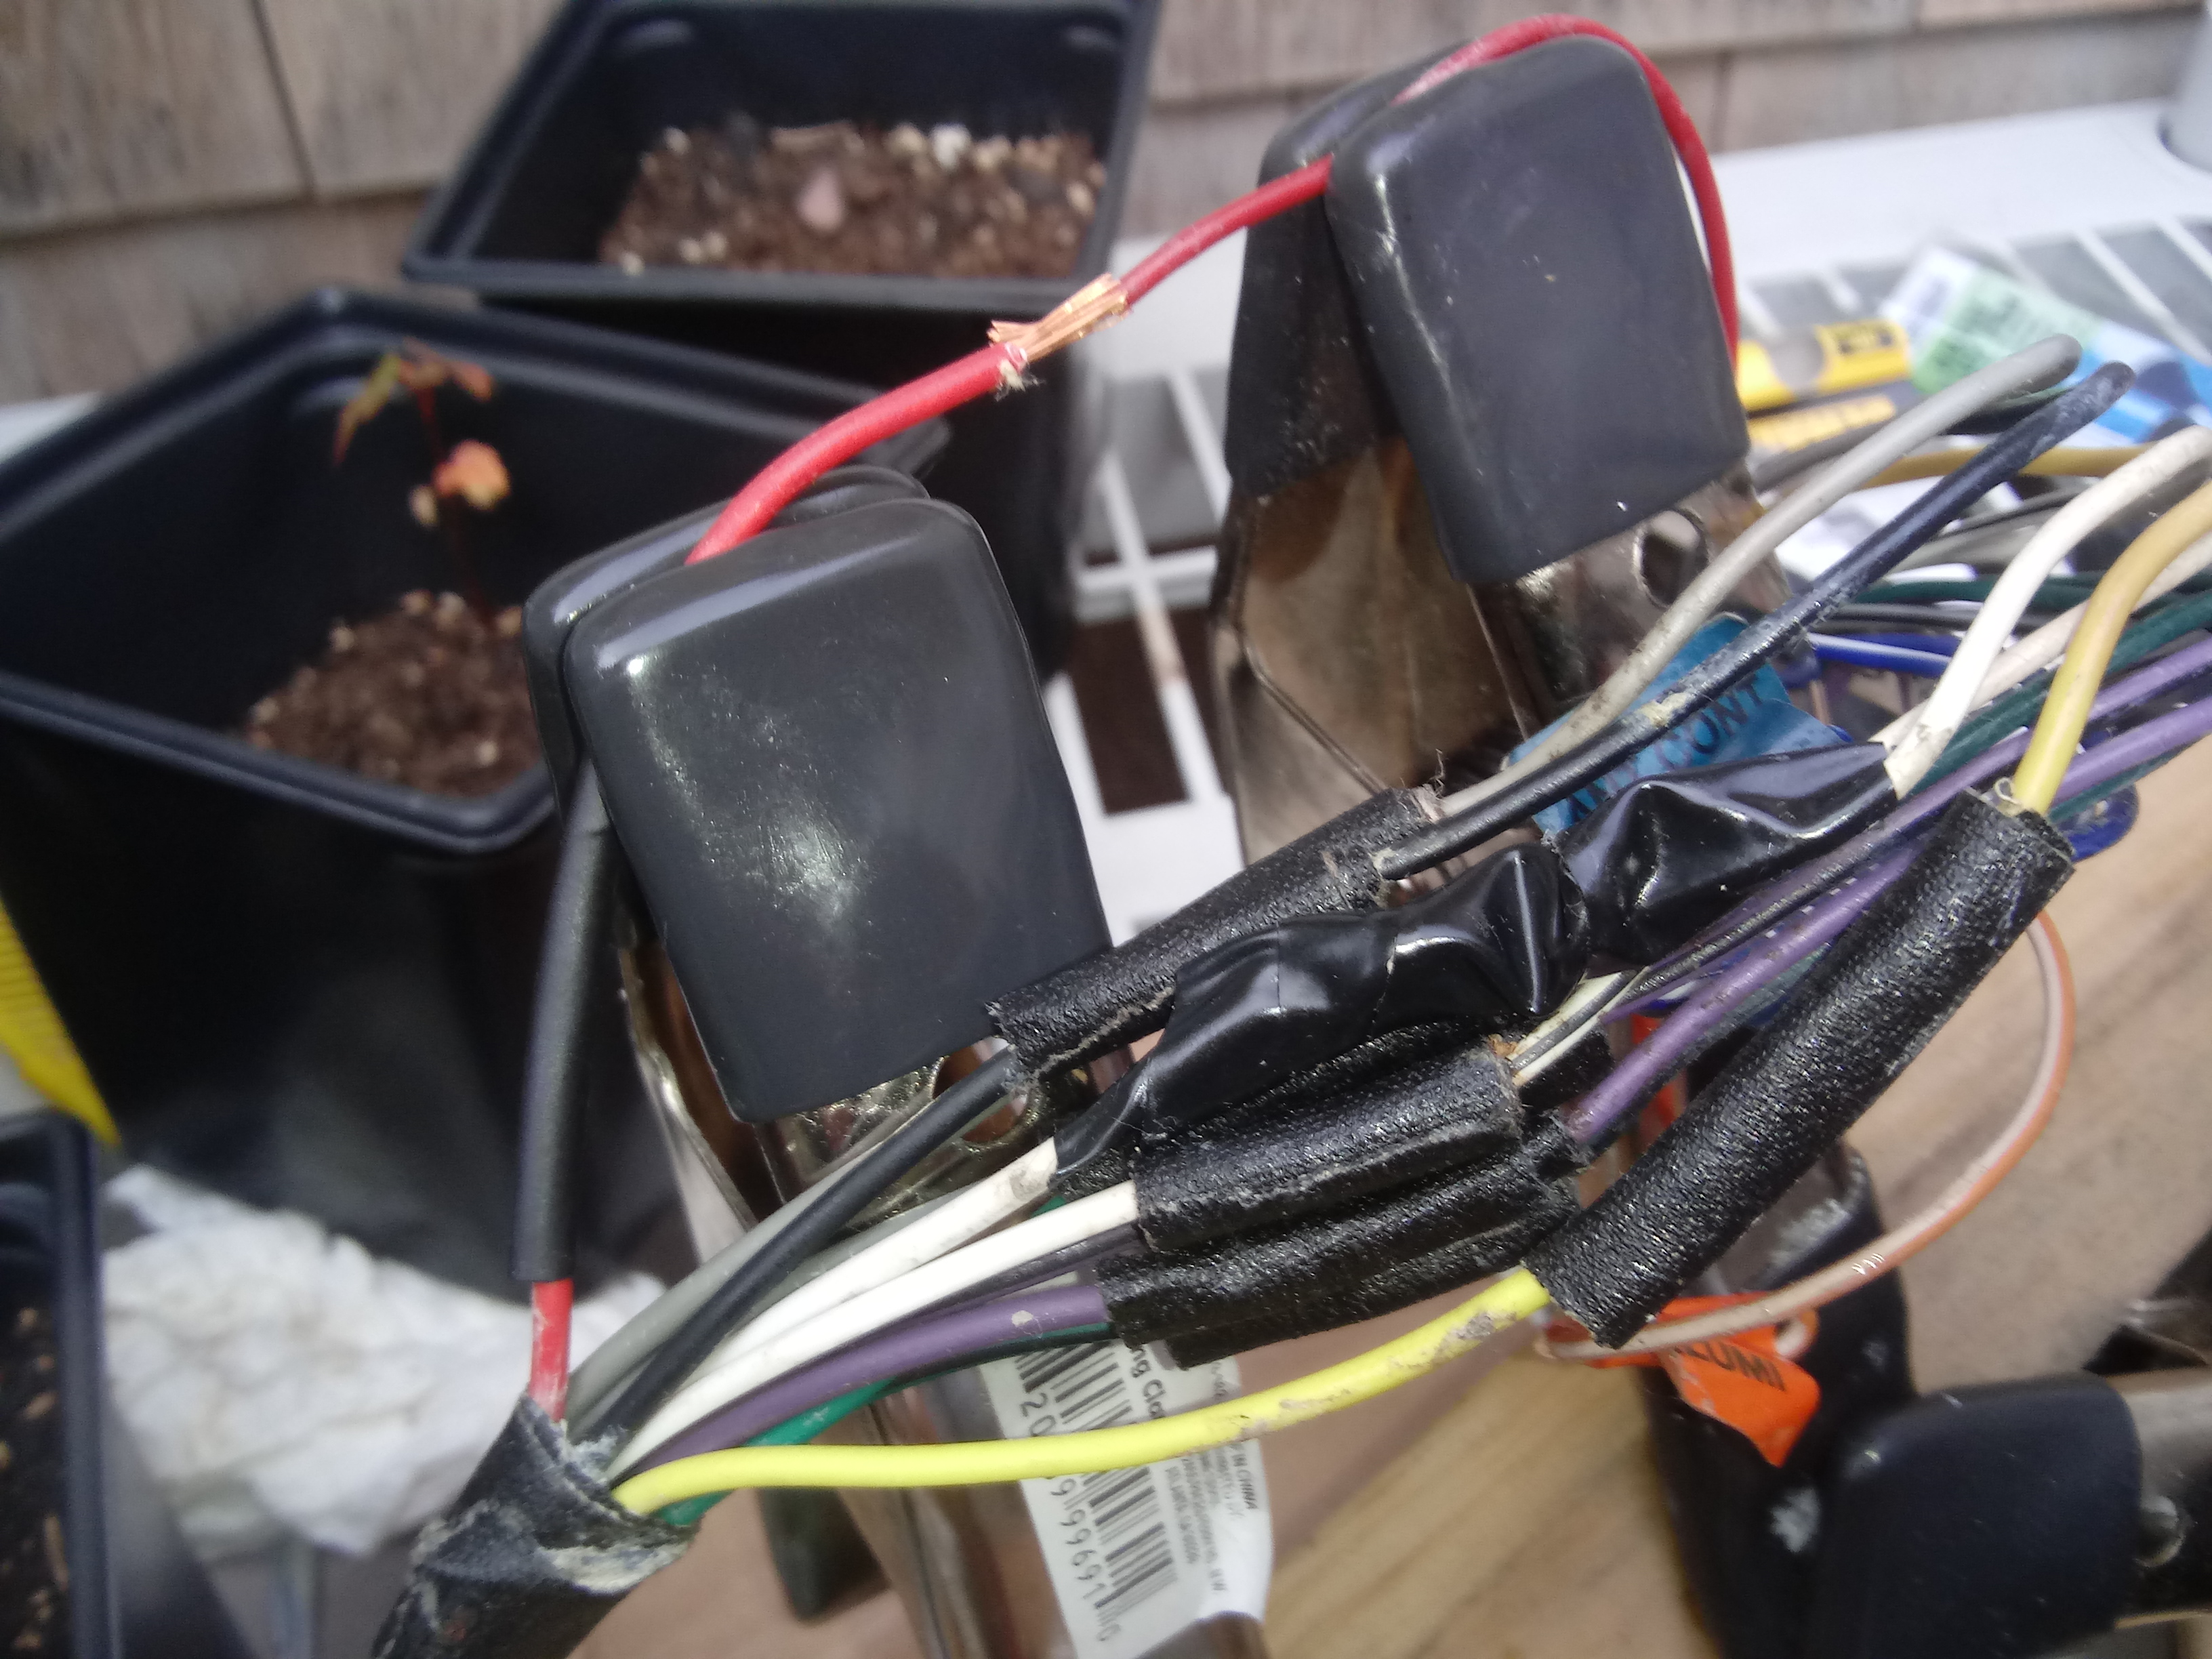
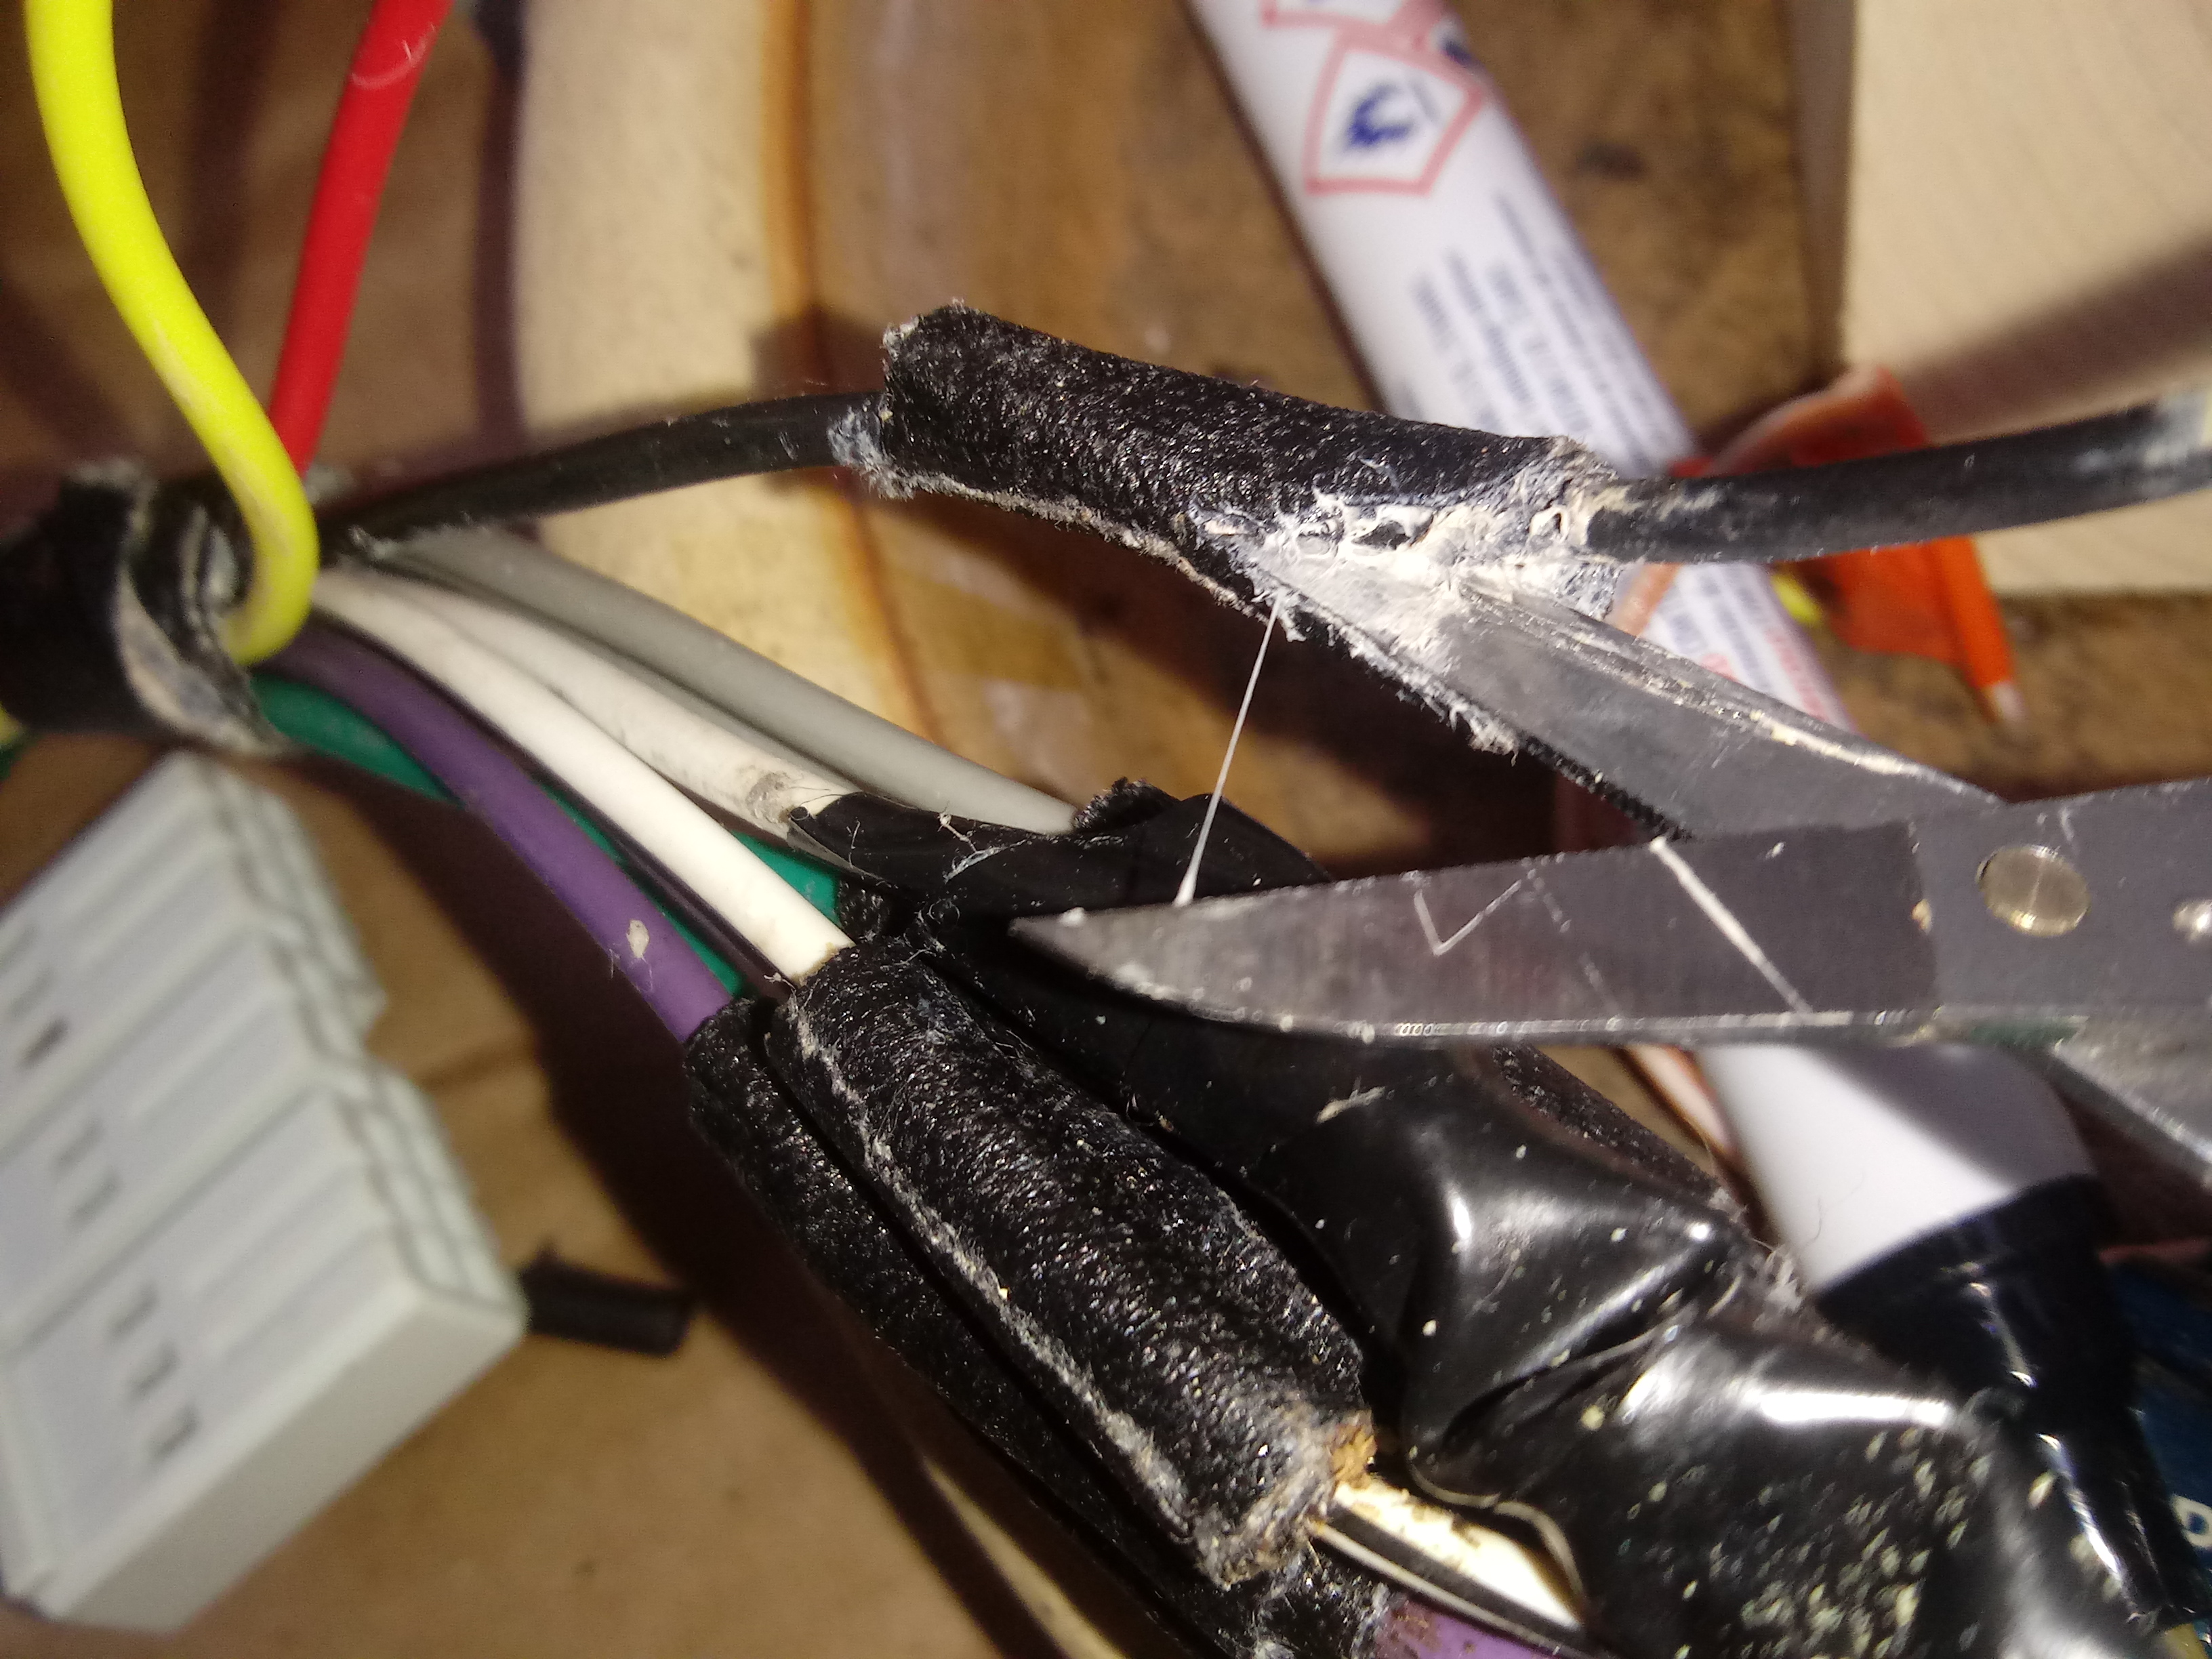
yikes, there was a major hole in wall. blue tape used here to support wires:

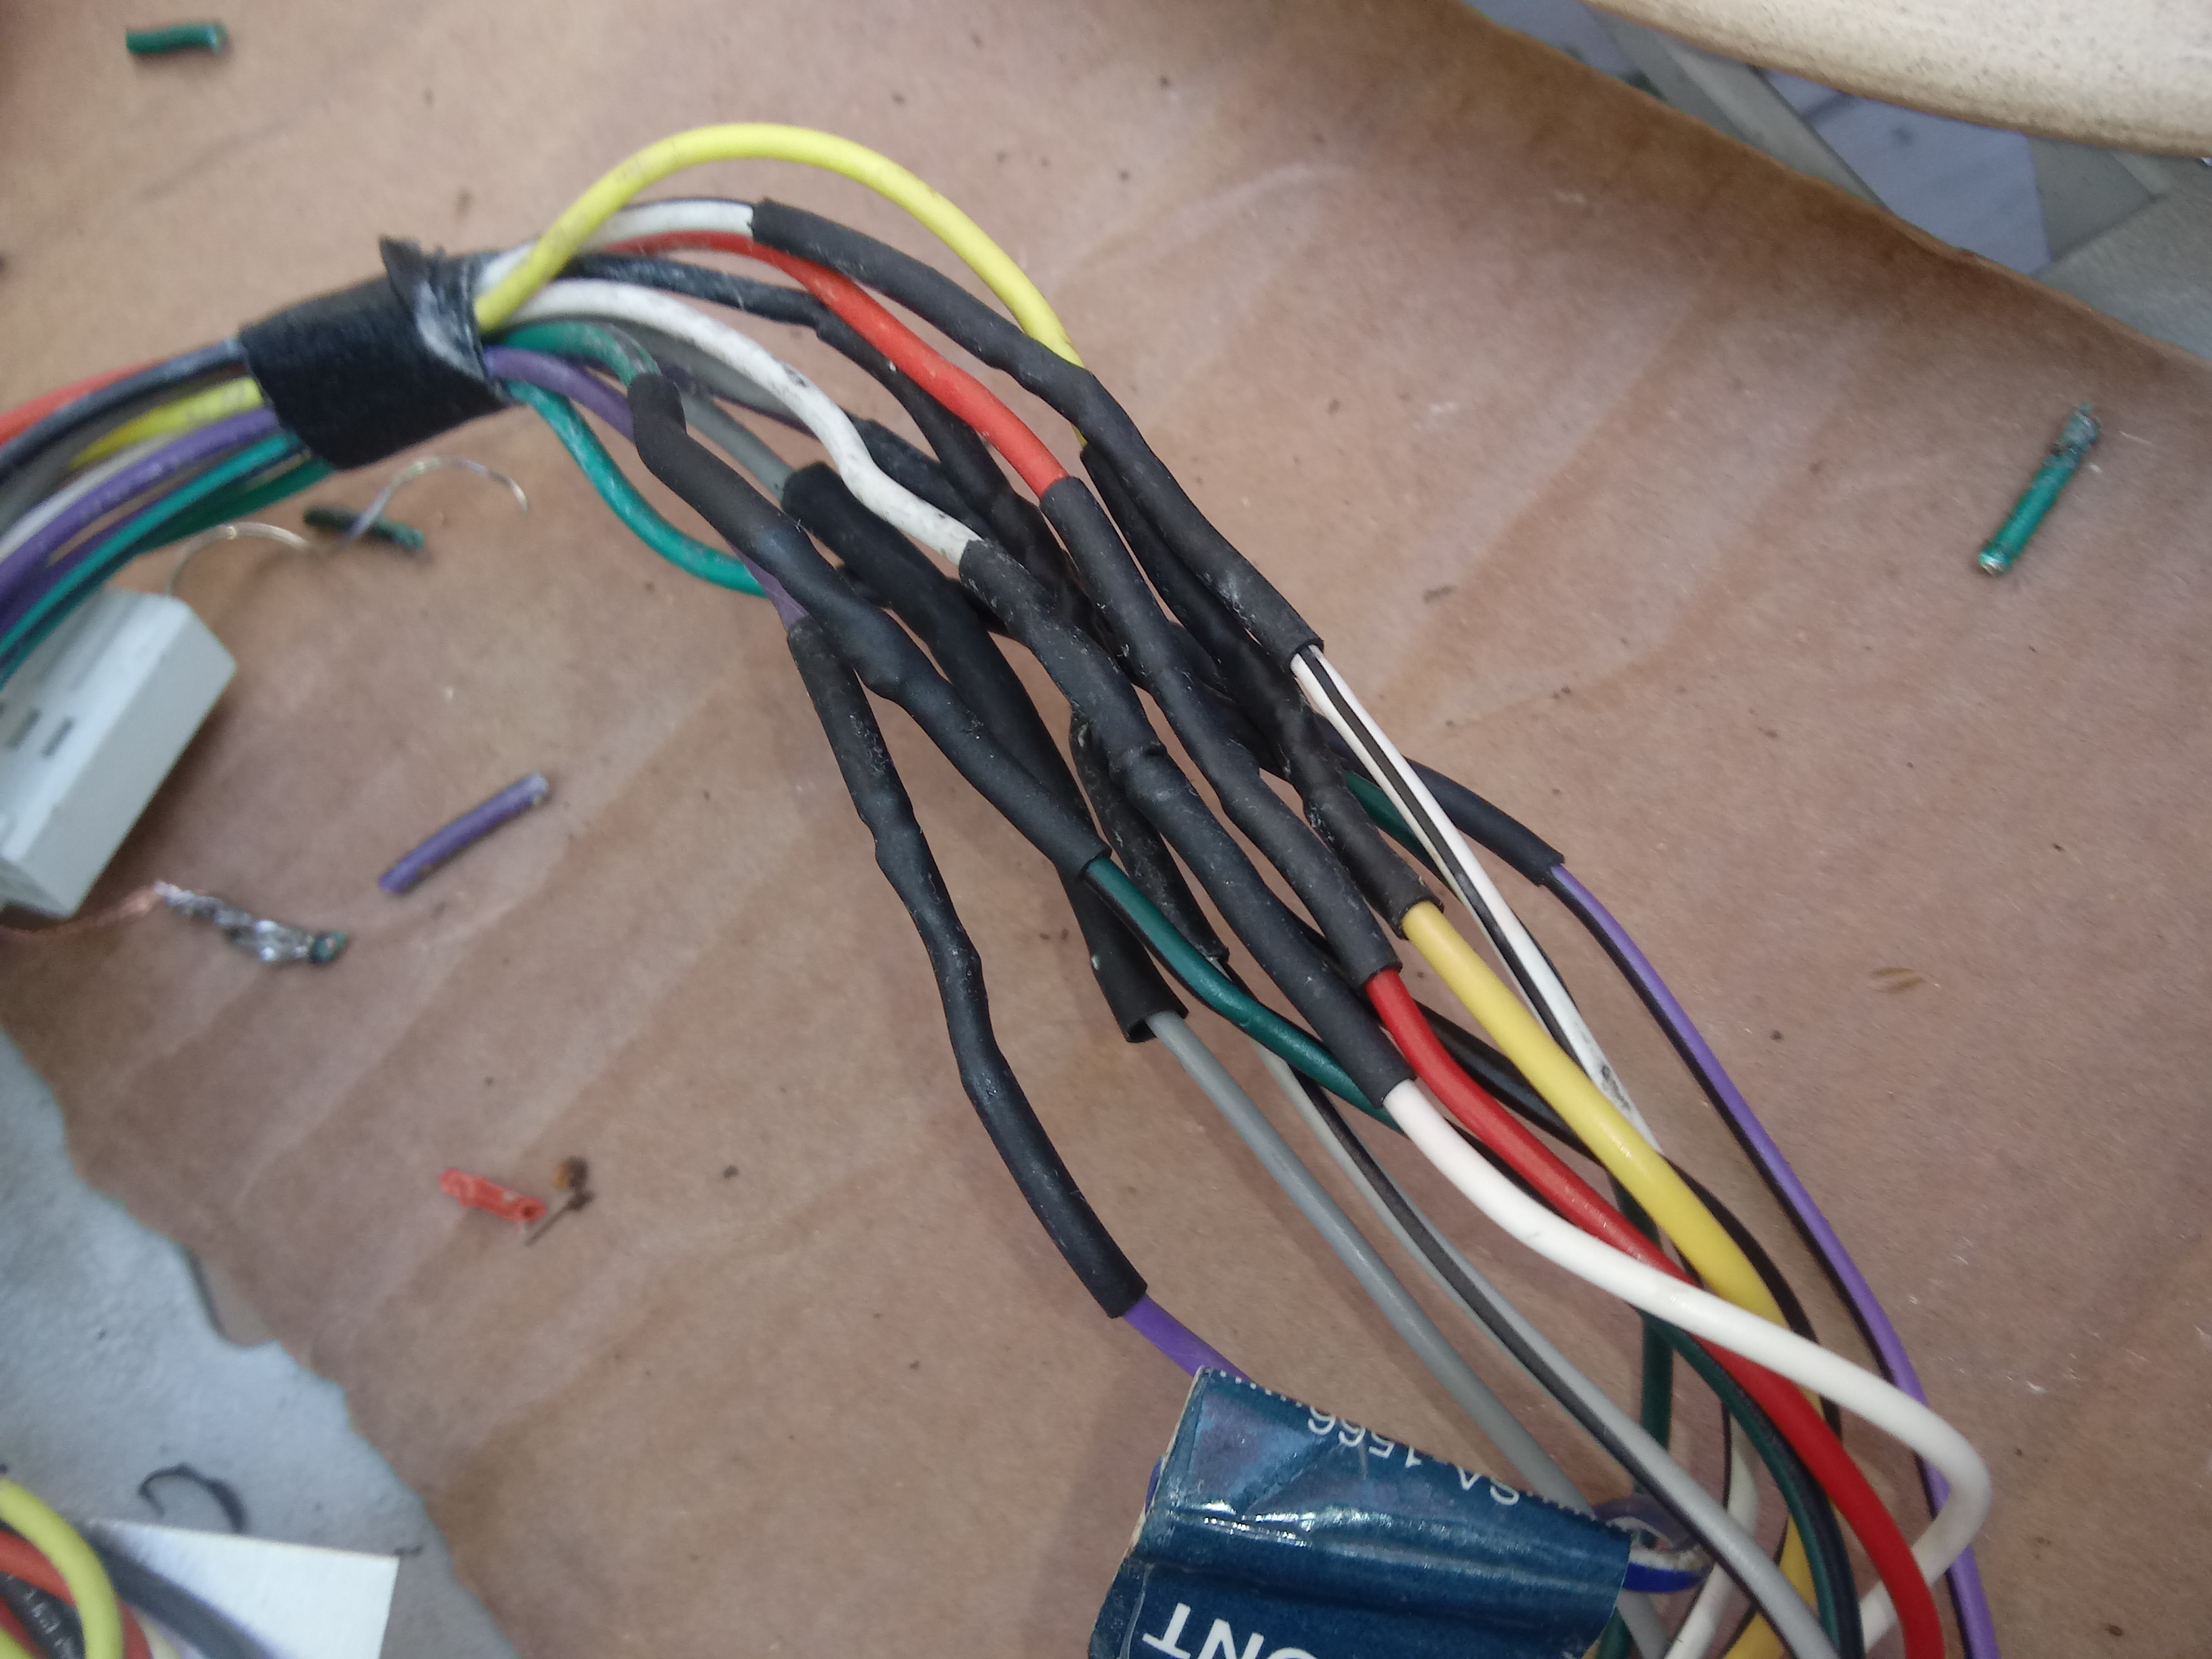
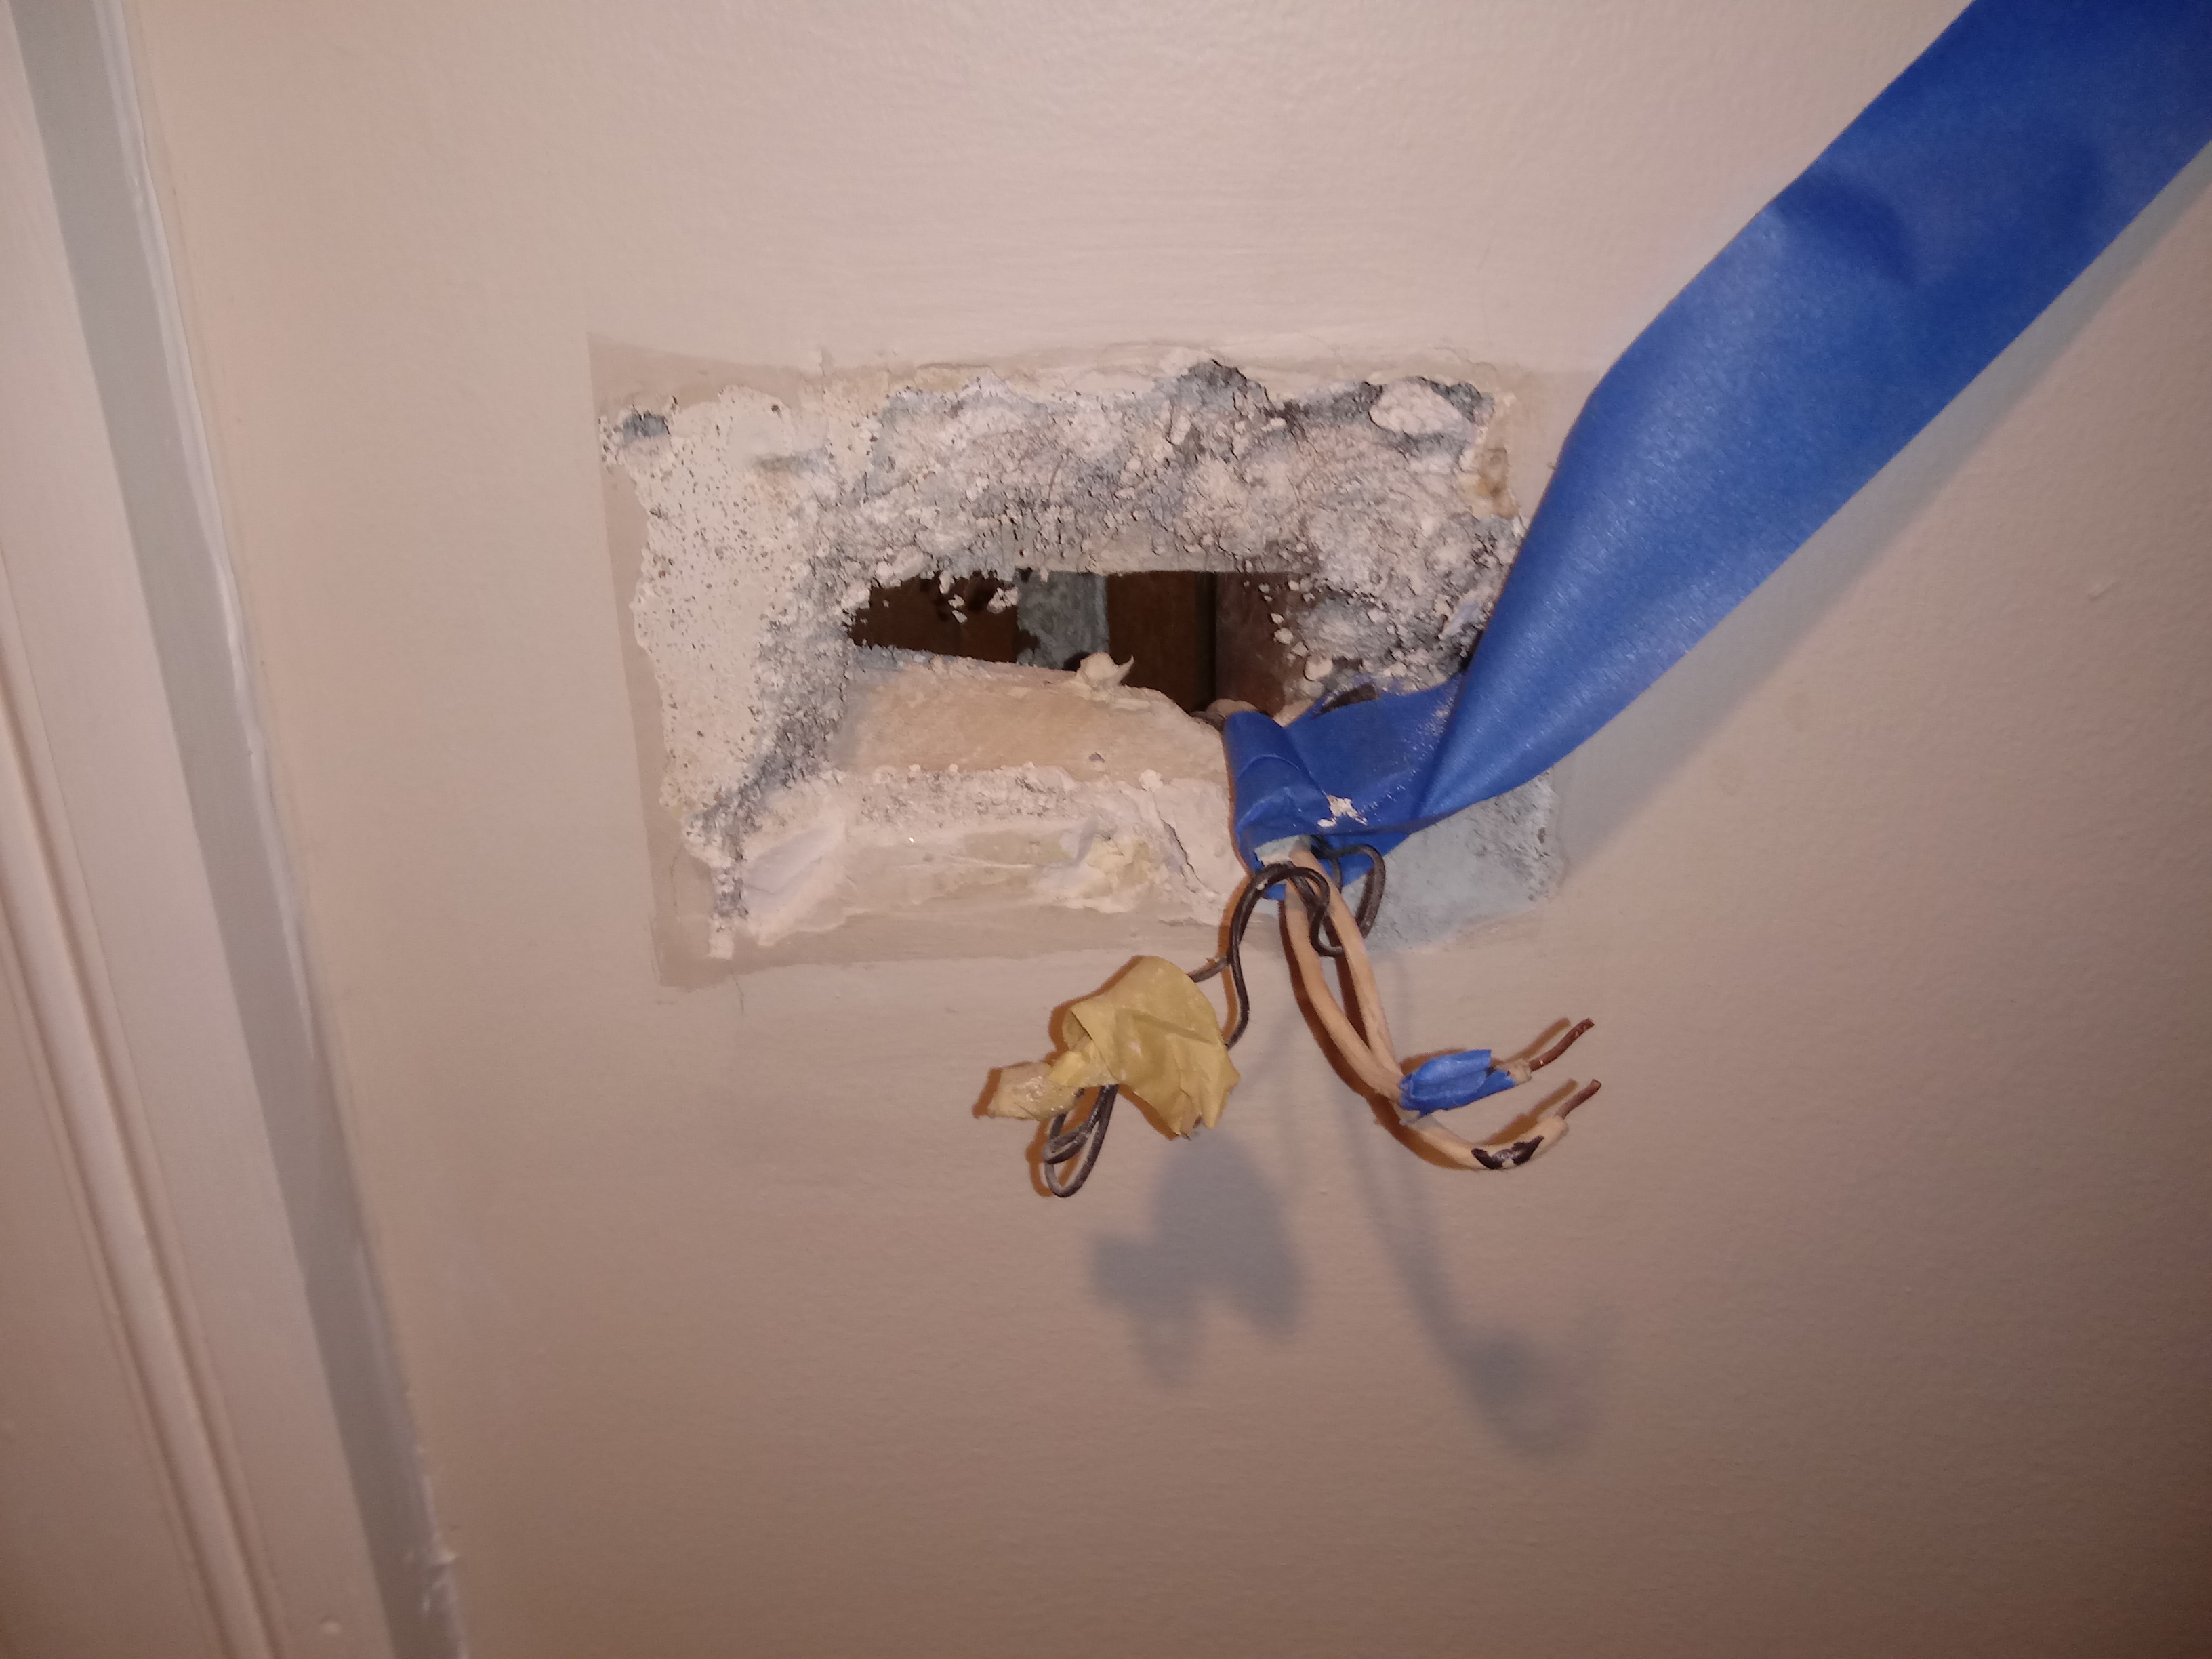
(Note what I assume were low voltage door bell wires spliced in there, I taped them up and moved on to bigger things)

And then there is an APP to use in installing the thing.  Now here is the big deal, I was always told that to install a smart thermostat you need a COMMON WIRE to allow it to charge.  This house only had two wires to turn the furnace on and off, but, Google/Nest repeatedly said I do NOT need a common wire, so, off we go.  In this case just simple RH  (red/heat) and White (neutral) wire:

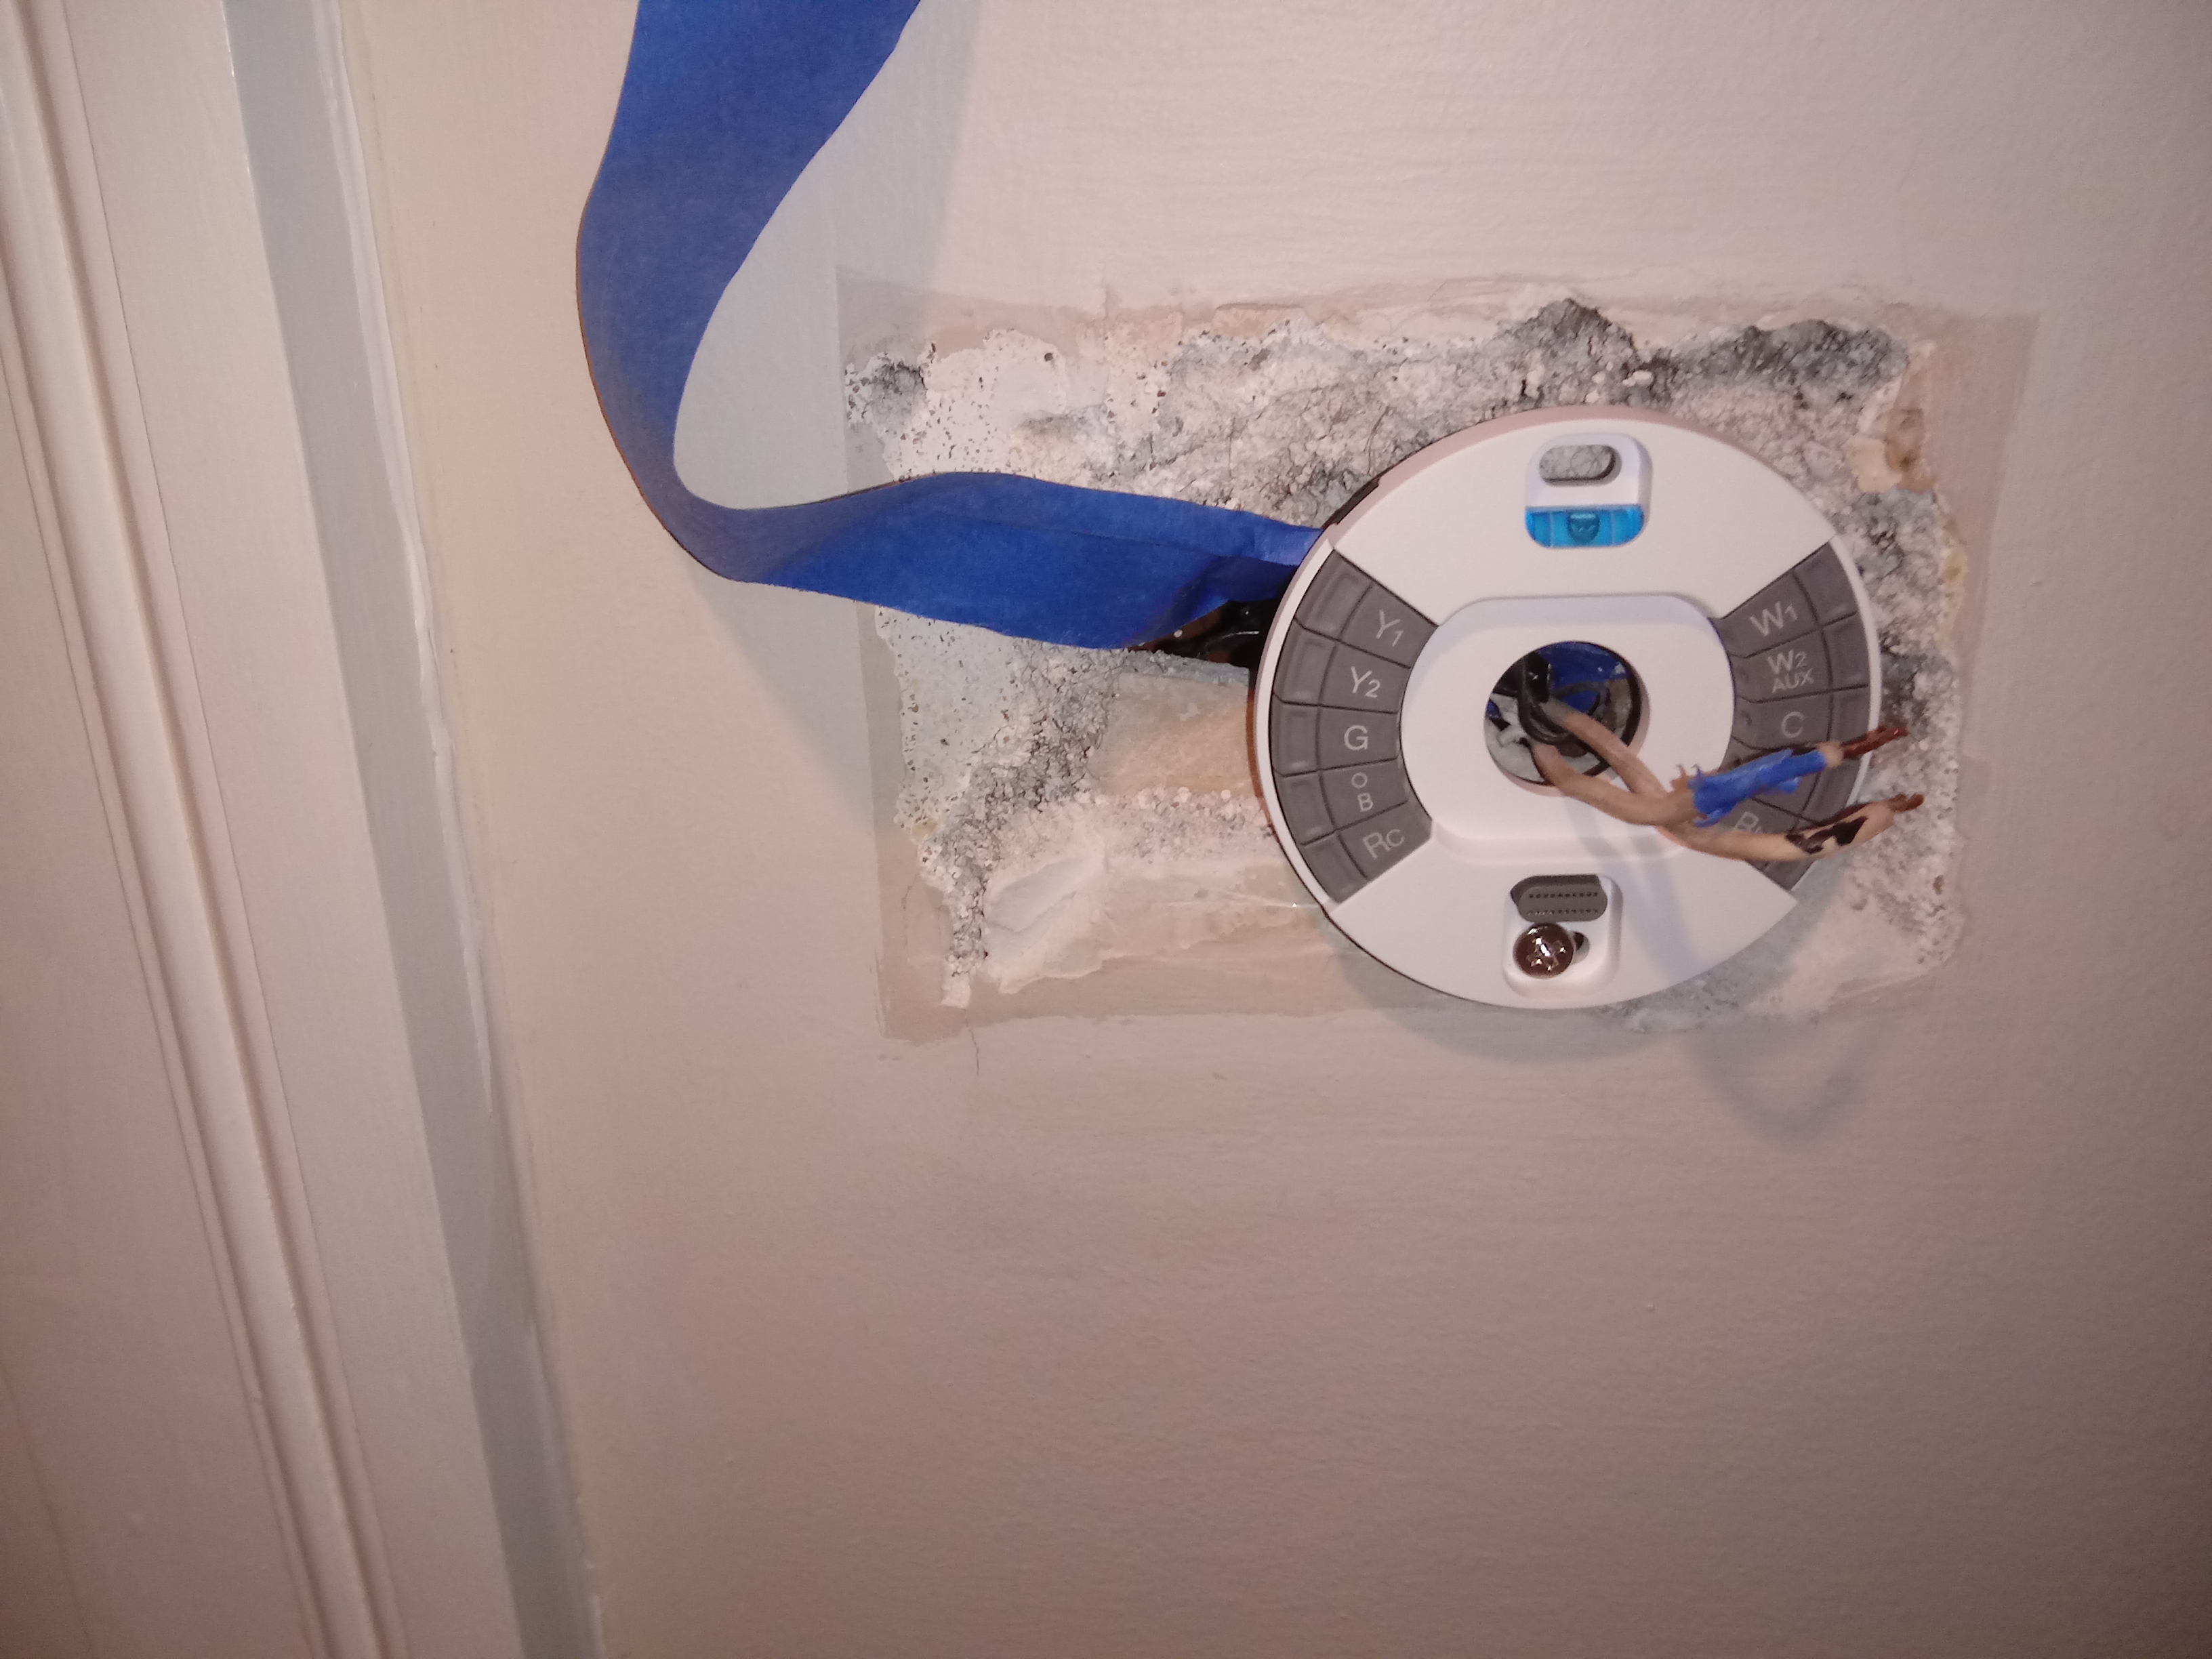
(note, in the pic, R and W wires not hooked up yet)

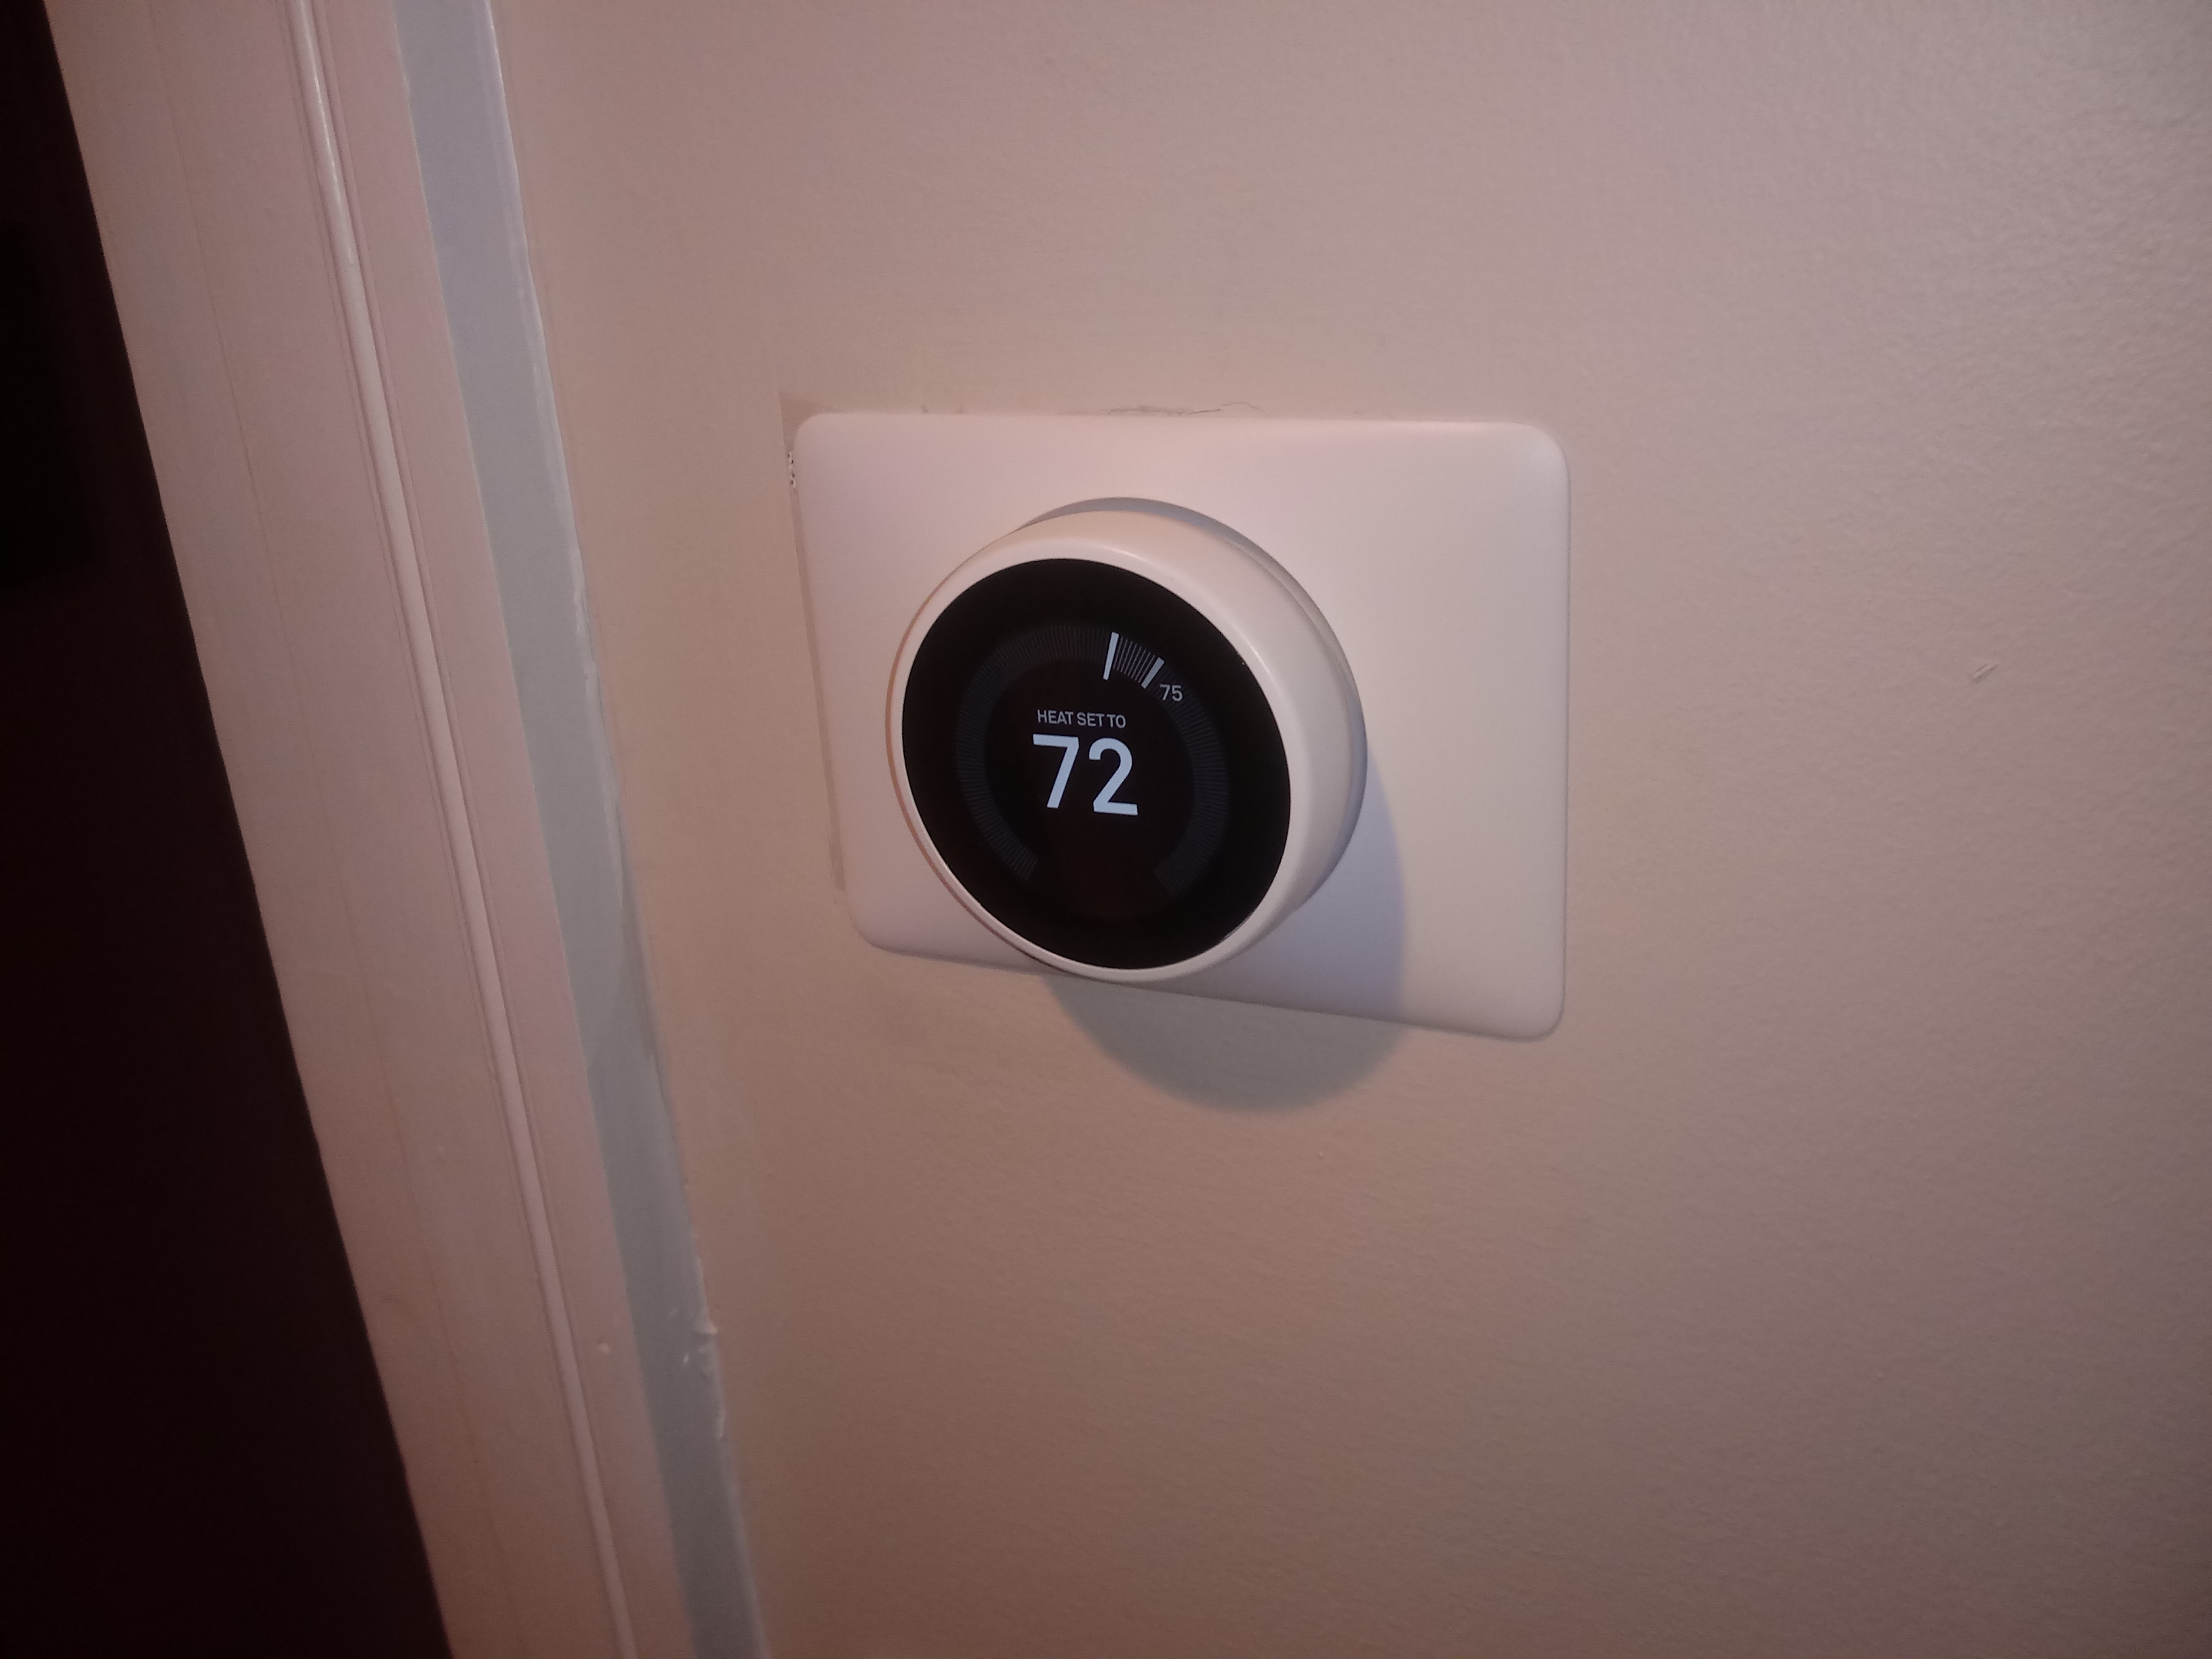
At this point I was assuming I would have to come back and patch this godawful hole in the wall but then I discovered that Google in its infinite wisdom provides a massive faceplate, so I put that on and it was big enough to cover the hole, and

VIOLA

At this point I thought I was done but then . . . but then . . . the client and I spent 90 minutes on the phone to google help, which, I have to say, was fantastic.  The setting up of the “APP” on the guy’s phone and making the thing talk to his wifi and setting up the on off program was nightmarish BUT  . . . WE DID IT.


Wrangling an Extension Cord

I have owned a 100 foot extension cord for many years, long before my handymanning career began.  I used it mainly for running power down from my 2nd floor apartment so I could vacuum my car.

Of course, with all the handymanning, I have been using it a lot.   And with all this added use of it, a chronic problem has become highly vexing, which is, how to coil the darn thing up when I am done with it.  As it is, it gets tangled in a ball of orange spaghetti and it takes way too long to get it untangled and usable for the next job.

I had looked into this previously, but all the advice I found on YouTube last year was, well, less than perfect.  So I looked again  and found this device at Home Depot– it’s essentially a big orange spool:

However, some fabulous folks on YouTube offered a marvelous hack which makes it work even better than designed.

The way it’s designed, you hook the midway point of the cable on the axle, and then I guess you wind/ unwind it.  However, the trouble with this setup is, you unwind both ends at once, and so you have to stand at the midway point of your cable run to unwind, then walk the male end to the outlet and then walk the female end to the job.  Pretty clunky.

So these hackers told me to cut a hole in the axle and feed the female end thru there, VIOLA:

(I pull the male end out of the sprocket hole to allow the thing to turn, it’s stuck in there now for storage purposes). 

So now all I have to do it plug it in, then walk to the job, unwinding a single cable as I go . . .   plug in my devices, then just wind it up on the walk back to the power source.

I am making good use of all this downtime!!

— JL

Busman’s Holiday

With Covid slowing things down so much I finally had a few moments to do some handymanning. . .  for myself.

In this case, my lovely 97 Civic, which I have owned for 19 years, needed a refurb of the stereo system.  The speakers had died of old age, and when I replaced them, I found the left front speaker had no signal.  So I took out the wiring harness that was custom done 19 years ago, and found the guy who installed it had used black tape to connect everything, yuck:

Over time the adhesive had turned to mush, and I decided to re do it all correctly, but first I had to get all that gunky tape off the wires.  What a mess:

Once I got all that cleaned off, I bought a soldering gun, connected all the wires with solder (the correct way to do it) . . .and covered each soldered joint with heat shrink insulation, now all nice and neat:

Of course once I was done I discovered that the speaker wires in the left front door had been cut by my mechanic by mistake, so I fixed that connection and got the new speakers in and oh boy, I finally have tunes in my car again.  Perhaps I should upgrade the head unit too but . .  it works!

I also had issue with my speedometer, and after spending $174 on a new speed sensor with no results, I looked on YouTube, where I learned that a bad solder joint in the speedometer was the likely culprit– so I removed the instrument cluster and the speedometer, re-soldered a teensy little circuit board connector, and viola, I have a working speedometer again!    I am just amazed and giddy that I figured this out– maybe this is how clients feel when I fix THEIR stuff  🙂