A Monumental Door Fix

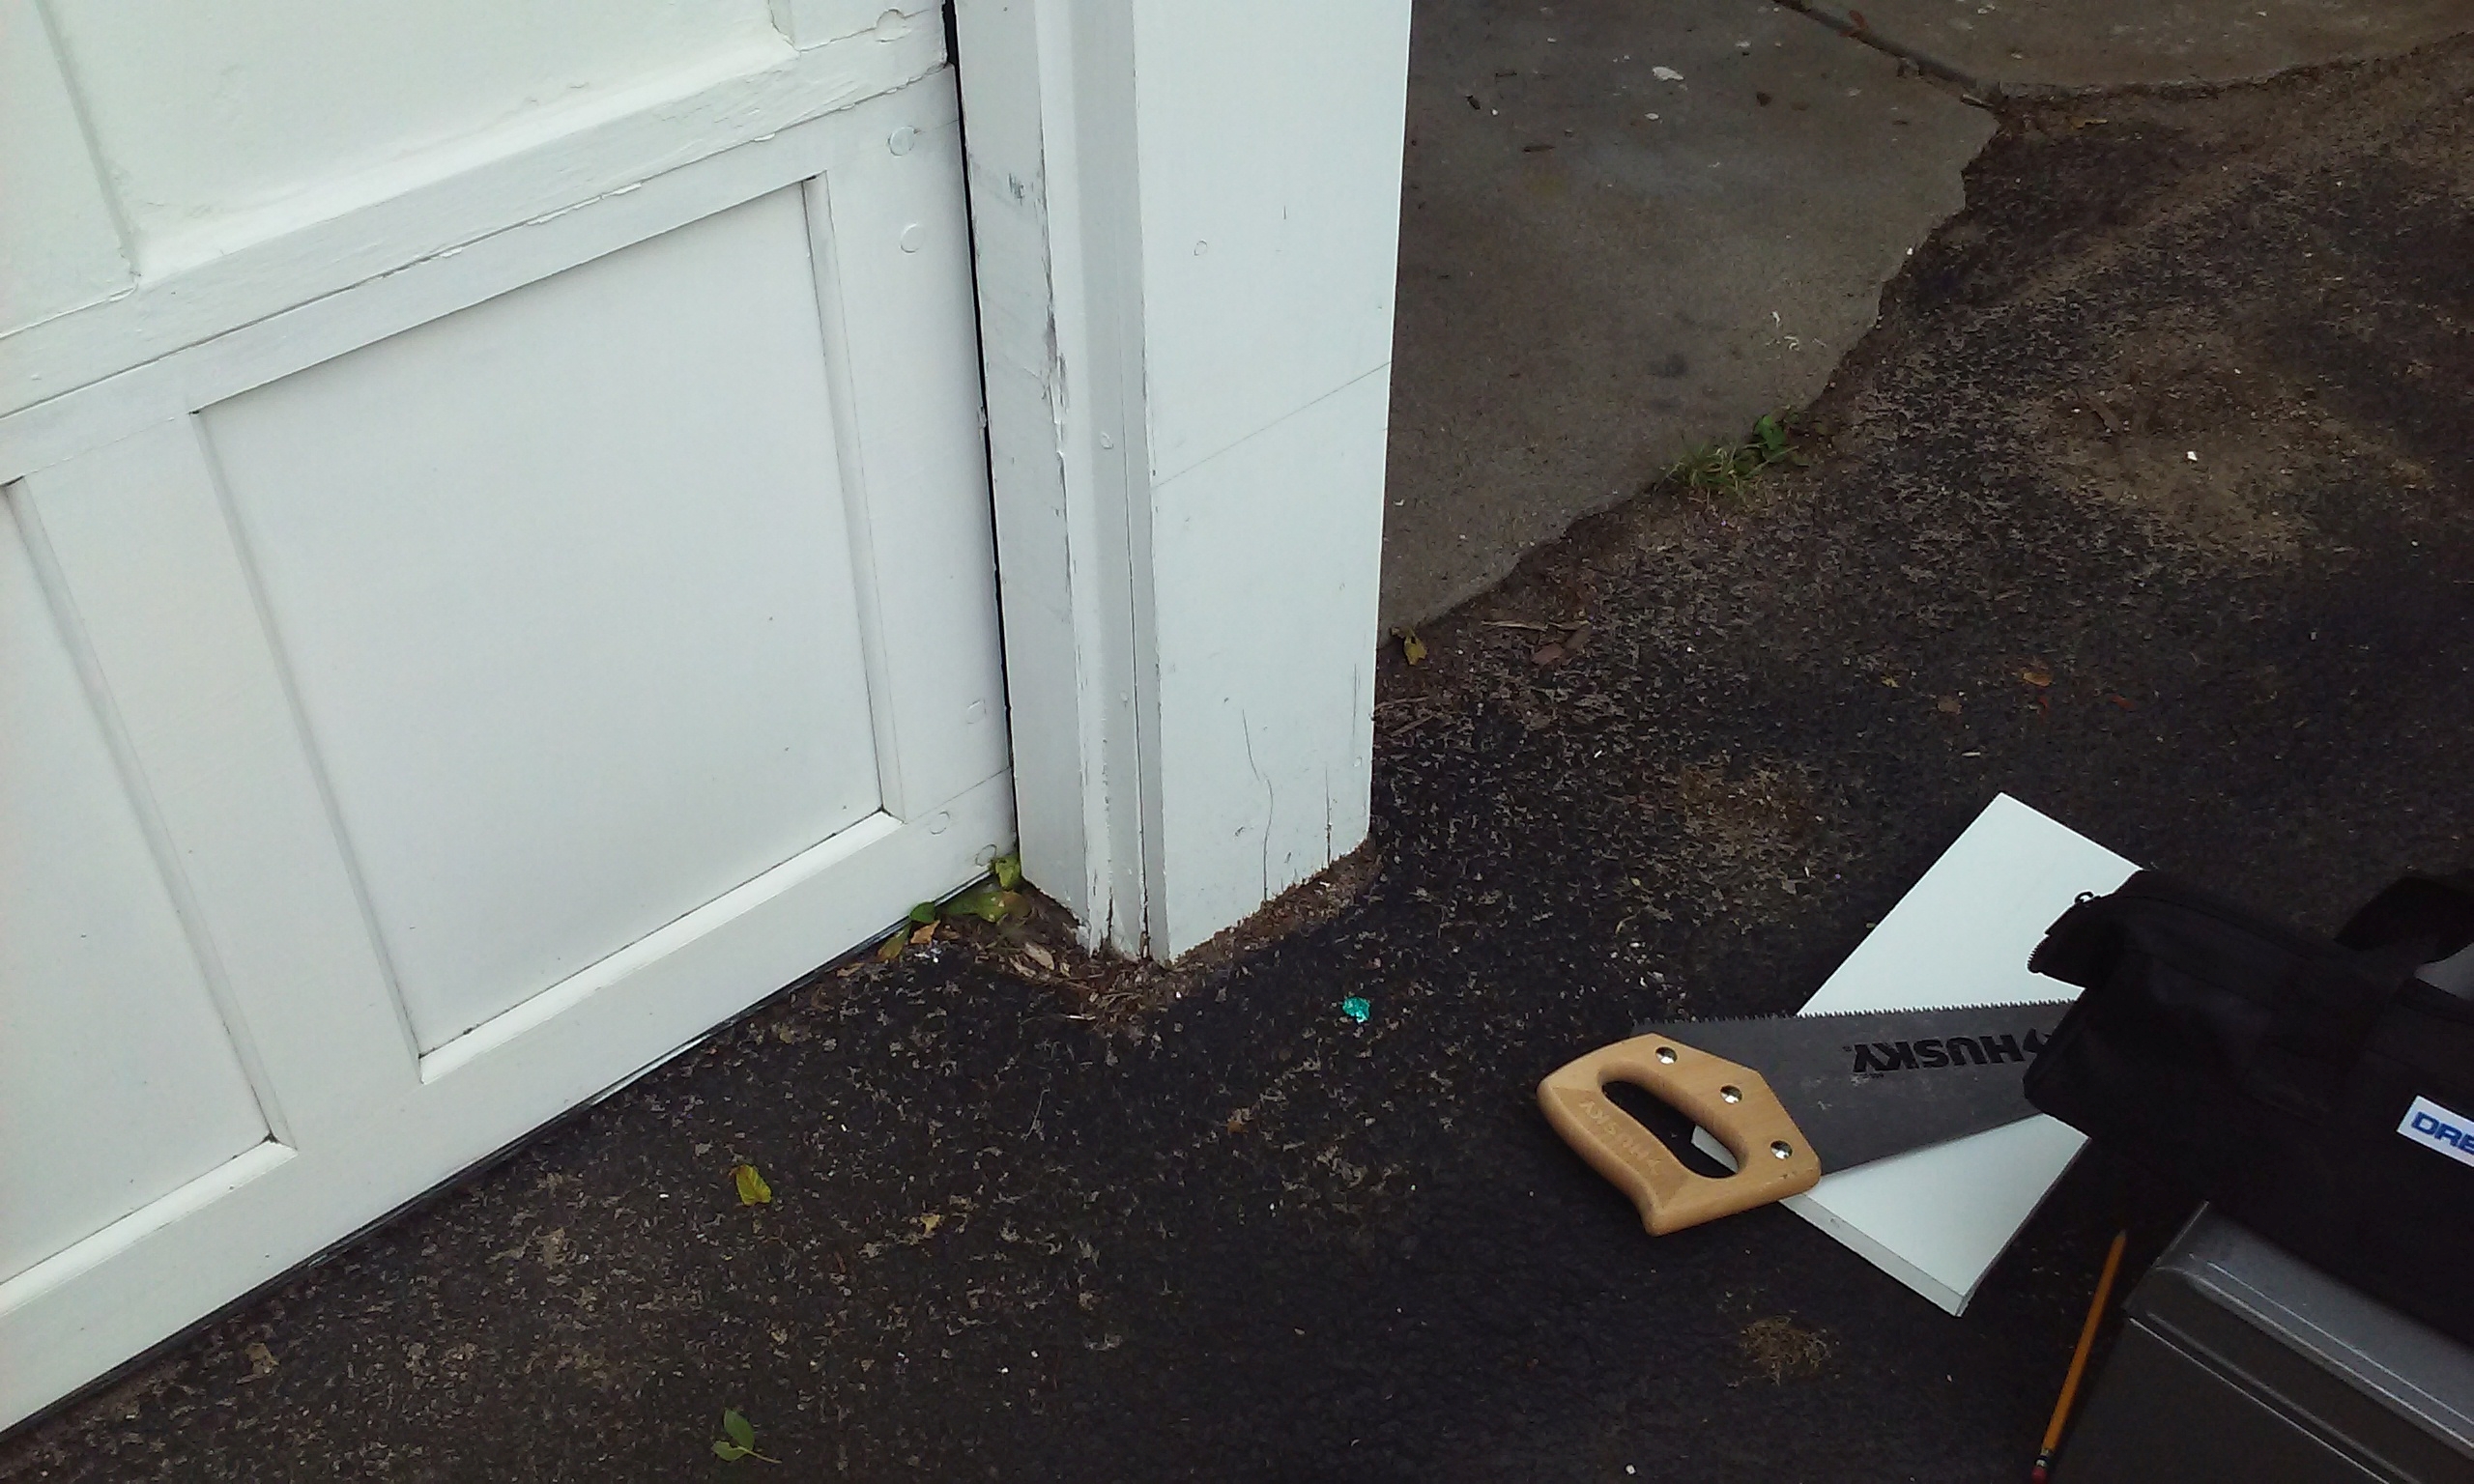
Okay they say a picture is worth a thousand words.  Here are two thousand:

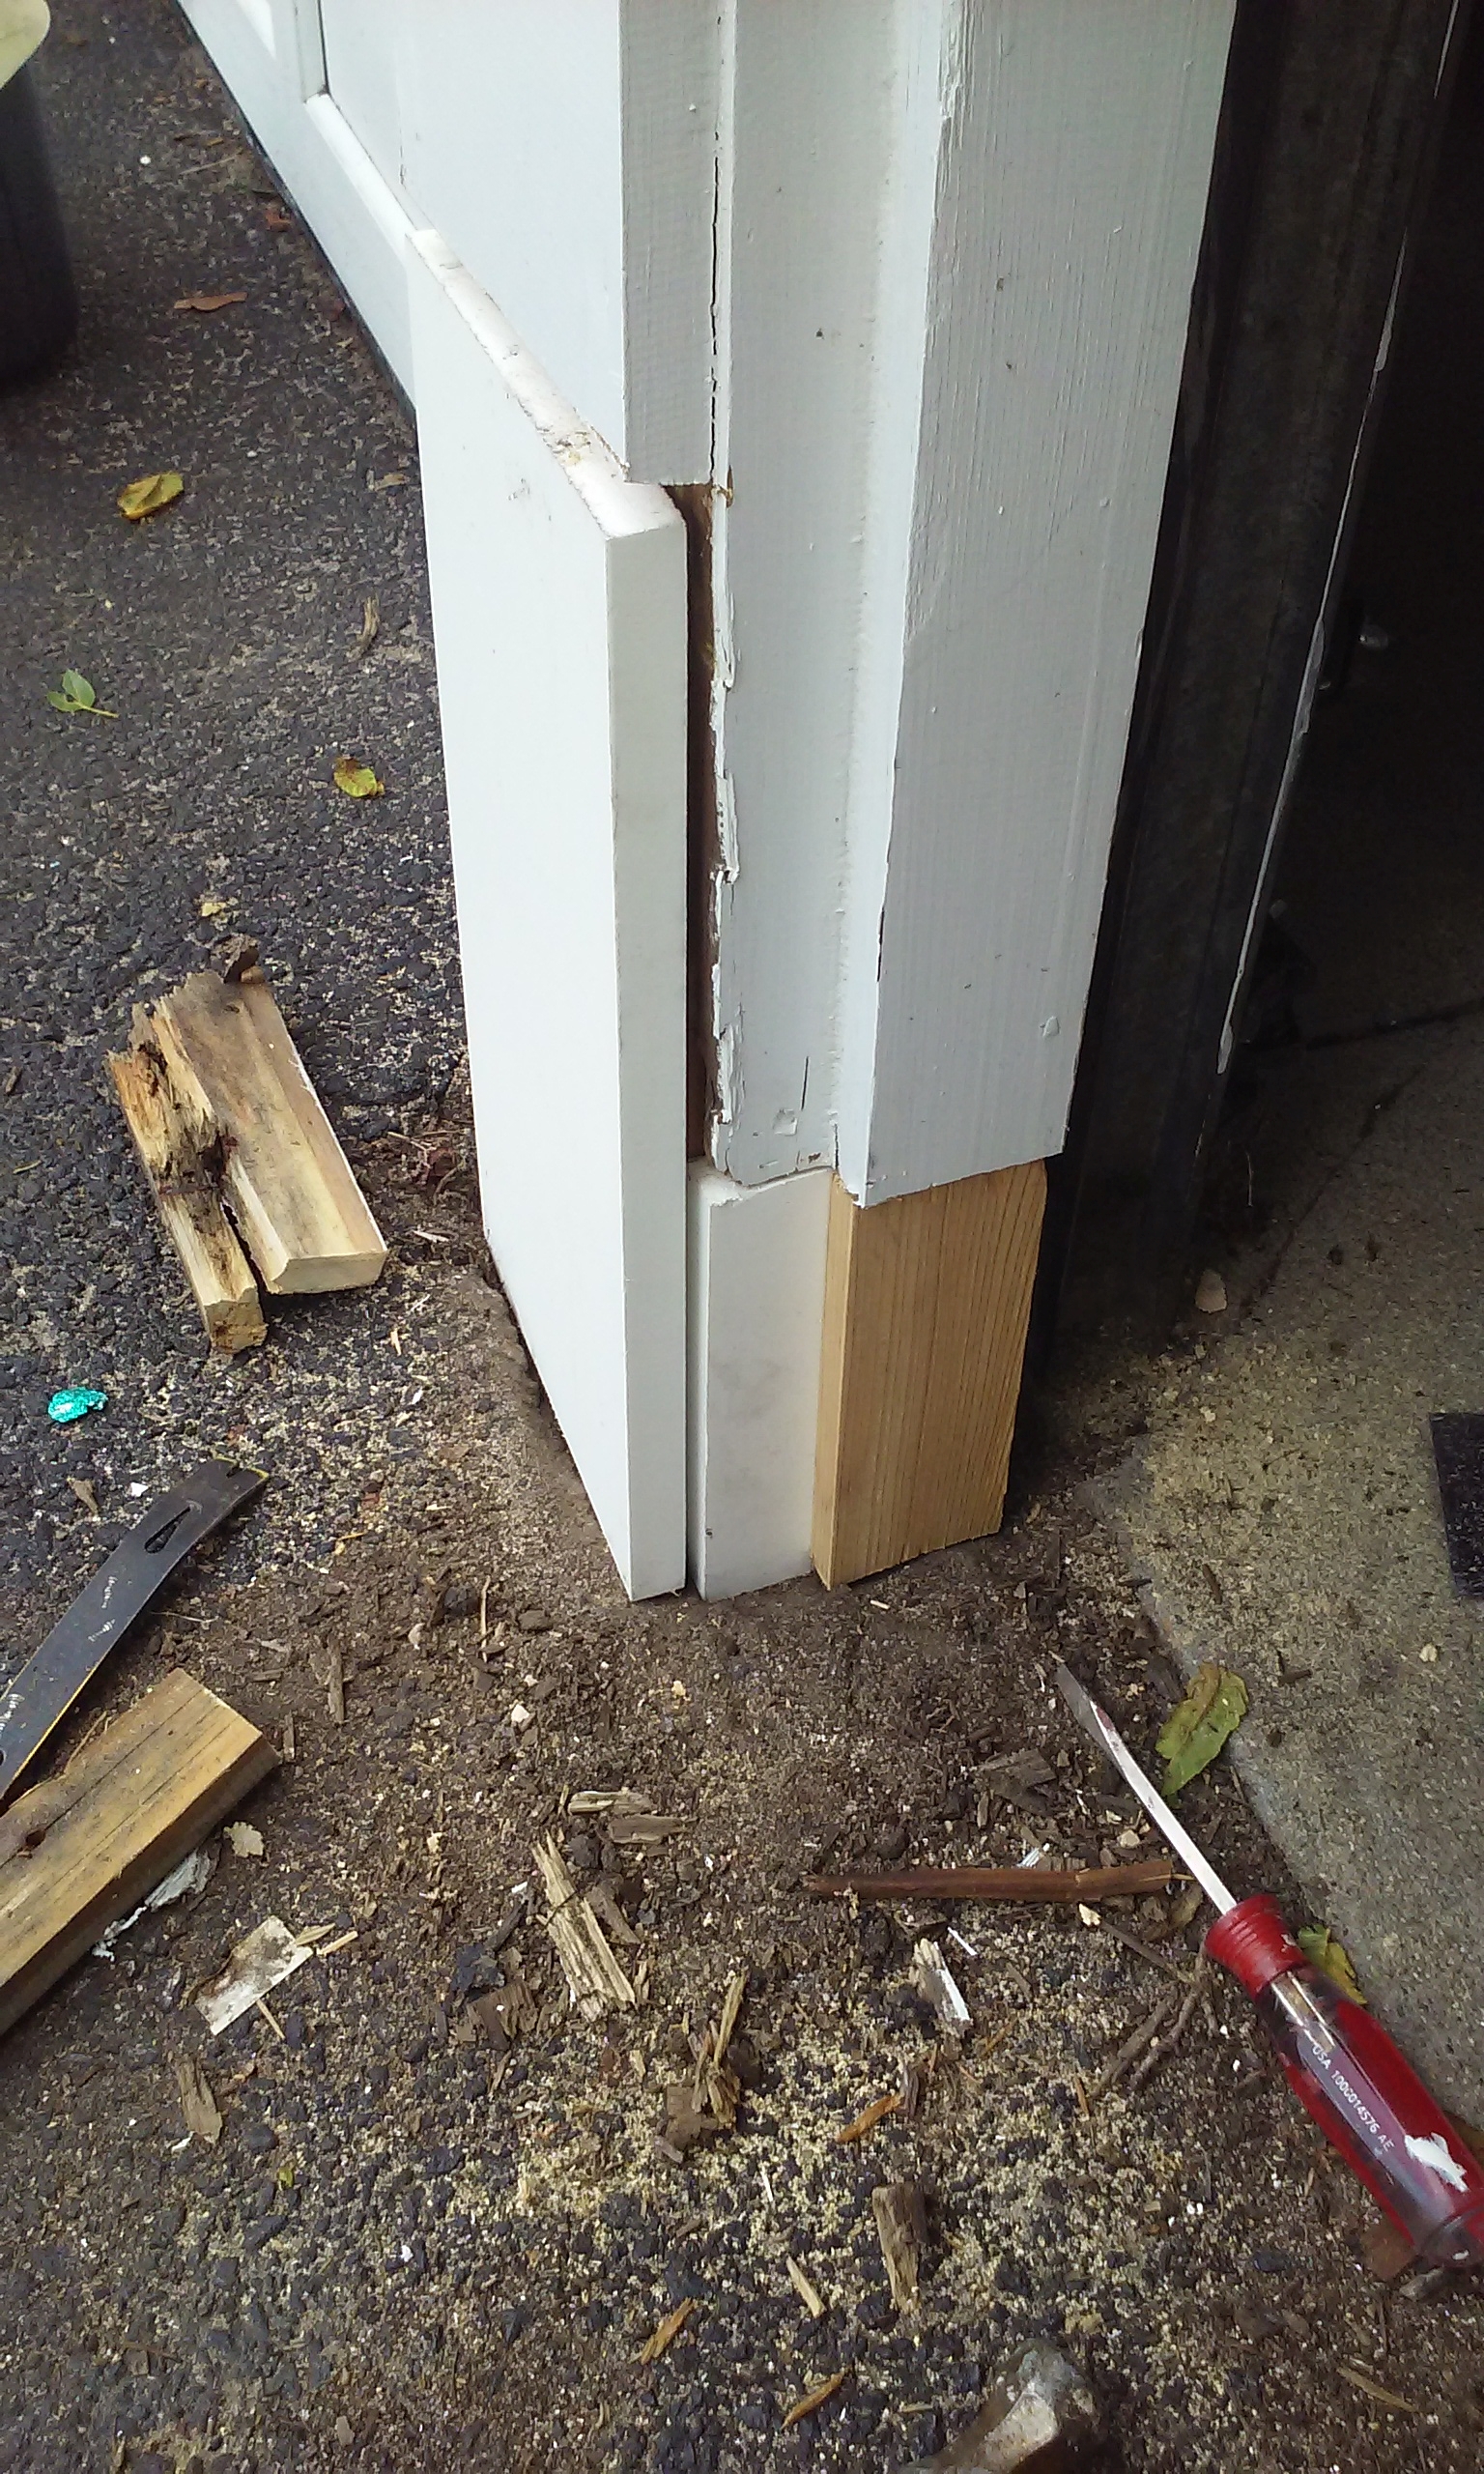
Here is the story, this house has a beautiful old door with a tongue in groove weatherstripping all around.  And I guess somebody banged the tongue of the weatherstripping down at the bottom, and it got bent, and this stopped the door from closing all the way.  So some not too bright guy came over and decided that instead of fixing the initial problem (which I fixed in 2 minutes with some needle nosed pliers), he decided to accommodate the door’s not closing by moving all three strike plates 3/8 of an inch into the house.  YEESH.

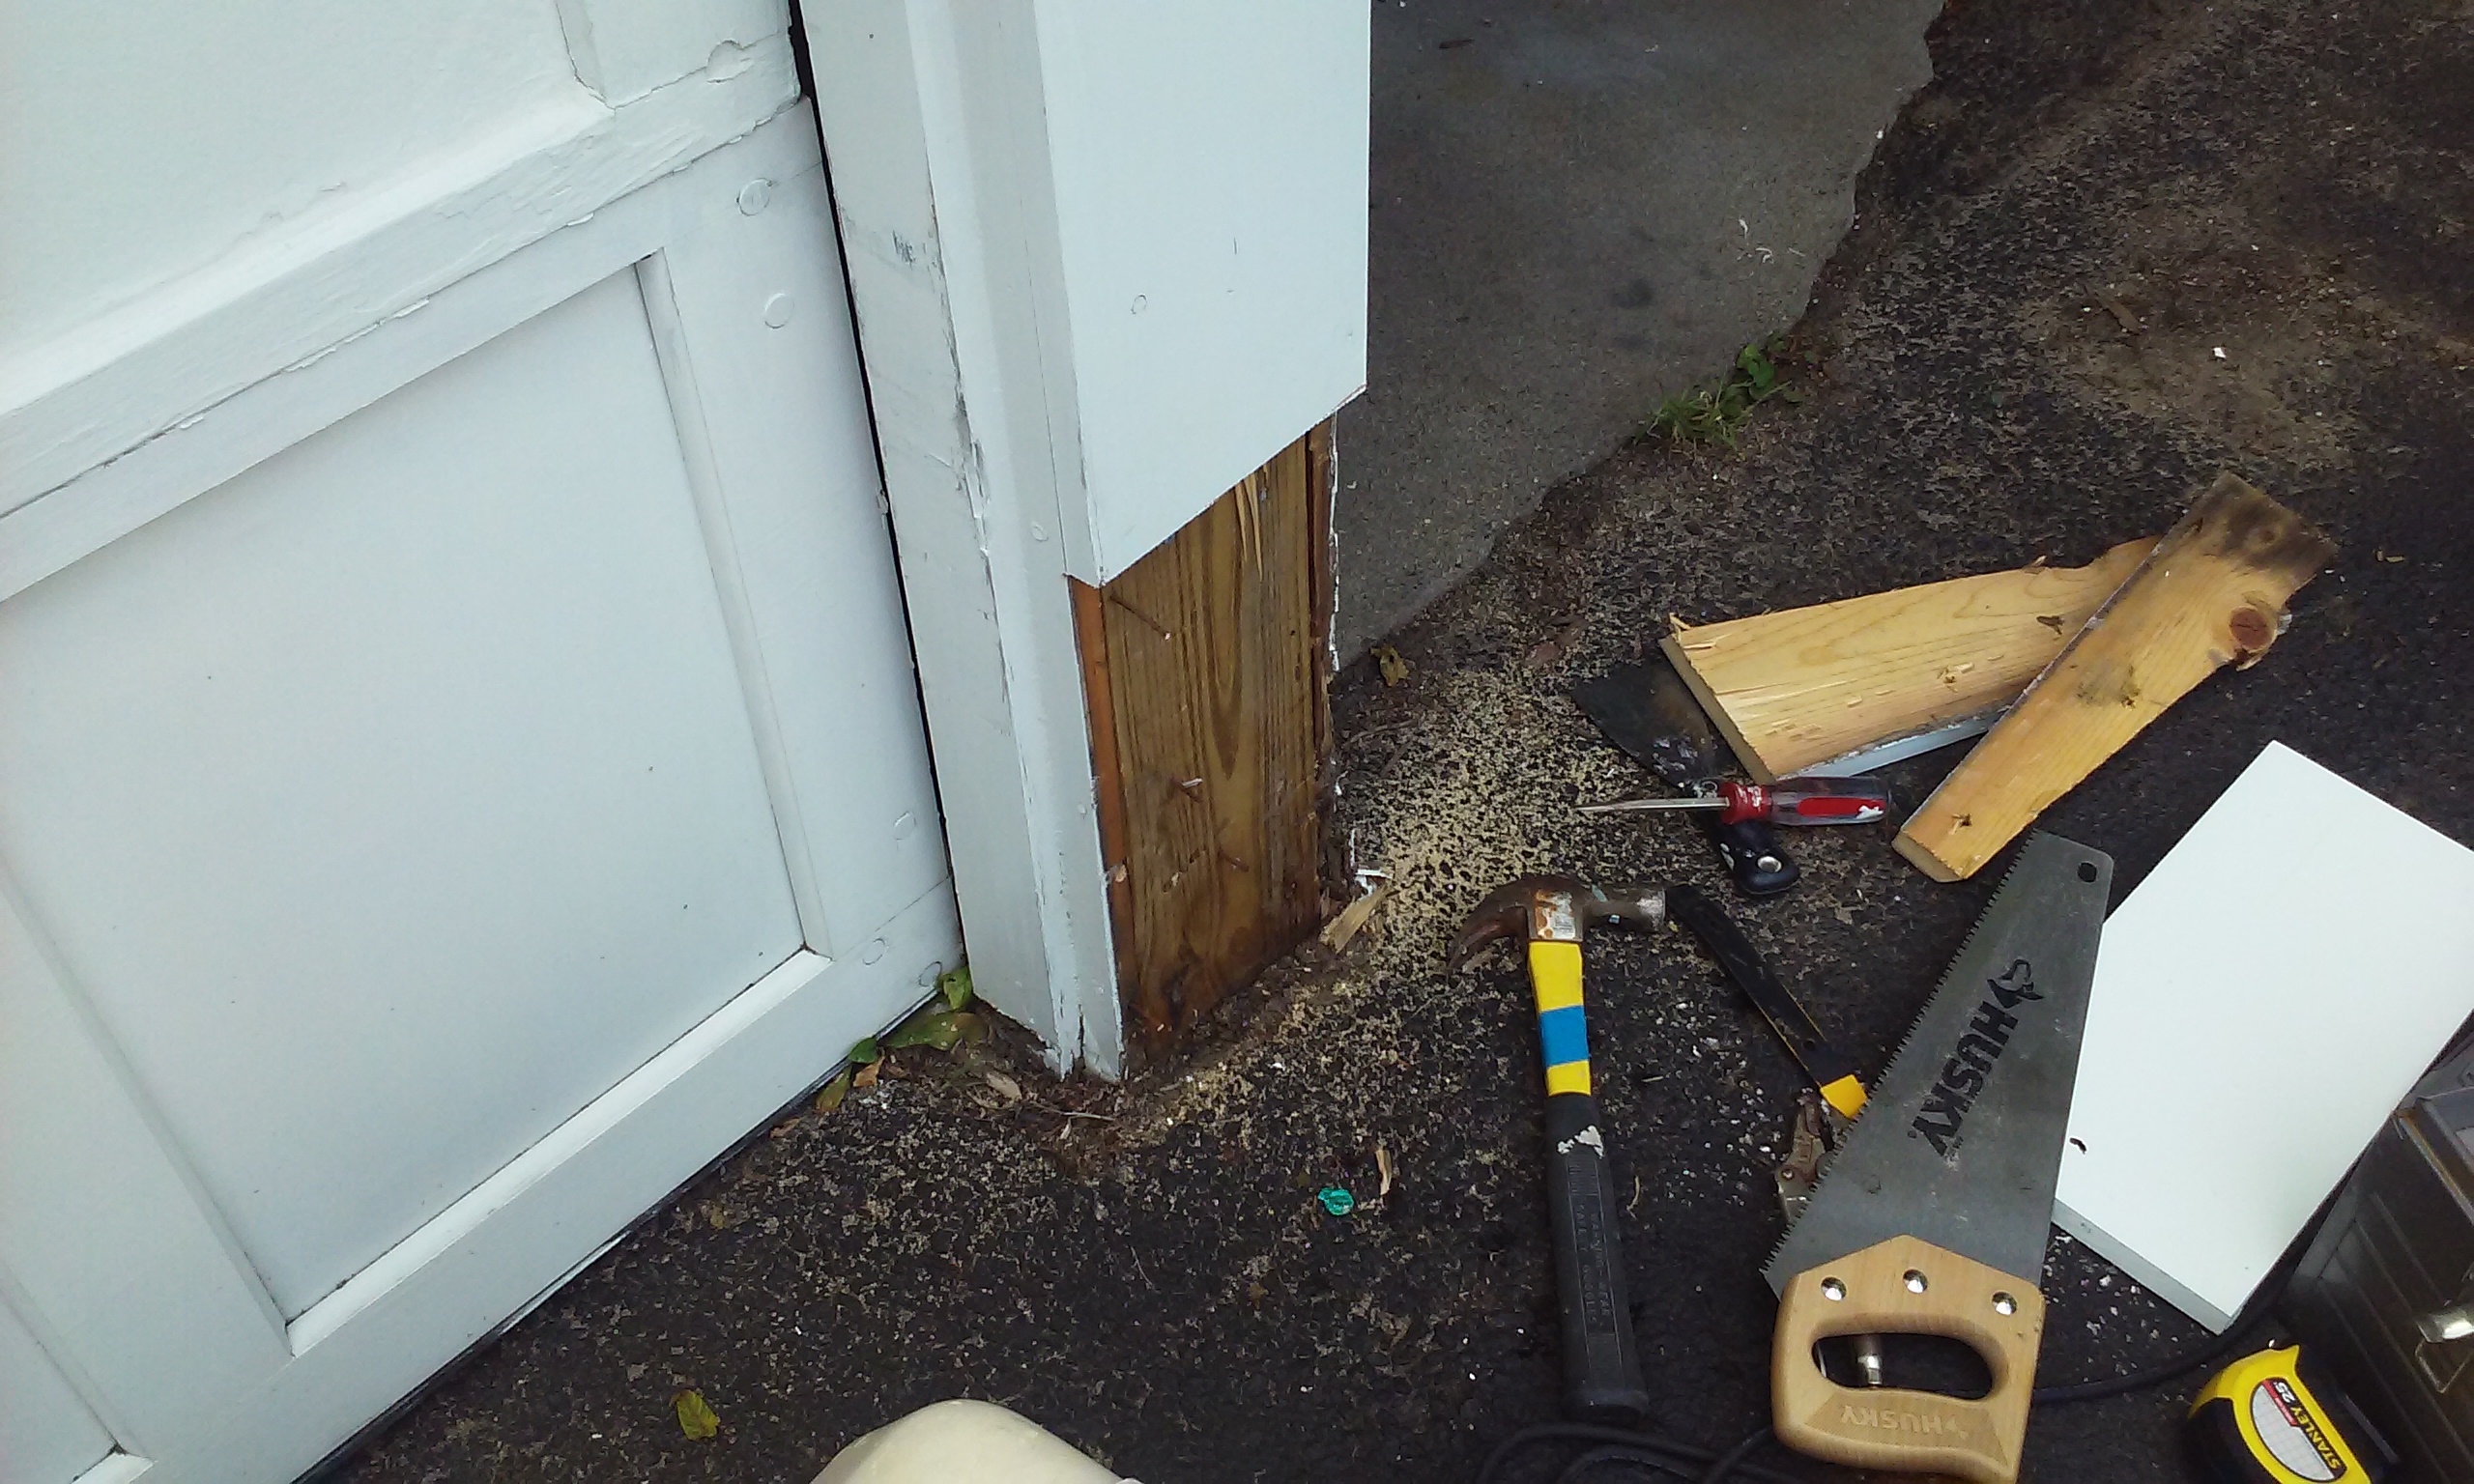
So he chewed up the jamb bigtime, and didn’t even use good hardware.  A serious hatchet job.  Both hideous AND the door was constantly ajar, letting cold air in.

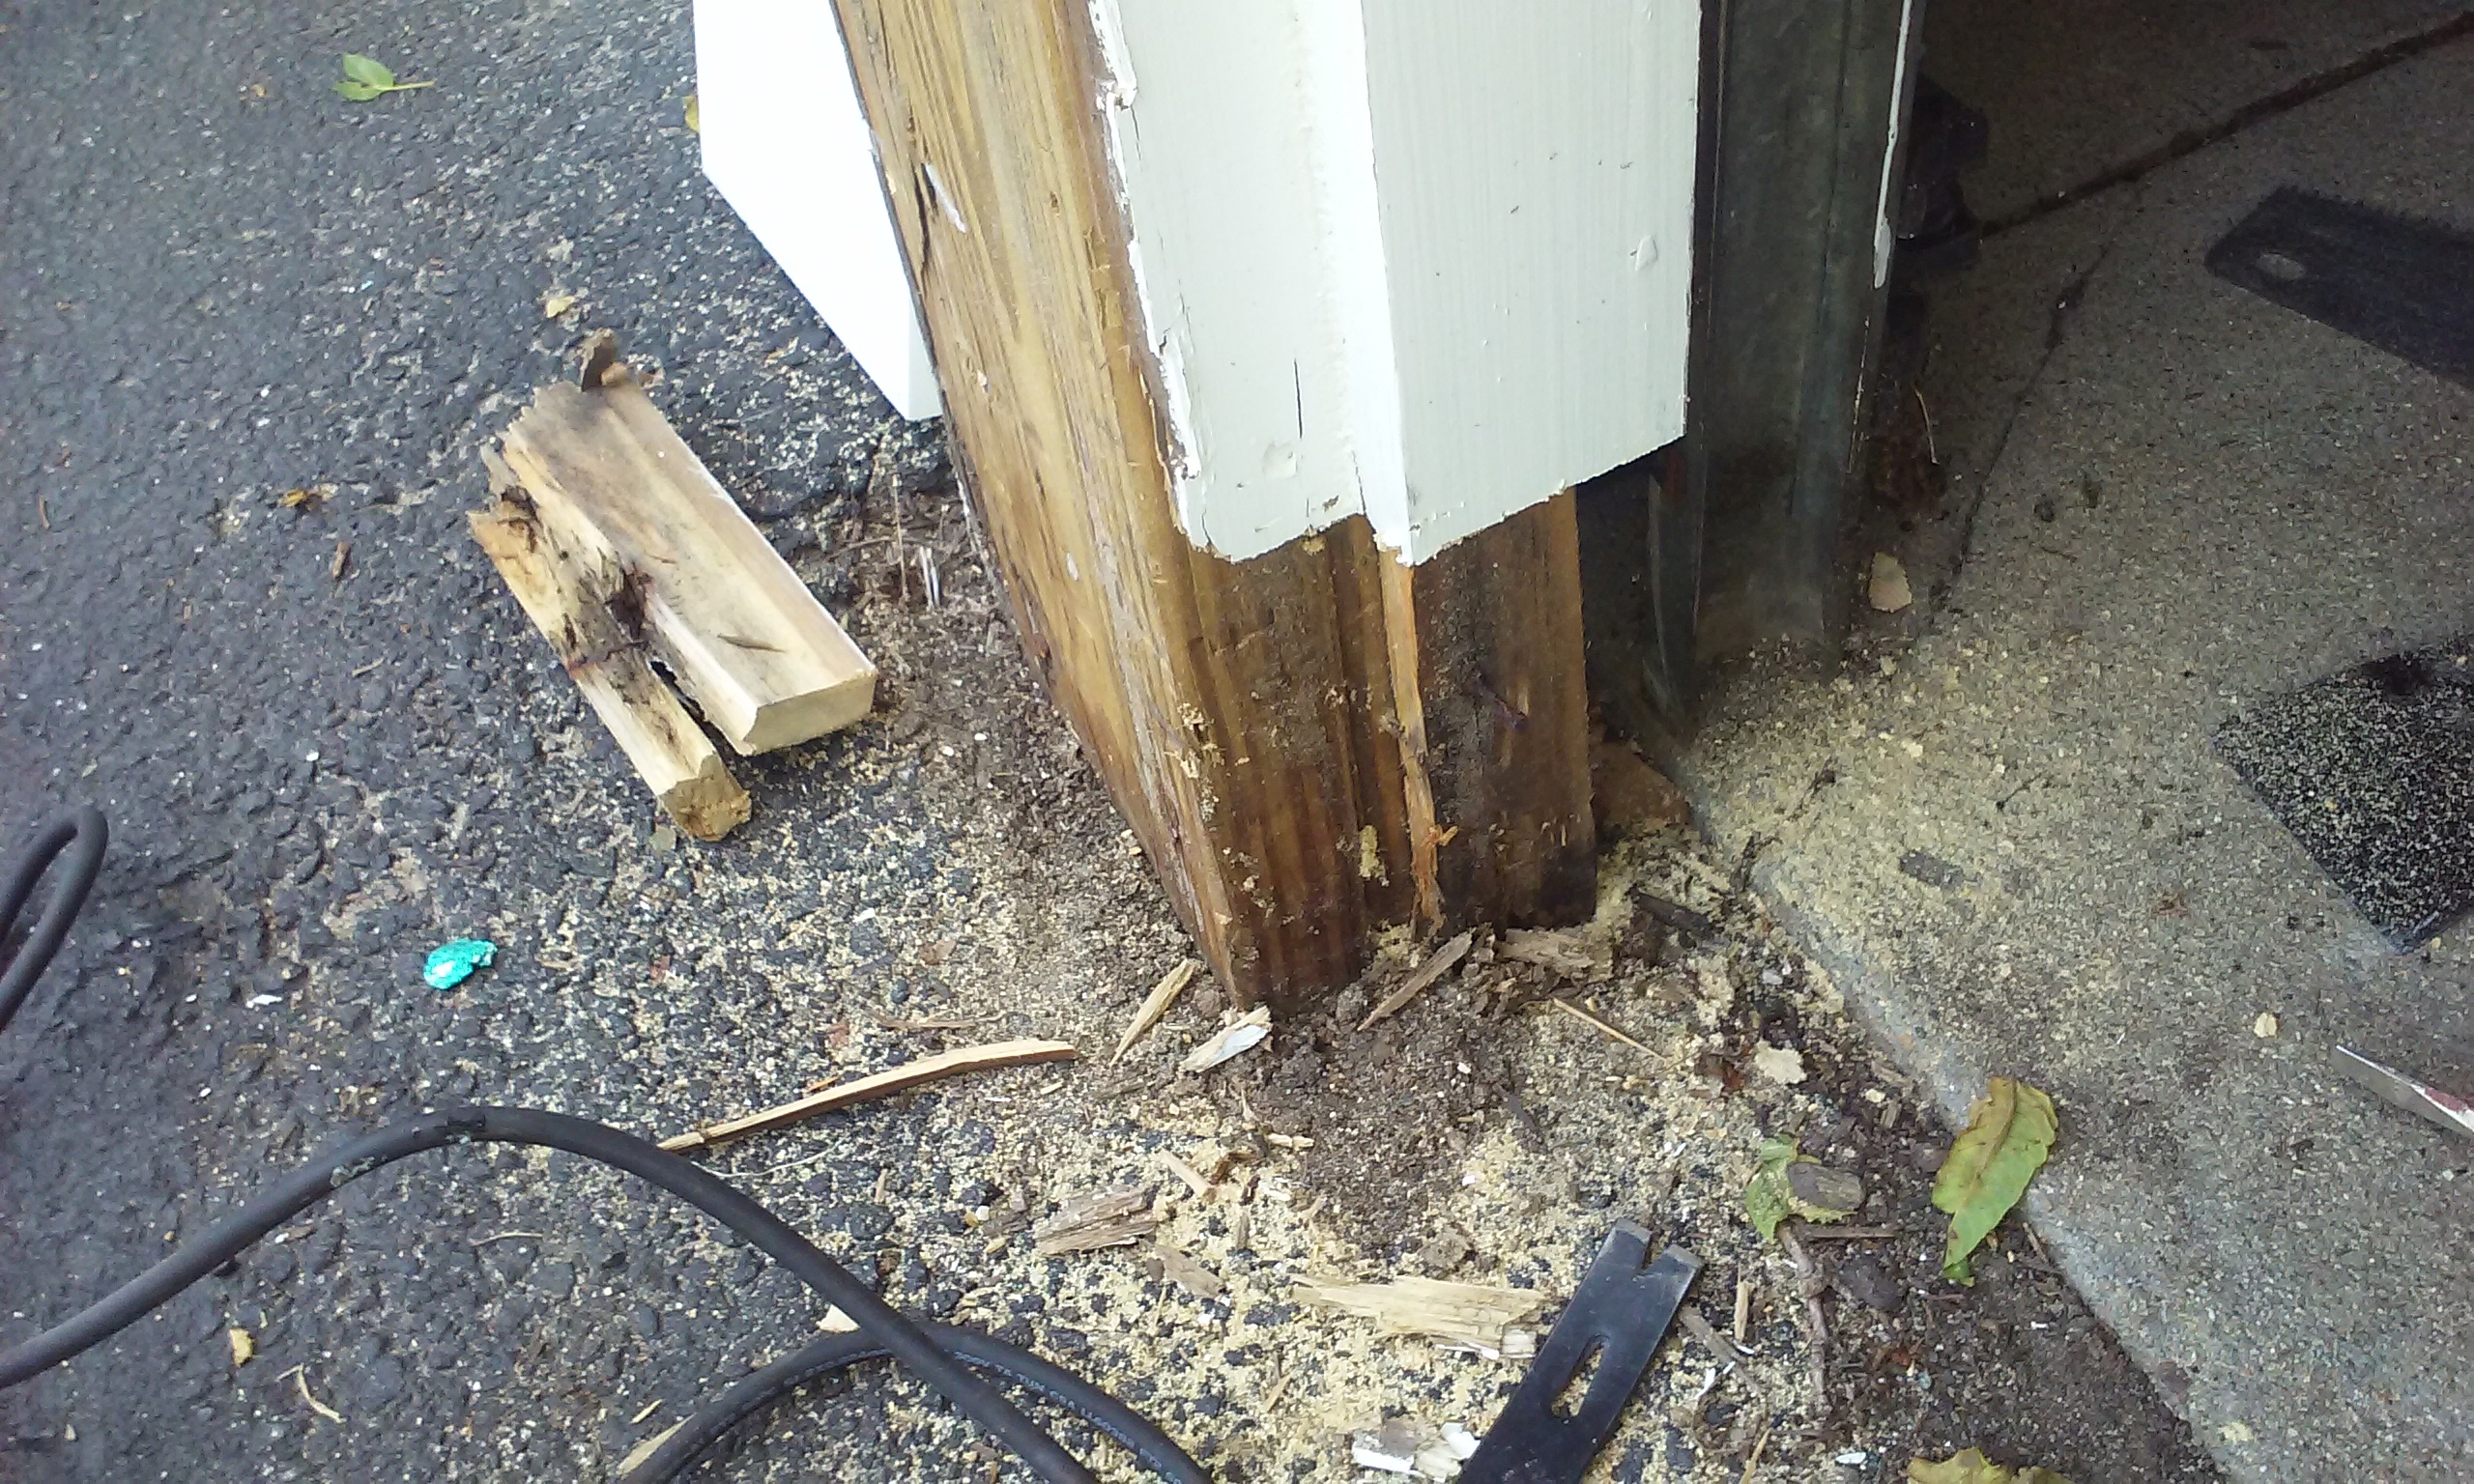
So there were two options, either remove the door jamb and put in all new lumber and drill all new strike plate holes (double yeesh) OR  . . . OR . . . somehow rebuild the existing.

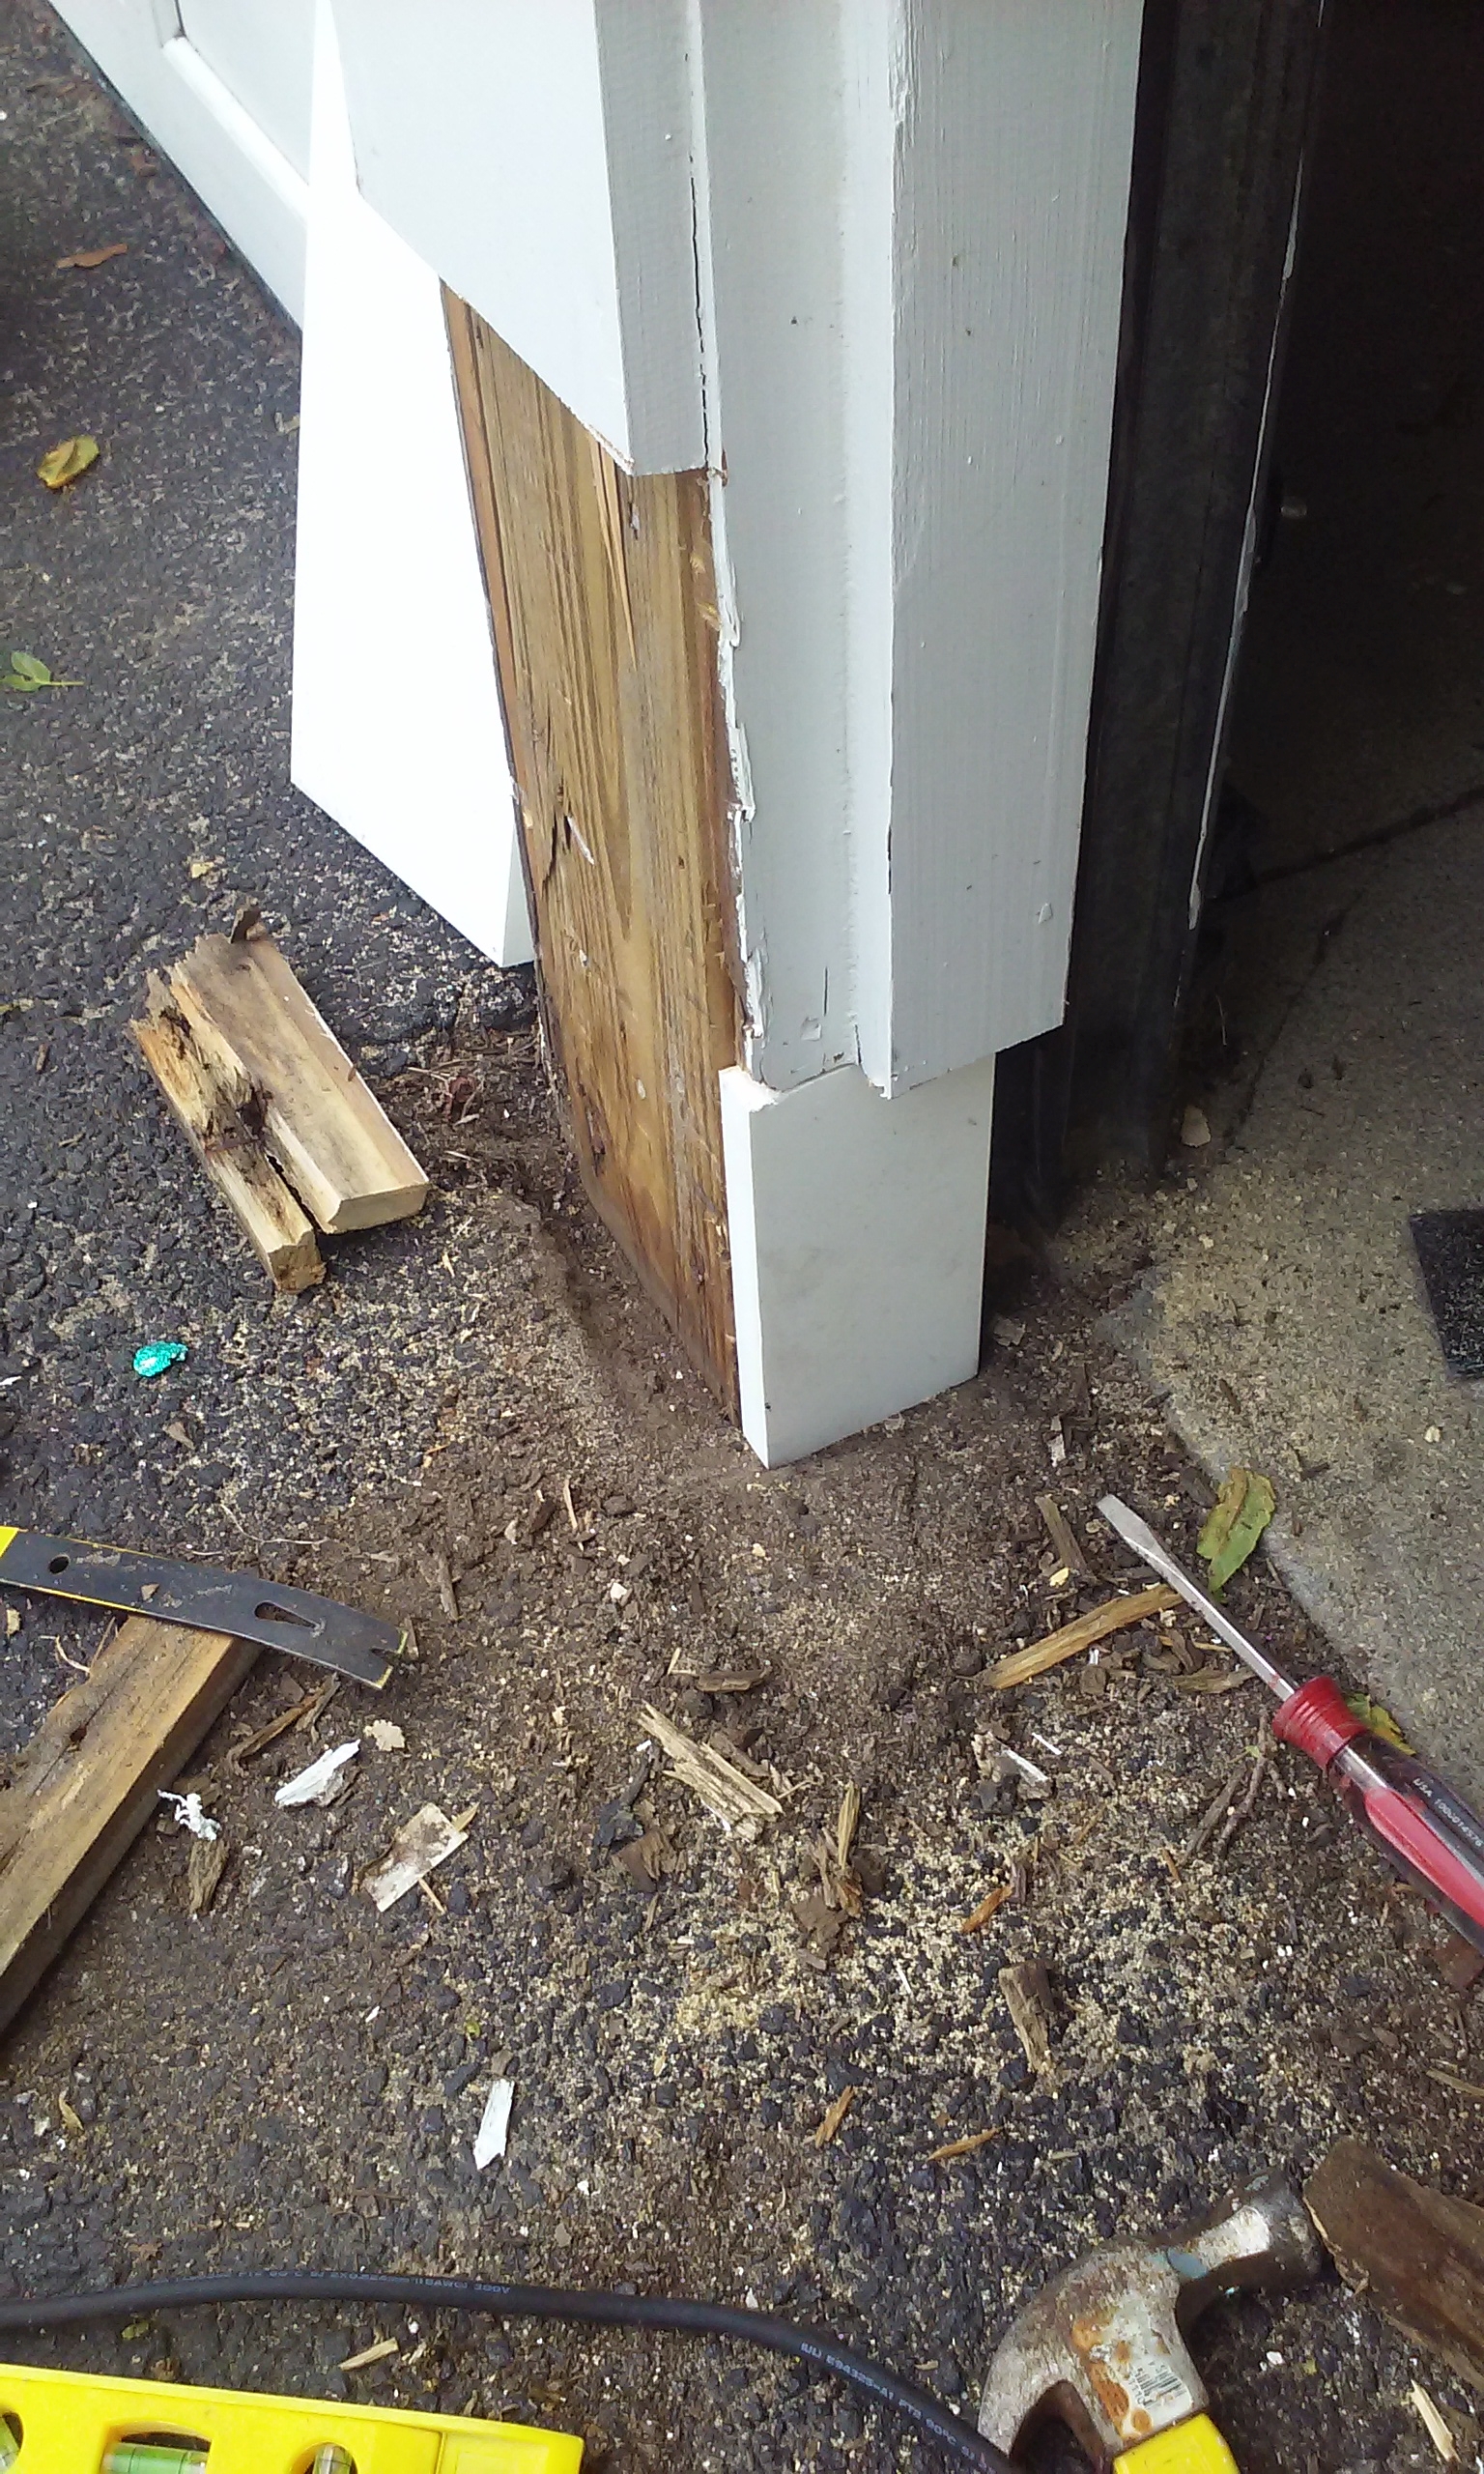
So  . . . I got the right hardware and removed all the junk.  Fortunately the underlying door frame was still intact so i was able to attach the new deadbolt pockets (note the steel pockets in place in the upper holes 🙂 solidly to the frame with 3 and 4 inch stainless steel screws.  It’s always dicey getting these strike plates in just the right spot to make the door shut nice and tight, but I managed to hit them dead on.  The upper deadbolt even gives an extra tight closing feel, saving the homeowner money this winter.

Once all the hardware was back in proper place, I put wood dough in there and sculpted it to replicate the old millwork.  Not perfect I admit, but close enough.  A little primer, and it’s unnoticeable.  And, no more being ashamed to open the front door to trick or treaters  🙂


My First Screen

So a client called with a problem, there was no screen in their window.  This was an ancient wooden window, so it looked grim in terms of getting a part.  So off I went to home depot and the guy in millwork said, “You can just buy a kit and make your own.”  Okay.  So I did.

First you measure the opening and cut the 4 pieces to build a custom frame:

Then you cut the screen material to size, You use a little roller to insert the “spline” in the little trench around the edges: And then figure out how to get it in the window frame!! I am not sure why it looks so curved in the photo, it came out great.  Absolutely perfect fit.  I often amaze myself 🙂

I Am not a Carpenter BUT

So what happens when you are a handyman is, you get regular clients who have old Victorian era houses that just need endless amounts of work.  So you tend to be more or less on retainer going back again and again.

Another thing that happens is, no matter how skilled you are or how many power tools you have, inevitably these clients will ask you to do something that isn’t really your “thing” . . . but you want to try and do it anyway because they are such great customers.

So, this one client has a garage that is just very old, and the little sections between the doors, the bottom 5 inches or so all got rotted and full of ants.  So even though I am not a carpenter, well, nails are nails, so a lot of times the only issue for me is not having a table saw to make a precise cut.  So I was lucky enough that a guy in lumber at Home Depot took pity on me and made the cuts I needed on a piece of PVC board.  (PVC board is the same stuff as PVC pipe– the advantage of it is, it never rots.)

So I dove in, using my latest toy, a Dremel multi tool, to cut out the old rotted sections.  And then I just put it all together.   It was quite the challenge, as the left, middle, and right sections were all different sizes.  I will add more pix later, the other sections were in far worse shape, and it still needs a topcoat of paint, but this will never rot again.

This center section doesn’t look so bad but but believe me, the bottom 5 inches were all rotted out:


I patched the seam with wood putty  . . .  and applied some primer, and voila:

All this in the middle of a 90 degree day by the way!   All in a day’s work.


Painting an Exterior Staircase

Hello all, sorry I have not posted for a while, I scratched the lens of my camera so I could not take good pix . . . and only just now have fixed the problem.  ANYWAY

Last April 2017 I was hired to paint an exterior staircase on an apartment building.  The issue was, it was in rough shape– it had not been painted in at least 10 years, and probably more like 20.

This is the kind of peeling paint I was up against.  OY!  I tried everything else but the only option was to take a 7-in-one painter’s tool and scrape it off inch by inch.

So here you see the side of it, with the loose paint scraped off.

So anyway, I got all the paint scraped, and after I did the upper railings, i started on the surface.

So I am using a paint called “Deck Cover” which actually looks more like tomato paste.  It requires a 4 day period of no rain– 2 to dry out, one to apply it, and another for the paint to dry.  Plus it needs 2 coats, no excuses.  You can see how beat the old surface was!!

Since this is an outdoor staircase I was concerned about the surface being slippery, SO . . . I sprinkled sand on the wet second coat, and it literally created a sandpaper surface which is great.

Another pic of the top landing:

It took months to get 4-day-long periods to paint in but today I finally finished it.  Wahoo.  What a difference.

A Word to the Wise about Hazards in the Home

Something that really does not get enough attention is the issue of hazardous materials that you may encounter when fixing up your house.  I confess, way way back in the day, I used to think nothing of painting my run down old built in 1910 house in Jamaica Plain.  Little did I know, I was dealing with all sorts of hazardous materials.

First and foremost is lead.  If a house was built before 1978 it probably has lead paint in it.  Of course back then we all used to inhale lead that was in gasoline as well– it is astonishing that we went that long putting all that toxin in our environment.  Anyway, here is the best video I have seen explaining, not just the hazards, but the liabilities of working with lead paint, highly recommended for anyone buying, selling, or repairing a house built before 1978:

The next thing to worry about is vermiculite.  I am sad to confess, back when no one knew what it was, I used to pour that stuff out like crazy in my attic.  Now, it has become known that most of the vermiculite sold in the USA was contaminated with asbestos.  So if you have it in your attic, LEAVE IT ALONE and treat it like a severe hazard.

So that’s my public service announcement for today.