So a new customer called and asked if I could fix some broken sash cords on an old house in Boston. I was thrilled to get this call, because 20 years ago, I had replaced sash cords in 20, countem 20, old wooden windows in my old Jamaica Plain apartment, so I felt very confident about this job!
There are many youtube videos explaining the process, but here are pix of my own 4 hour sojourn into fixing a window that is a genuine antique, probably dating from 1915 or so.
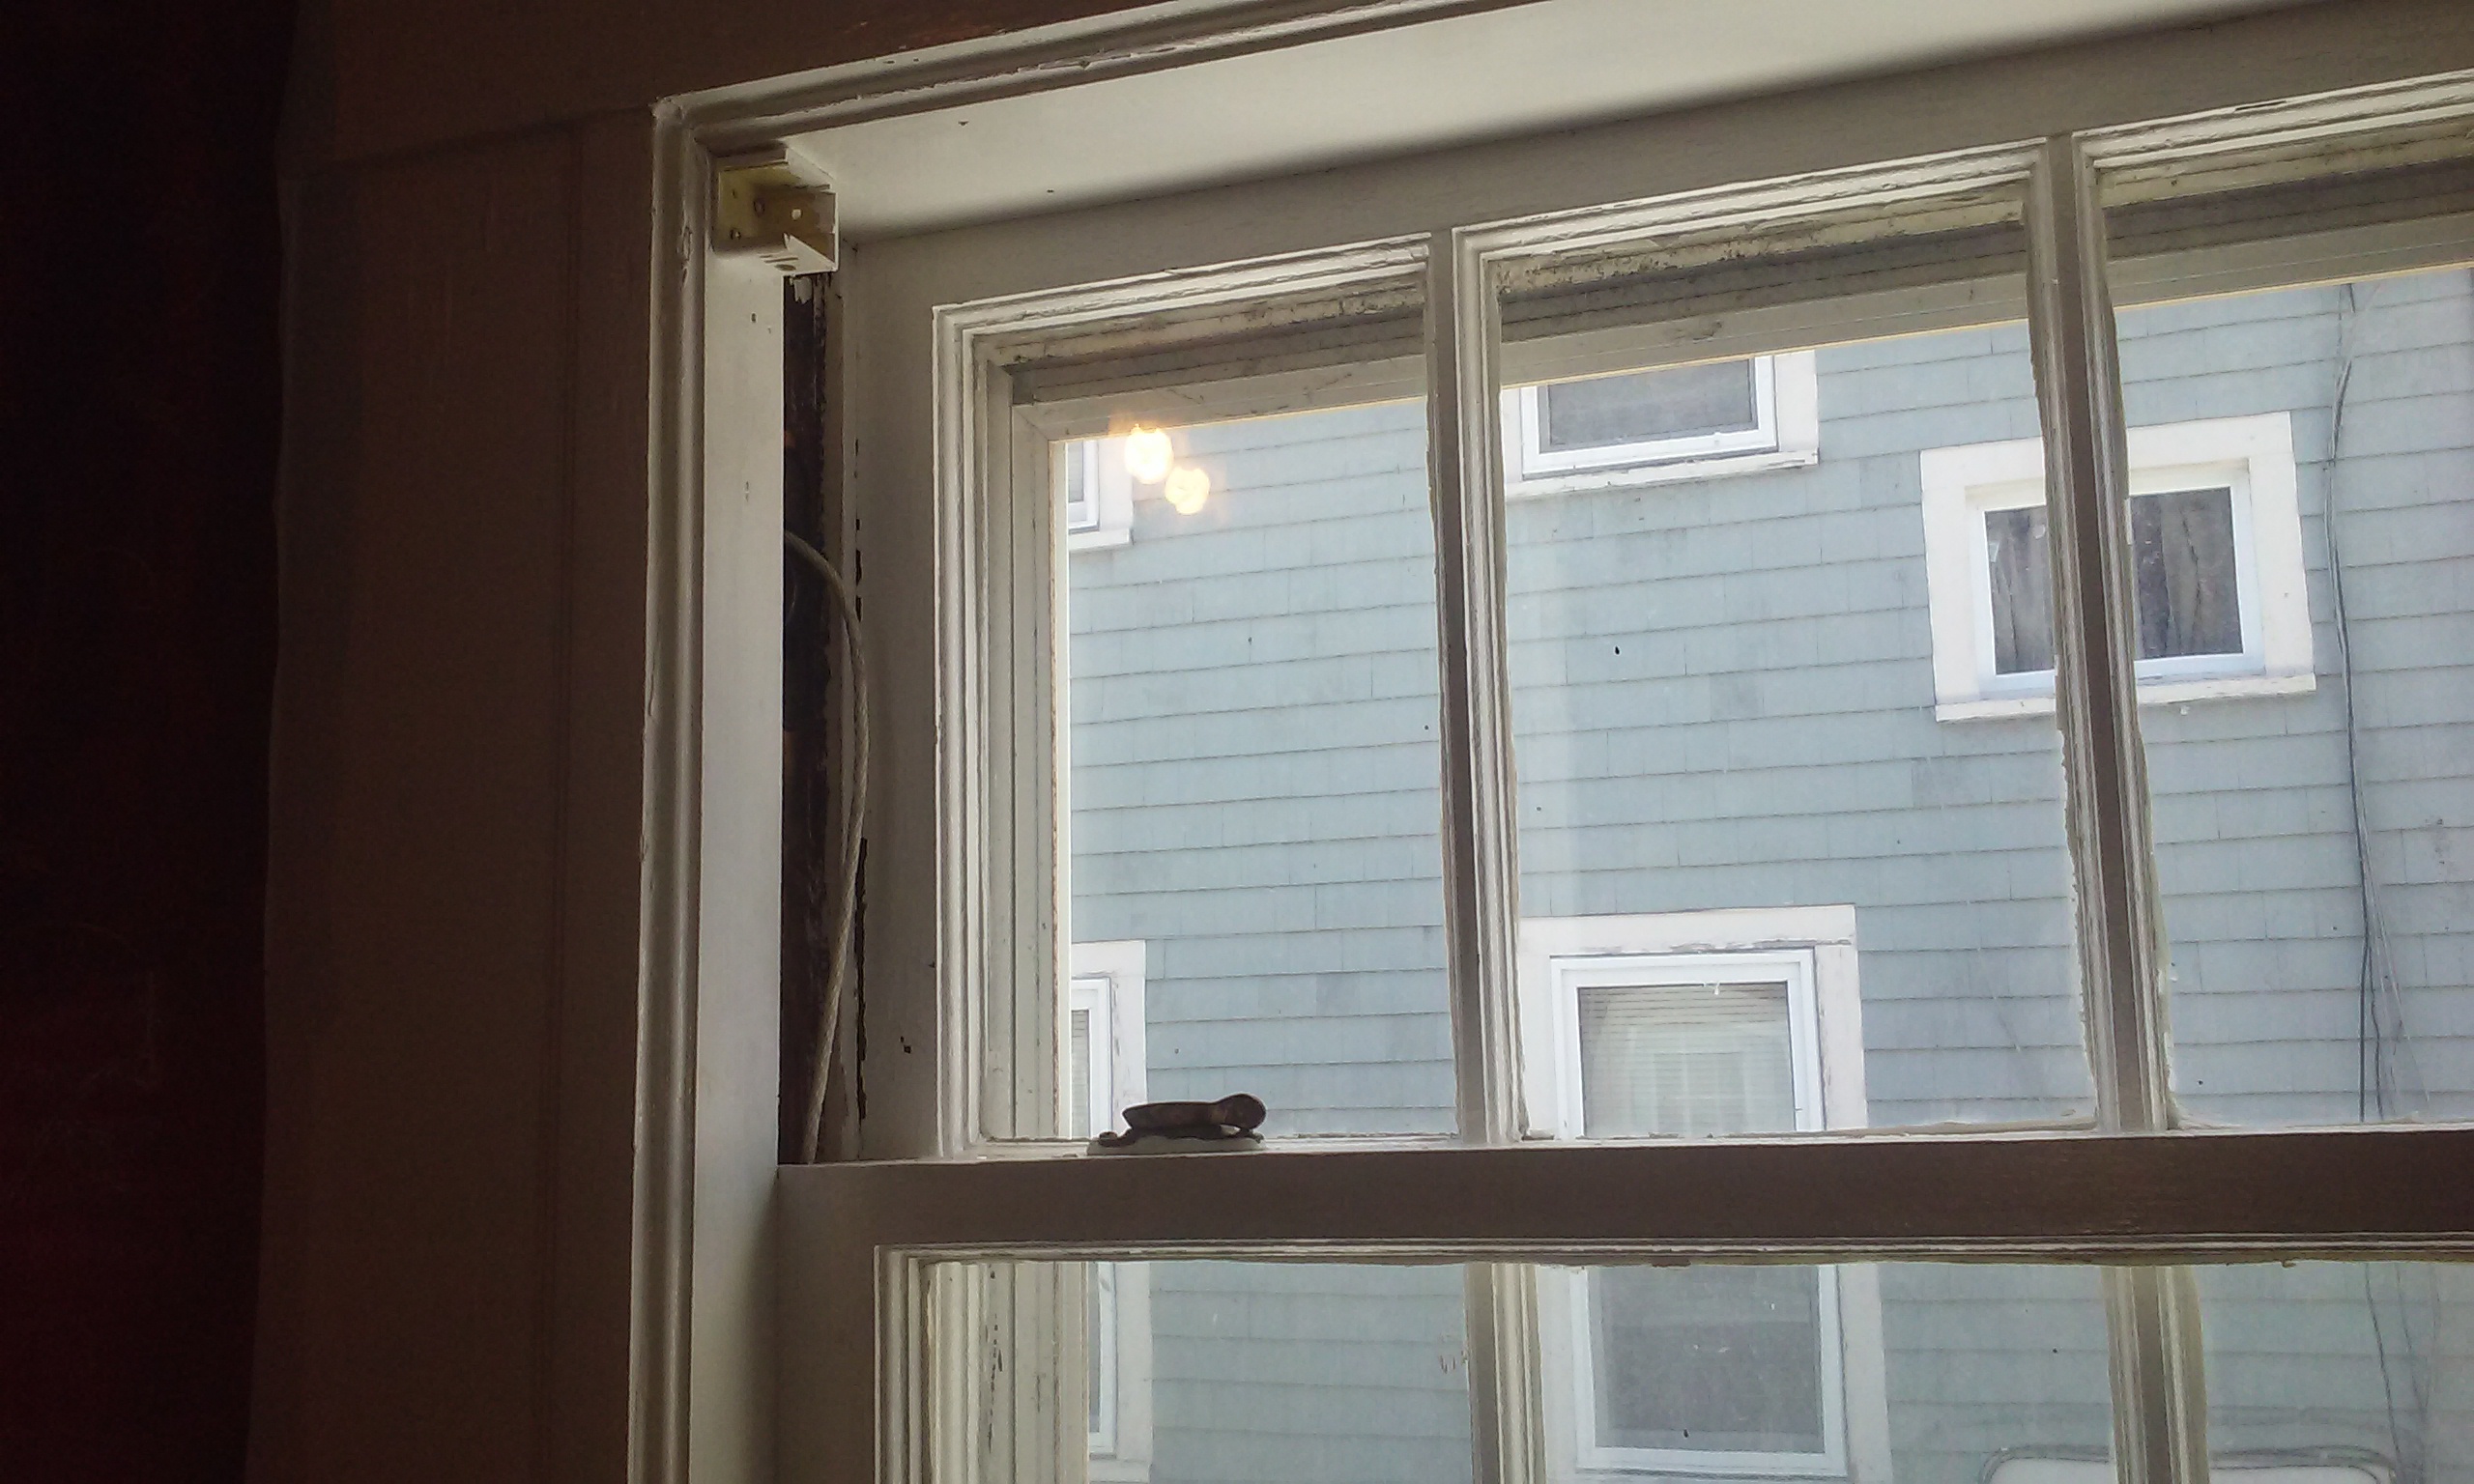 So right off though, I was confused. This window already had sashcords, but one could see something was very wrong. The cords were not working/ pulling the way they should (see above pic), they seemed to be all bound up inside the window. They were also jumping off the pulley wheel, going into the side of the pulley wheel and getting impossibly bound up. So. WE DIG.
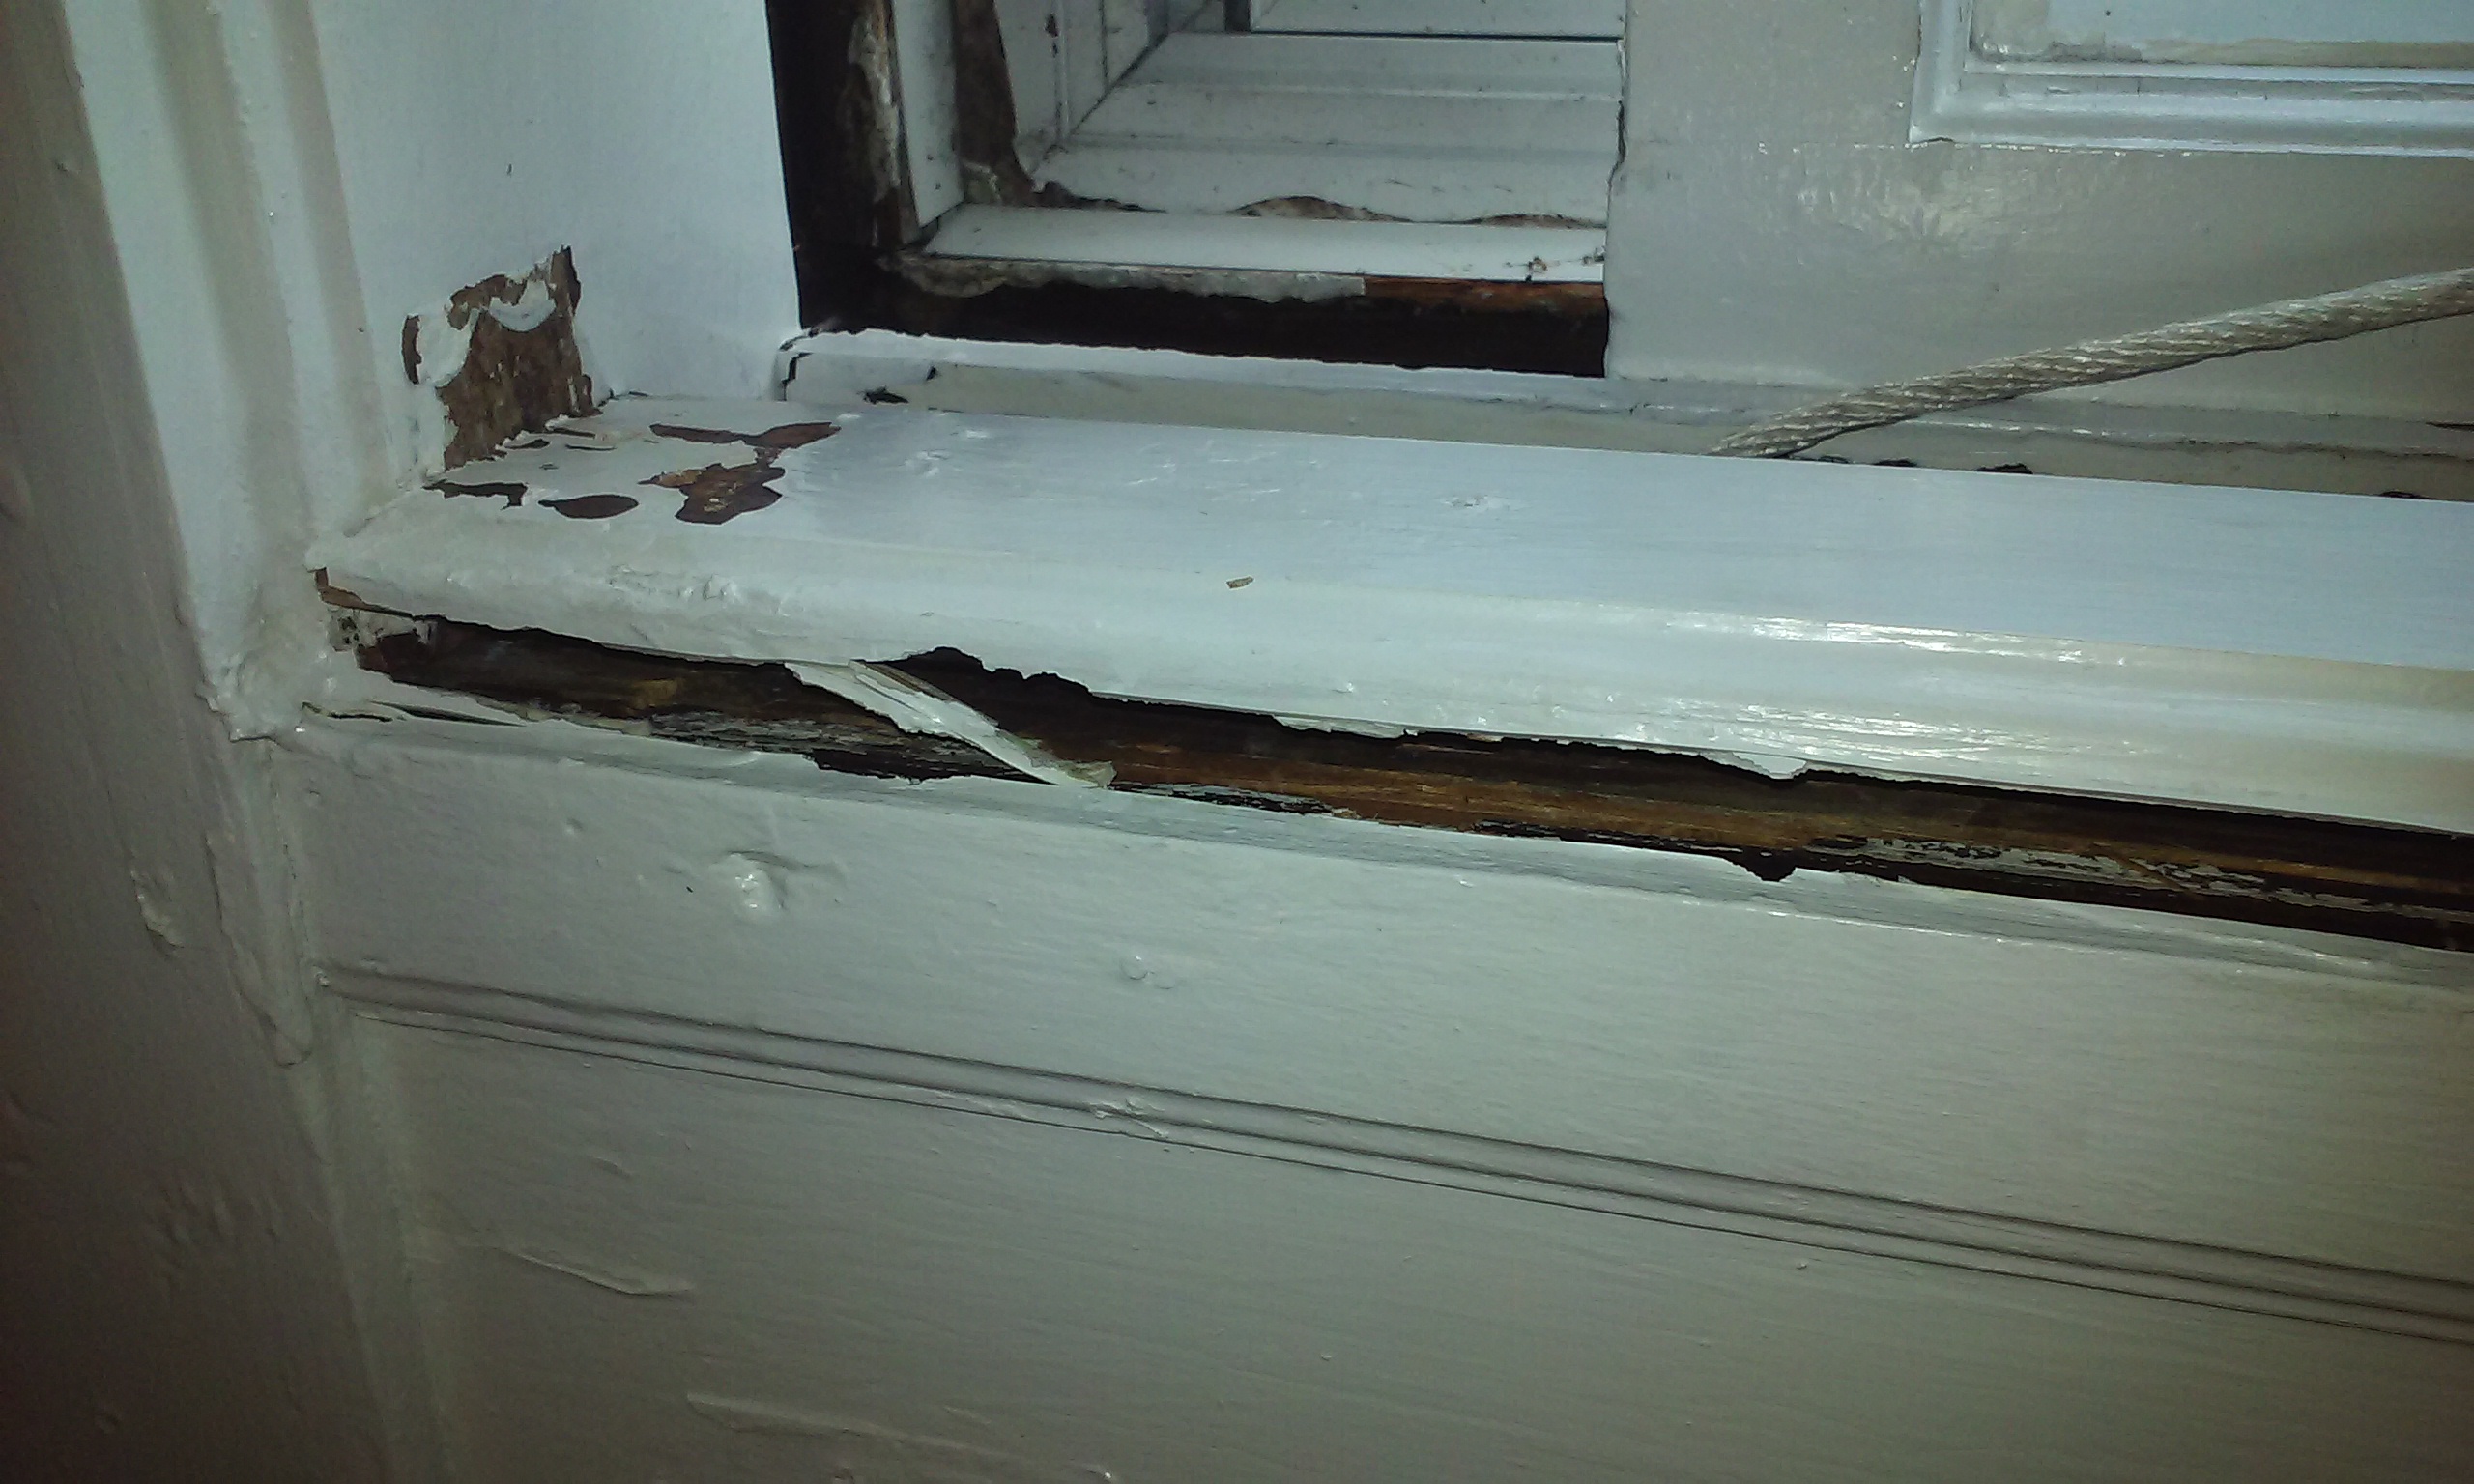
First, GENTLY pry off the sides of the frame, working thru 80 years of paint:

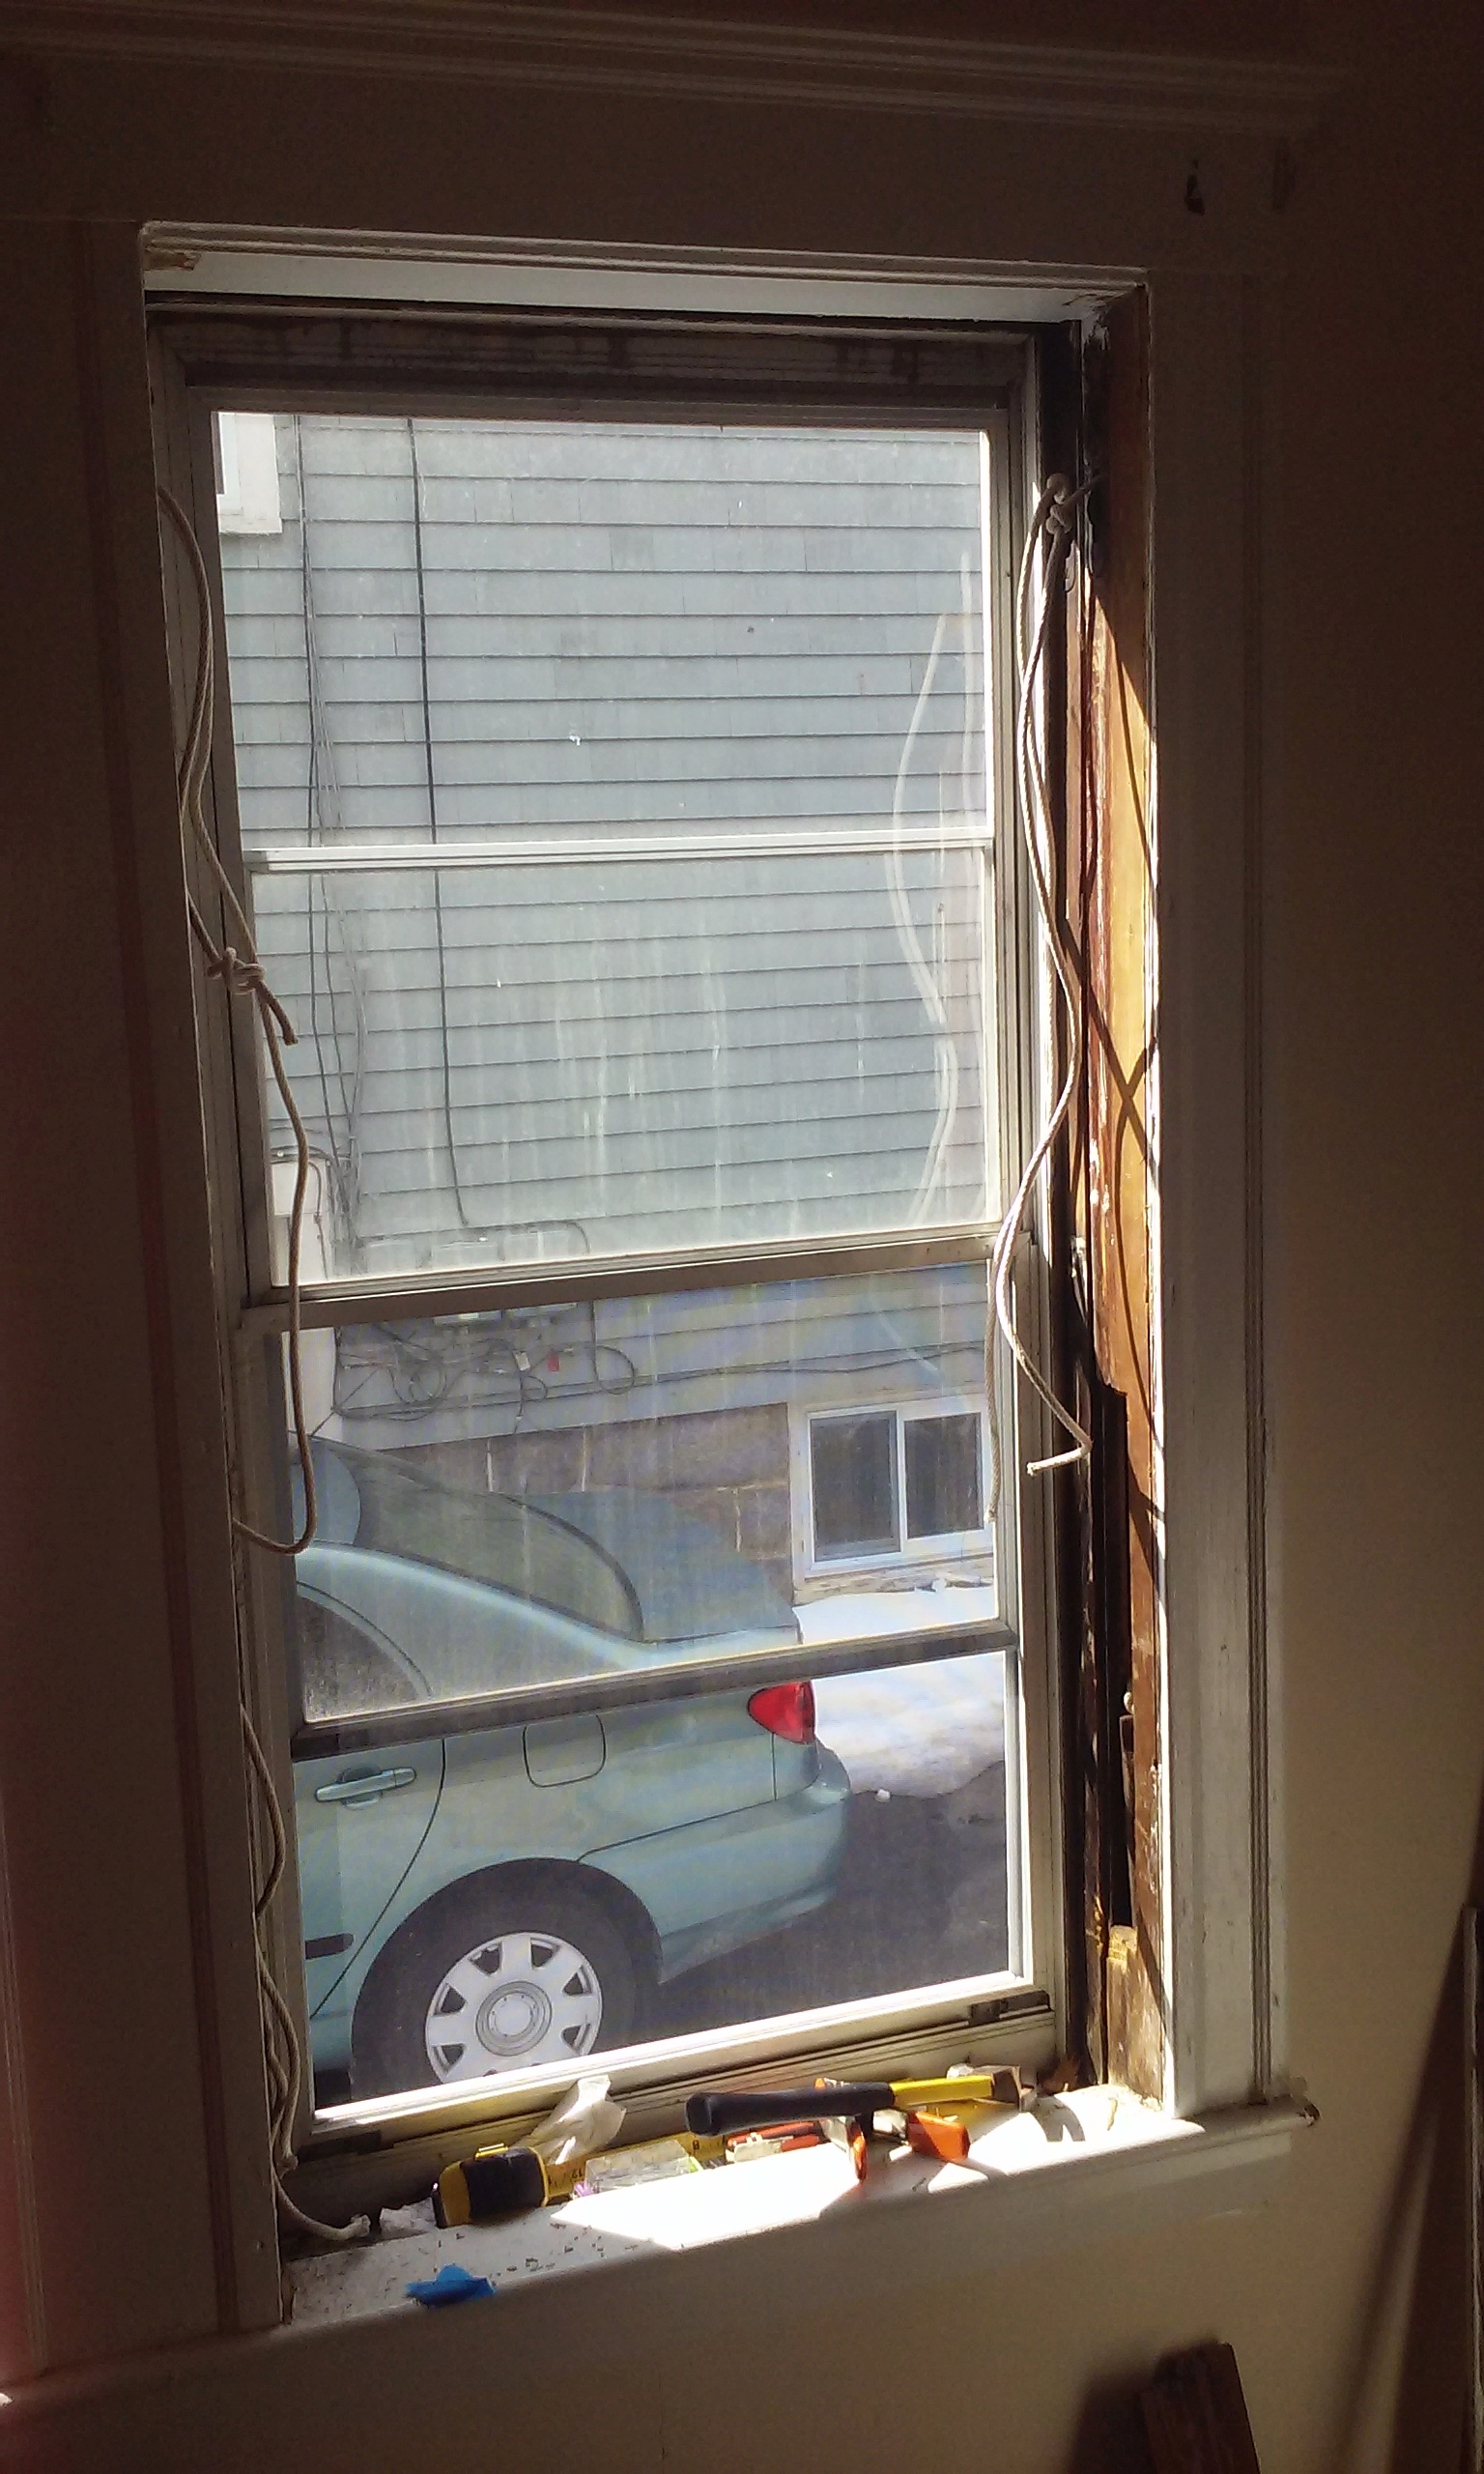
I was too busy to take many pix, so, jumping ahead a little, here is the frame with all the sashes removed, and the new cords run. Note the access panel (removed) to get to the counterweights.
 In the process I discovered several things. As I have said before, sometimes, as a handyman, one is dealing with an old proper installation, and sometimes you are facing the aftermath of a lousy repair job, and this was the latter. A previous repair person had done three things wrong: First, they had used clothesline, not sash cord, and it was the wrong gauge/ diameter for the pulley, so it was jumping off the wheel track. Second, they had somehow managed to cross the locations of the counterweights inside the frame, putting the rear weight in the front and vice versa, so they would tangle and fight, and third, even worse, they had not calculated the LENGTH of the sash cords properly, so the weights would land at the bottom and tilt over, and get stuck or fouled with the weight next to it, etc. etc. etc. etc!!!
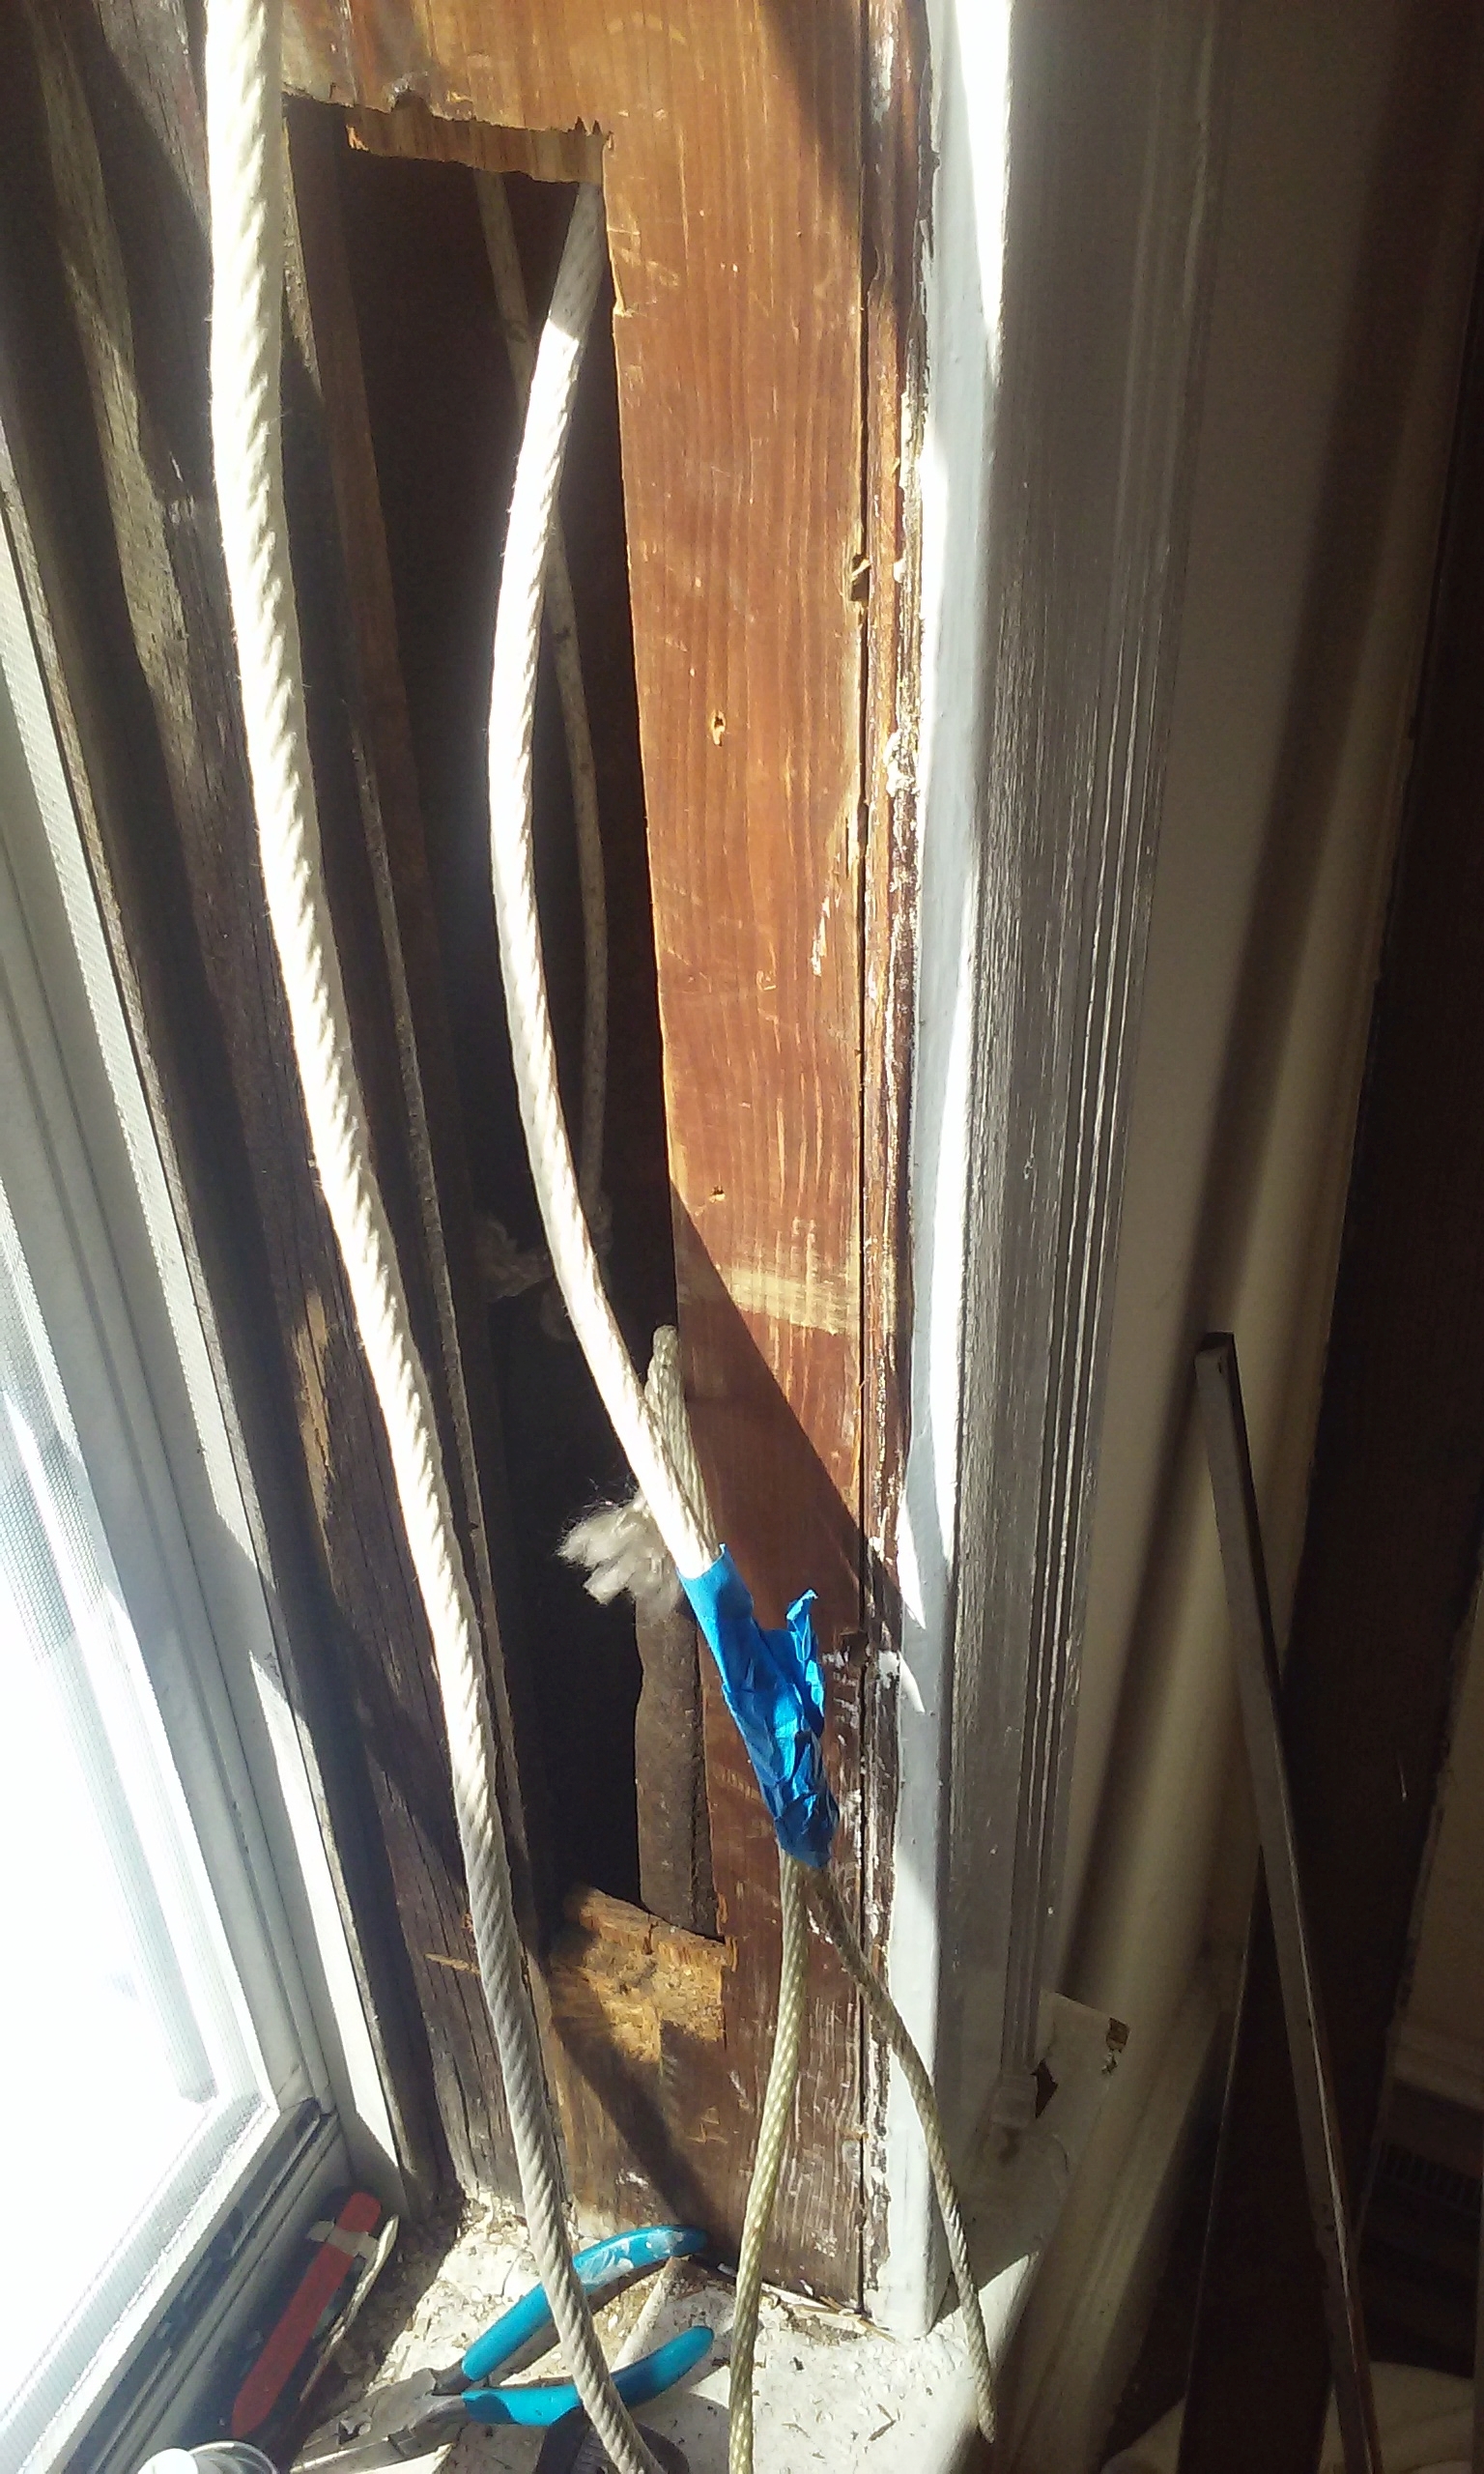 (Here you see my nifty trick of taping the new sash cord to the old, allowing one to quickly pull the new cord down the hole instead of threading and hoping. Note how much thicker the new cord is.)
THEN I discovered . . . that one of the counterweights on the left side . . . wasn’t there! There was only this one.
 So the client was able to locate a salvage yard that had one in stock, and I kept working while she ran over to get it.
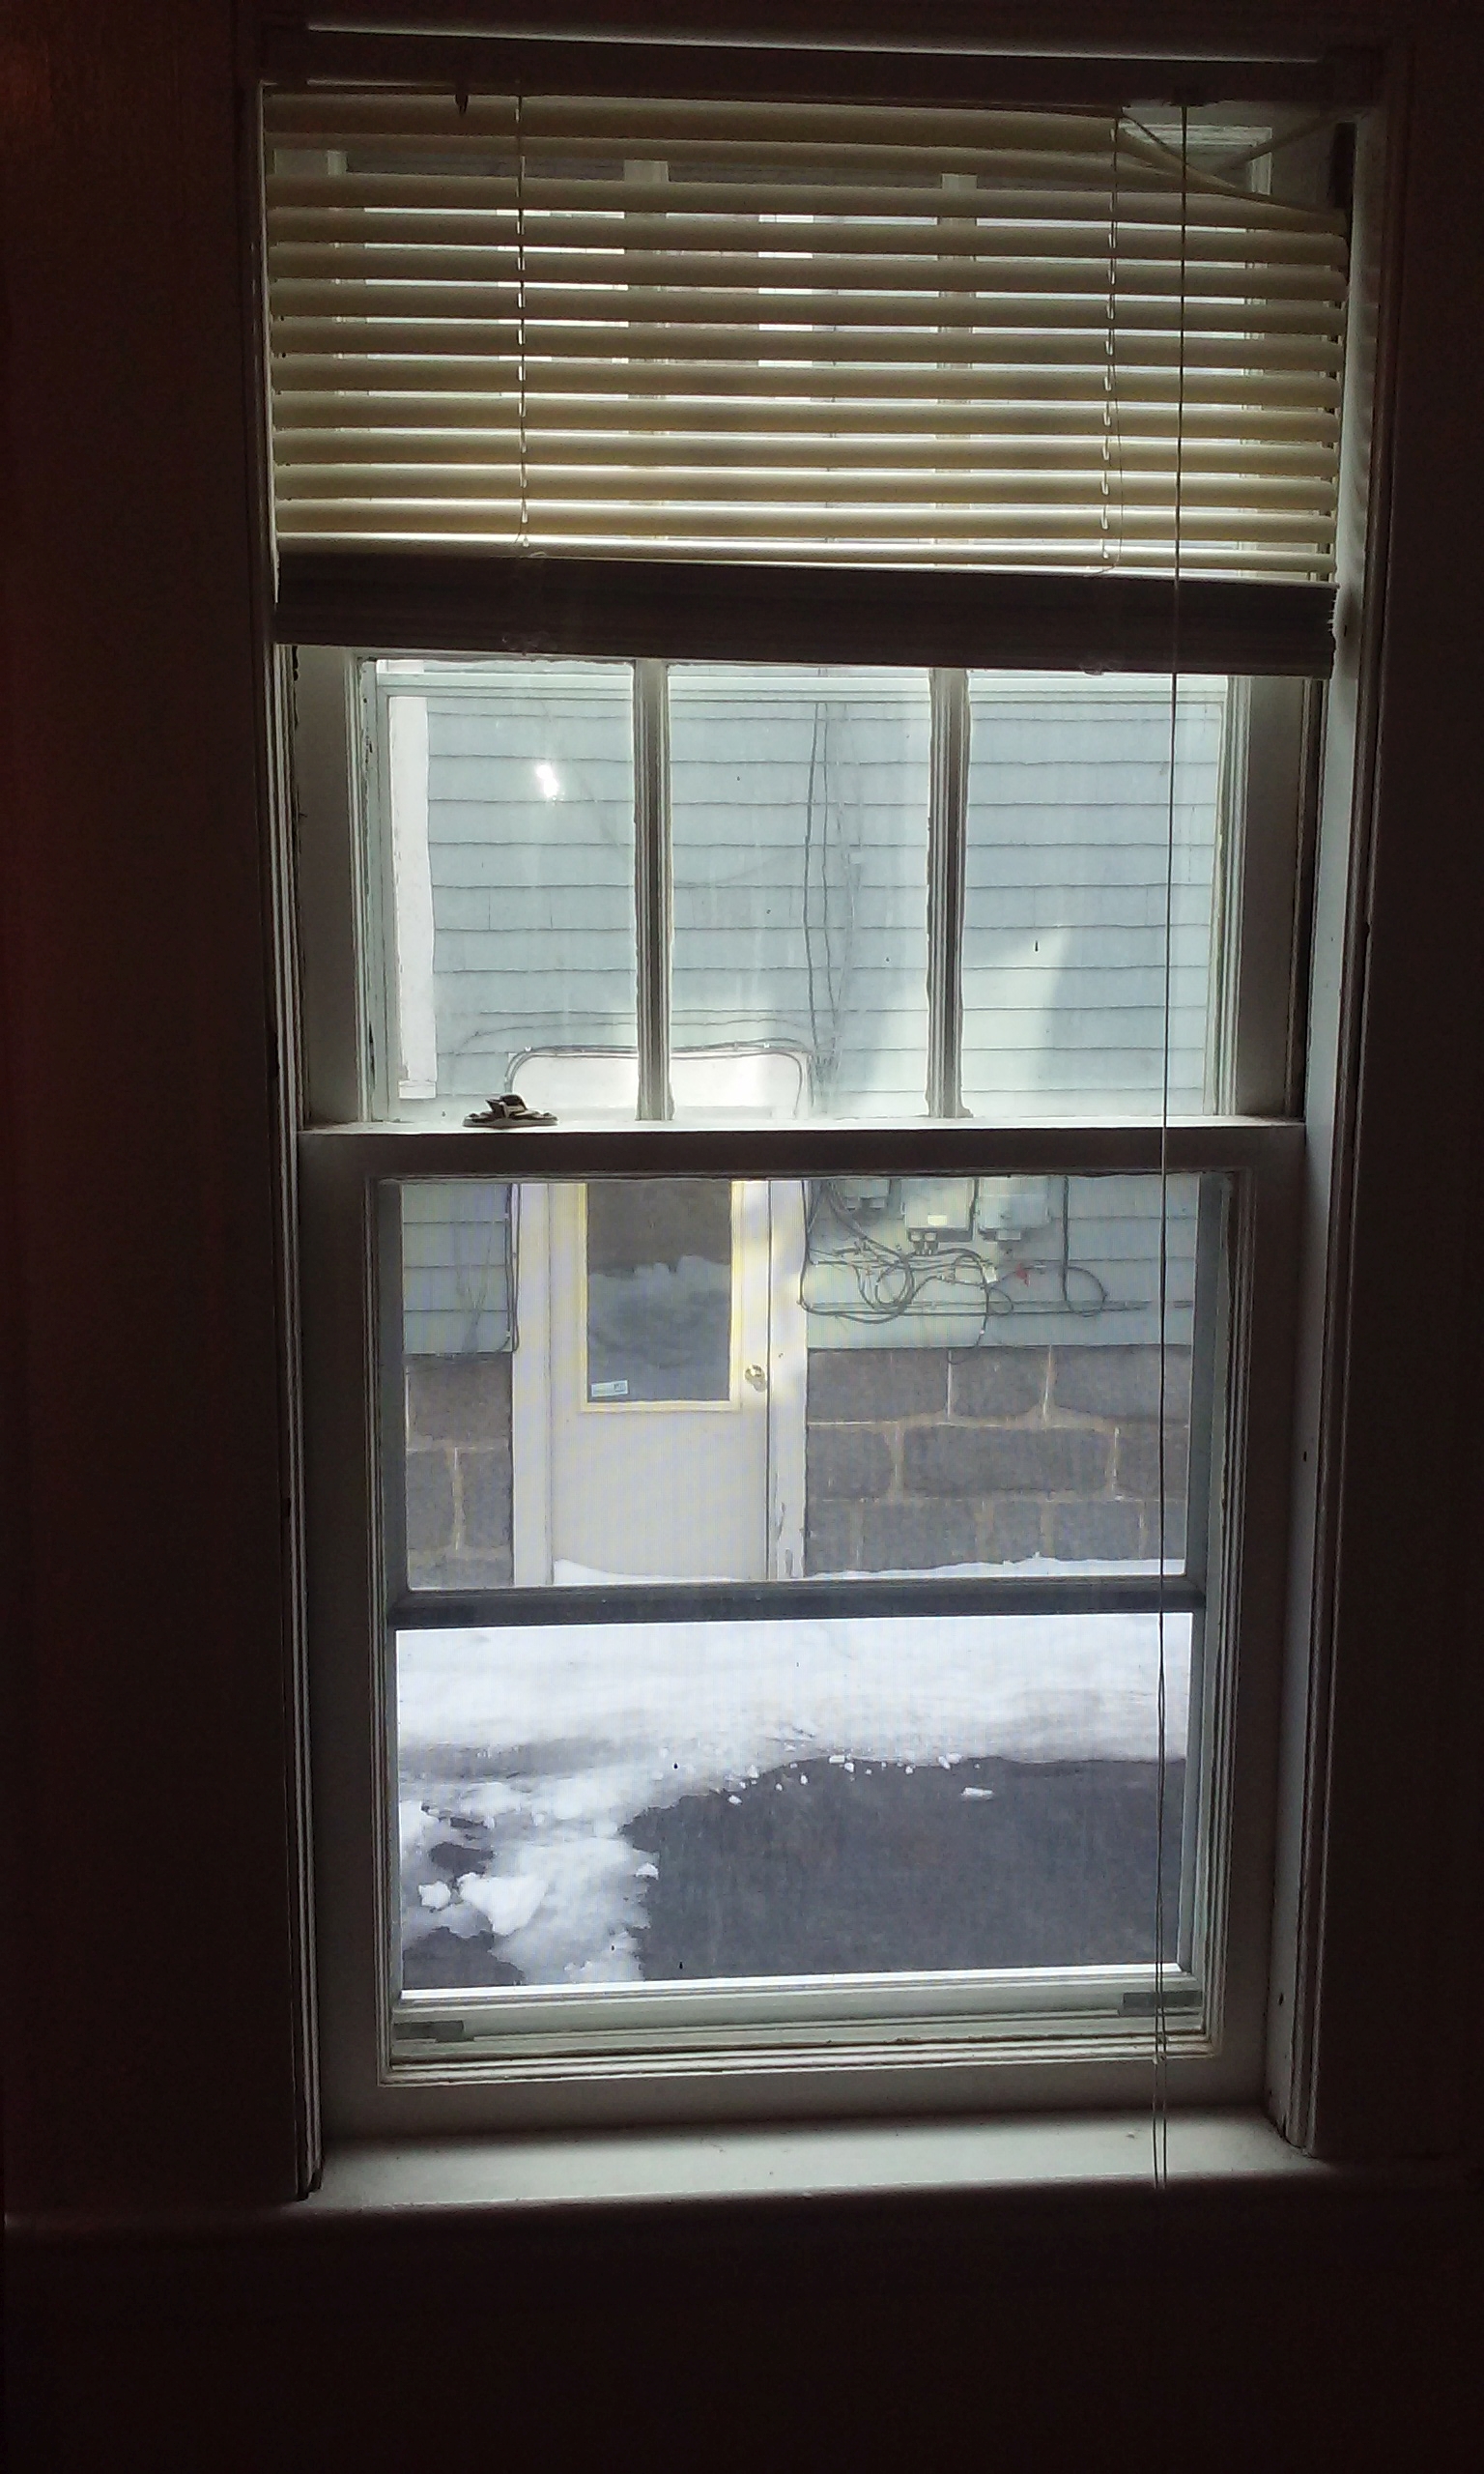
Next, one has to carefully do the measuring and math to make sure the sash cords are the right length before attaching them to the windows, I did all that, put them all in, re-hung the sashes, and put the side panels back. VIOLA! All fixed!!
That was a lot of work, but it was fun.
