I hate to be the one to have to say this, but as you know, there are quite a few people out there working on houses that really don’t do the best possible job. A good part of my week is involved with undoing things that other people have done incorrectly.
Something that I see repeatedly has to do with bathtub installations. I will get right to the point: if you are having a bathroom redone, meaning, the tile and the tub is being replaced, here are the three things I see being done wrong: One, the tub is not level, two, the point where the tile meets the tub is not big enough, and three, they use tile grout between the bottom row of tile and the tub.
Tile grout is lovely as grout, but houses shift with time and temperature, and you need to allow for those tectonic plates to shift without creating cracks. That’s why you leave 1/4″ of space between the tile and the tub. Also, ok, use grout, but then you must then fill the tub half way so it sets and cures in a stretched out position, otherwise when you fill the tub it pulls the grout and cracks it.
Also, silicone caulk is really hard to work with– it’s messy and sticky. You have to know what you are doing. So, caveat emptor.
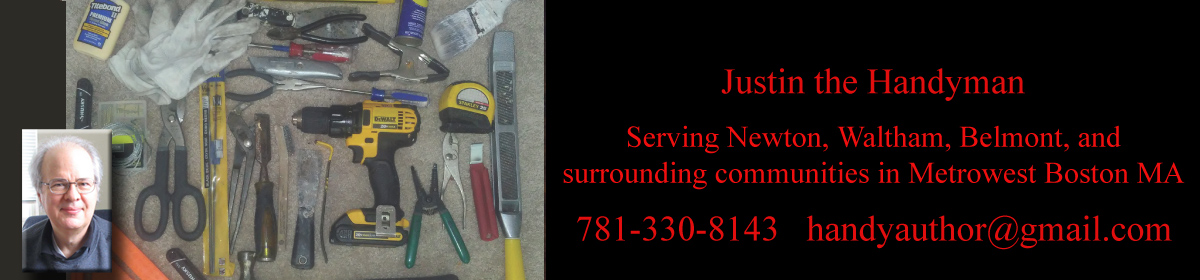
So anyway, I am always amazed at how often I am asked to caulk a tub. And here is a sample of the process, which yes takes about 4 hours to do correctly:
It’s not the best pic in the world but you get the idea, this had caulk that was all blackened with mildew stains.
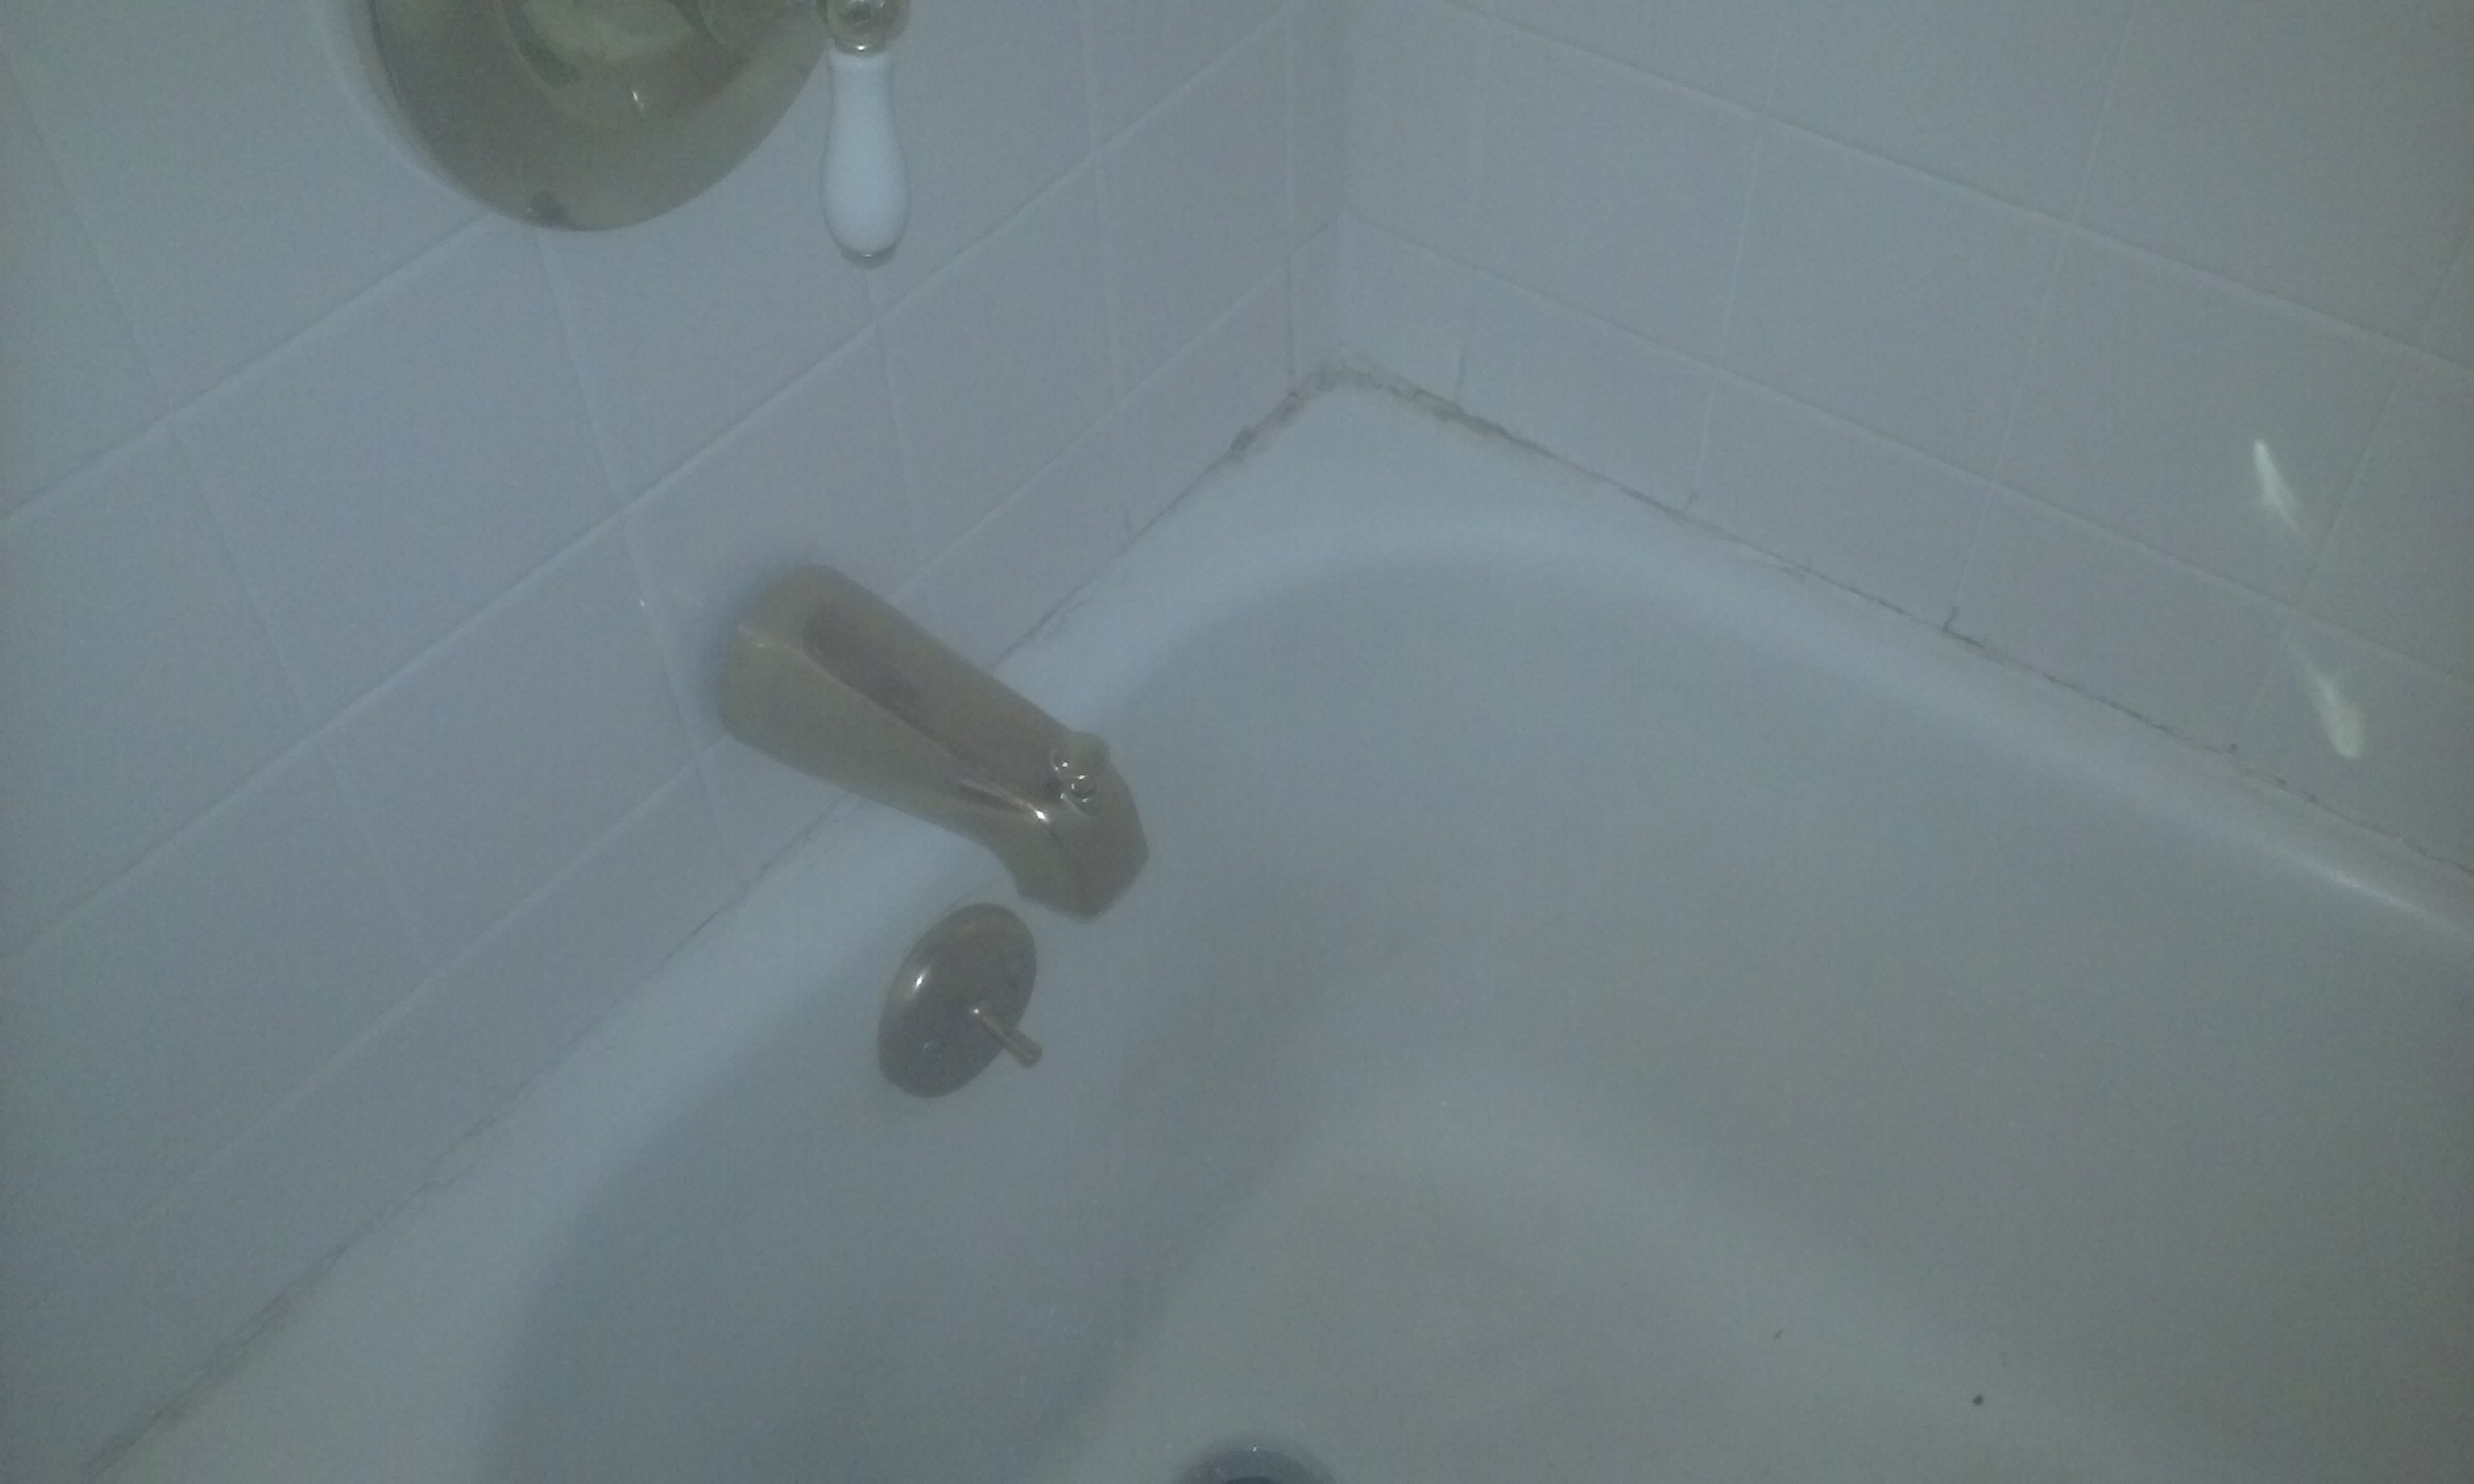
So . . . in we dive. Basically you clean it out using a razor blade.
This tub had two layers of caulking in there, a top layer of some kind of caulk (probably acrylic, not silicone– easier to apply but cracks and does not really waterproof anything). Under that was tile grout, hard as a rock. I broke several razor blades on this one. .
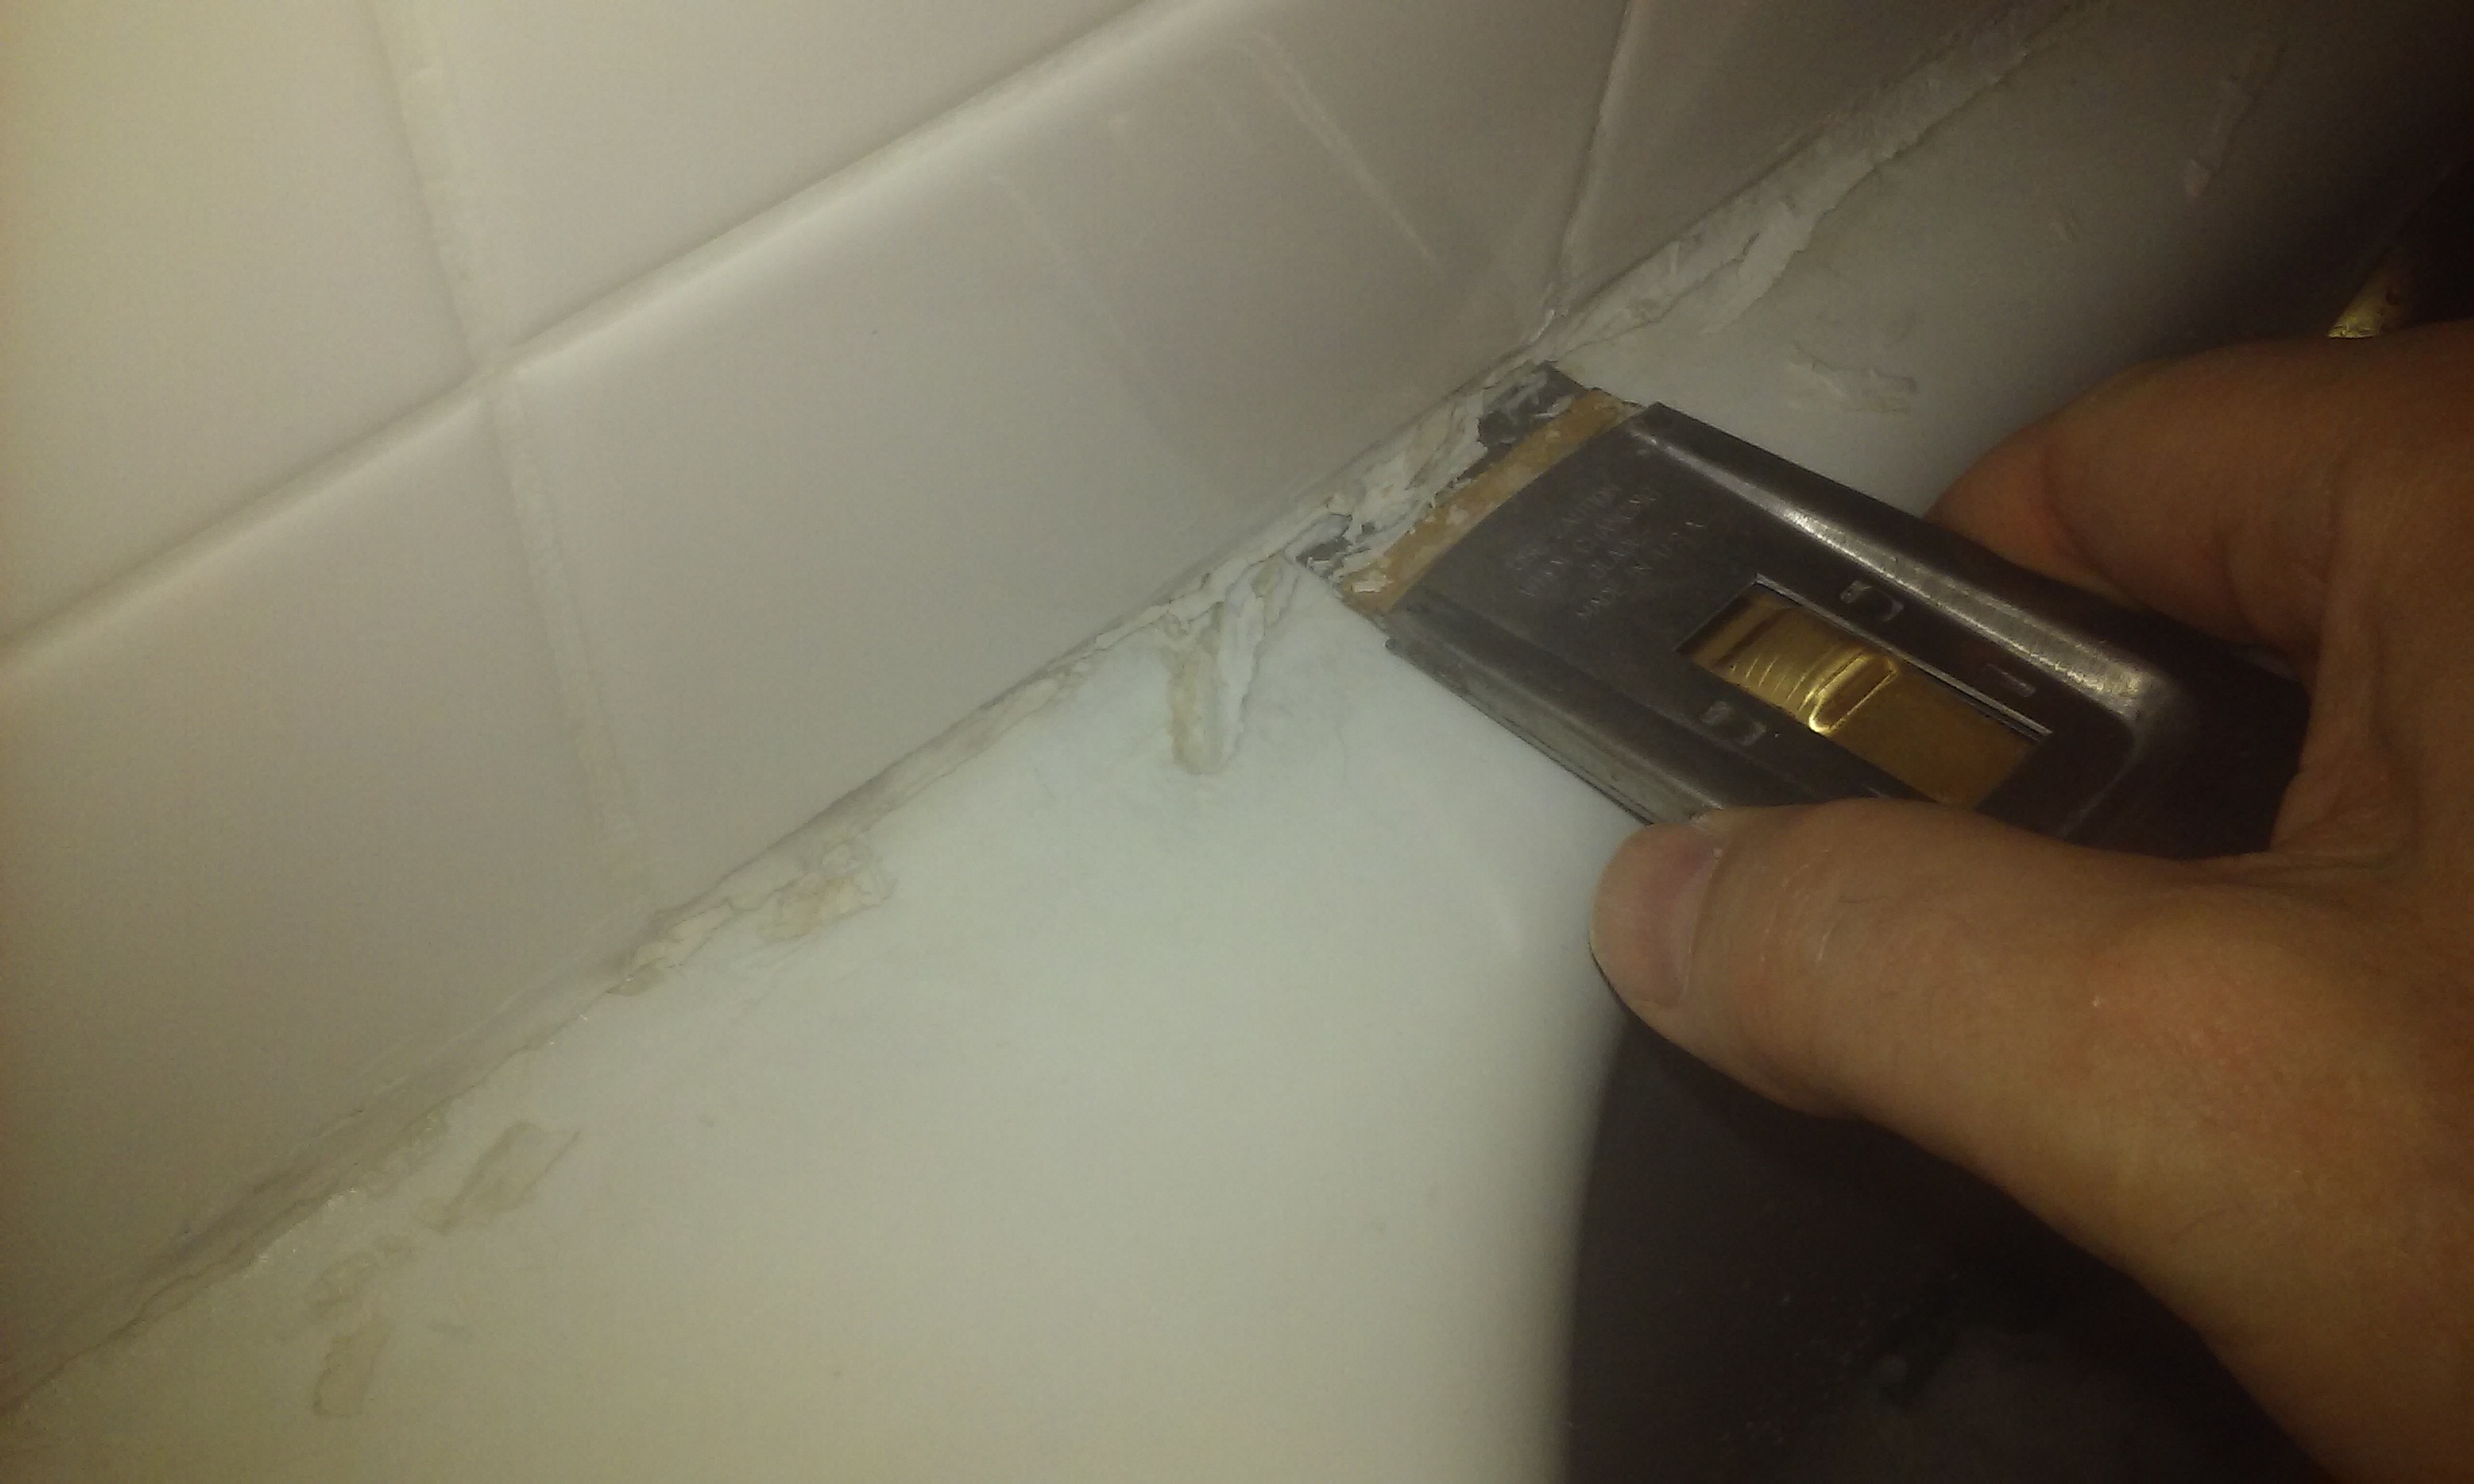
Starting to look a little more civilized with all the gunk removed, but above is not fully clean yet. Like most jobs, surface prep is key. After cleaning it with a razor blade, I scrub it with baking soda and a scouring pad, then I brush it with alcohol.
Next– we tape.
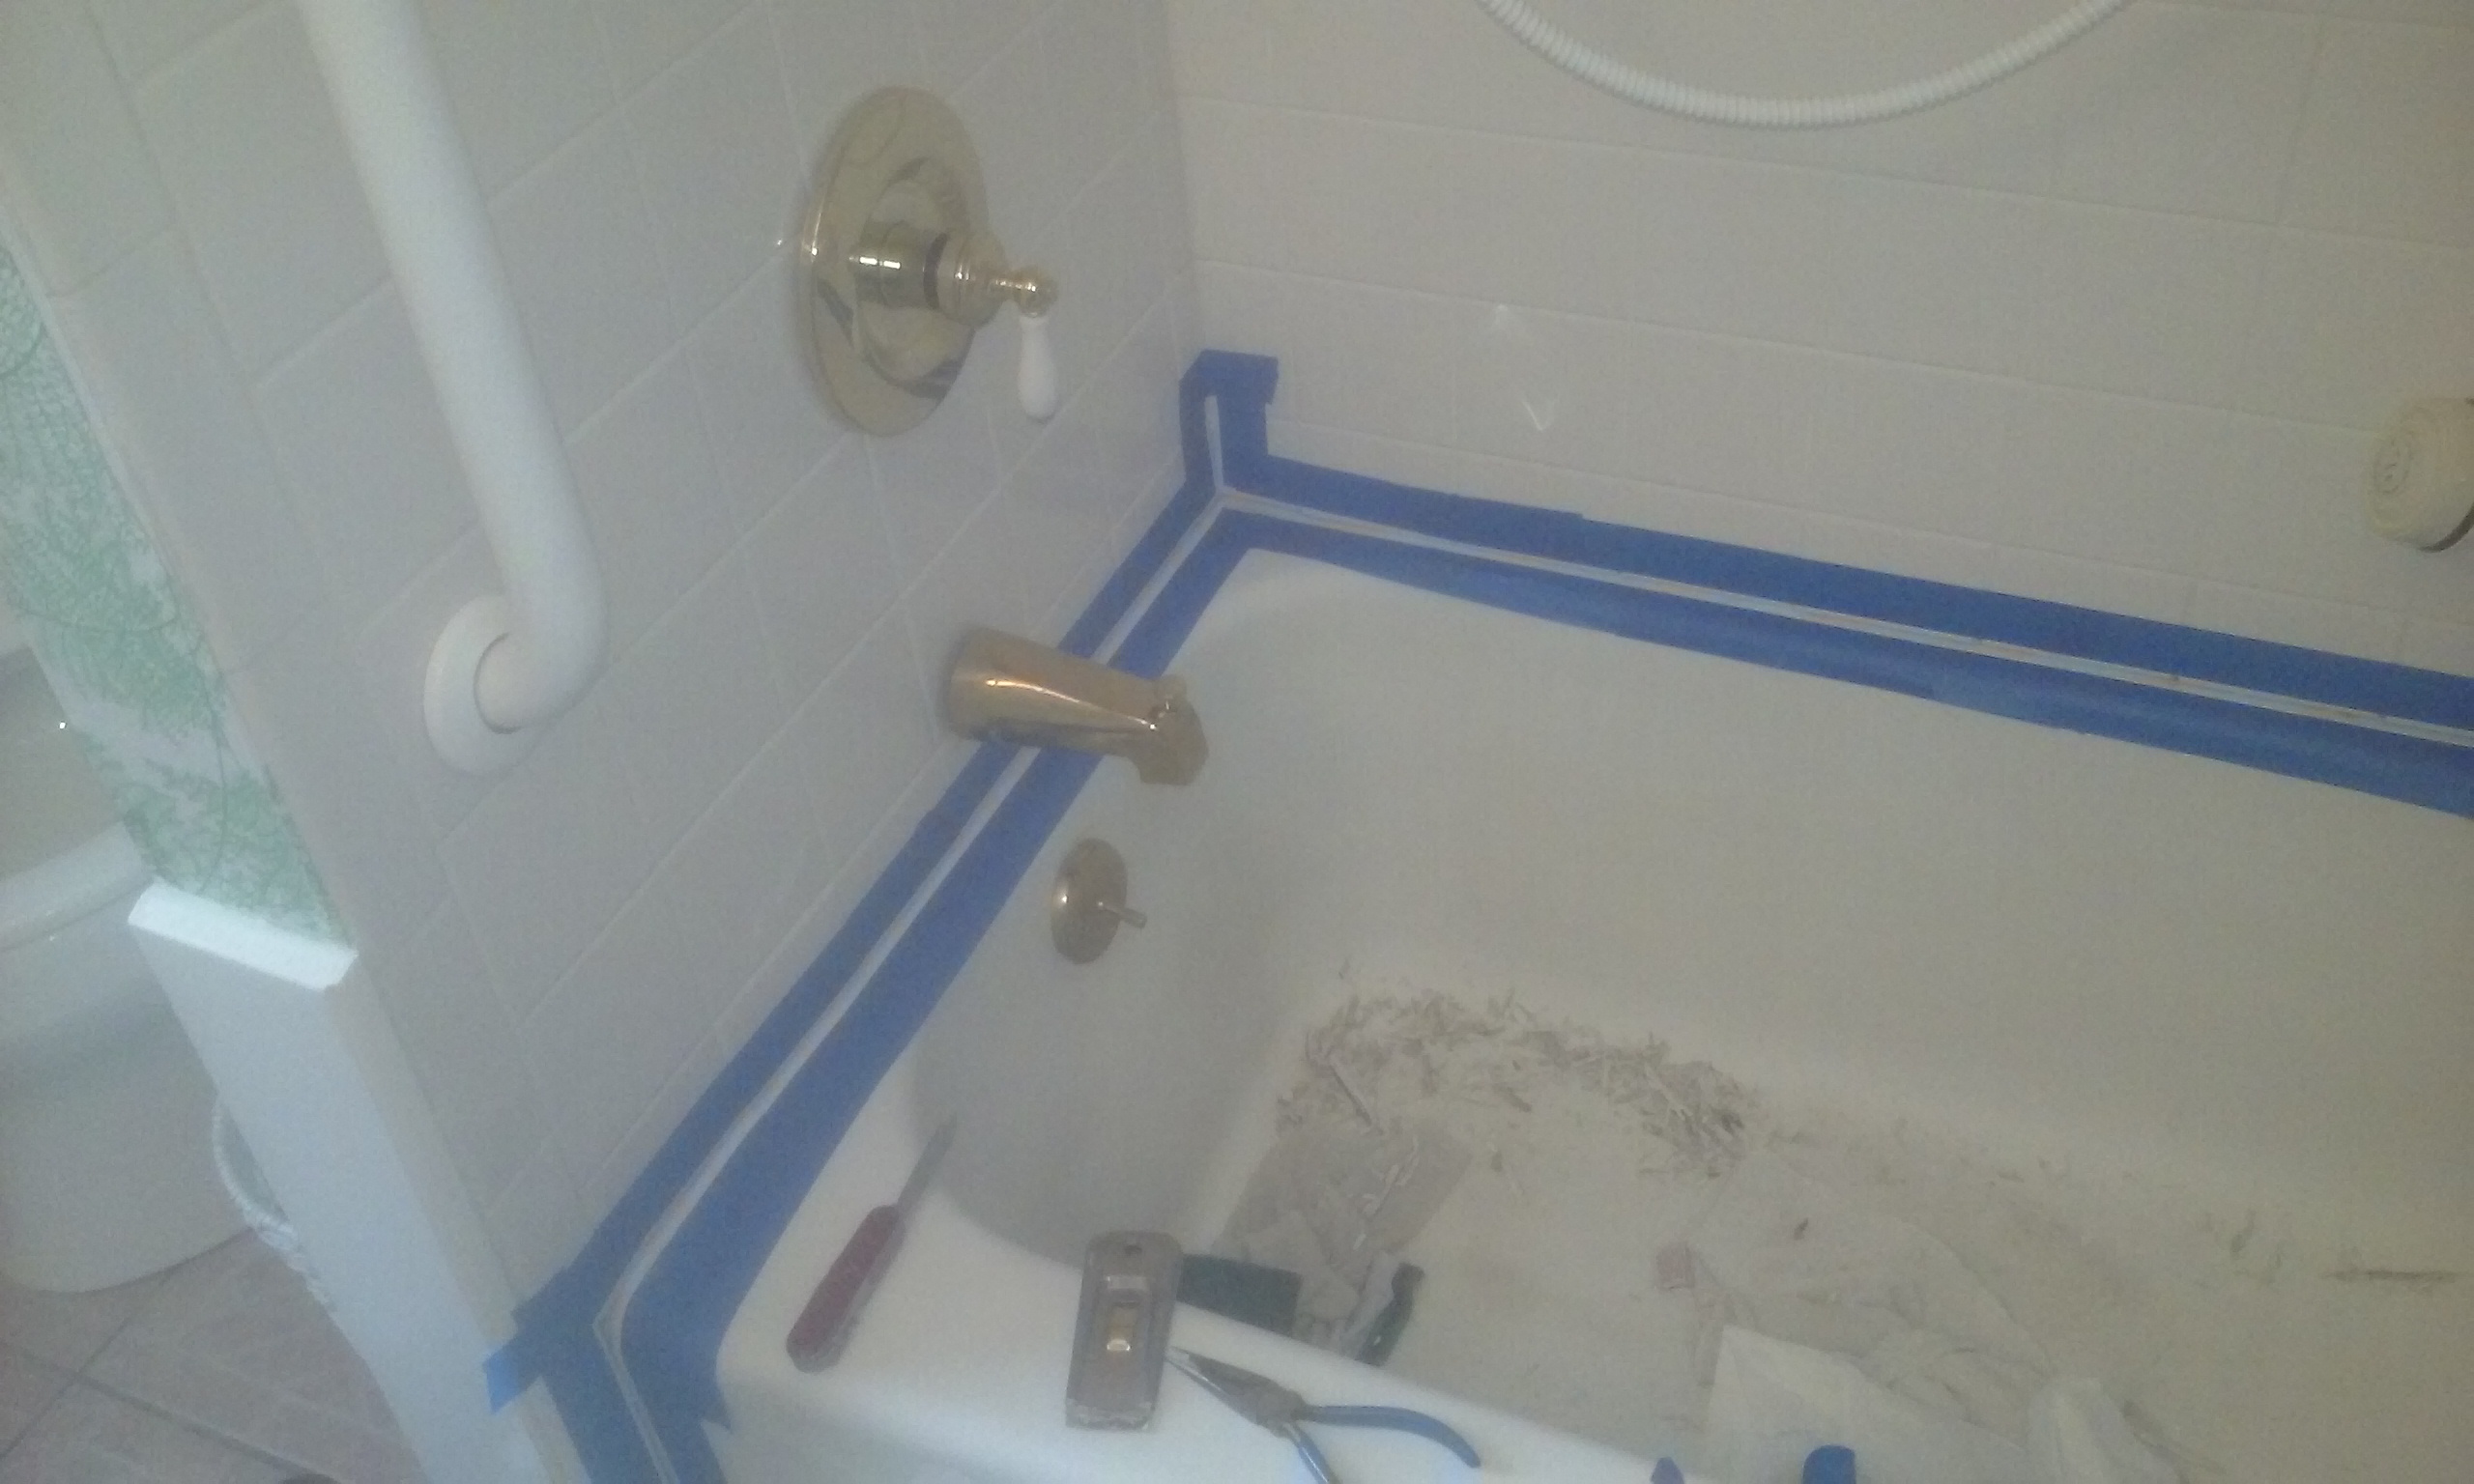
Some people just wing it using a caulking gun and their finger, and while it works I guess, I think it always looks sloppy. Anyway, at this point there is no longer time to take pix, as the stuff cures really fast. and VOILA:
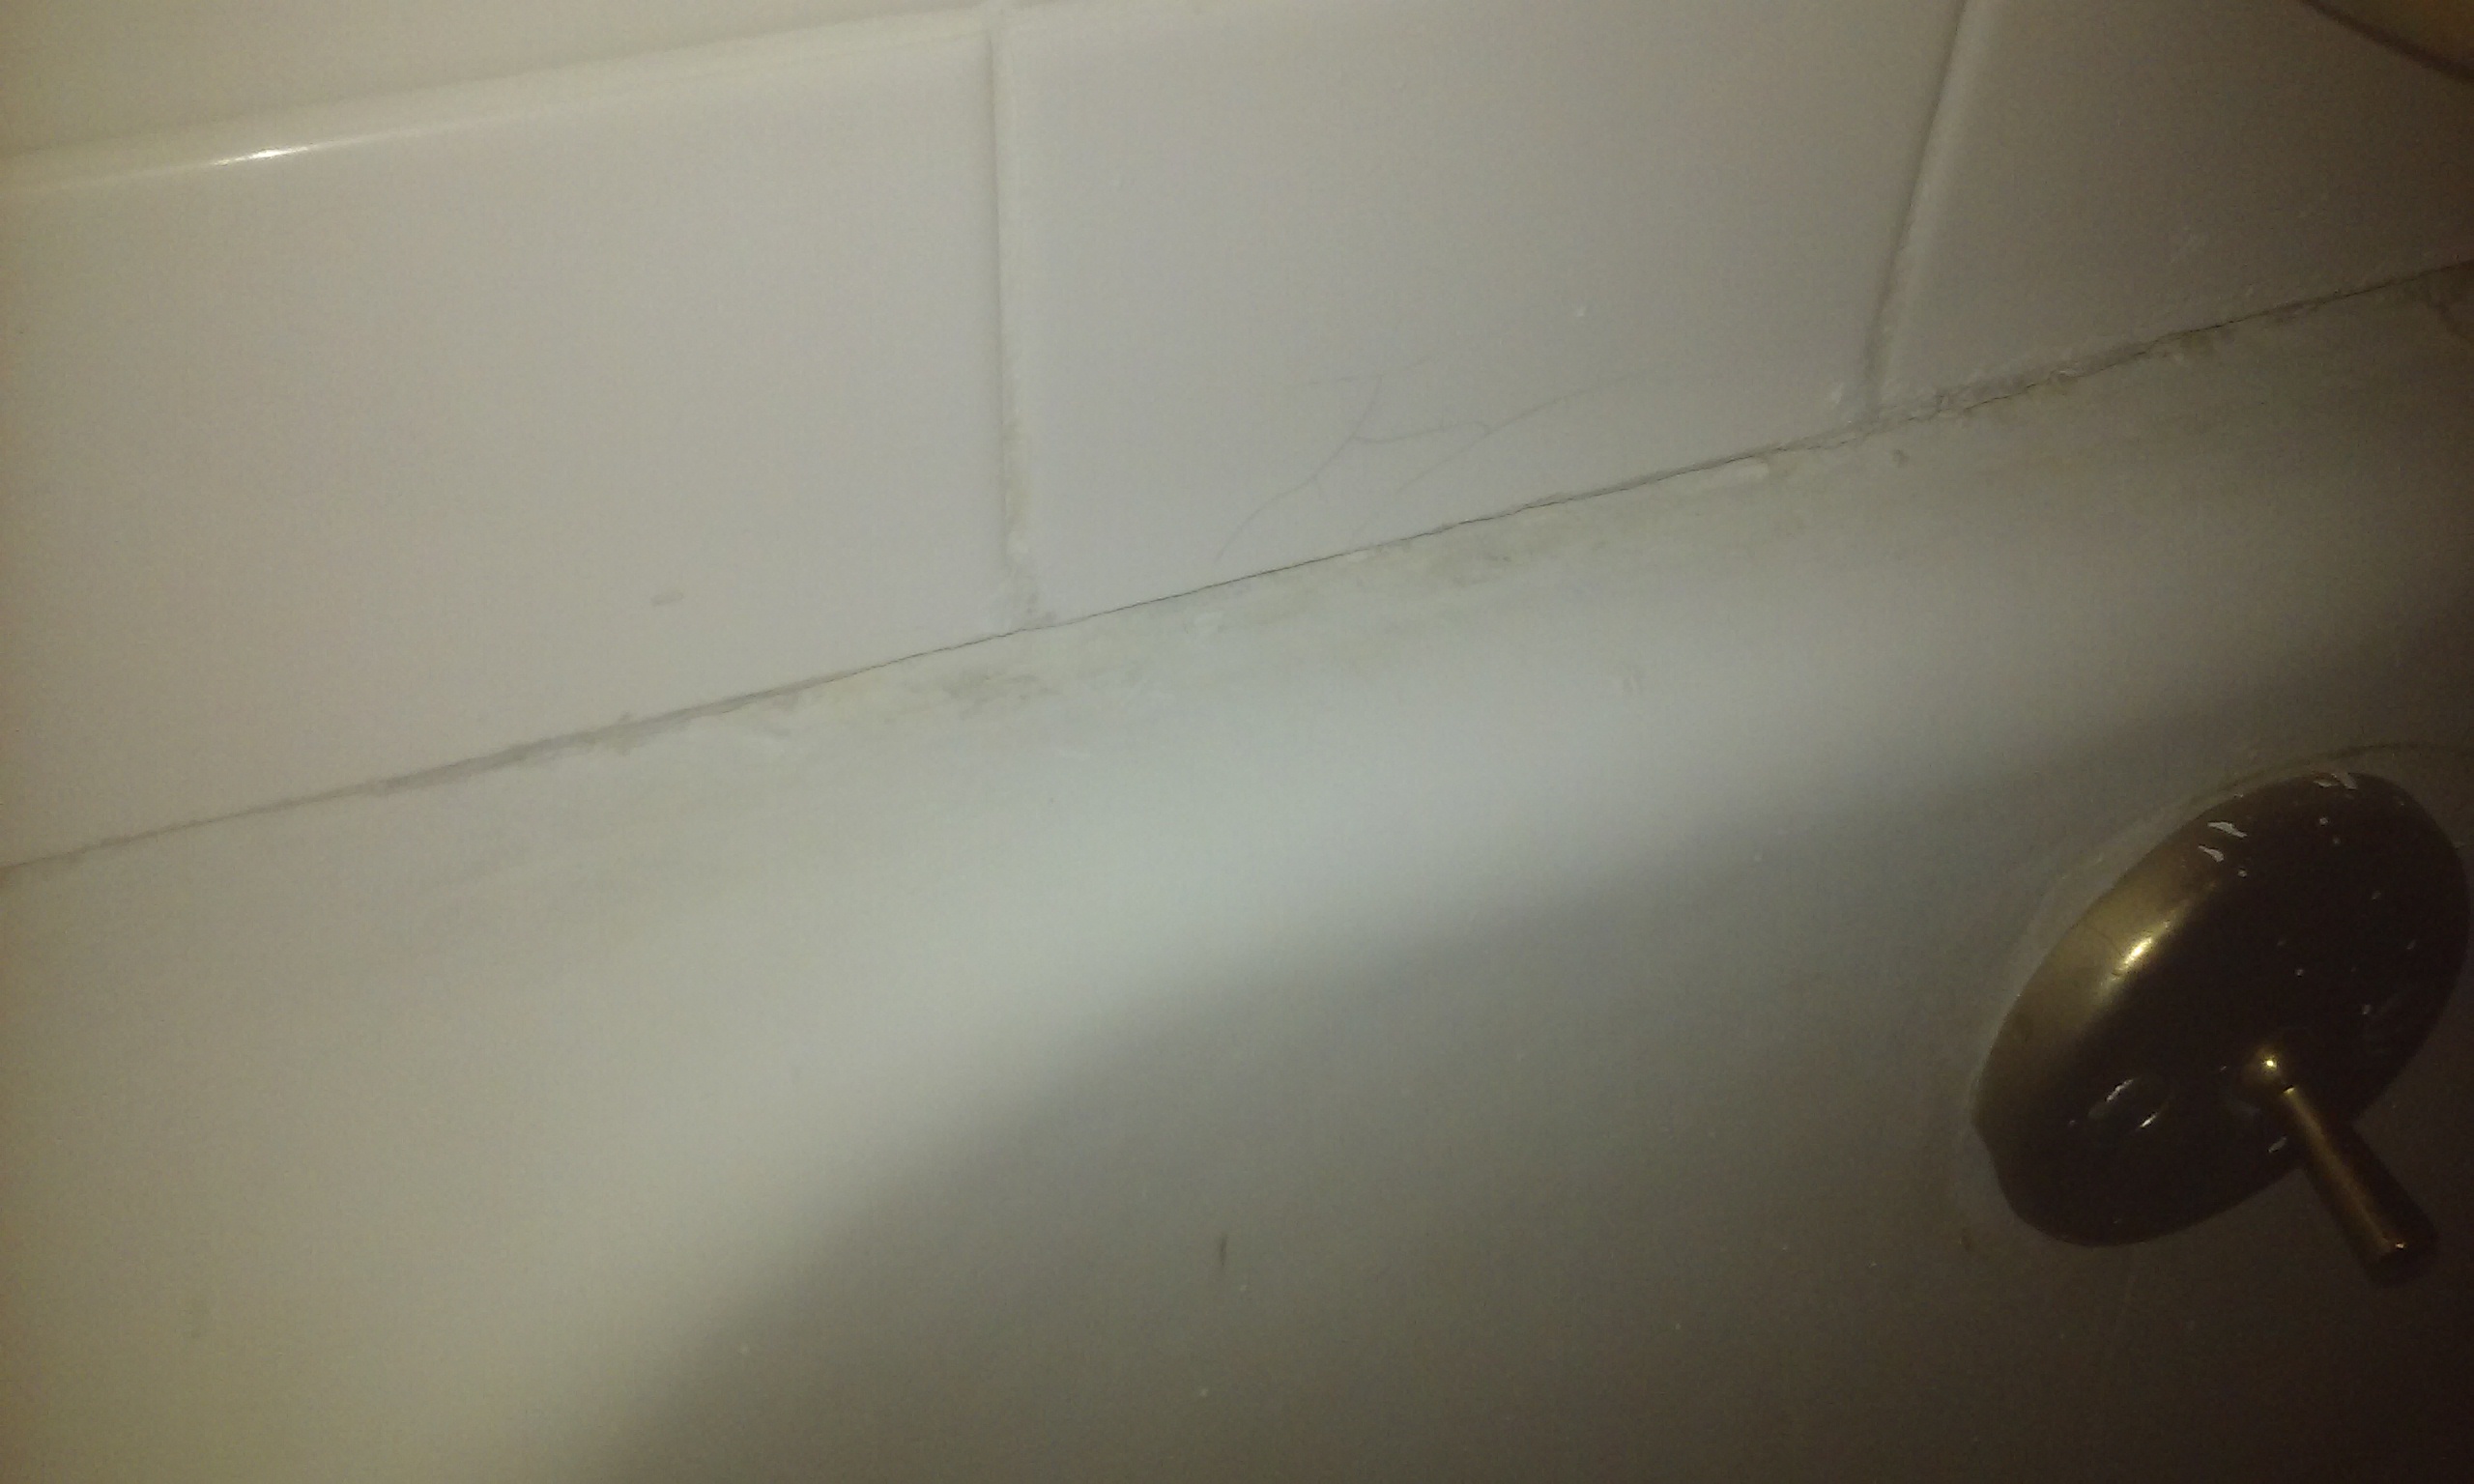
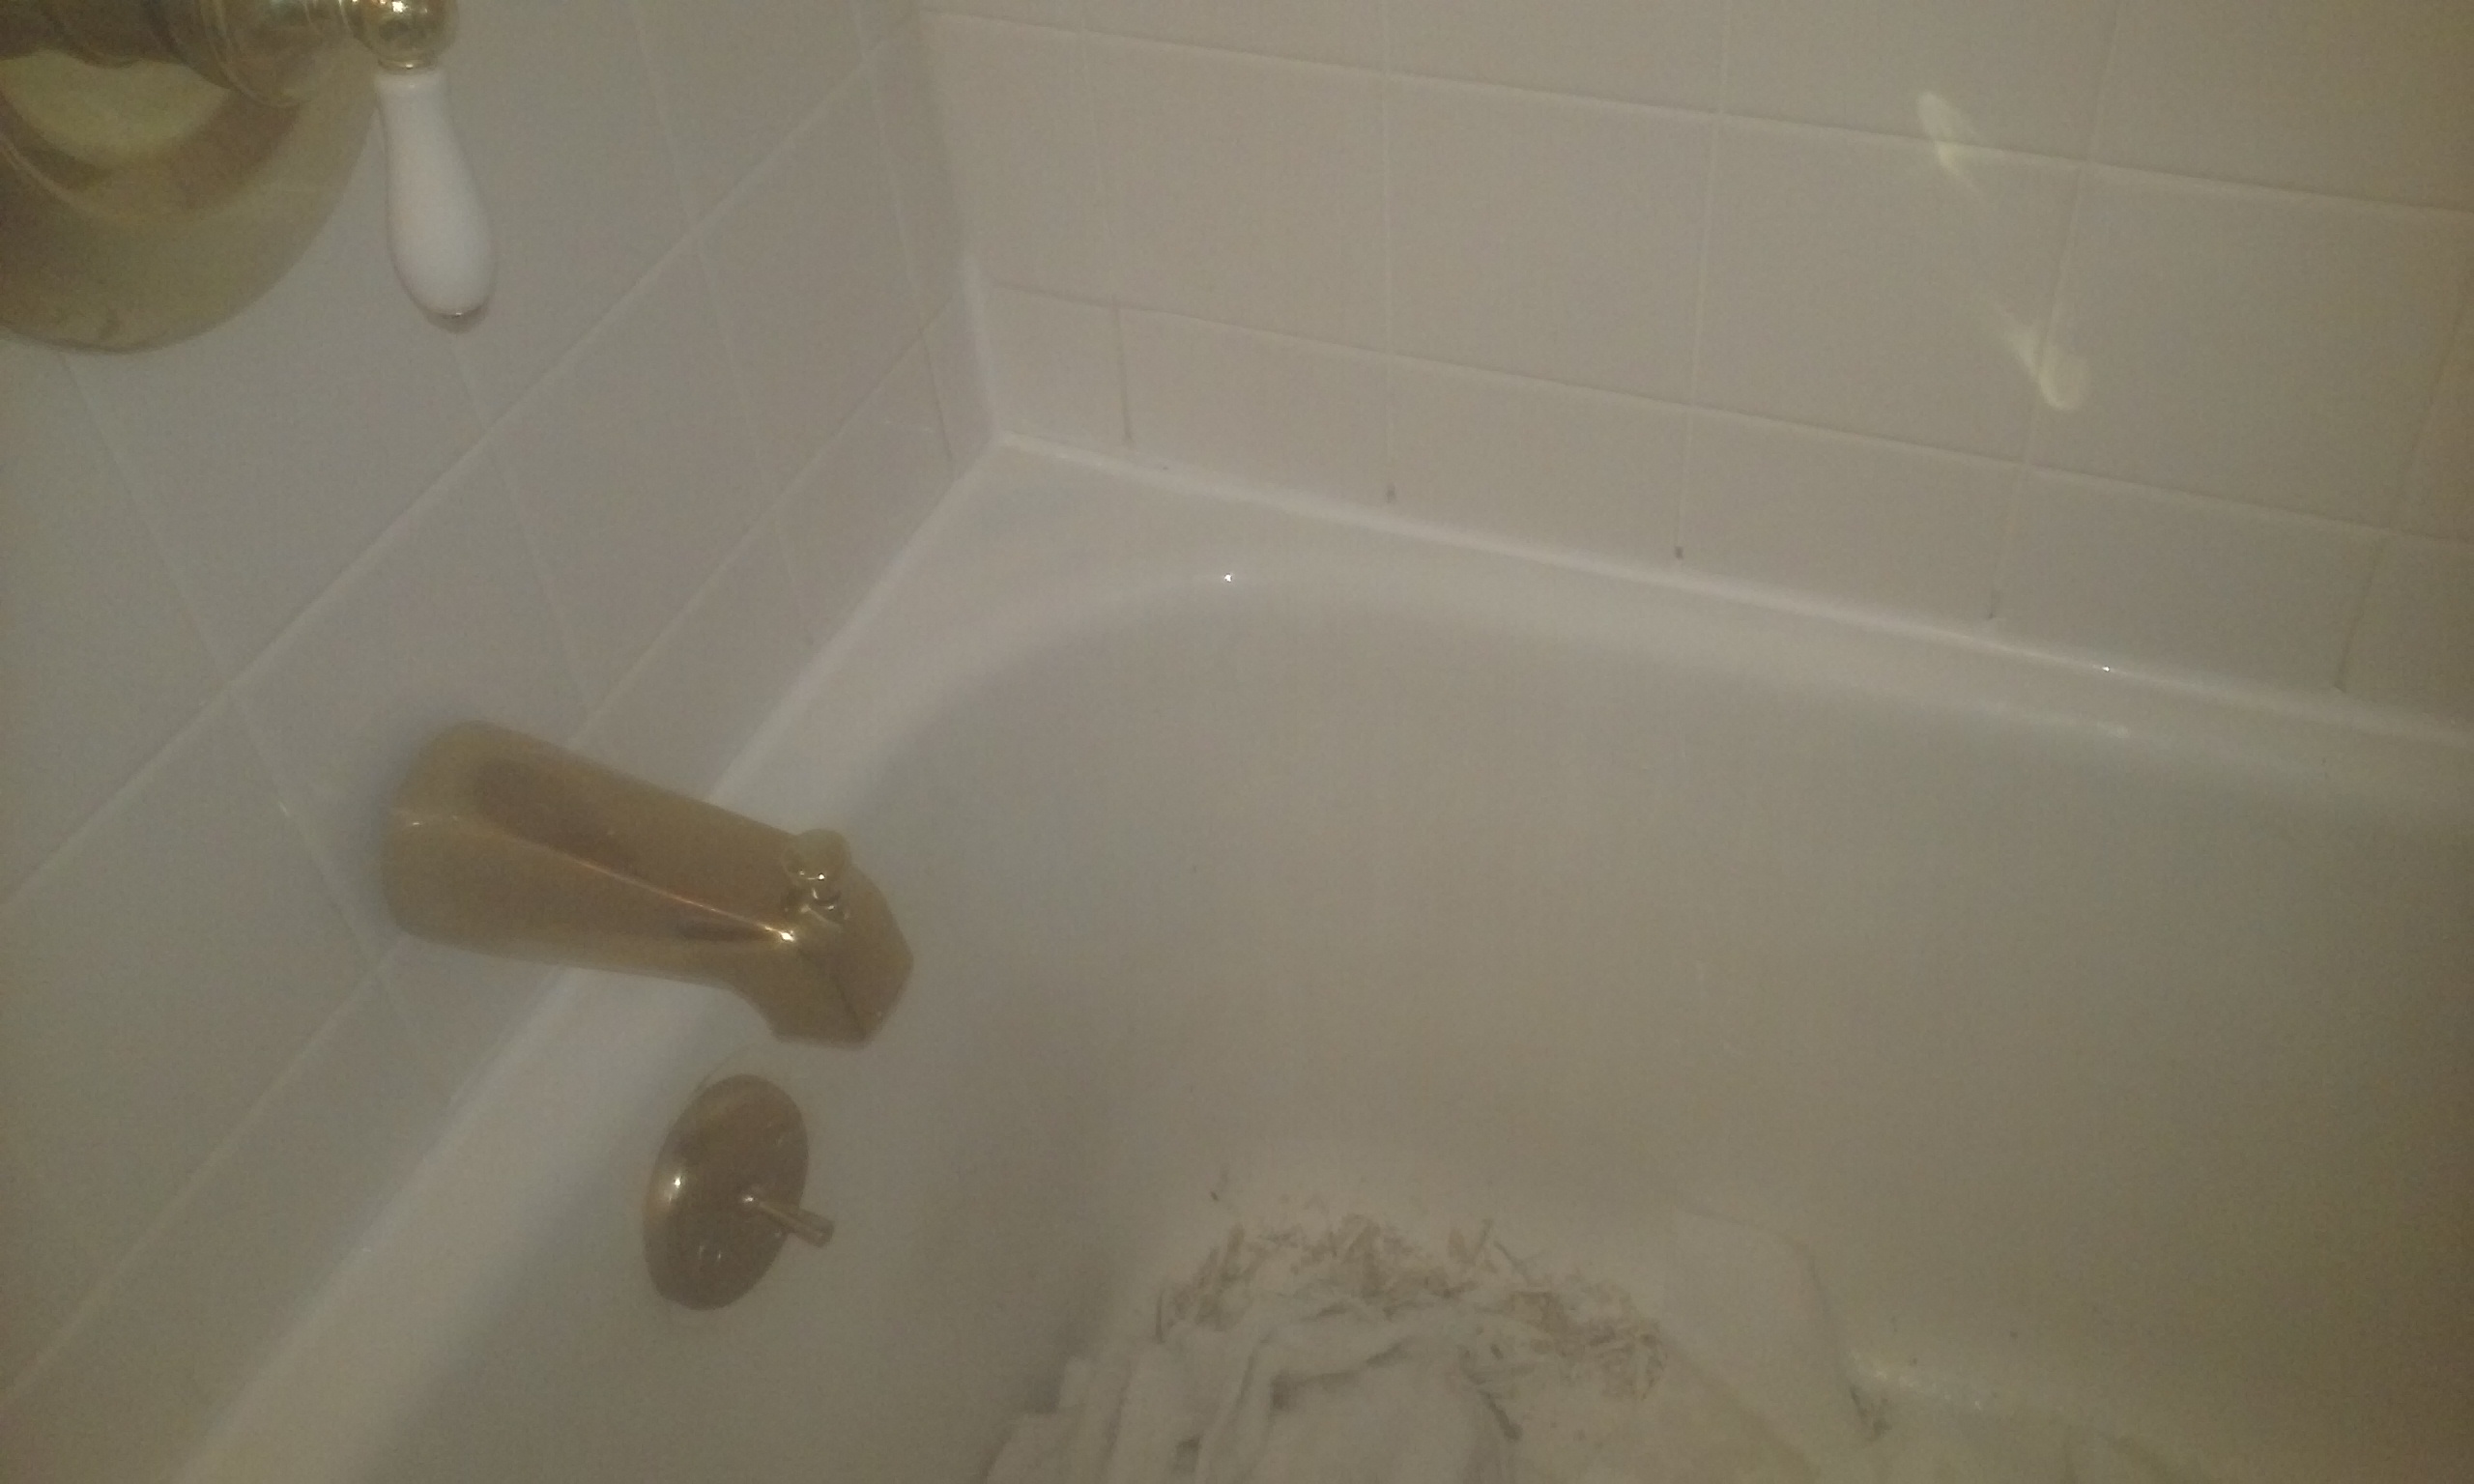 It’s always hard to get good pix of a tub caulk job because everything is bright white, but hopefully you get the idea. The added benefit of using high grade tub/bath silicone is, it will kill all mildew in sight, and if you have issues with dark stains appearing on the bottom of your tub, this will reduce them by 95%.
Another day in the life . . .

