Well yesterday I went over to a regular client’s house to install an EMCO storm door:
 So a little prelude, a contractor guy I occasionally work with sent me this job. He is a highly skilled guy, I was told he had measured the door opening, recommended the door to the client, so I was kind sorta assuming he had done the necessary preproduction research. I had never done one of these things from scratch before so, I was being overly bold.
I spent a whole week studying the directions and watching the videos. When I was looking at the marketing materials for this thing I somehow got the impression that this was a 2 hour job. Alas, this overly rosy assessment from the marketing people was an exaggeration to say the least. I just barely got the thing hung and the knob installed (but no closer yet), and that took over six hours. .
Next, EMCO, ol’ buddy ol’ pal, have you ever built anything from Wayfair? If you had, you would know that it’s really handy to put labeling stickers on all the major parts. As it was, I had to correlate each part (many similar looking long white sticks) with the illustration / directions. There is one part in particular that goes on the jam and holds the strike, another that goes on the strike side of the door itself, and they are virtually identical, and the second of these is not shown in the directions at all. yeesh.
To their credit, the colored screw holder bags were well organized.
Another overall view, it seems to neophyte me that the first hour of fussing with the door is all because they made the doors universal in terms of right or left handedness, meaning, no matter which door you buy you can put the knob on the right or the left. The sheer amount of work needed to make it one or the other makes me wonder if it is really worth it. Instead of adding an hour to each buyer’s install time, why not just right hand and left hand doors? Isn’t it 50-50? But, not my business. But at least, could you make little dimples etc to show where i need to drill 20+ precisely located holes for that conversion instead of making me try to hold an unwieldly hinge plate while marking for the holes?
Here it is, hung, even tho I followed directions precisely there is a bit of a list to starboard due to I assume the jamb not being plumb.
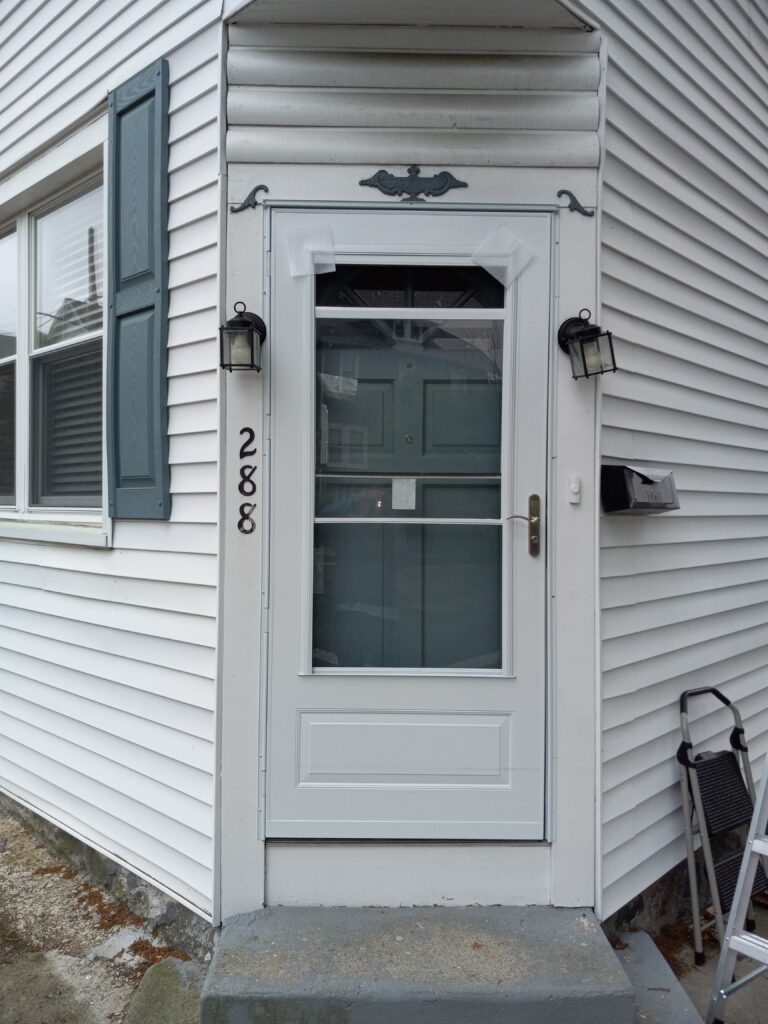 There was a little “follow orders don’t think” system for getting the door straight with some little plastic doodads, but given the weight of the door and my unique setup of 2 narrow steps I could not use it effectively.
Note the instructions for the knob install were sparse but generally very good.
Some items were not their issue, this door had a decoration above the opening and this conflicted with the “rain cap.” So I will have to cut a piece out of the cap to make it fit. Next visit.
A separate complaint about the job, some amateur installed sconces and they were in the way of the side rails, so I took them off temporarily and of course I found there were no boxes, so that’s another day, with an electrician . . . 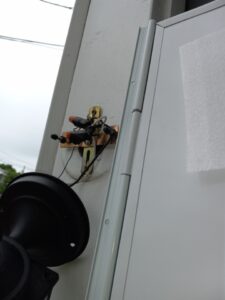 Smaller items, when I put in the sweep fin, I was told to crimp the metal around the fin, but even though I called the help line (alas, they were generally useless), and I banged it and I squeezed it, and still not crimped.
Also the client has a large keypad entry deadbolt and it conflicts with the handle, another issue borne of my not running the job from the start, also the instructions were very hard to fathom for that measurement, so looks like we will have to move the deadbolt. not a massive crisis, but . . .
So all in all, if you have a nice clean doorway with easy access, no stoop steps, a helper, a small deadbolt, a couple of days to do it, and it’s not raining (!) (the directions pamphlet did not do well in the rain), I will still give the door a thumbs up as a decent quality item, but the whole time I was doing the job I was talking to myself about how the kit instructions could have been SO much better, especially for a first timer. — jl
 Probably saving what, fifty bucks a year on my electric bill? plus all the CO not emitted? plus my apartment air is cleaner? Not bad for 20 minutes of effort. I would guess that 85% of all refrigerators in the country are even dirtier.




 So a little prelude, a contractor guy I occasionally work with sent me this job. He is a highly skilled guy, I was told he had measured the door opening, recommended the door to the client, so I was kind sorta assuming he had done the necessary preproduction research. I had never done one of these things from scratch before so, I was being overly bold.
