One of the problems I have in doing this blog is, I don’t necessarily have permission from clients to show the interior of their homes. So I end up using pix of jobs done for friends and/or family, or for myself. So I fear my “real” work doesn’t get showcased as much as I would like, but, c’est la guerre.
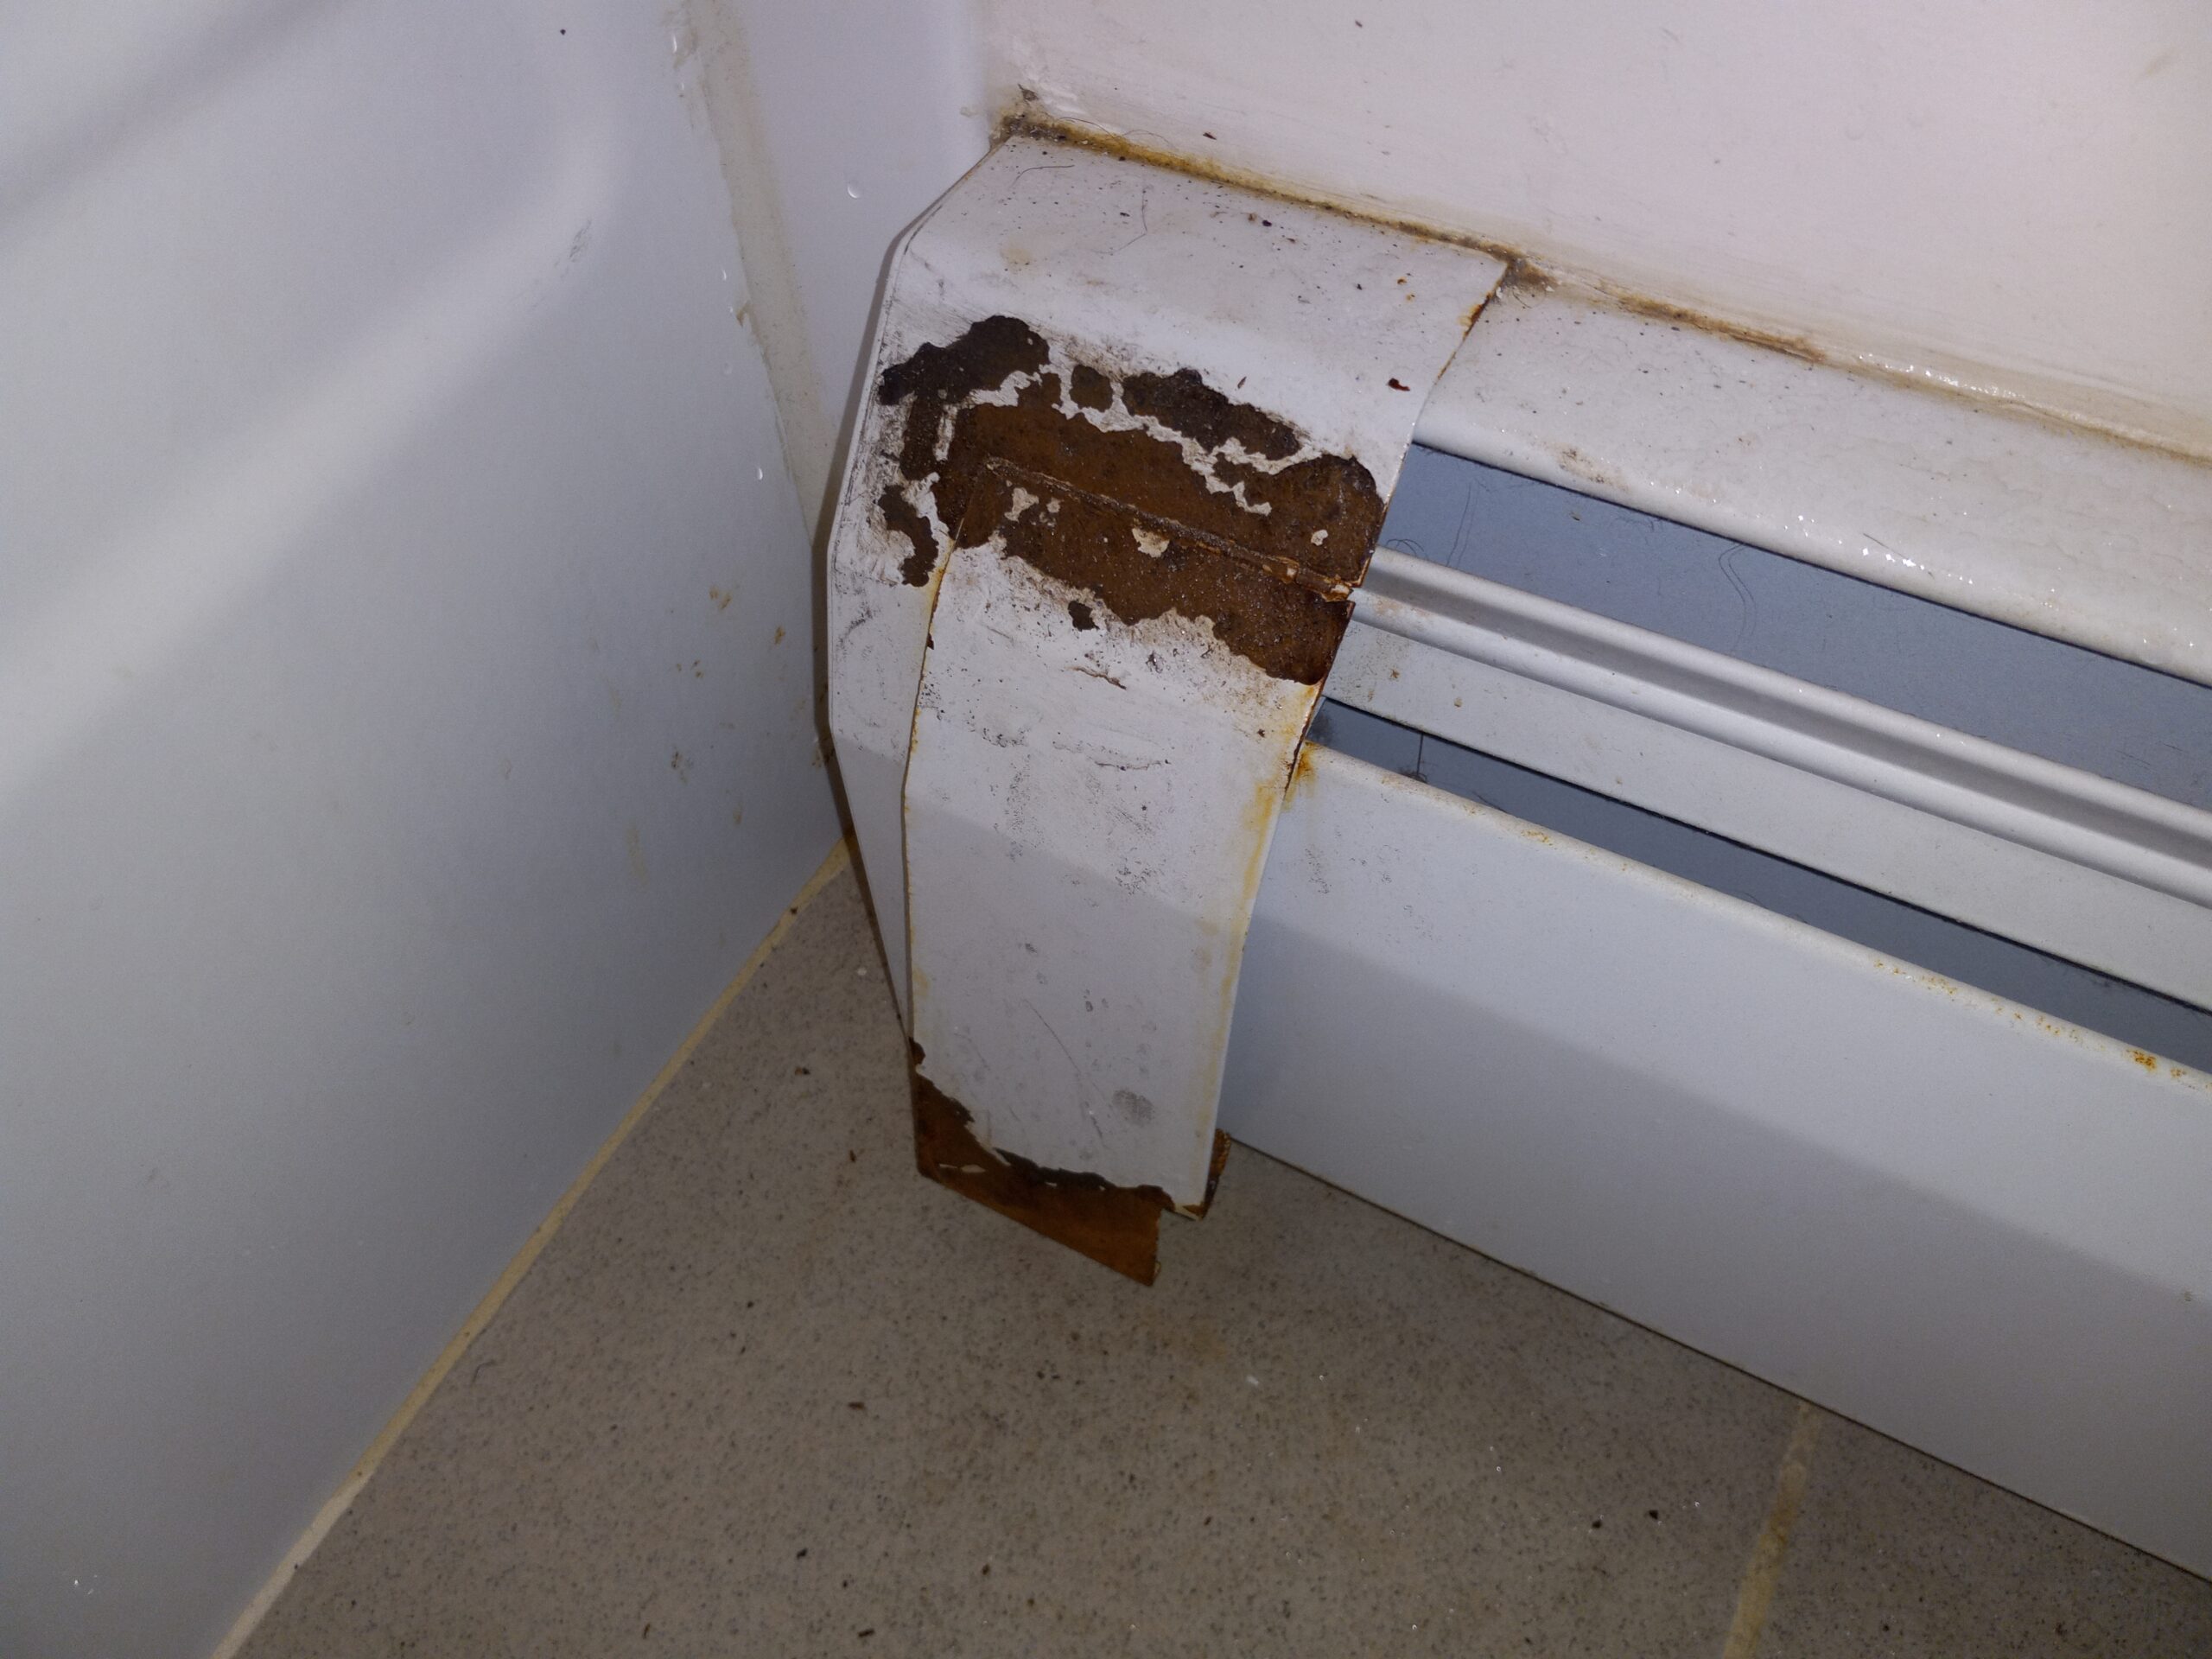
Anyway, latest project, I live in an apartment complex and soon after moving in I noticed a rust issue on a radiator cover. This had an obvious cause, the radiator gets hit with shower spray and gets wet. And I decided it was time to deal with it. Note it wasn’t TOO bad but then I scraped off the layer of paint that was covering the rust and . . . oh brother . . .
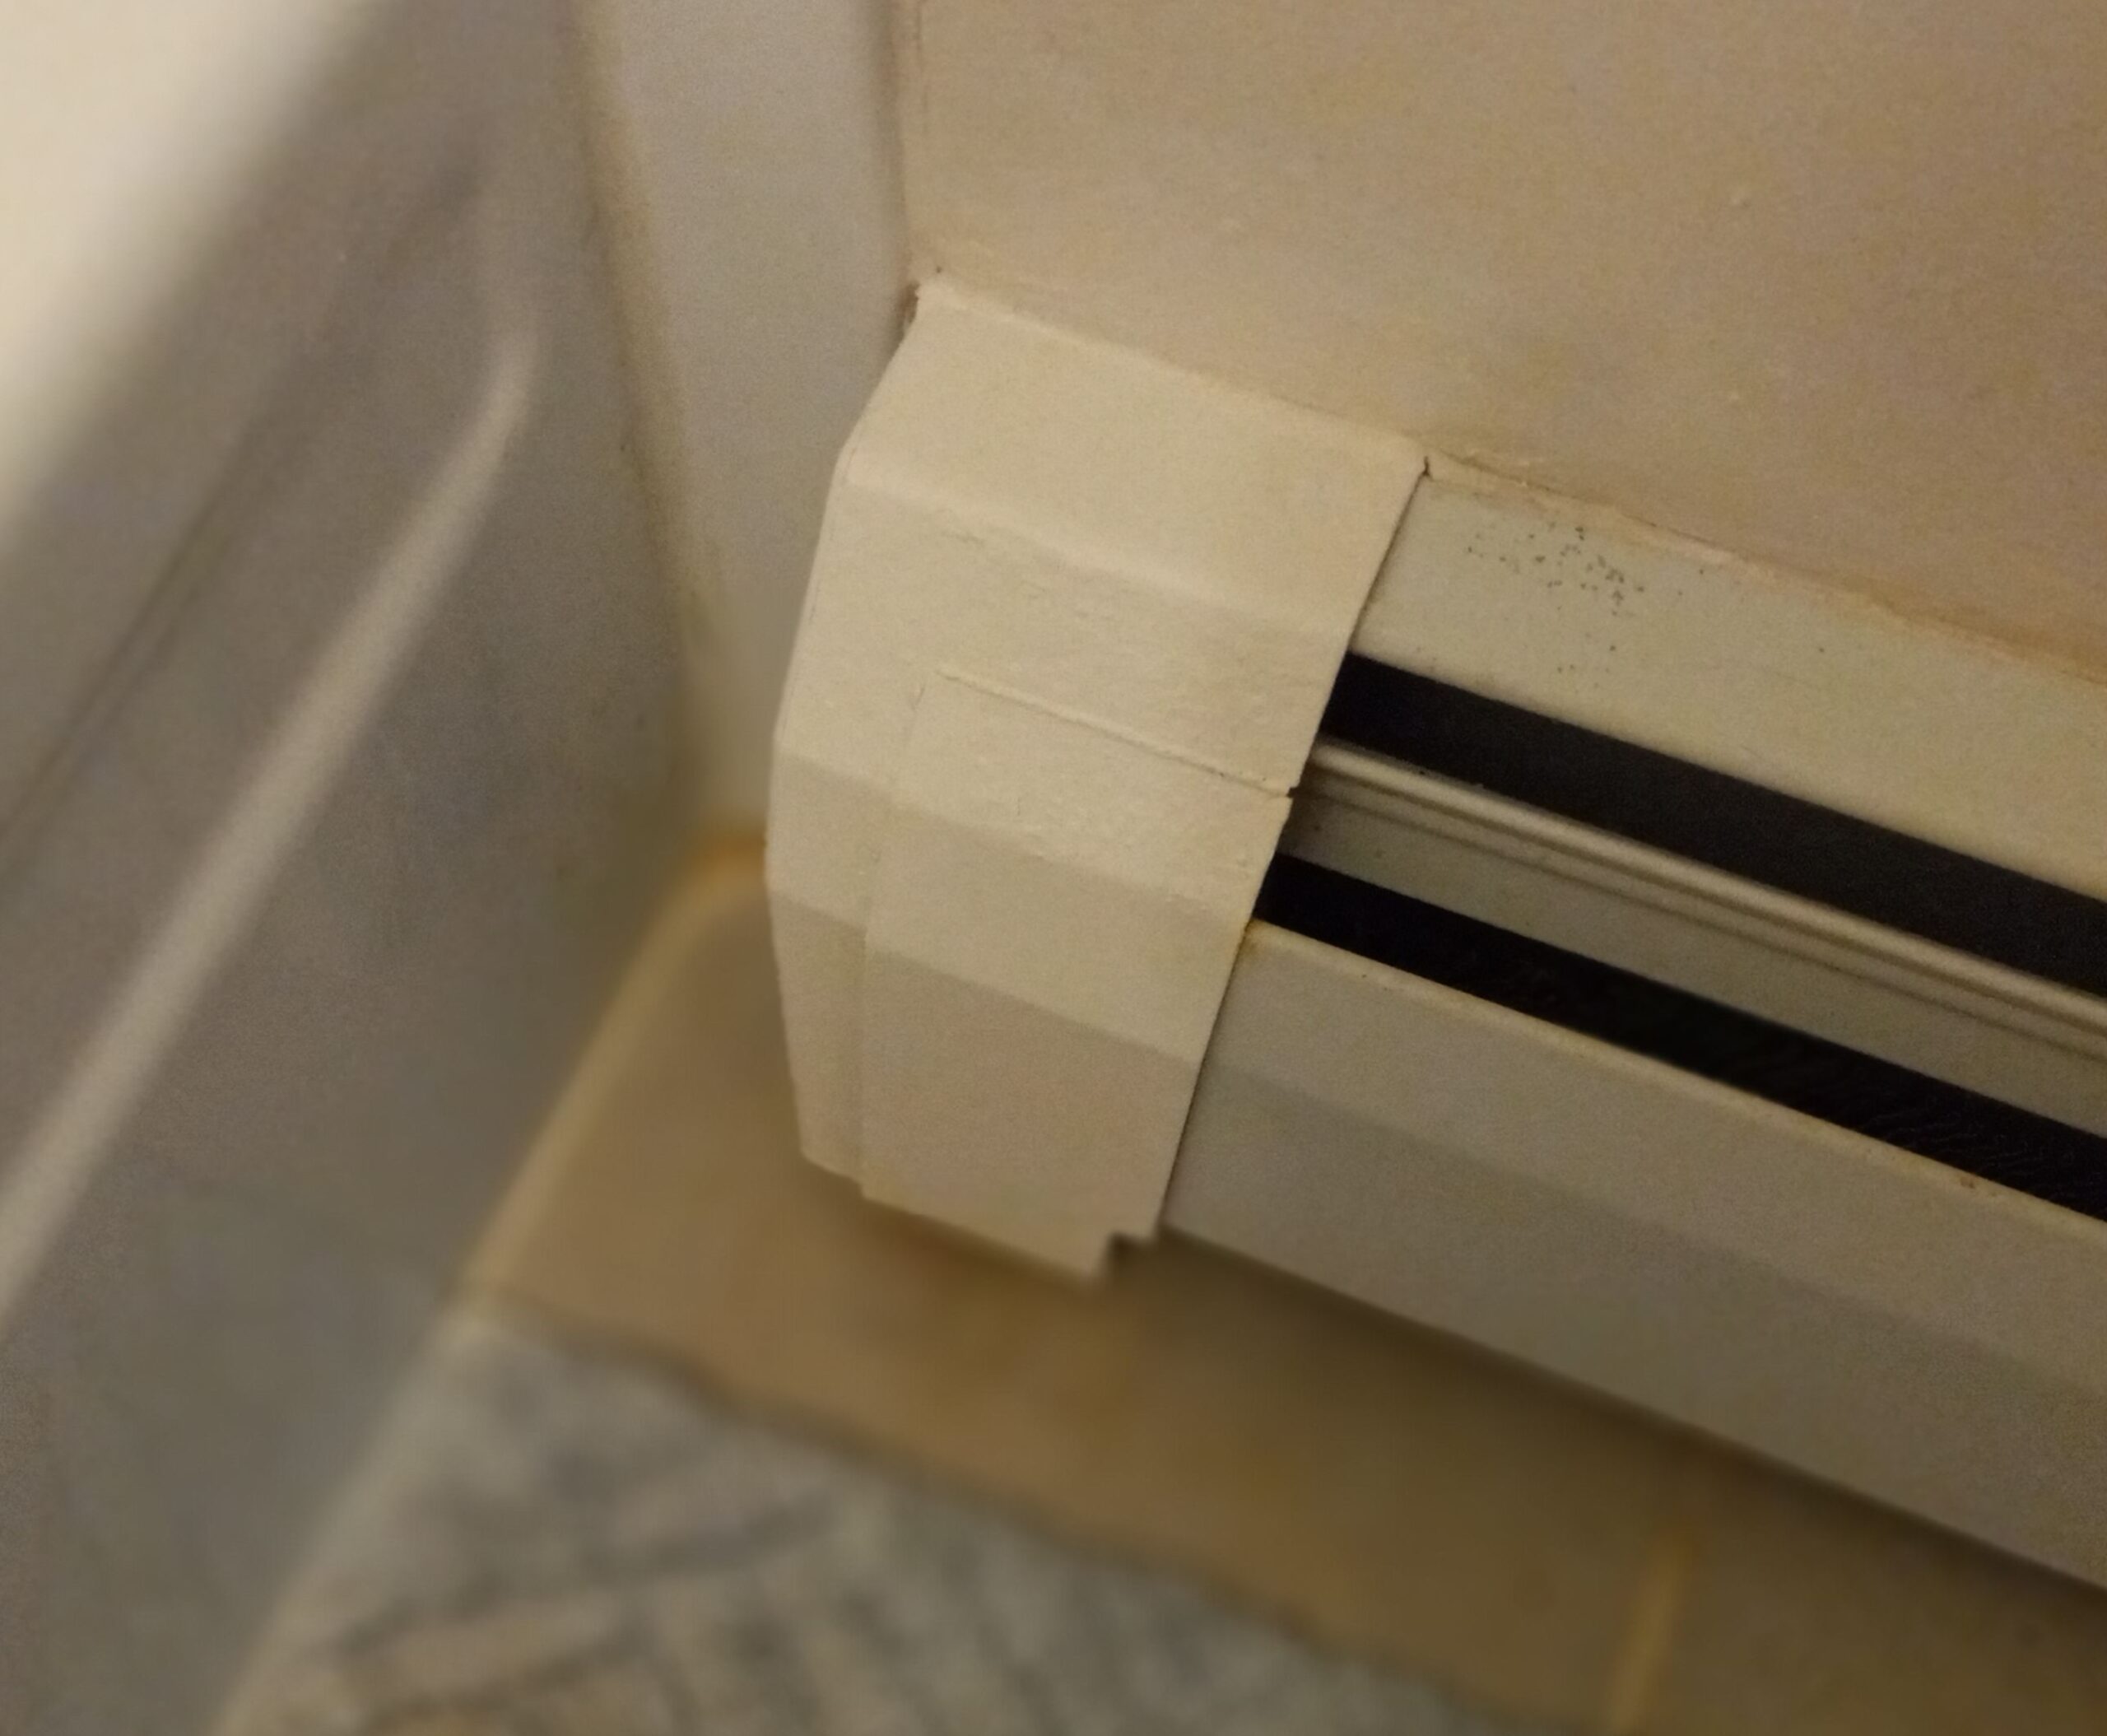
 And, to avoid keeping you in suspense, here it is, more or less done:
 It was pretty obvious to me that, before I moved in, the rust issue existed, and someone on the maintenance crew had just covered the rust with a layer of latex and walked away, so of course, it just re-manifested. So . . . Justin the Handyman to the rescue, let’s do it RIGHT . . .
So I got out my tools and a wire wheel on a drill and scraped off all the loose paint and got to what you see above.
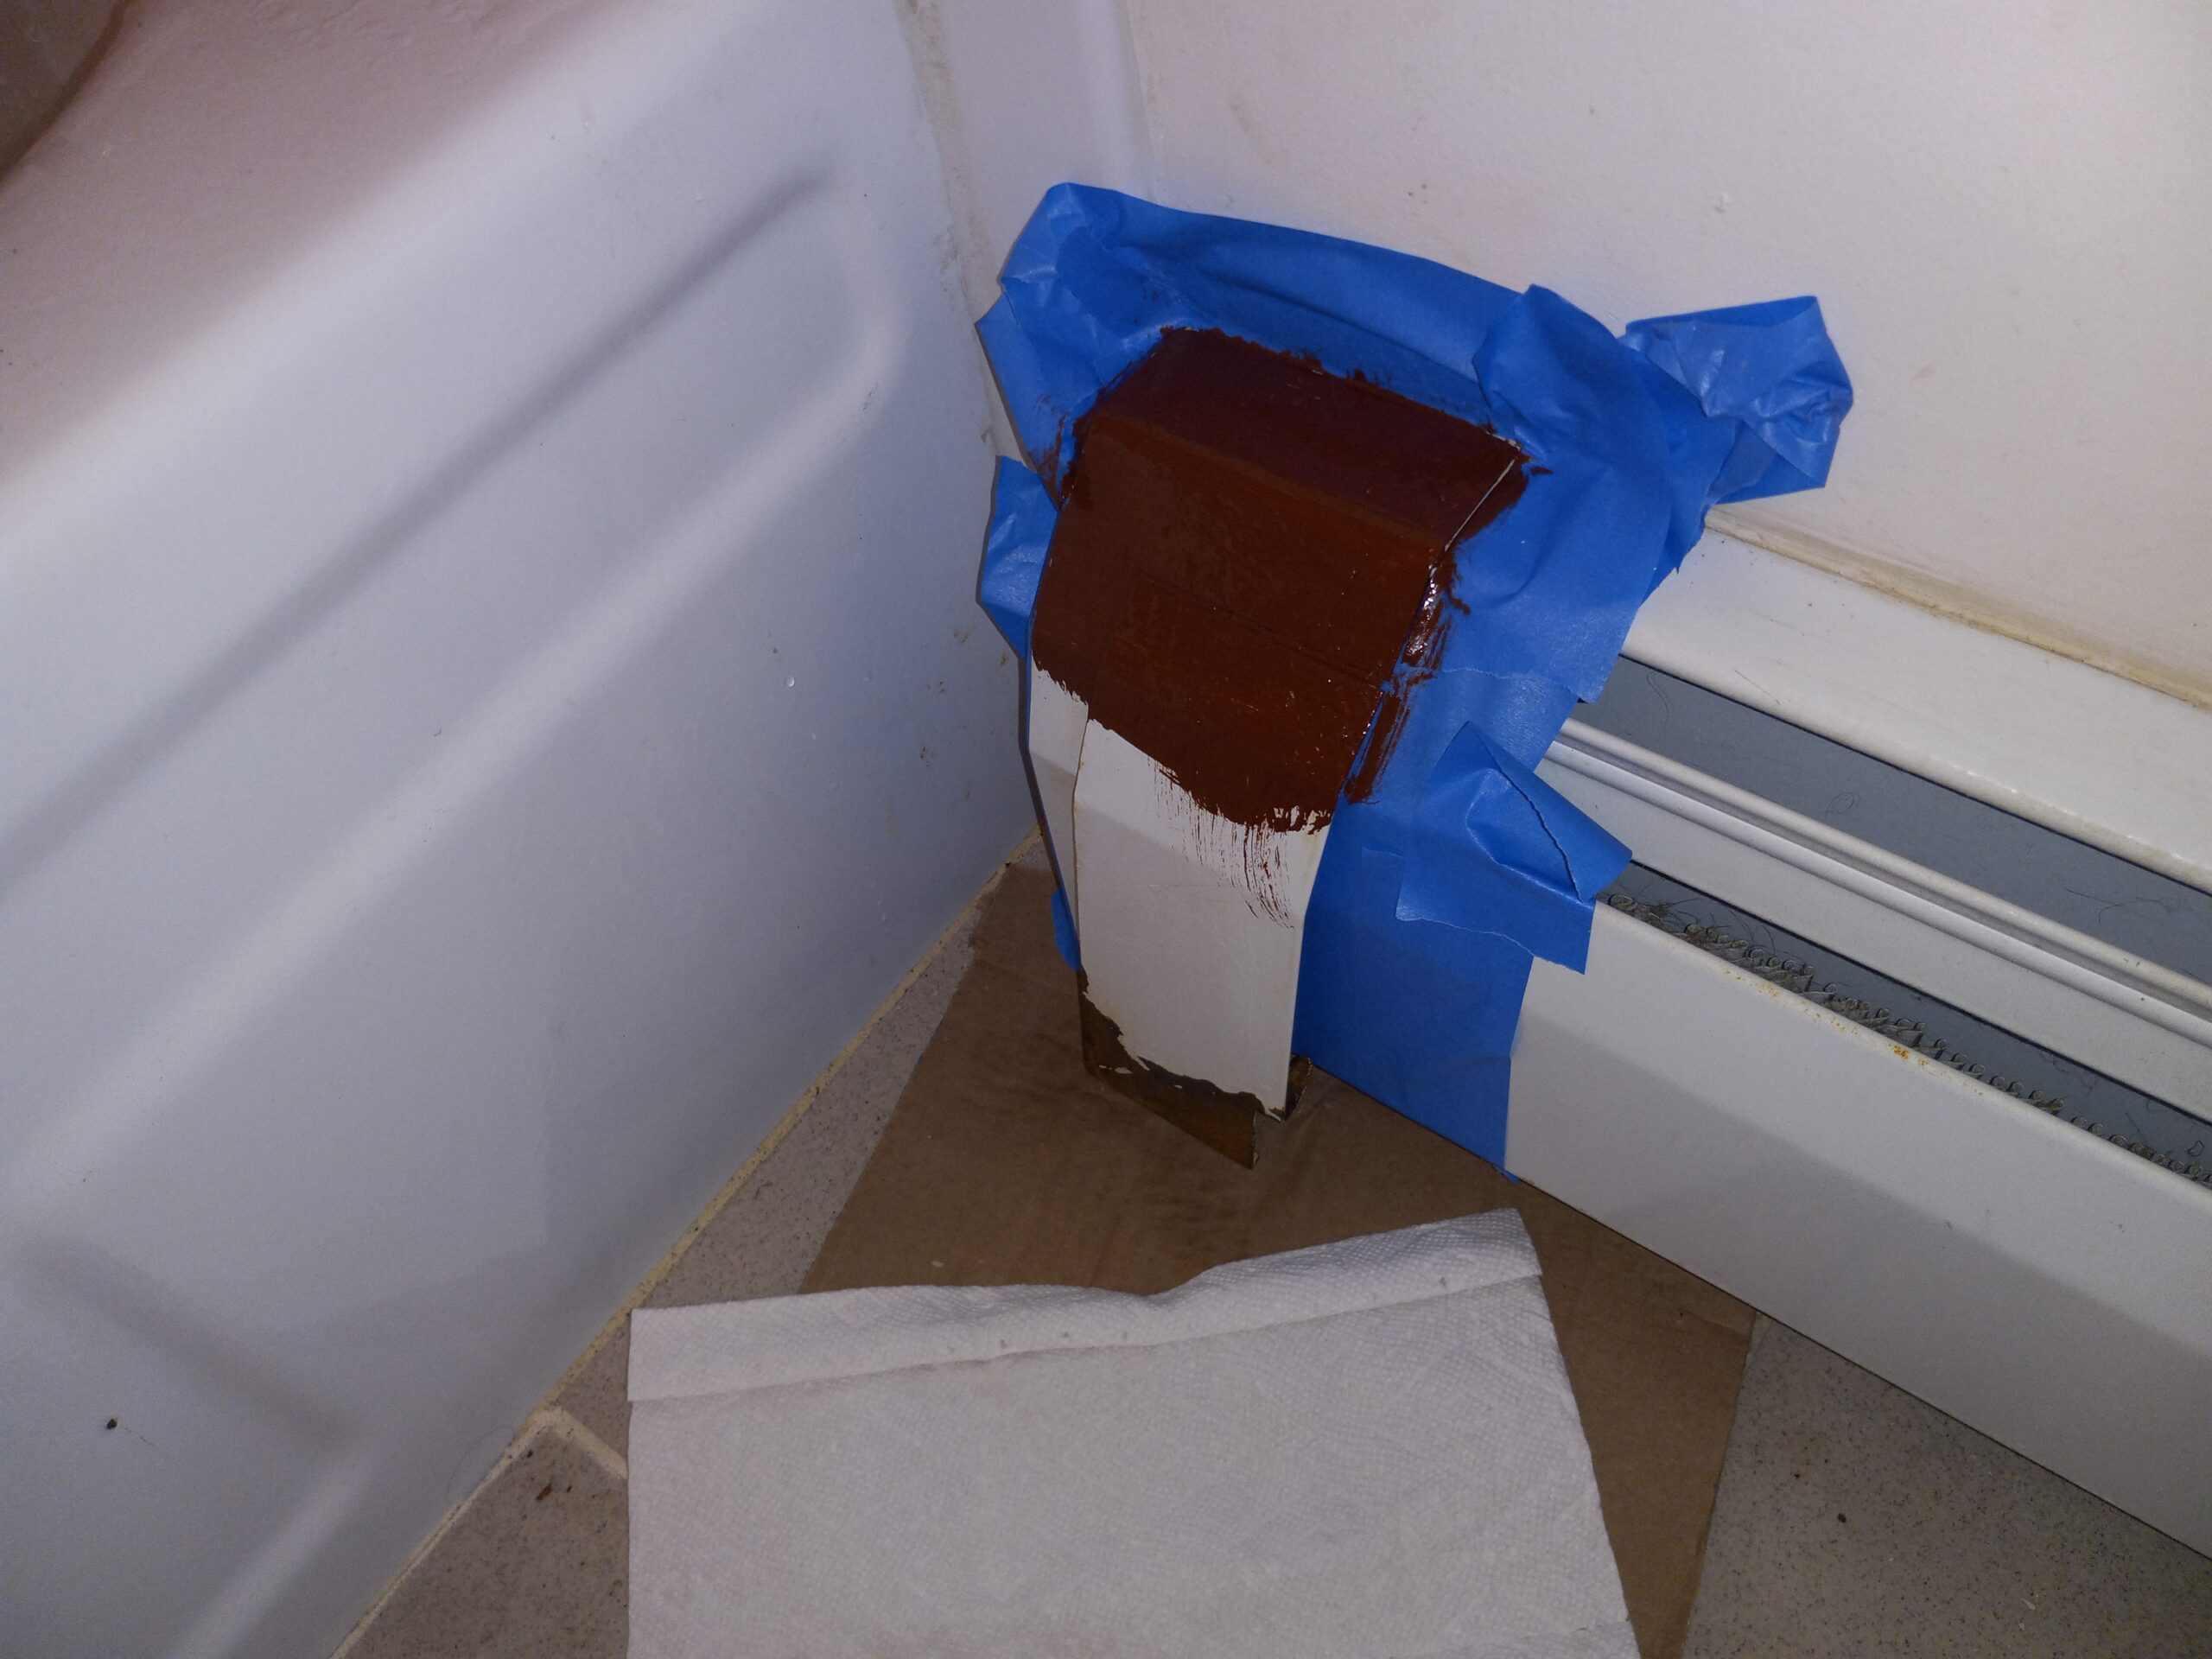
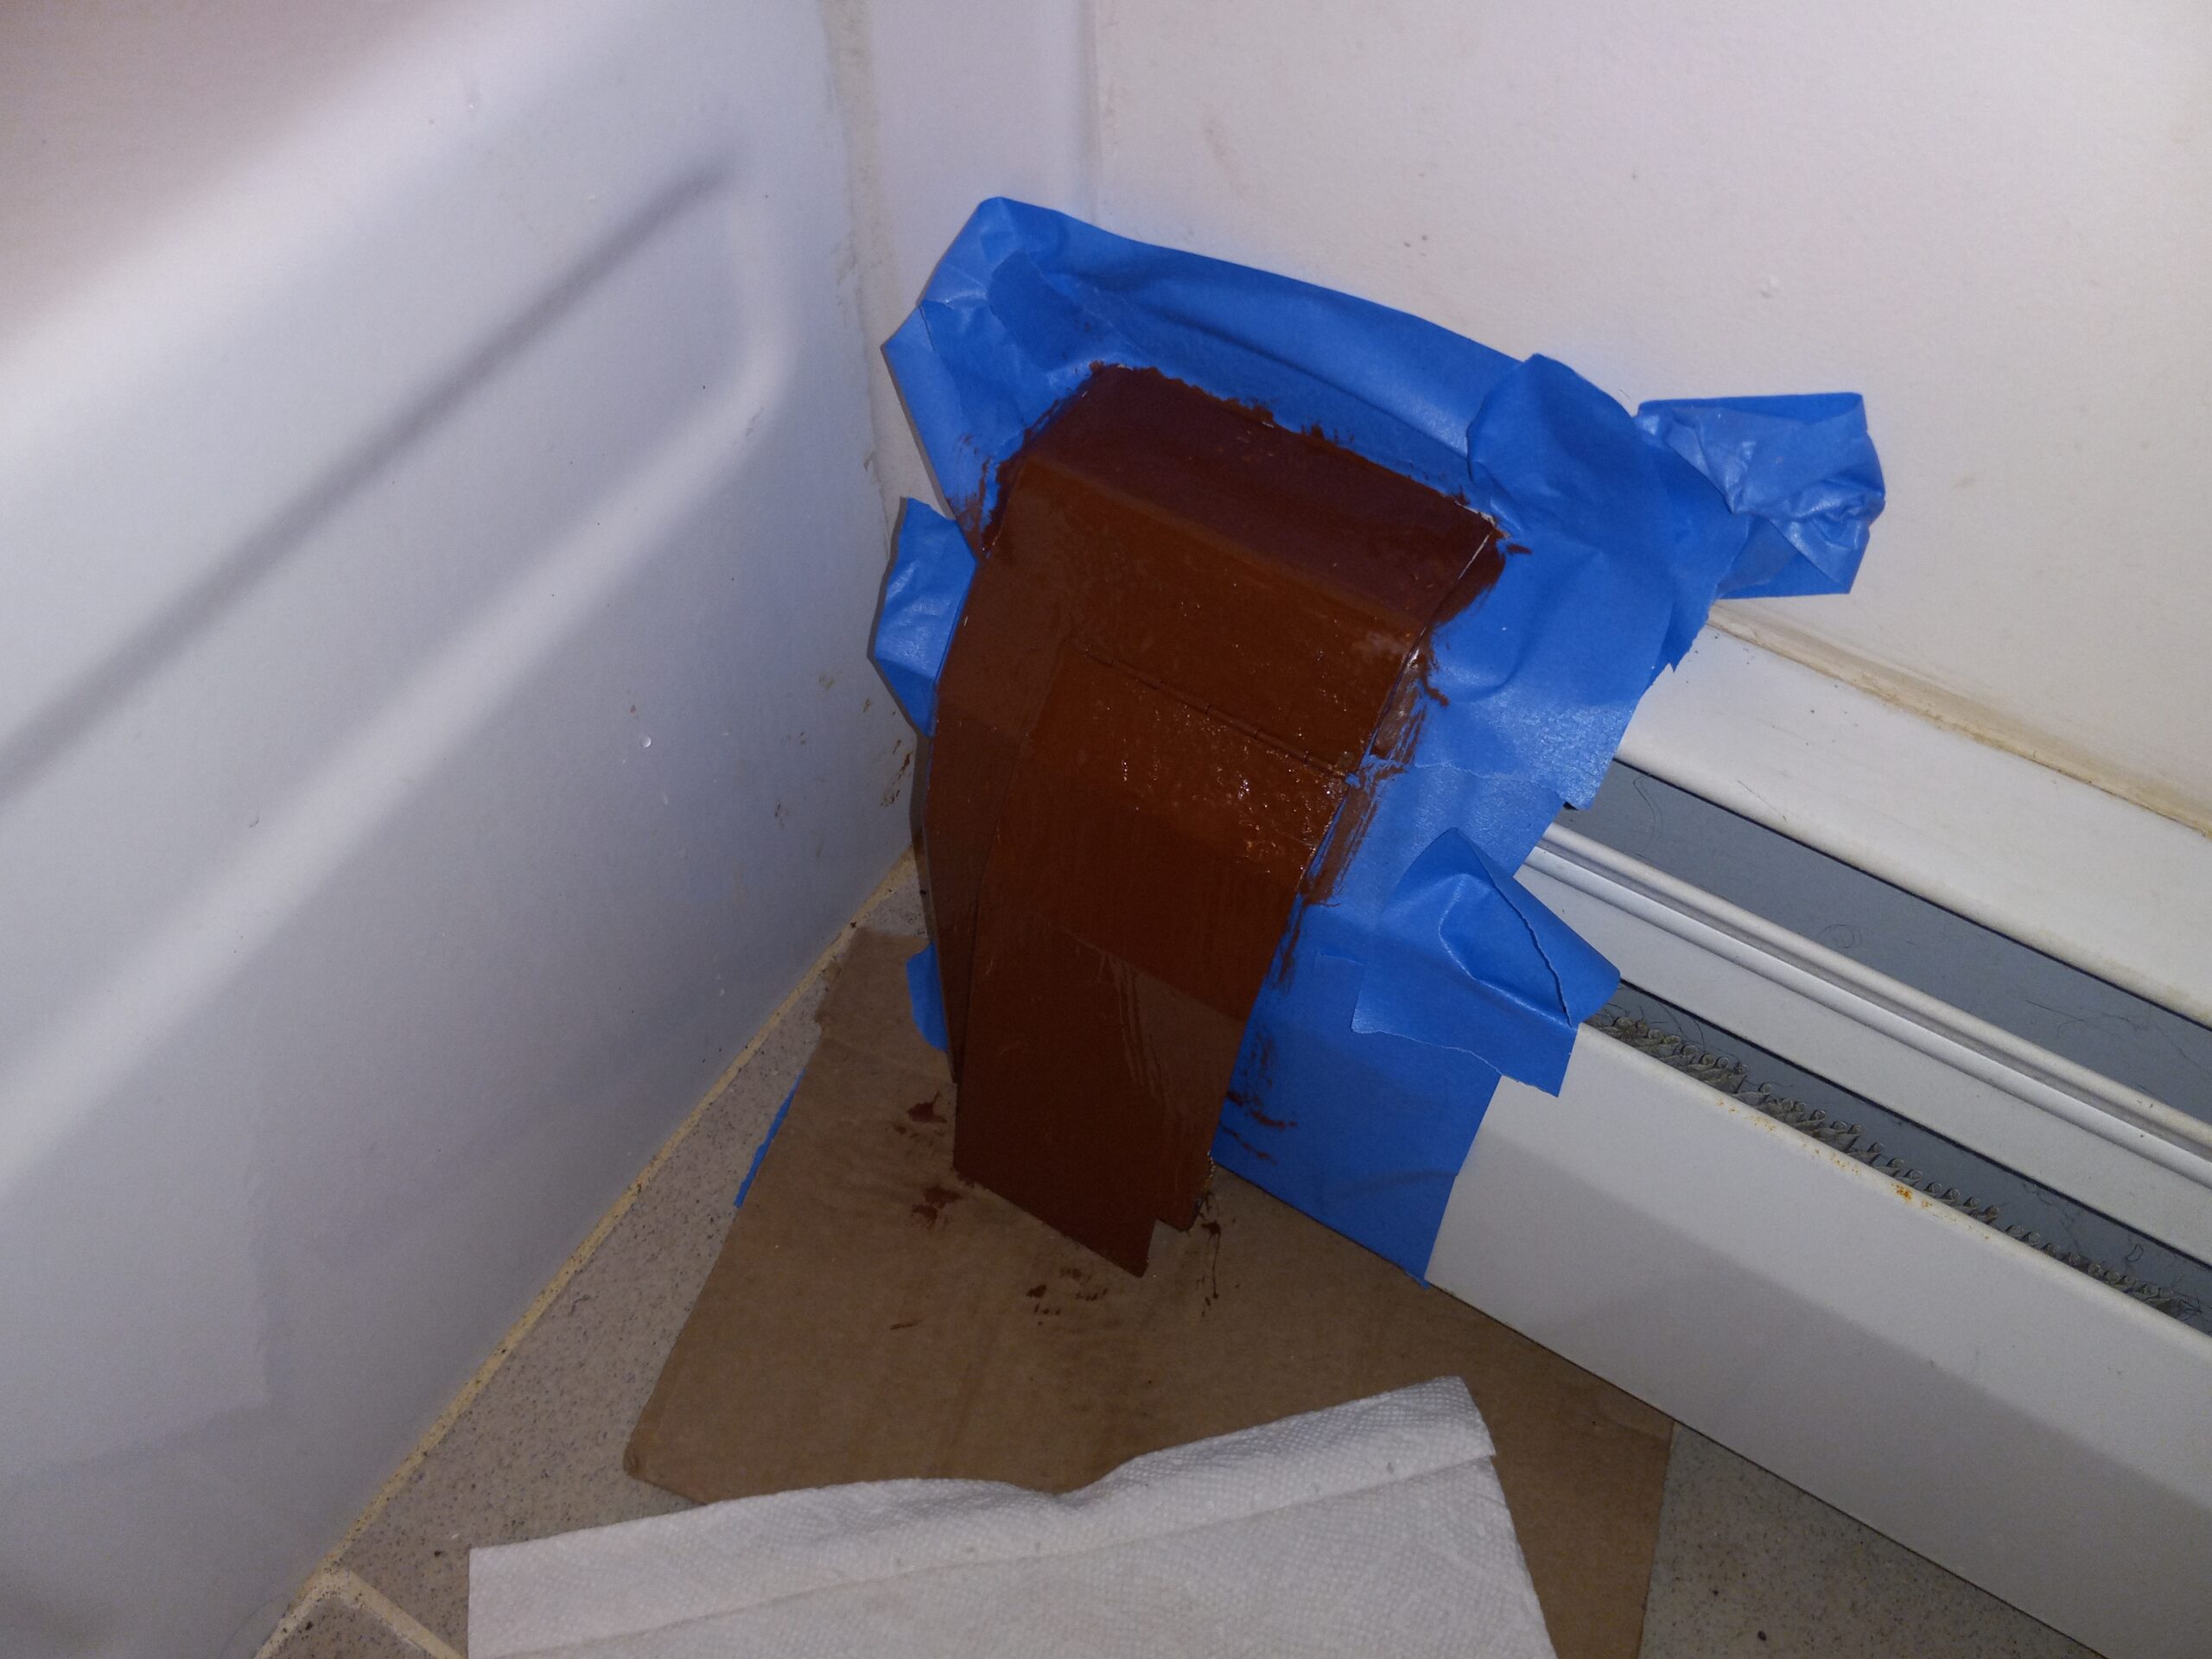
Next I put on some blue masking tape, then I took some Rustoleum Rusty Metal Primer and painted it on, see next 2 pix:
 And finally, again, after waiting 72 hours, I topcoated it.
The trouble with rental properties is, all too often the goal is to just get to close enough and not do it properly . . . BUT, unlike my predecessors who just did slap dash, the Rustoleum rusty metal primer will actually stabilize the rust and make it a nice solid surface which should prevent a return of the rust for at least a year. The mgmt gave me some latex paint to use as topcoat but it doesn’t match . . . again, rental properties . . . I can always take some of the older paint I scraped off (and saved) to Home Depot and get a sample size jar, and that should match pretty good. Stay tuned!