
I have tangled with many a poorly installed bi-fold door, but this was the first time someone asked me to install one from scratch. You don’t often hear me say this, but these kits are very well designed and easy to execute. *** At least I thought so.
First you measure the doorway and buy a new door that is made for that size, which I guess is a fairly standard set of common sizes. Here it is half unwrapped:

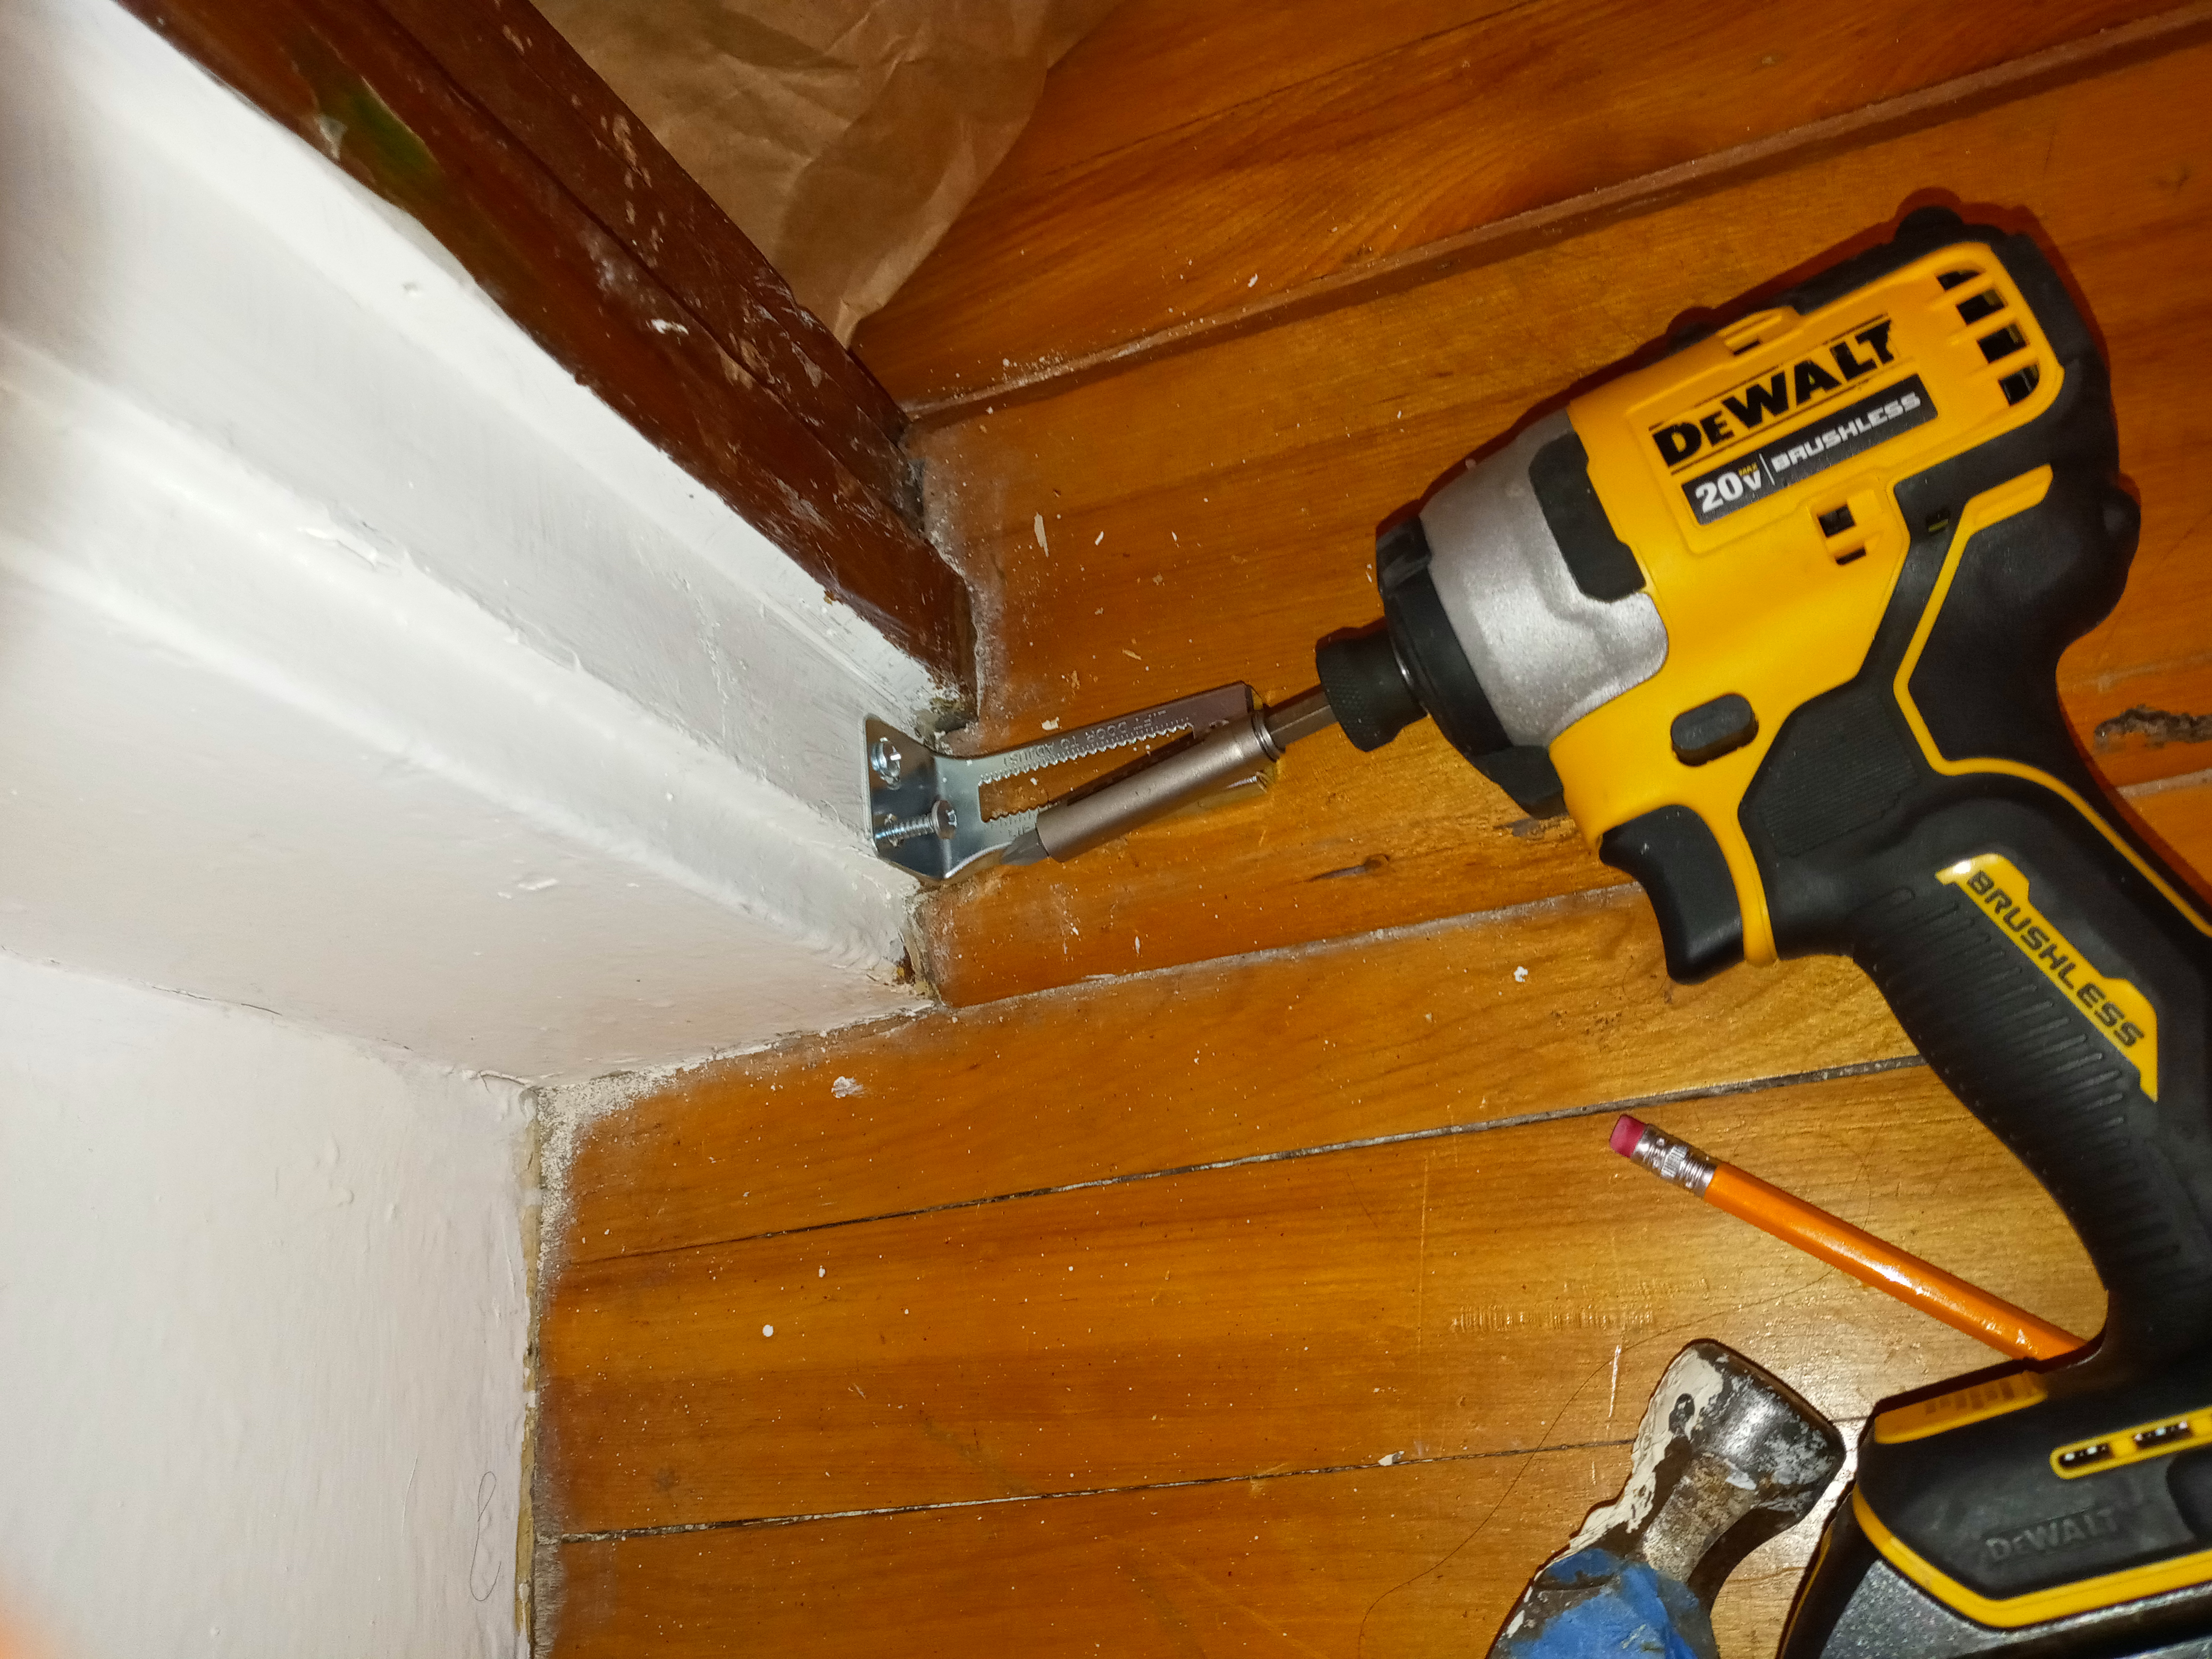
Next, just 4 or 5 screws to install the header bracket, centered by eye, no cutting needed:

Then, install a little doodad to hold the bottom hinge pin, 3 screws:
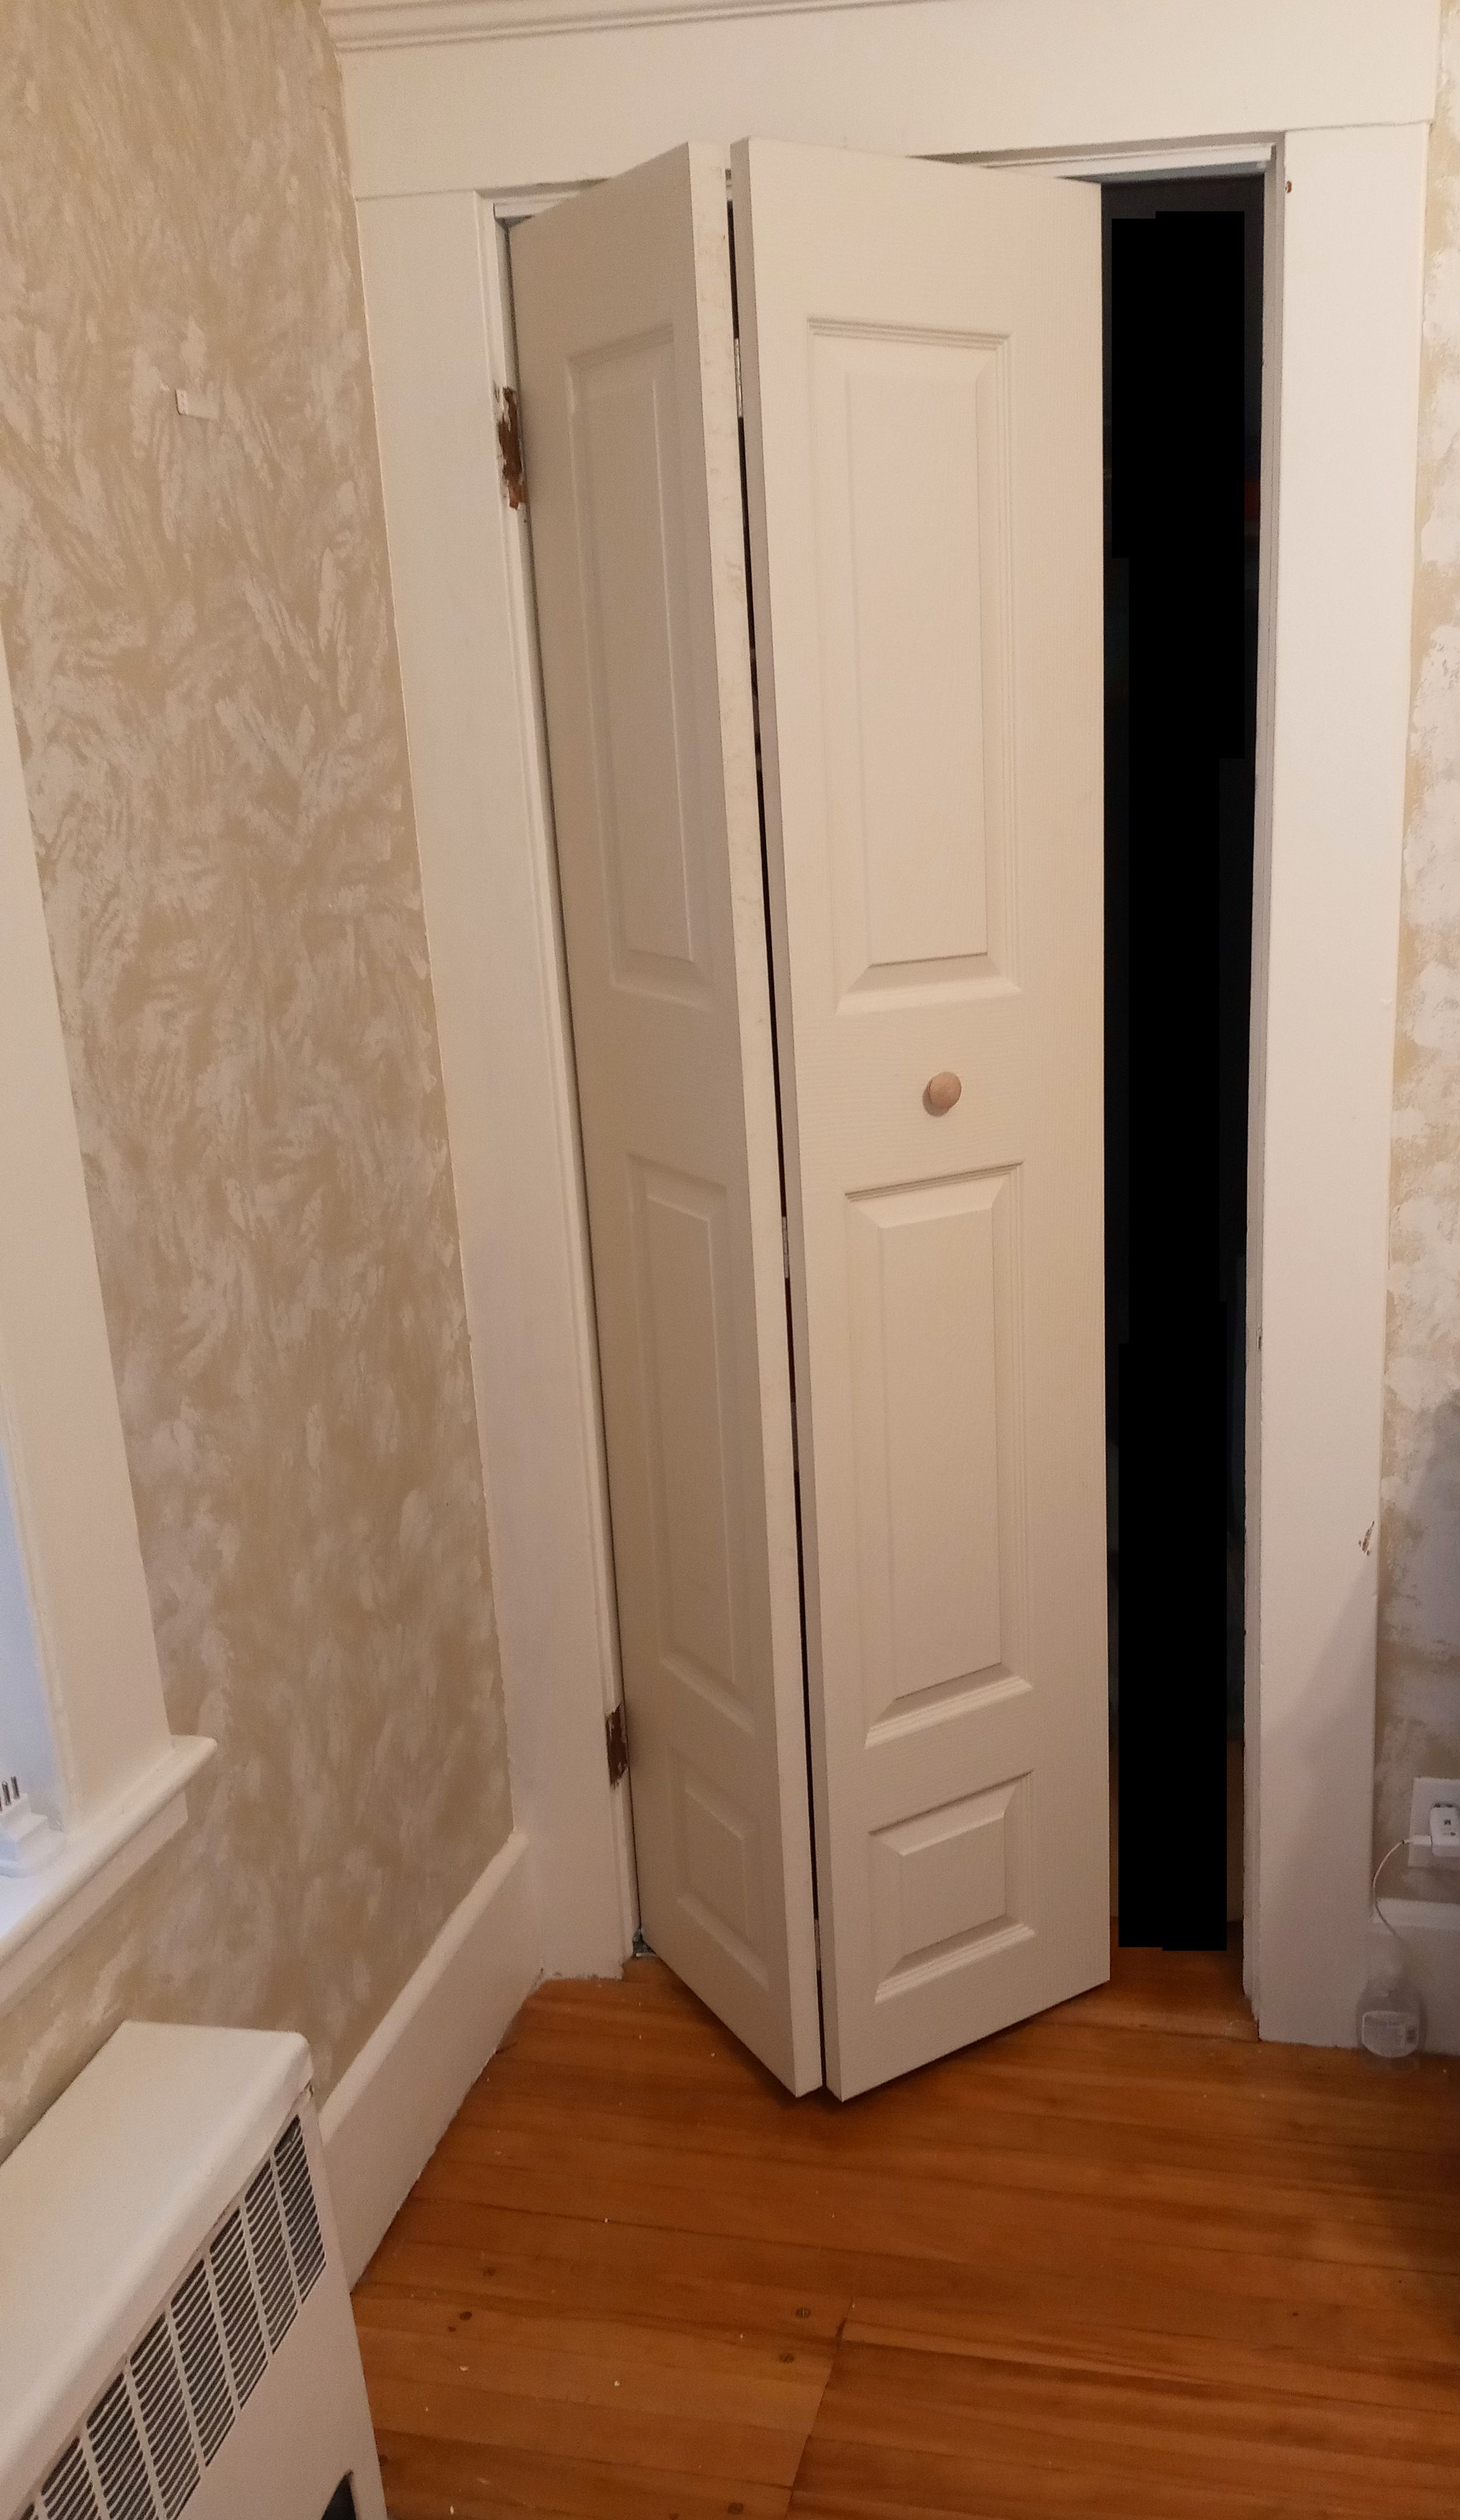
 Next, grab the entire door and insert the top hinge pin (which I had stuck into a predrilled hole in the door) in the top header bracket on the left, and then wrestle the bottom hinge pin into the toothed slot in the little bottom bracket, then just stick on the little bolt-thru knob handle, and . . . VIOLA . Just that simple. Looks pretty darn good. Now it just needs a coat of paint to be truly done.
 *** Just a little addendum, after I installed the door and tested it multiple times, a week later, in daily client use, the door came off the hinges, ugh. Turns out there was a manufacturing flaw– the little doodad that holds the top hinge has a hole for a set screw/bolt, and that screw/bolt holds the door in a chosen left-right place, and the hole’s threads were not cut properly– the screw was binding, so even though it felt like it was all the way in, it wasn’t. Once diagnosed, all I had to do was turn the screw way (way) harder than I normally would. Normally you don’t want to do that as it risks stripping the threads, but in this case the screw acted as a “tap” and cut new usable threads, and this allowed me to properly place the hinges. Sigh. So many products like this are cheaply manufactured, so no matter how careful and precise you are, you must still be vigilant, as there is always a gremlin hiding somewhere! -jl