Making the World a Better Place

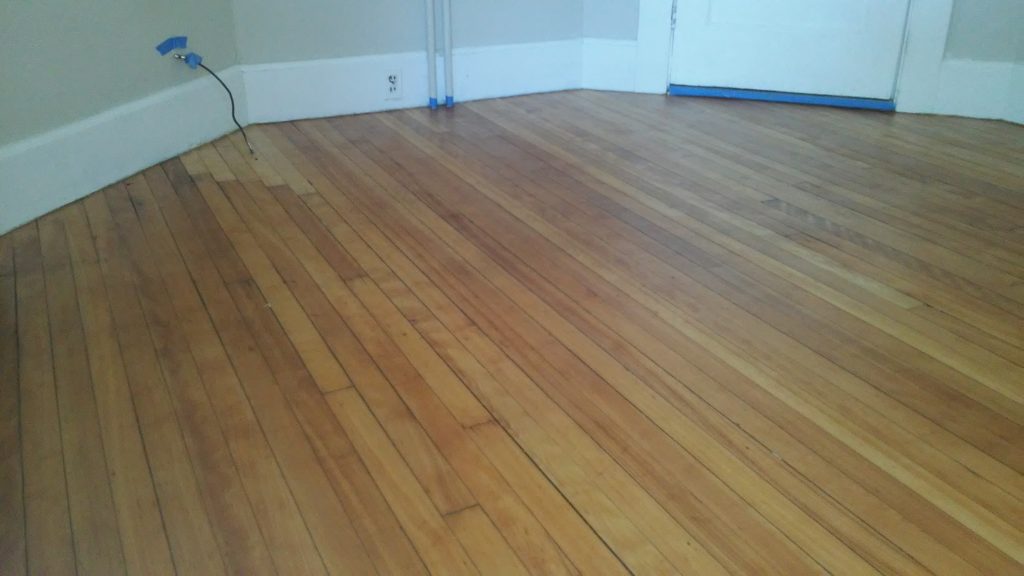
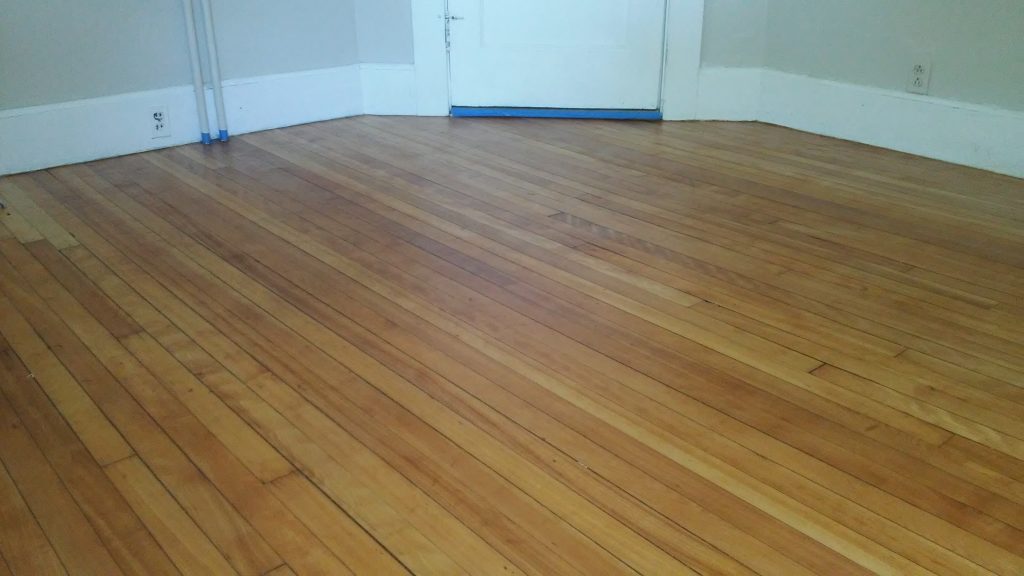
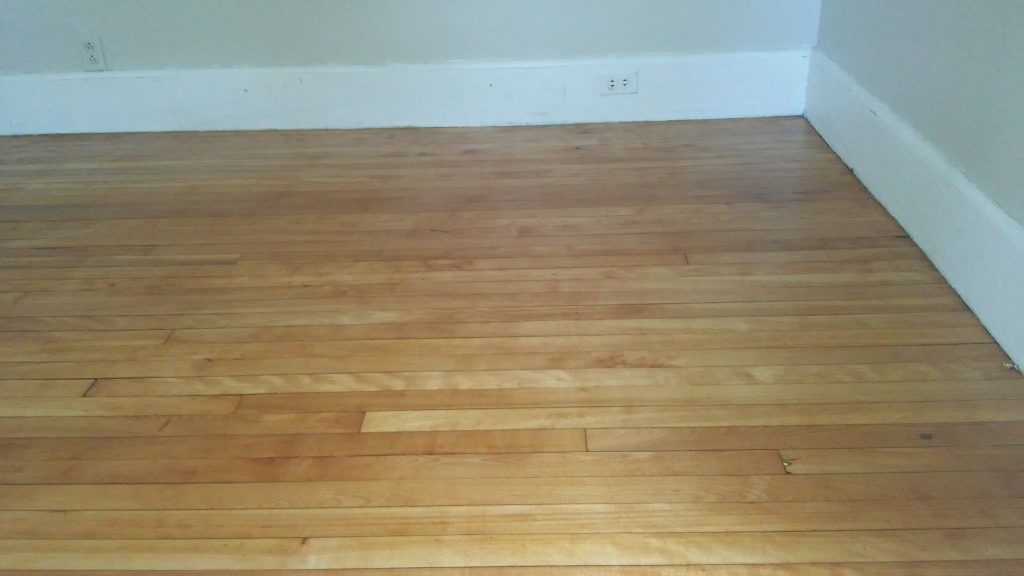
I confess I suffer from a common desire to make the world a better place.  There are grand macro ways of doing that, like changing government policies, but one way of making the world a better place is by sanding a hardwood floor.

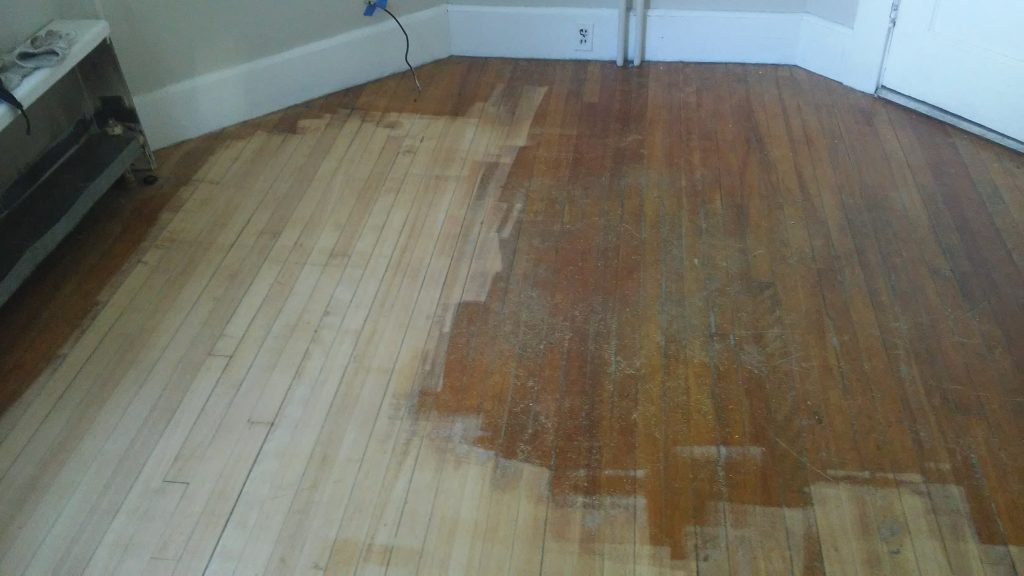
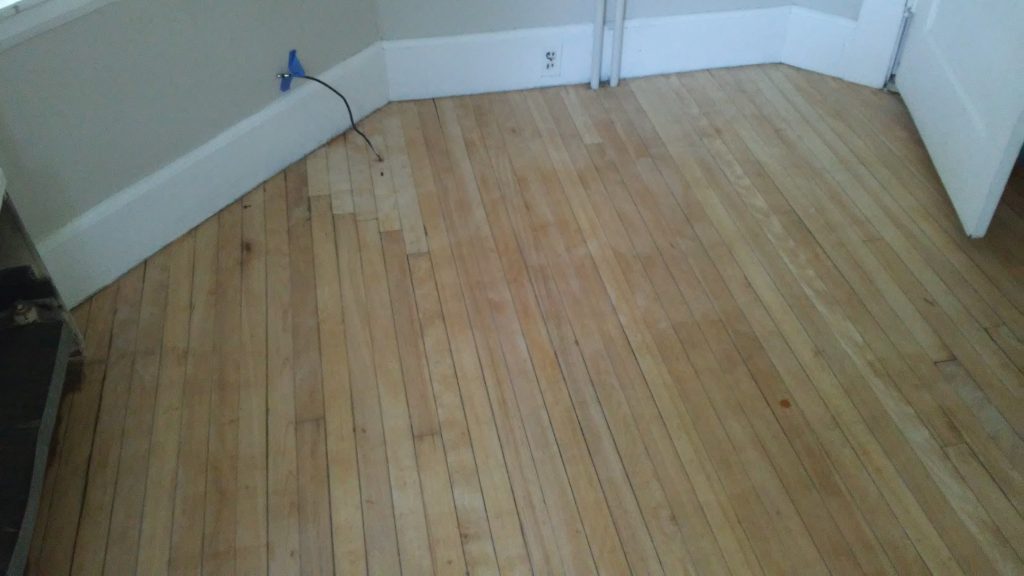
Sanding floors is really not my “thing”. . . it’s cheaper to hire the guys in trucks who specialize . . .   but I have a client who asks me to do it here and there . . . this floor was vintage white oak (I think) — hard as steel.  Was an exhausting job but truly gratifying to see decades of gunk disappear.

Below, done, with 2 coats of polyurethane:

Will last another 100 years.  I confess, I enjoy an unusual degree of job satisfaction.

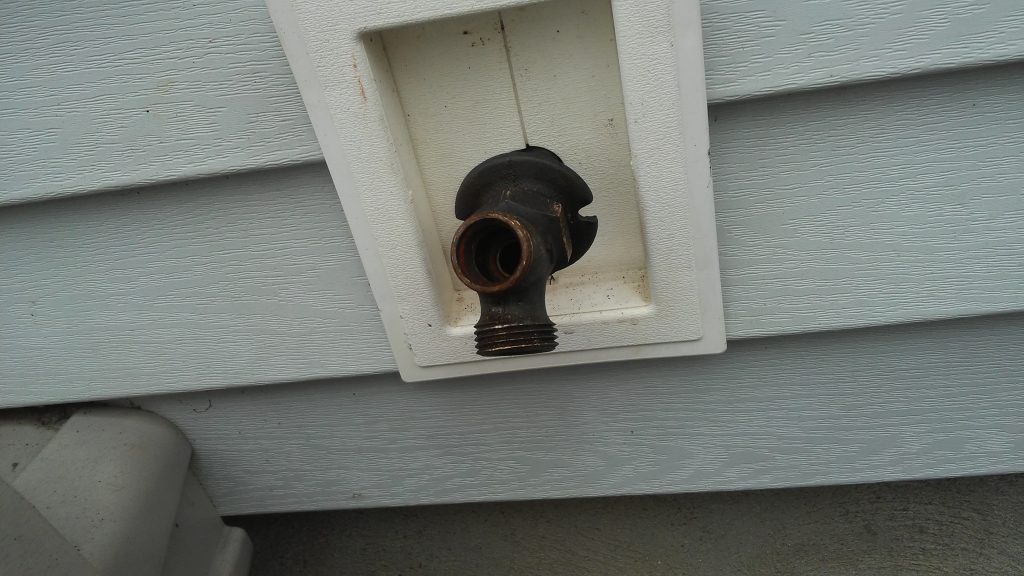
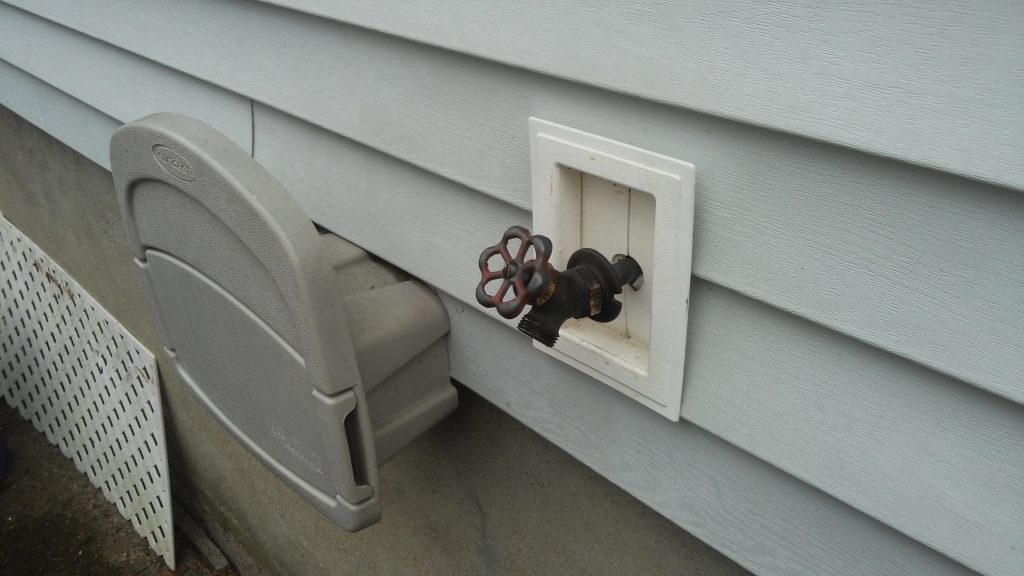
Leaking Hose Bib

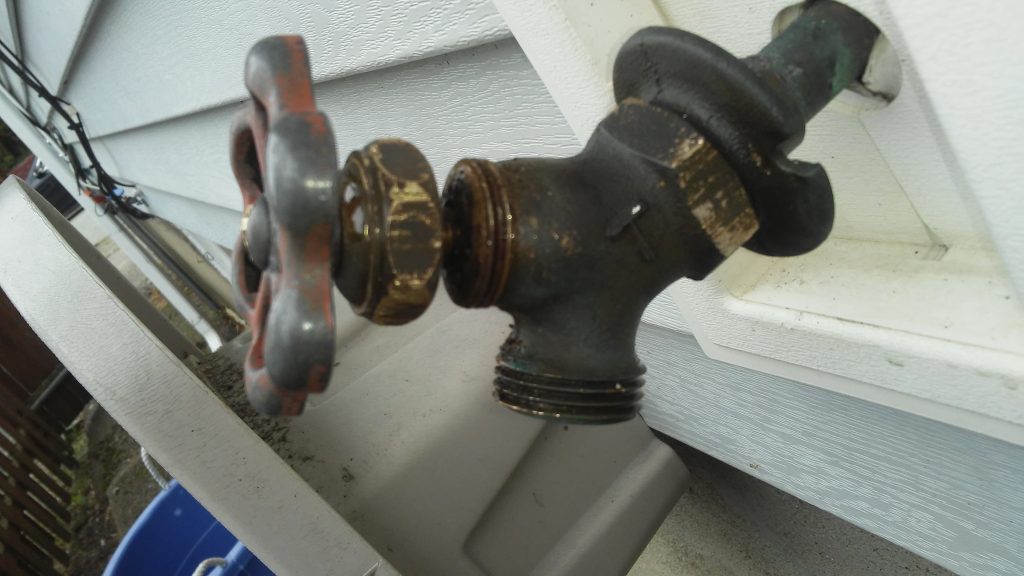
Ok, so a regular client called with a leaky outside hose bib, i.e., the faucet that you hook up a hose to for watering shrubs and such.  As I so often do, I said, great, I will come right over.  Quick and easy service call.

Well . . . . not so fast.

So the process is pretty straight ahead.  First you try tightening the packing nut.  If that doesn’t work, you unscrew it and replace the rubber washer.

Again . .  not so fast.

Predecessors had dealt with this thing which was probably 50+ years old before, and that packing nut . .  was ON THERE.  Like Godzilla had tightened it.  So, I applied penetrating oil several times over 2 days, and FINALLY I was able to loosen the packing nut.  I can’t tell you how satisfying it was to finally make it move.

So . . . Done?  Pull out the handle and stem?  NOT SO FAST.  At the top of the threads there is a metal washer, and this thing was rust-welded on there, So I had to pry it off.  and FINALLY     . . . OUT.

So, off to Ace Schwarz Hardware, where Brendan was magical in helping me get the old rusted washer screw out, finding the right new washer, and providing new packing material for the blown metal ring.  And, VIOLA:

It WAS leaking, but NOW IT AIN’T.

Normally I shy away from plumbing stuff, as pressurized water is just too dangerous, but I will do work on outside fixtures, as worst case we soak the lawn.

Dryer Vent Fix

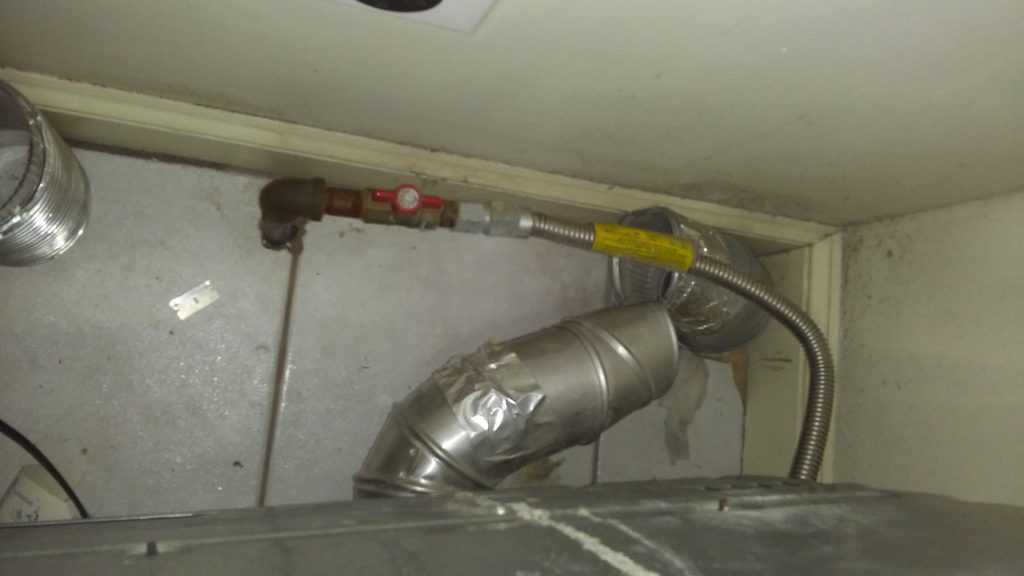
So a very nice lady, new client, asked me to come over and fix some paint blemishes.  In looking around for a place to get a sample I noticed that her dryer vent had come loose.  Apparently the cleaning lady had moved the dryer and the way the vent had been installed did not allow for any moving about.

This kind of thing is not good.  It means the damp lint-filled air coming out of the dryer is coming into the living space.   And this was a gas dryer so carbon monoxide was coming in too.  Not to mention the smell of the fabric softener etc.

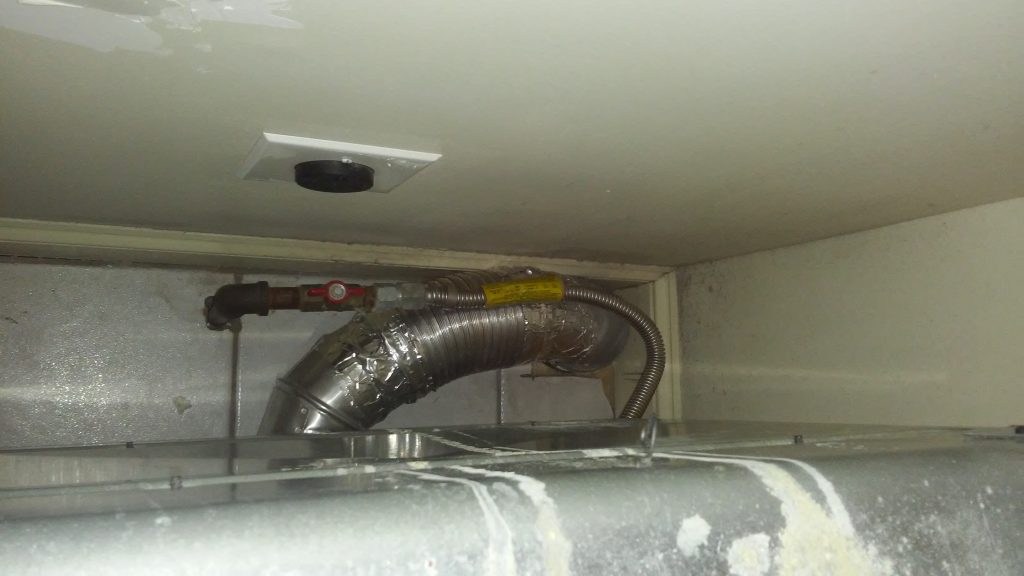
So, off to home depot.  I got a flexible piece of vent pipe and some foil tape and fixed it up.

It was a difficult problem because the gas pipe is right where the exhaust vent is, so they are competing for the same space, but I was able to work around it.  And now if the cleaning lady or anyone else moves the dryer, it has some flex and won’t come loose.  Of course, whoever did the previous install also failed to install a clamp on the vent where it meets the dryer exhaust, so, more to do.  The stuff I see!  Amazing.

Welcome to my Handyman Blog

Recent posts:

Tenant Changeovers

The Smoke Detector Always Chirps Twice 

 Drop Cloth Mania

Harder than Chinese Algebra  /  

And Still More Lint (Under My Frij and Yours)

                          Mapping a Panel       /     Lint Lint Lint 

                         Lockpicking  101    /   Fixing a Wet Drop Ceiling 

Hi there and thank you for visiting my handyman blog.  My name is Justin and I work in Metrowest Boston (MA)  (i.e., Newton, Waltham, Belmont, North Cambridge, and so on).  The best way to contact me is to send pictures of your issue(s) to me at handyauthor@gmail.com.

So let’s get right to it.  Here is a list of the most common jobs I do for folks.  Note  I am not a former construction guy; I do mostly smaller jobs:

deal with doors that don’t open or close or latch

troubleshoot kitchen drawers and cabinet doors

install shades
basic locksmithing, e.g., swap out knobs and deadbolts, fix latches, etc.

cosmetic work on drywall, e.g., patching holes therein

caulking of tubs and sinks

replace broken window glass

replace sash cords on old wooden windows, and address window function generally

replace screen mesh, build new screens from basic kits
fix / install downspouts, up to 9 feet
very basic electrical, e.g., rewire a lamp, replace a switch, etc., doorbells,
       thermostats
hang pictures
deal with screen door hardware, i.e., closers, wind chains, handles
      and latches
small patches to vinyl siding
dryer vents, I have never done a full install but I often repair them and tape them.  I don’t have the full kit needed to do major long distance vent lint cleaning, but short runs, I can usually do something.
furniture kit assembly
install mortite weatherstripping on old wooden windows
install toilet seats
smoke alarms (install battery operated, replace wired  models)
and, I just have a talent for figuring out and fixing odd little puzzlements.
There is of course a massive list of little things like plunging clogged drains, .  etc. etc. etc.    I am not a plumber but, little drain fixes, we can talk.
a large part of my work is devoted to correcting improper installations that someone else did.   I could tell you stories.
I DON’T do
pipes that contain pressurized water
anything structural, i.e., stuff that people put their weight upon,
   like flooring, bannisters, grab bars, stairs
landscaping or gardening
janitorial
precise carpentry
much of anything on a roof
moving jobs

The best way to contact me is to EMAIL PICTURES of your issues to me at handyauthor@gmail.com.   You can also call me at 781 330 8143.  If I don’t answer it means I am up on a ladder somewhere, so please do leave a message and I will call back within 24 hours.   Tell me what’s going on, we can have a pleasant little chat.  And I will be very up front with you about whether your needs are within my skill set or no.  Thank you for visiting!    🙂  Best,  Justin

PS   The story:  years ago when I was a freelance musician, I had an apartment in Jamaica Plain that was absolutely fabulous.  It was huge, and it was cheap.  I mean insanely, borderline grand larceny cheap.  So I never wanted to kick my sleeping dog landlord and make him think hey, maybe I should raise Justin’s rent.  So, even though I knew very little to start, whenever anything broke in that house I just figured out how to fix things myself.  Then in the wake of the great recession, I found myself managing the office of an electrician.  There I learned a LOT about electrical work, but I was also introduced to the business of driving to someone’s house, fixing something, and getting paid.  So I mentioned to one of the electrician’s clients that I was thinking of becoming a handyman, and she hired me on the spot.  And the rest, along with watching 9,000+ how-to youtube videos, is history.

I am primarily a fix-it guy rather than an install a new thing guy.

Posts about past jobs:

Drawer Fixes
Replacing broken windows
Replacing Broken Window Sash Cords
Fixing Holes in Drywall
Bathroom Caulking
Rewiring Lamps

The magnificent Jordan Rich recently interviewed me on his Podcast.  Check it out!   — jl

Window Boxes

Well this was a new one, a new client called and asked me to install some window boxes.

Fortunately the manufacturer had a how to video, but even then, it was one of those things you have to be super careful about, as those boxes get heavy especially when full of water.  So, here we go.

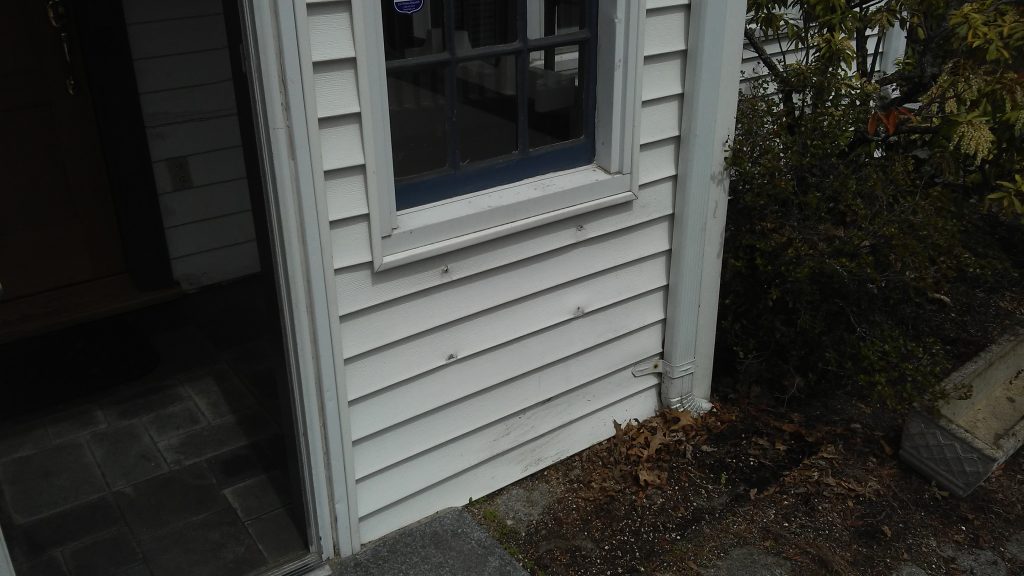
 So here is the house front, you can see holes in the vinyl siding where the old box was.  I was hopeful that the previous installer had located the studs for me (heavy window boxes must be in a stud, preferably two).

The studfinder said yes altho the feel of the lag screws was a little soft, so I ended up moving the locations a little.  It was hard because the box had to be centered on the window, but the studs were not centered.  Lots of measuring and math!!  And the box, even when empty, was pretty heavy.

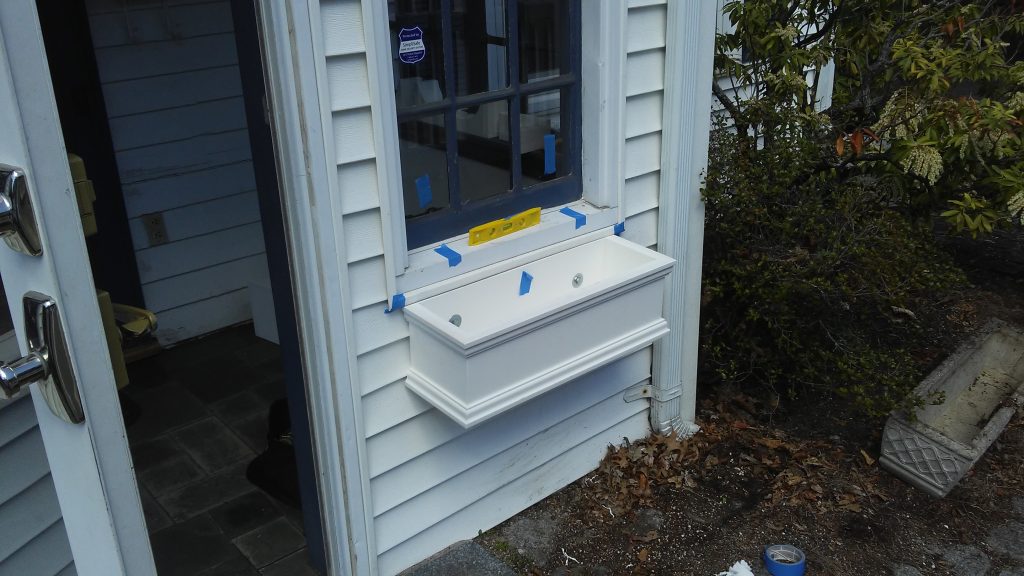
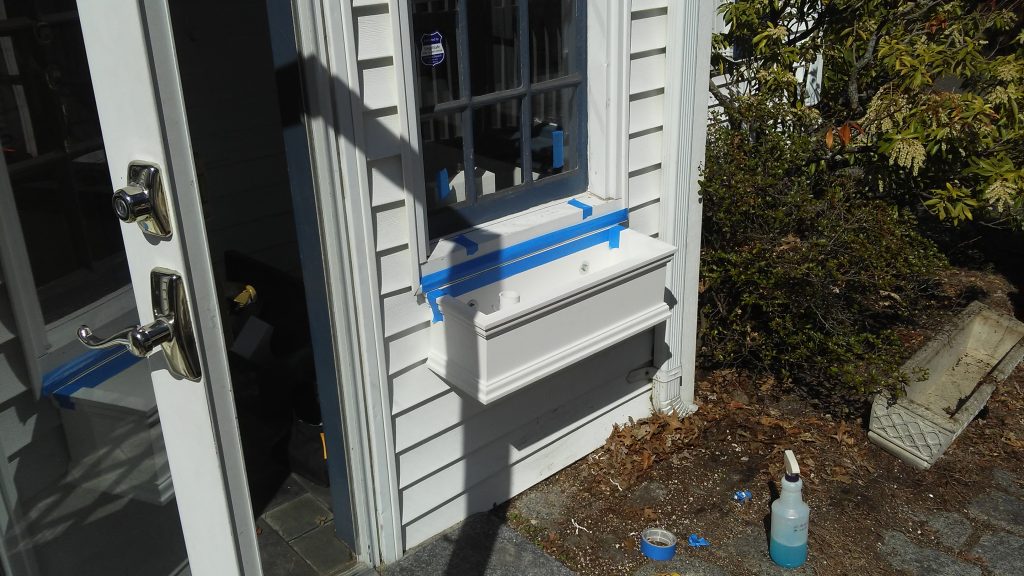
The blue tape is telling me how to center the box, also where the studs are supposedly located.  Here I have installed the lag screws.  It all felt good.  And level.

So once installed I had to put a bead of clear silicone on the top edge, I always take the extra effort to make a caulk bead look nice with my magic tricks.  All the holes in the siding had to be caulked as well.  Nice and waterproof.

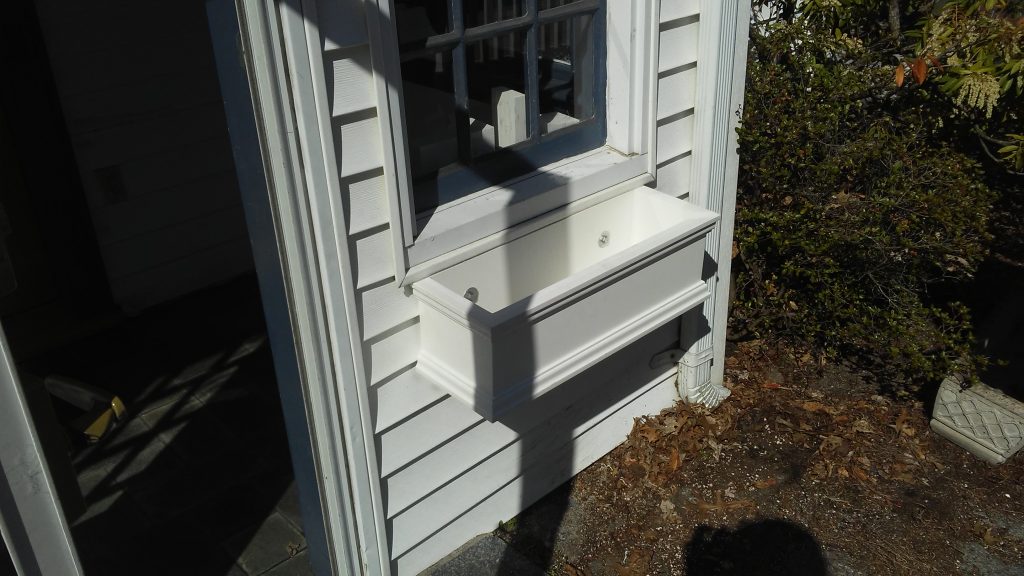
And done:

Oy that was a tough coupla hours in the hot sun putting in two of these, but customer was very happy.  I am eager to see it with flowers blooming.

Ceiling Patches

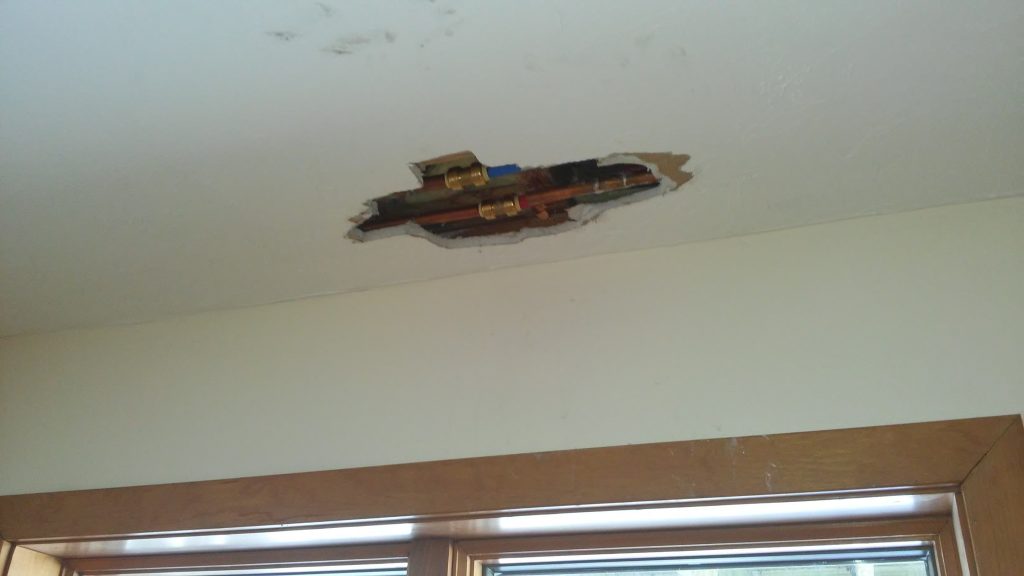
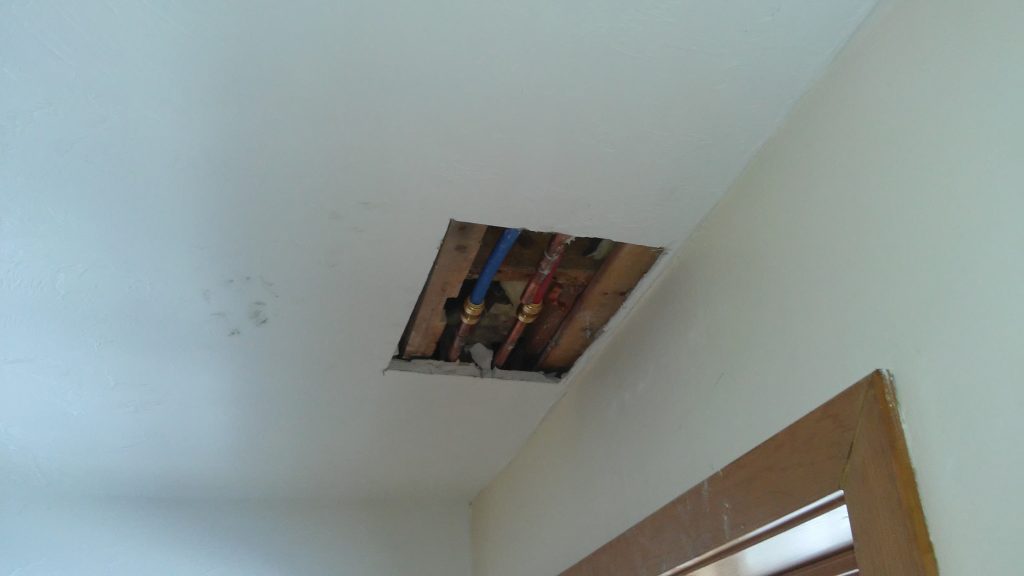
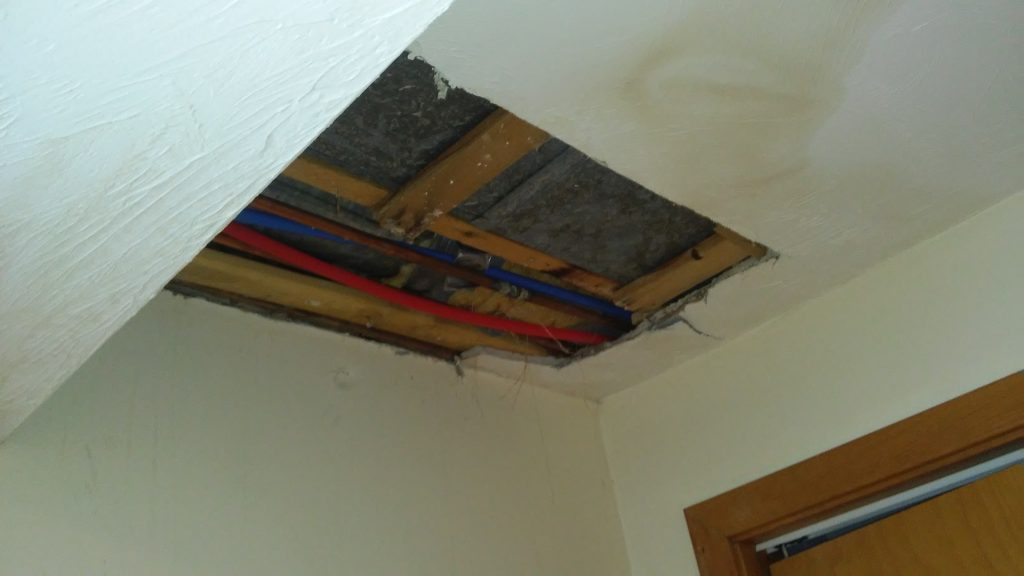
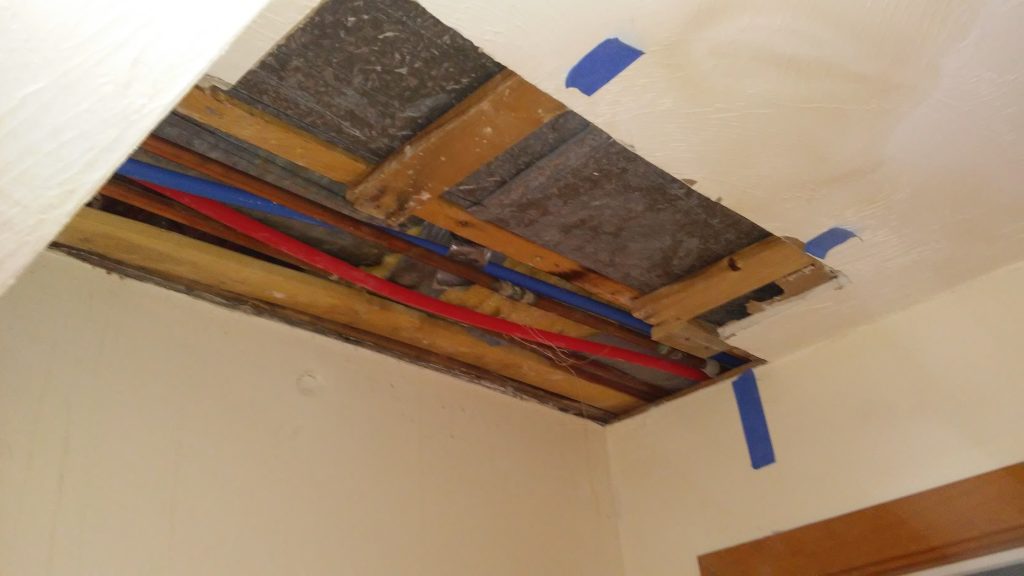
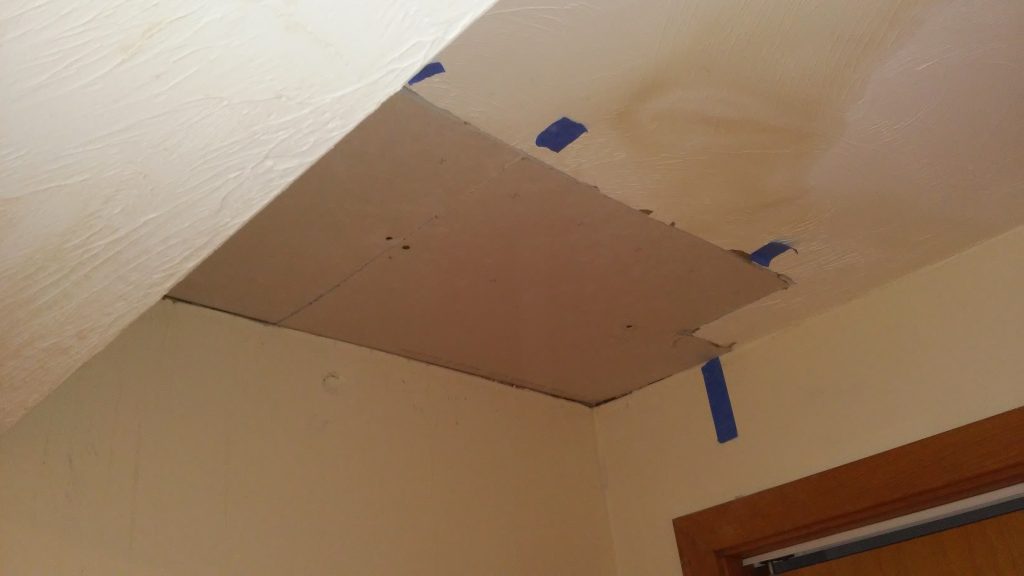
So a new customer called.  He had a finished basement where the pipes in the ceiling had sprung a leak.  So the plumbers had busted up a section of ceiling to fix the leak, and then made 2 more holes in the ceiling to install new plastic pipes.

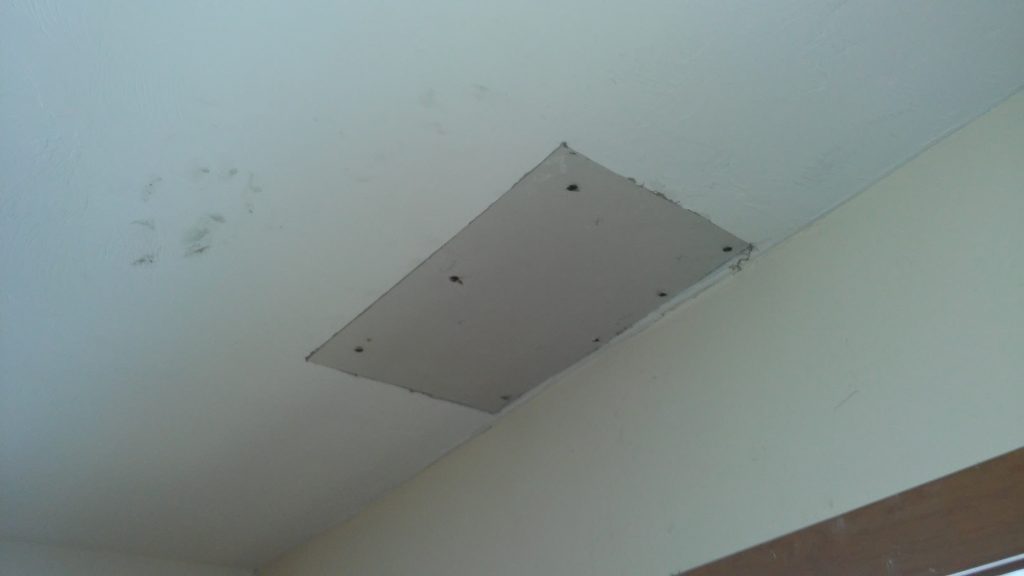
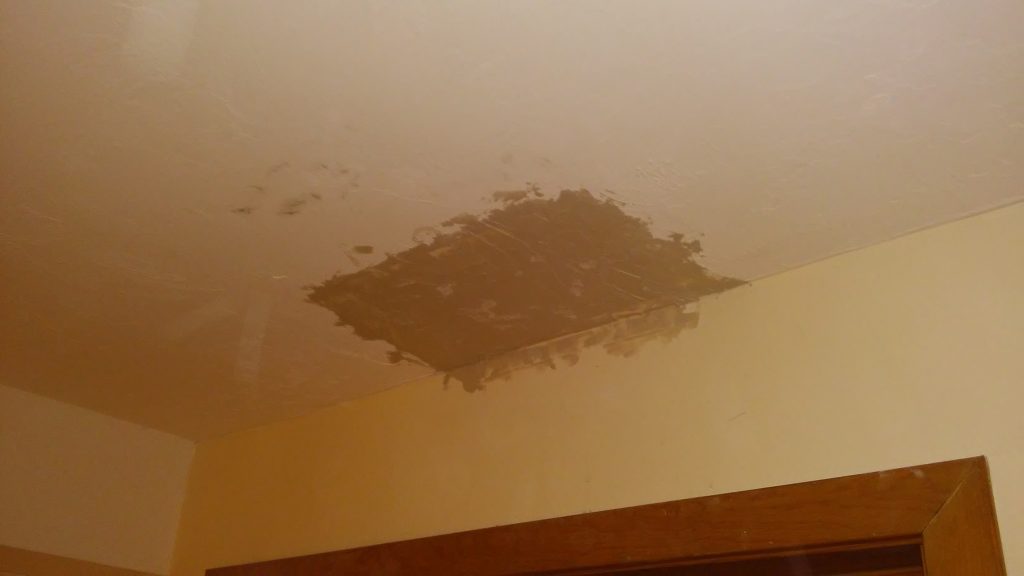
So, below, pix of the process of fixing 2 of the 3 holes . . .

Now we wait for the textured joint compound to dry so we can paint it.

This job was extra tough, on top of being a ceiling, because I had to CAREFULLY cut out old drywall to make a square opening . . . without damaging the new pipes.  There were old drywall screws everywhere that were hanging on for dear life.   And I had to improvise ways of puttingsupport strips in to attach the new drywall patches, again, without damaging pipes.  The big hole was extra tough but I did it.

obviously I did not get a pic of the finished version with tape and joint compound . . .  Anyway A little primer, a little ceiling flat white, and it will be good as new.


Downspouts

So today a regular client sent me a picture of a distressed downspout on her house.

I looked at it and said, “oh this is going to be so easy, two screws and done.”  silly me.

It’s a sad fact of my existence as a handyman, that well over 60% of the work I do is correcting improper installations. And oh boy was this an improper installation.

I didn’t really have time to take a lot of interim pictures as I was up on a ladder doing all this. Hopefully I can explain it verbally:

Standard four-inch metal downspouts are designed with one end crimped in a little bit so it can go into the end of the next piece. There’s no hard and fast rule, but the general sense is that you would have something like a 2 inch overlap.  Another unwritten rule is that you have at least two points of attachment (to the house) for each section of pipe.

So as I looked closer at this problem child pipe, it became obvious that whoever had installed it originally, had only allowed for may be half an inch of overlap. And the only point of attachment for the entire pipe was down at the base of it.

(Pic is of my fixed version with a screw anchoring pipe to the fastener.)  And to add insult to injury, instead of just being a pipe emptying out, this pipe was screwed (with a rusting not stainless steel screw by the way) into a sizable drainpipe that was unsupported and constantly pulling the entire assembly down and and down and down. Gravity does that, and so over time, gravity had gradually pulled the pipe out of its unscrewed and just barely deep enough overlap connection with the pipe above, causing the total disconnect.

Because of the connection to the drainpipe below, it wasn’t really practical to raise the pipe up to get a one or 2 inch overlap between the two pipes. So, off to Home Depot, where I got a short section of pipe, cut it to about a 6 inch length, and essentially used it as a coupler between the top and bottom long pipes.
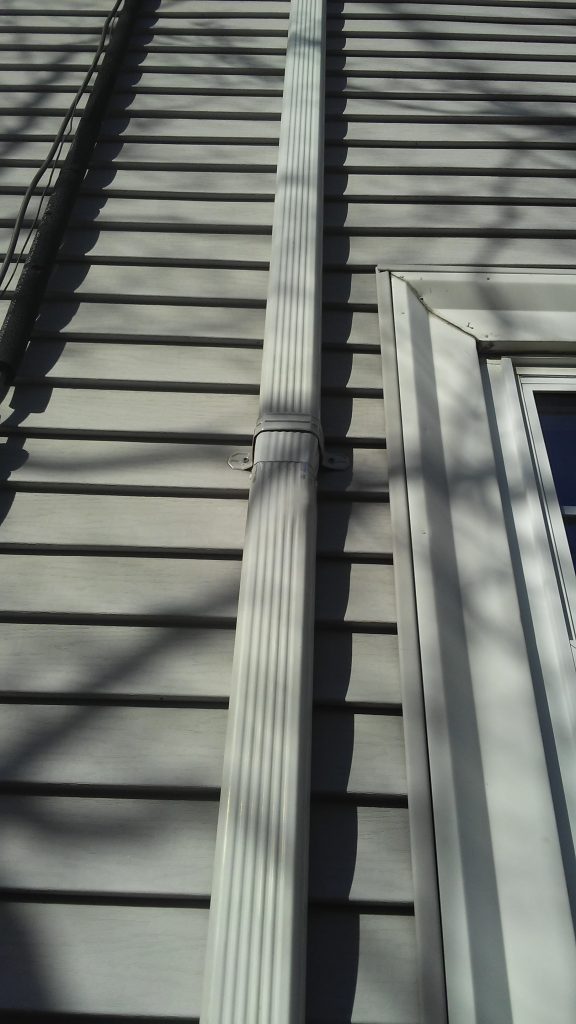
You can’t really see it because the attachment hardware covers up the top of the coupling joint, but unlike my predecessors, I used several stainless steel screws to attach the coupler to both the upper and lower pipe. Then I replaced the lower attachment hardware because it had become all bent and deformed. Between the new attachment hardware below, and the multiple screws above, it feels hard as a rock.

After I finished that job, I figured, if they did a cheap inadequate install here, they probably did another cheap inadequate install everywhere else. Sure enough, the exact same issue was just waiting to happen on another downspout at the front of the house. I installed an added fastener and put a screw through the fastener making sure that the pipe could not slip down any further. It was within an eighth of an inch of popping out of joint just like the other one.  
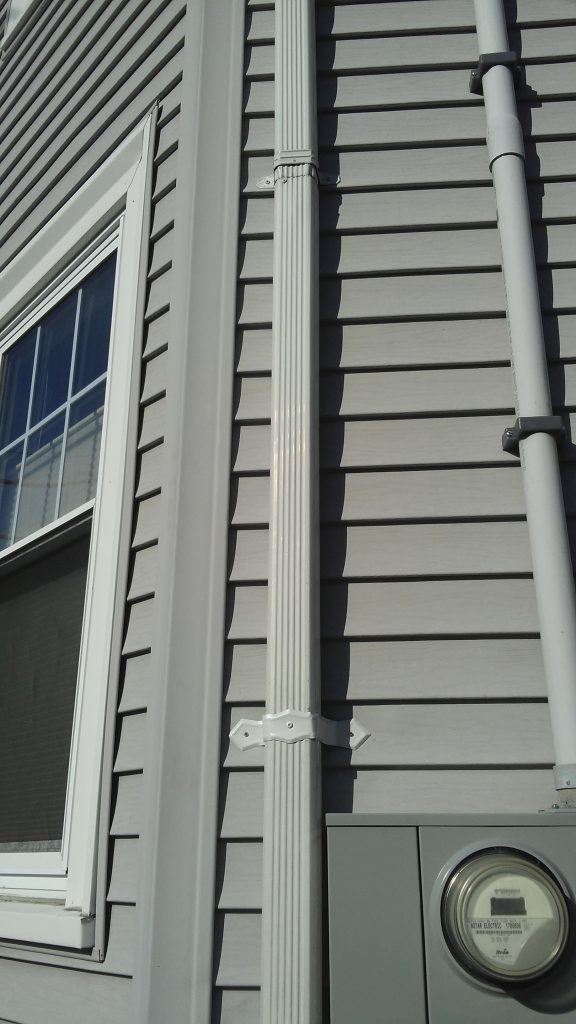
Downspouts are one of those areas of houses that, well, I don’t think there’s such a thing as a licensed downspout guy. Just about anybody can say they know how to put them in, and since it’s unpressurized water that’s outside, possible problems from bad installations take a long time to manifest. You only realize that the installation is wrong when you have a major monsoon rain and the water is not being directed away from the foundation properly. Or there’s some kind of leak somewhere and you don’t realize it til you get mold and termites.

Downspout installation does not get anywhere near the respect and attention it deserves. Caveat Emptor!
New Walls

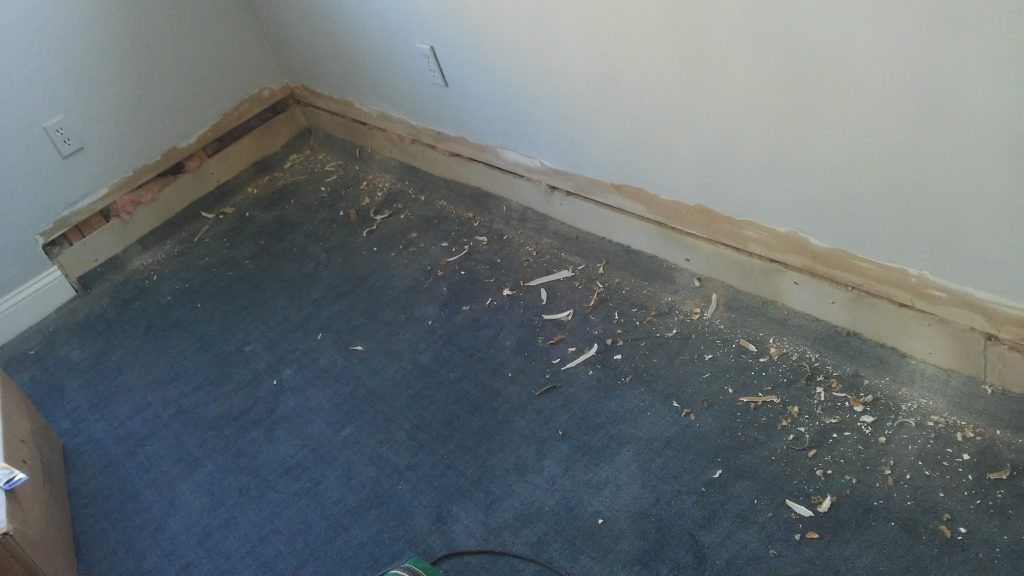
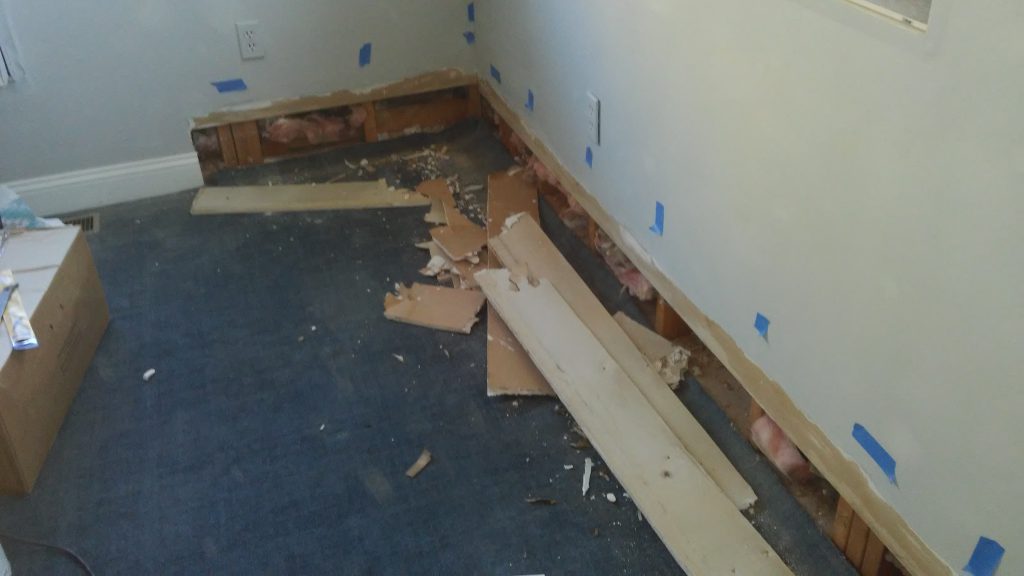
Okay, so I had a regular client who needed some work done in her office condo.  She had this old hot water baseboard heating that had been replaced by ductwork for forced hot air, and she wanted to get rid of this old ugly baseboard heating housing.  So she paid a plumber to remove the pipes, and the rest was up to me.

So, I ripped out the baseboard heating units, thinking that all we would have to do is a little sanding on the drywall behind and done.  But NOOOOOO

For whatever reason, the drywall had a massive gap of 1-2″ all around the room about 7 inches off the floor.It did not seem sensible to try and patch this super long gap, because patching has so many steps– easier to just rip out the bottom piece and replace it, thus:

(The blue tape tells me where the studs are for drywall screws)


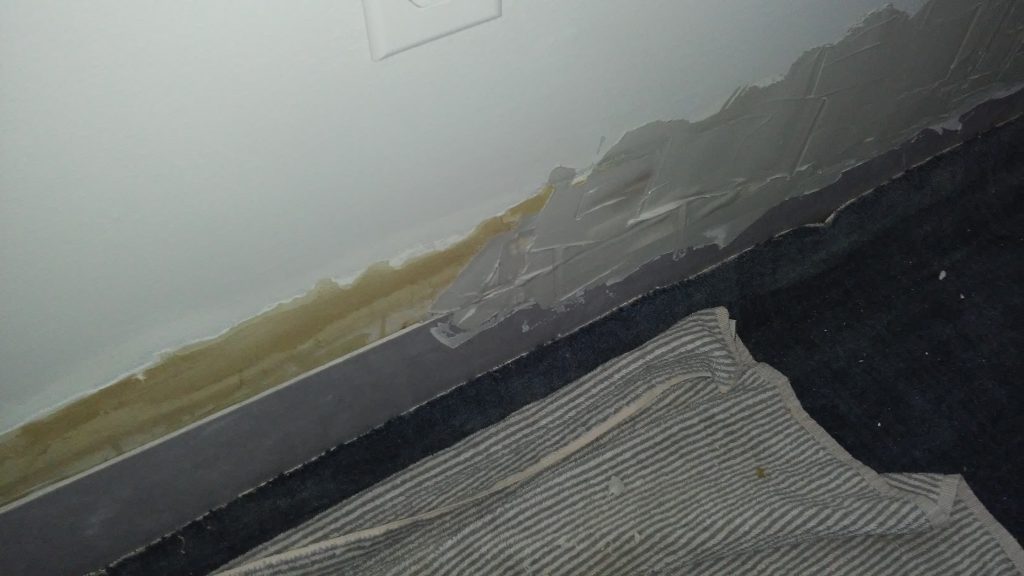
Next, the joint compound:
The wall had been mucked up with some kind of super hard sealant at the top of the old heaters so I had to scrape that off and now cover the lost drywall with joint compound . . .

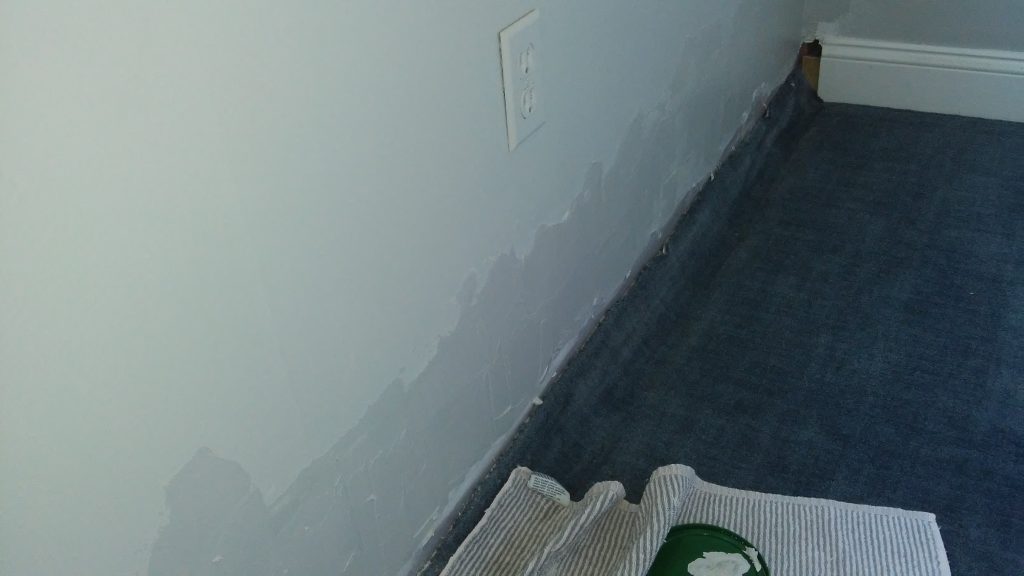
And finally sanded down and primed.  It was dicey working in an office with brand new carpet but . . . all clean.

The sad part about a job like this is, when I finally put the topcoat of paint on it, and it’s all done, it will be invisible.  🙂  Oh well.  All in a day’s work!

A Monumental Door Fix

Okay they say a picture is worth a thousand words.  Here are two thousand:

Here is the story, this house has a beautiful old door with a tongue in groove weatherstripping all around.  And I guess somebody banged the tongue of the weatherstripping down at the bottom, and it got bent, and this stopped the door from closing all the way.  So some not too bright guy came over and decided that instead of fixing the initial problem (which I fixed in 2 minutes with some needle nosed pliers), he decided to accommodate the door’s not closing by moving all three strike plates 3/8 of an inch into the house.  YEESH.

So he chewed up the jamb bigtime, and didn’t even use good hardware.  A serious hatchet job.  Both hideous AND the door was constantly ajar, letting cold air in.

So there were two options, either remove the door jamb and put in all new lumber and drill all new strike plate holes (double yeesh) OR  . . . OR . . . somehow rebuild the existing.

So  . . . I got the right hardware and removed all the junk.  Fortunately the underlying door frame was still intact so i was able to attach the new deadbolt pockets (note the steel pockets in place in the upper holes 🙂 solidly to the frame with 3 and 4 inch stainless steel screws.  It’s always dicey getting these strike plates in just the right spot to make the door shut nice and tight, but I managed to hit them dead on.  The upper deadbolt even gives an extra tight closing feel, saving the homeowner money this winter.

Once all the hardware was back in proper place, I put wood dough in there and sculpted it to replicate the old millwork.  Not perfect I admit, but close enough.  A little primer, and it’s unnoticeable.  And, no more being ashamed to open the front door to trick or treaters  🙂


My First Screen

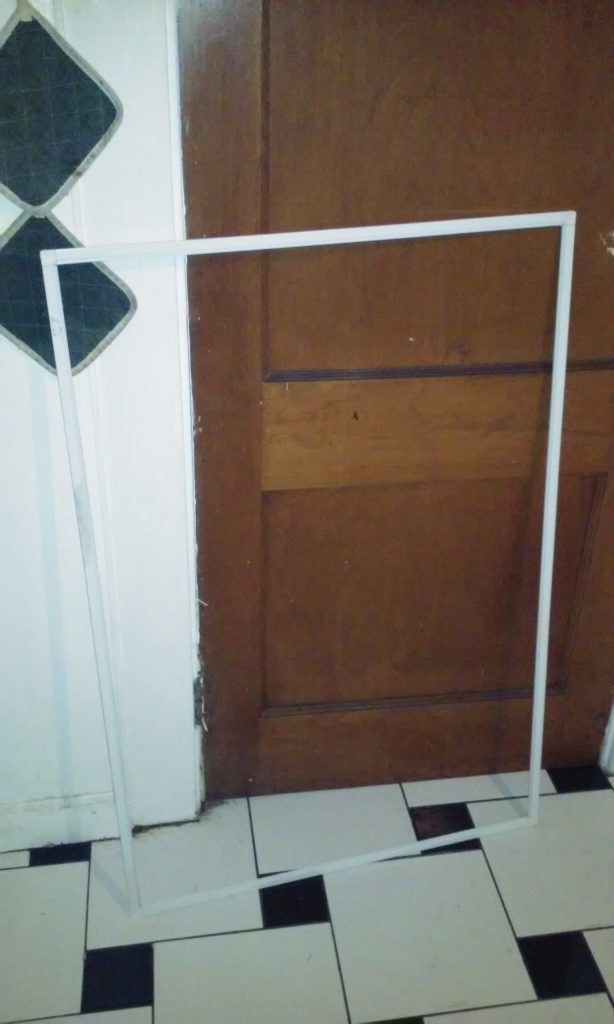
So a client called with a problem, there was no screen in their window.  This was an ancient wooden window, so it looked grim in terms of getting a part.  So off I went to home depot and the guy in millwork said, “You can just buy a kit and make your own.”  Okay.  So I did.

First you measure the opening and cut the 4 pieces to build a custom frame:

Then you cut the screen material to size, You use a little roller to insert the “spline” in the little trench around the edges: And then figure out how to get it in the window frame!! I am not sure why it looks so curved in the photo, it came out great.  Absolutely perfect fit.  I often amaze myself 🙂