The Doo-Dad Box

This is one of those things that I am sure will mean nothing to anyone but me but . . . here goes.

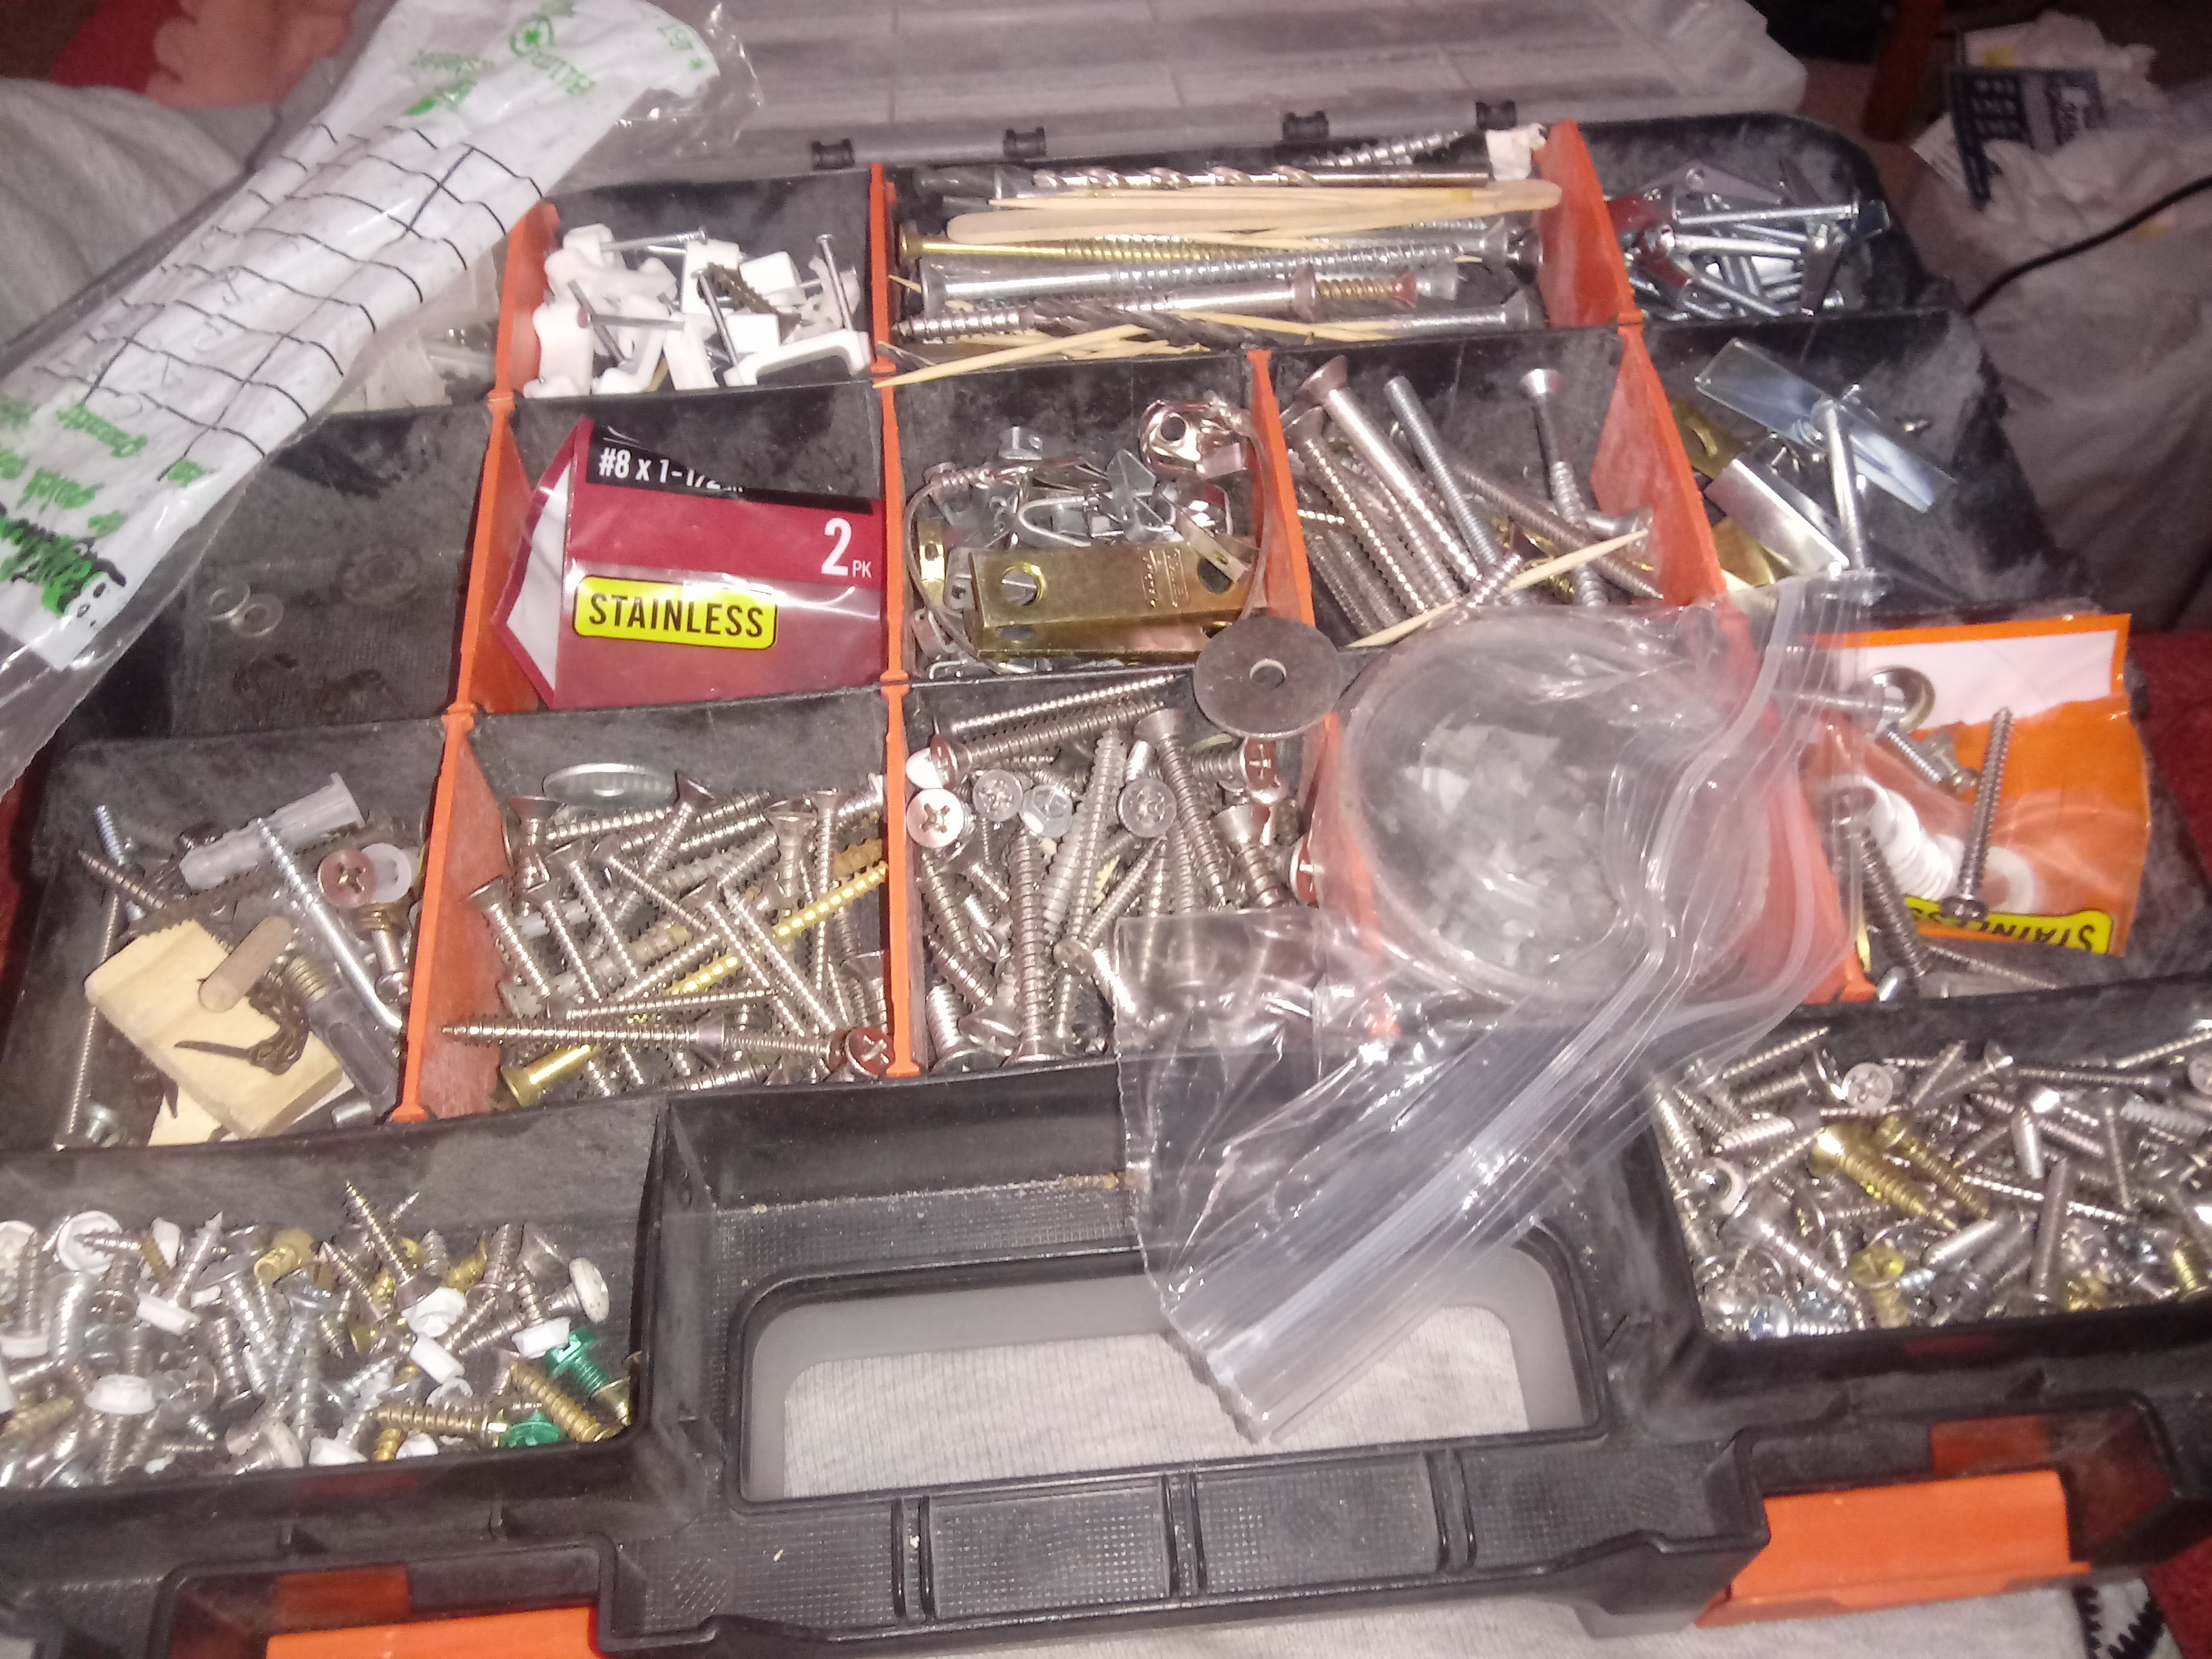
When I got into the handymanning biz, one thing I quickly learned was, you gotta bring your own screws.  This started out simply enough, I had a box of 1 inch and another box of 1.5 inch screws in my drill bag.  But even so, I kept finding myself in situations that would be a quick and easy fix  . . . IF I JUST HAD A FASTENER THE RIGHT SIZE  . . . so I started to invest in all kinds of  screws of all lengths, washers, nails, picture frame hangers, scratch removers, toothpicks, butterfly bolts, you name it.  And again, with the Covid going on, I finally had some time today to fulfill a promise made to myself a year ago, which is, organize my doodad box.  And here is the A side:

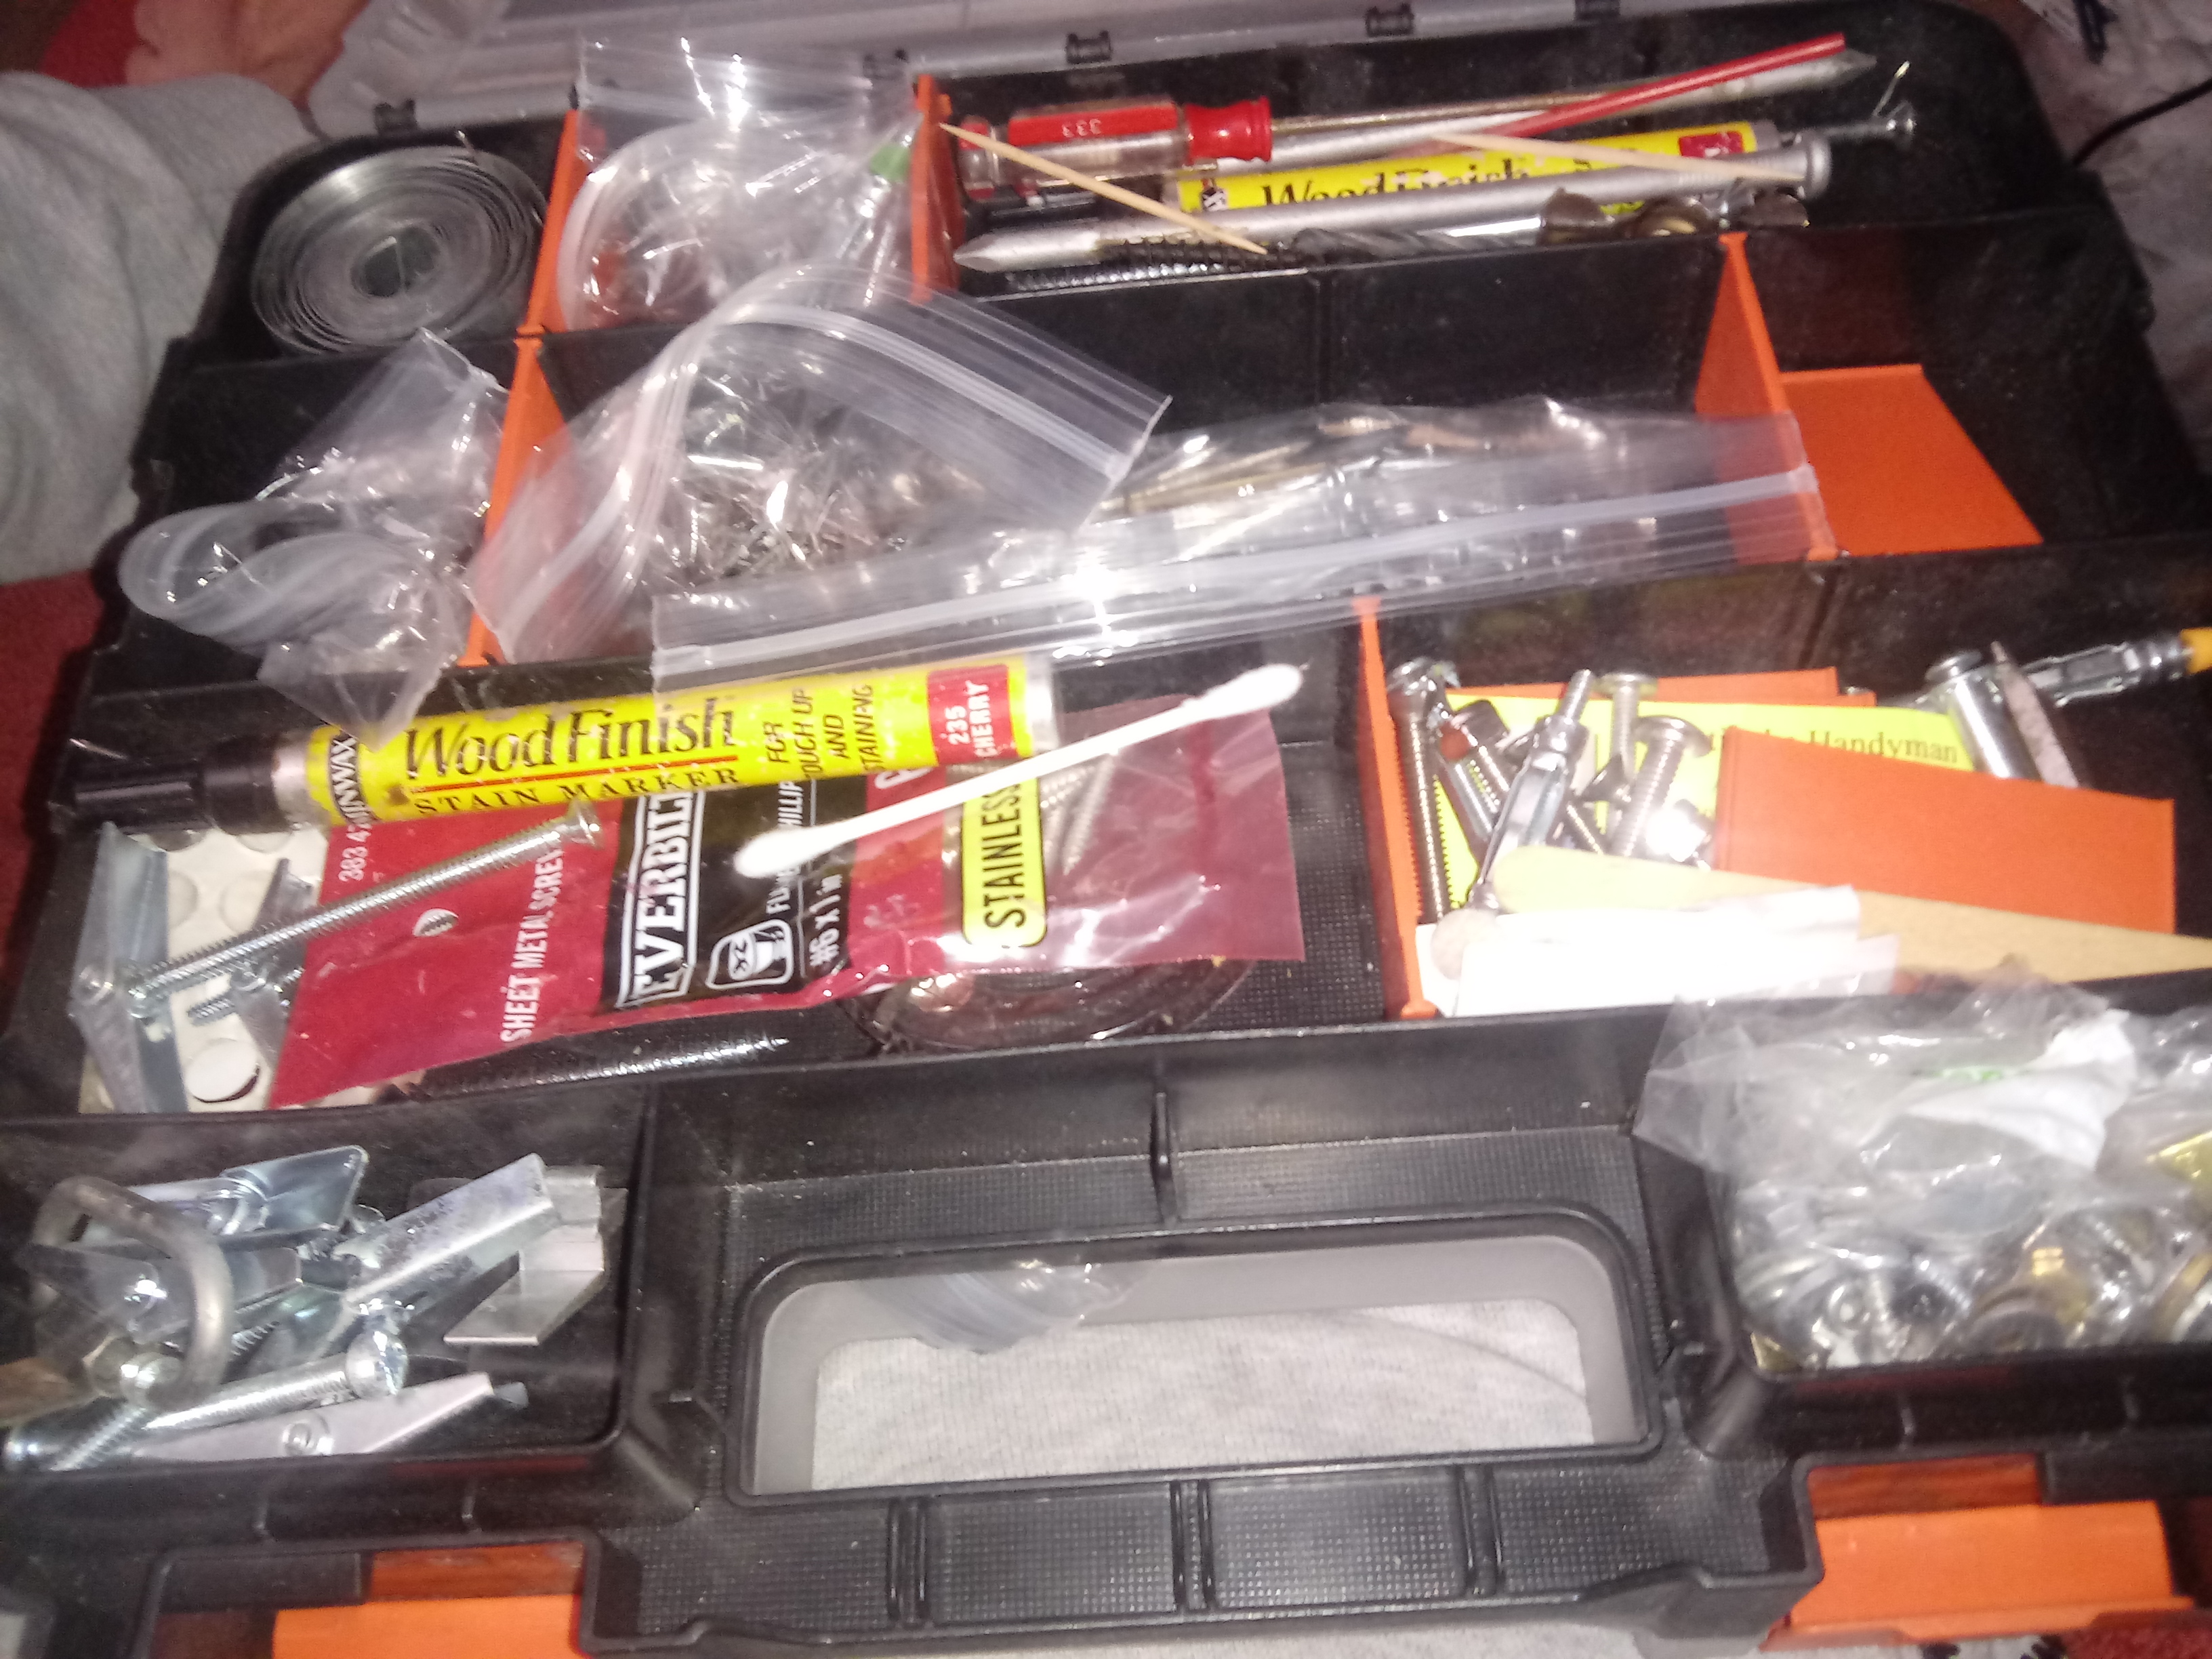
And on the B side of the box I have nails, stain pens, claw wall anchors,  glazing points, and other items:

Skills and tools are essential of course, but having this kit of multiple fasteners makes me 2-4 times as efficient as I was before I had it.  It’s amazing how often I have to go to Ace Hardware and replenish the kit, especially the 3-4″ screws.  All in all I have well over $150 worth of fasteners in there.  Well worth it.


Replacing a Thermostat

Well I am playing things as safe as I can these days but when a client calls with no heat I can’t just ignore it.  This guy’s thermostat broke, he called a plumber, and the plumber confirmed that the thermostat was broken and charged him $85.  yeesh.

So the client decided to go upscale with a new NEST thermostat.  It was a bit of a hassle picking it up at Home Depot as they keep them locked up (at $250 a pop I can see why).  And I was unsure about the compatibility with his system so I made some phone calls, and Google, which now owns Nest, said I was good to go.

So in we start  Here’s the box:

So I pulled off the old thermostat,

More on the hole later, for now I had to get the furnace going, so,

Two rules for installing a therm: 1) turn off the furnace first and 2) Do NOT let the wires slip back down the wall.

yikes, there was a major hole in wall. blue tape used here to support wires:

(Note what I assume were low voltage door bell wires spliced in there, I taped them up and moved on to bigger things)

And then there is an APP to use in installing the thing.  Now here is the big deal, I was always told that to install a smart thermostat you need a COMMON WIRE to allow it to charge.  This house only had two wires to turn the furnace on and off, but, Google/Nest repeatedly said I do NOT need a common wire, so, off we go.  In this case just simple RH  (red/heat) and White (neutral) wire:

(note, in the pic, R and W wires not hooked up yet)

At this point I was assuming I would have to come back and patch this godawful hole in the wall but then I discovered that Google in its infinite wisdom provides a massive faceplate, so I put that on and it was big enough to cover the hole, and

VIOLA

At this point I thought I was done but then . . . but then . . . the client and I spent 90 minutes on the phone to google help, which, I have to say, was fantastic.  The setting up of the “APP” on the guy’s phone and making the thing talk to his wifi and setting up the on off program was nightmarish BUT  . . . WE DID IT.


Wrangling an Extension Cord

I have owned a 100 foot extension cord for many years, long before my handymanning career began.  I used it mainly for running power down from my 2nd floor apartment so I could vacuum my car.

Of course, with all the handymanning, I have been using it a lot.   And with all this added use of it, a chronic problem has become highly vexing, which is, how to coil the darn thing up when I am done with it.  As it is, it gets tangled in a ball of orange spaghetti and it takes way too long to get it untangled and usable for the next job.

I had looked into this previously, but all the advice I found on YouTube last year was, well, less than perfect.  So I looked again  and found this device at Home Depot– it’s essentially a big orange spool:

However, some fabulous folks on YouTube offered a marvelous hack which makes it work even better than designed.

The way it’s designed, you hook the midway point of the cable on the axle, and then I guess you wind/ unwind it.  However, the trouble with this setup is, you unwind both ends at once, and so you have to stand at the midway point of your cable run to unwind, then walk the male end to the outlet and then walk the female end to the job.  Pretty clunky.

So these hackers told me to cut a hole in the axle and feed the female end thru there, VIOLA:

(I pull the male end out of the sprocket hole to allow the thing to turn, it’s stuck in there now for storage purposes). 

So now all I have to do it plug it in, then walk to the job, unwinding a single cable as I go . . .   plug in my devices, then just wind it up on the walk back to the power source.

I am making good use of all this downtime!!

— JL

Busman’s Holiday

With Covid slowing things down so much I finally had a few moments to do some handymanning. . .  for myself.

In this case, my lovely 97 Civic, which I have owned for 19 years, needed a refurb of the stereo system.  The speakers had died of old age, and when I replaced them, I found the left front speaker had no signal.  So I took out the wiring harness that was custom done 19 years ago, and found the guy who installed it had used black tape to connect everything, yuck:

Over time the adhesive had turned to mush, and I decided to re do it all correctly, but first I had to get all that gunky tape off the wires.  What a mess:

Once I got all that cleaned off, I bought a soldering gun, connected all the wires with solder (the correct way to do it) . . .and covered each soldered joint with heat shrink insulation, now all nice and neat:

Of course once I was done I discovered that the speaker wires in the left front door had been cut by my mechanic by mistake, so I fixed that connection and got the new speakers in and oh boy, I finally have tunes in my car again.  Perhaps I should upgrade the head unit too but . .  it works!

I also had issue with my speedometer, and after spending $174 on a new speed sensor with no results, I looked on YouTube, where I learned that a bad solder joint in the speedometer was the likely culprit– so I removed the instrument cluster and the speedometer, re-soldered a teensy little circuit board connector, and viola, I have a working speedometer again!    I am just amazed and giddy that I figured this out– maybe this is how clients feel when I fix THEIR stuff  🙂

Rebuilding a Wooden Gate

A regular client came to me with an issue, a wooden gate, part of a picket fence, had rotted out and needed to be rebuilt.

Here you can see closeups of the gate elements, and how they had rotted . . .

Part of the problem here is the lag bolts used were too short, only 1.5 inches, which stressed the one board and cracked it.

Next, the crosspiece seen above, now removed to expose the rot:

 
And here is the main lower crossbar, once I pulled it all apart you can see the rot:

Yikes.  Anyway a real carpenter was working on the house at the same time and he let me use his portable table saw setup:

This thing made beautiful cuts.  I WANT ONE

It took some serious problem solving to get all the old hidden countersunk screws out of the pickets and then put it all back together– I re used the original hinges and most of the old screws as, with COVID-19, I can’t get fasteners sometimes!  Here it is, all done, using 3 inch lag bolts, with the replacement pieces looking different due to being primed before install:

I was ever so careful with all my measurements but even so, I consider myself very lucky that the thing hung perfectly on the old hinge pins on the first try!  Even the latch lined up perfectly!  
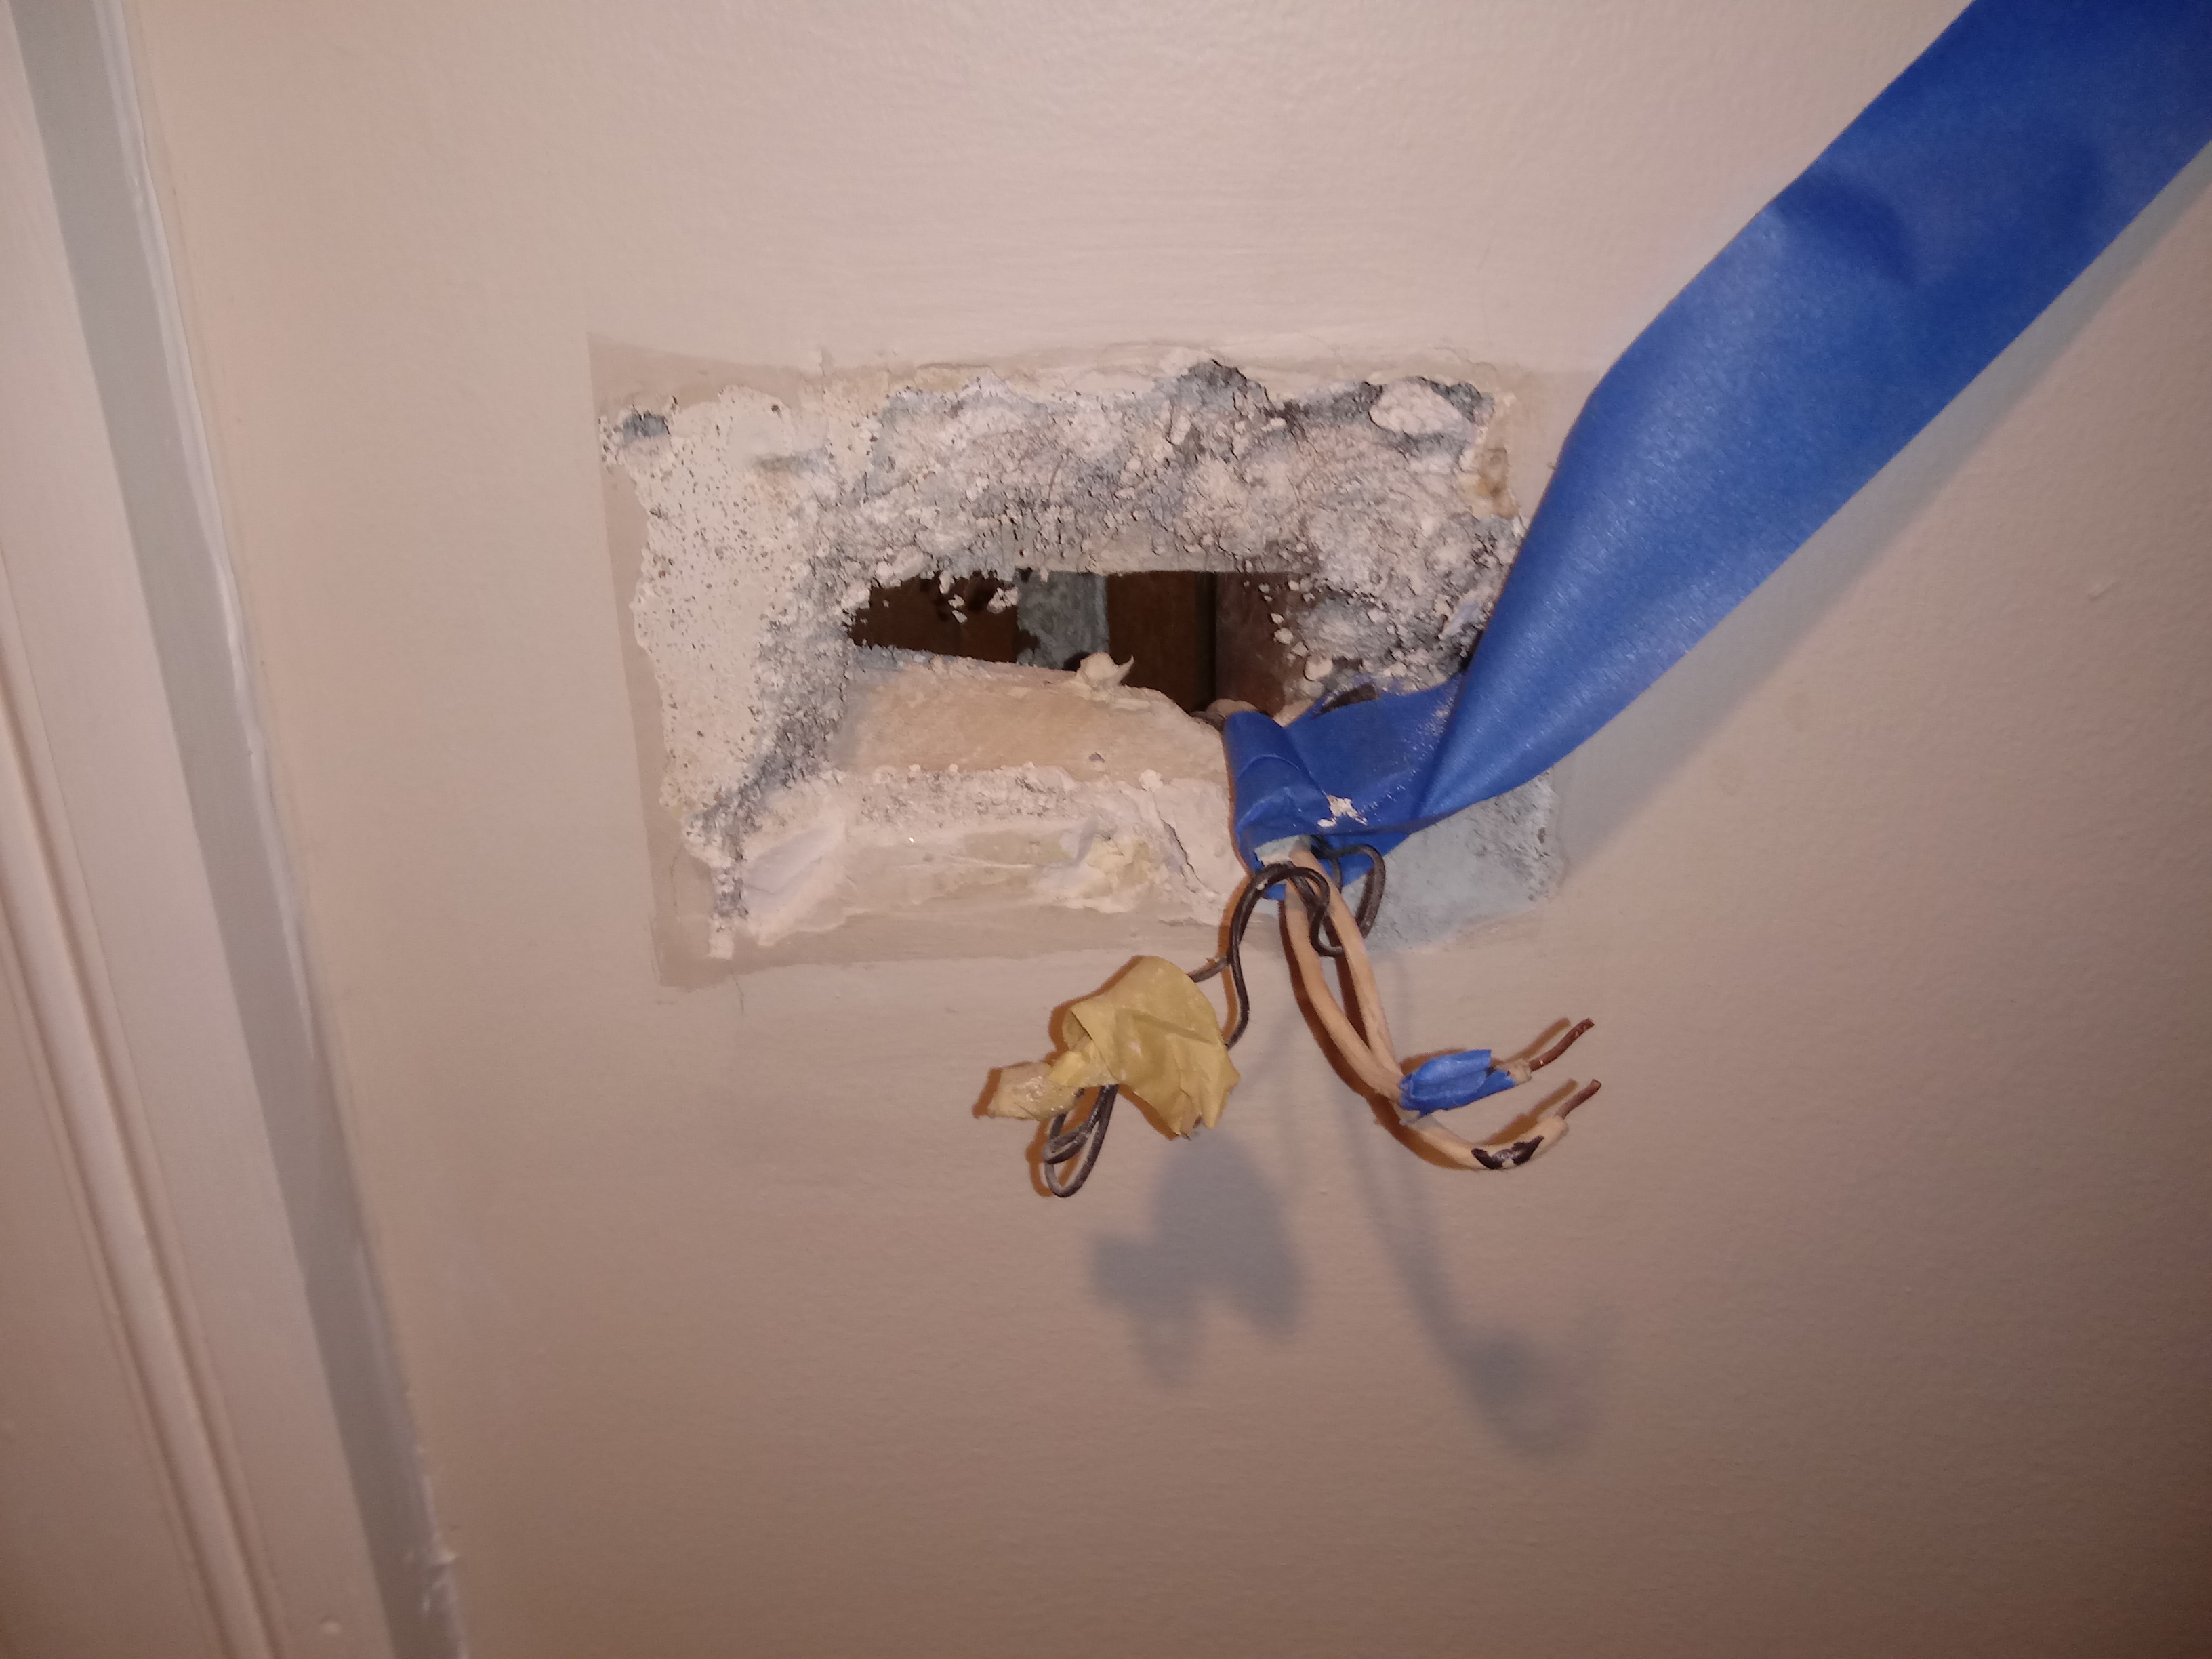
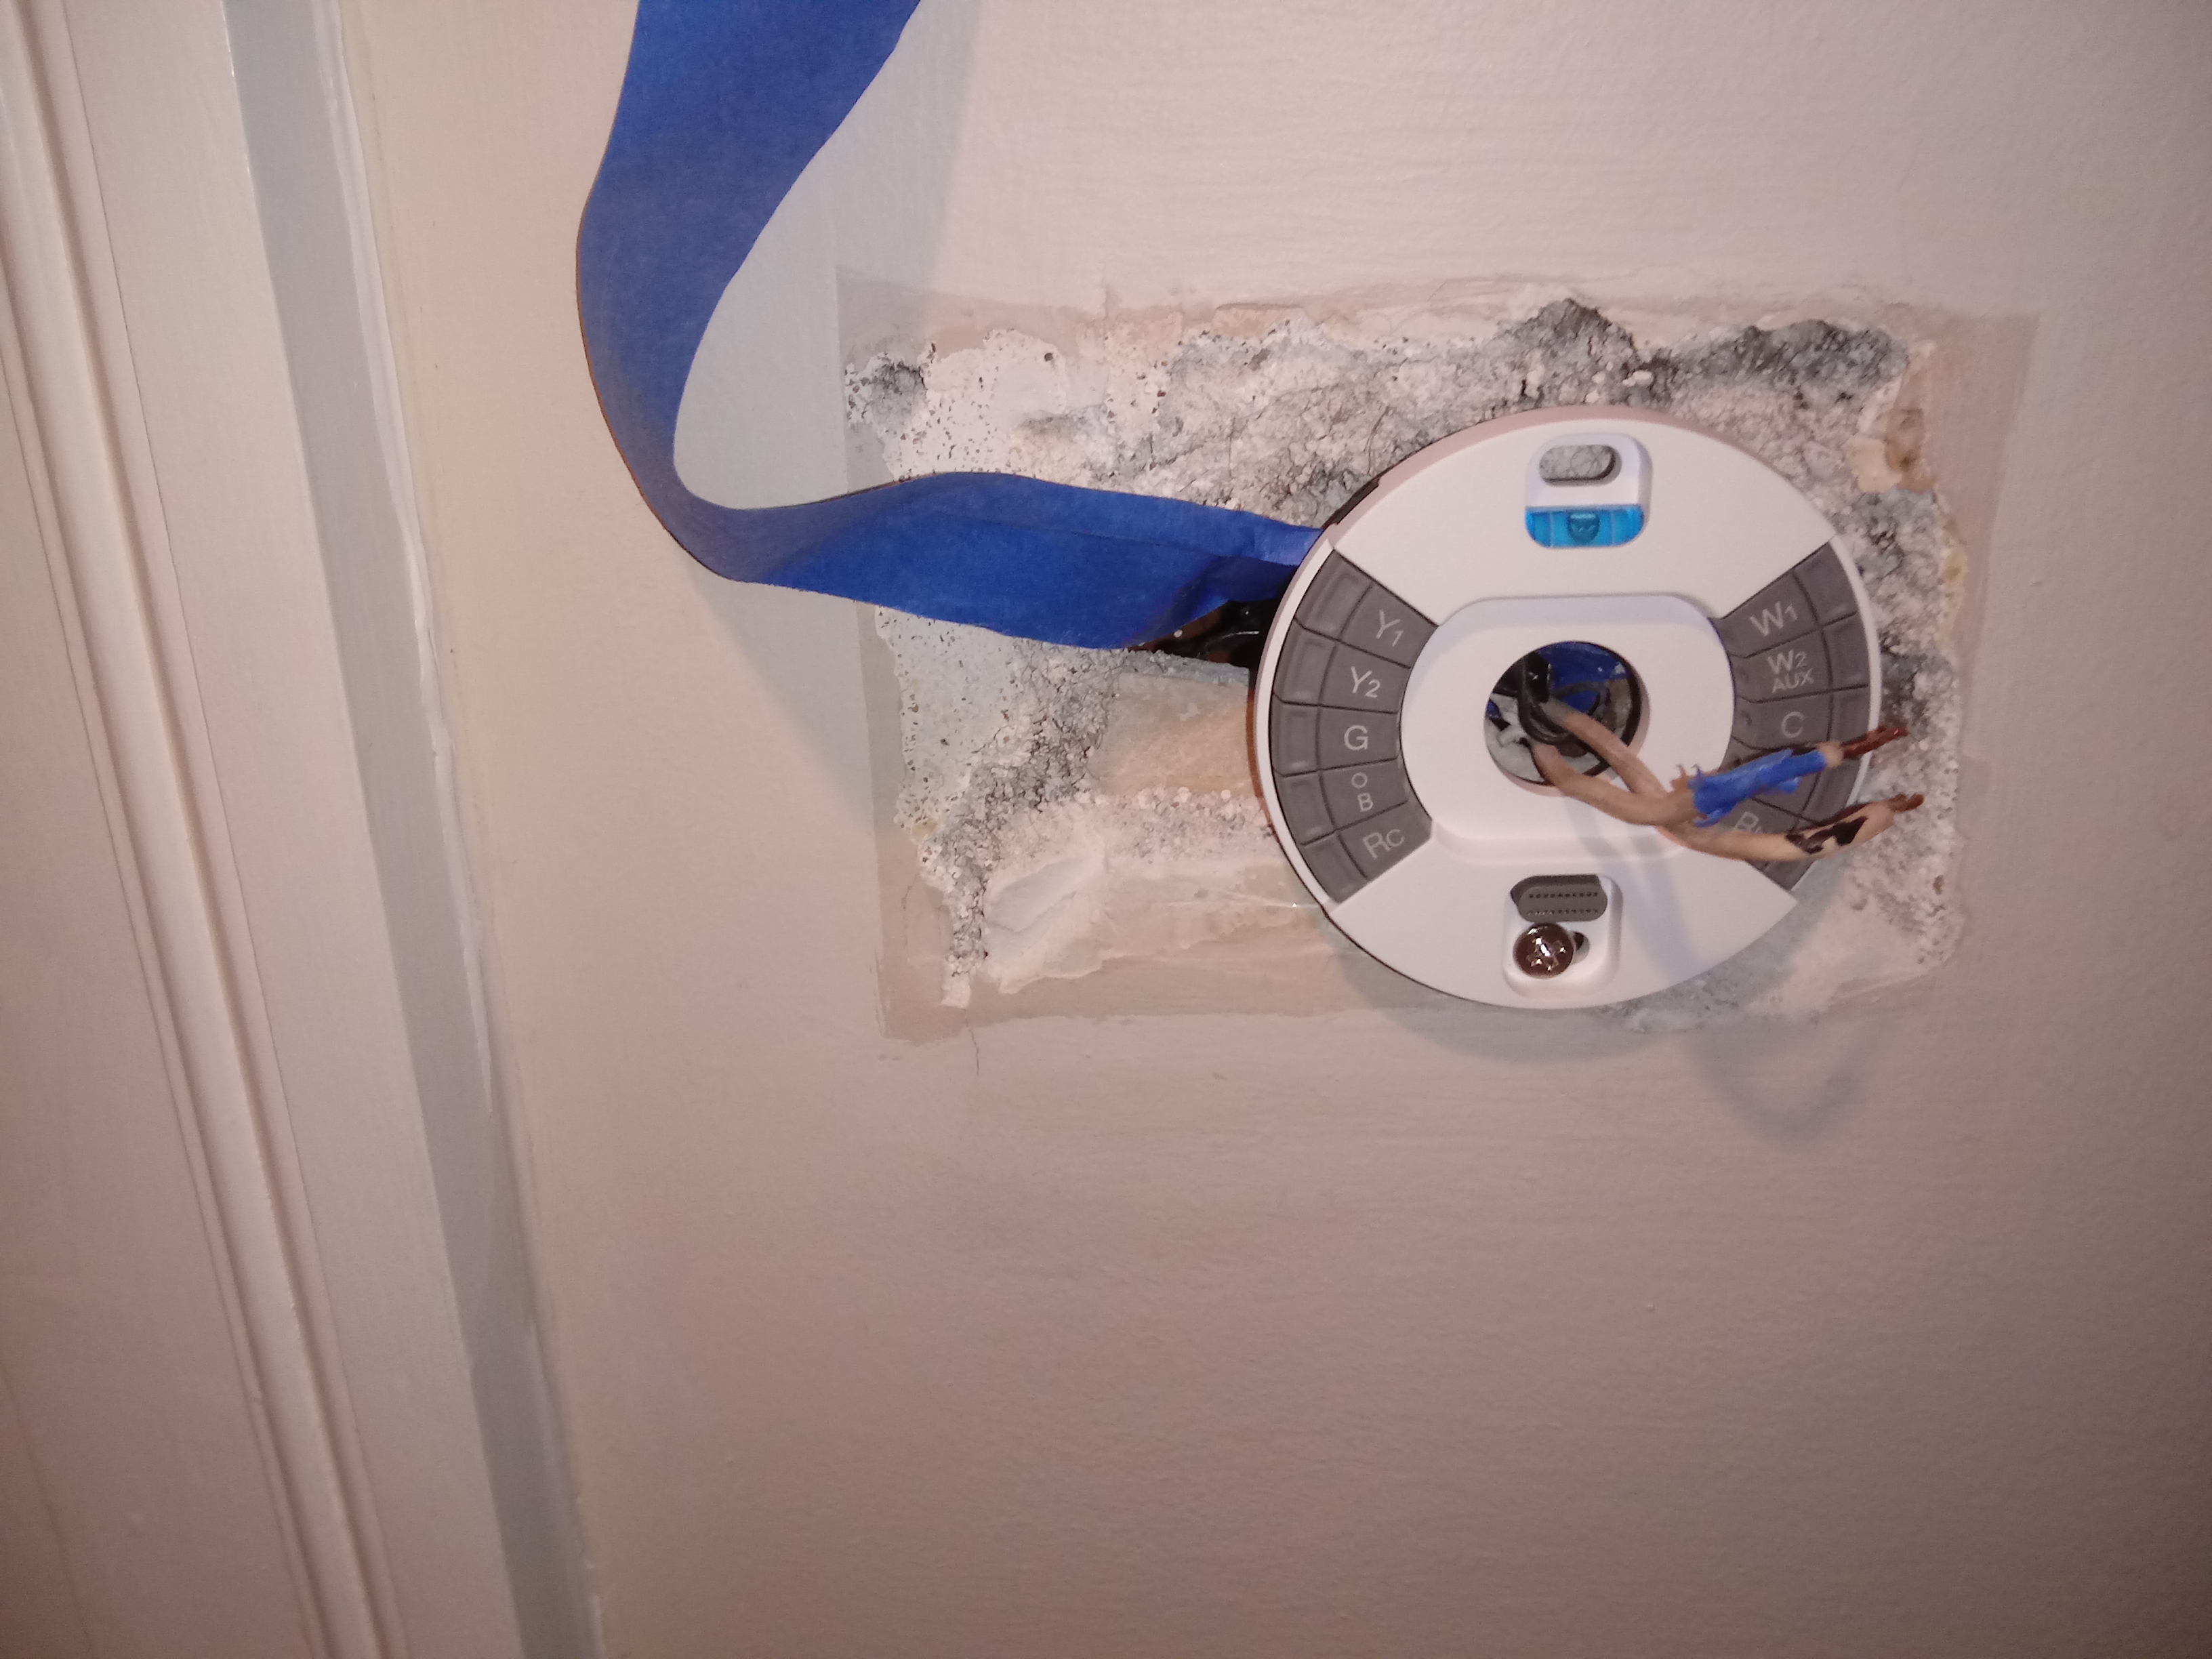
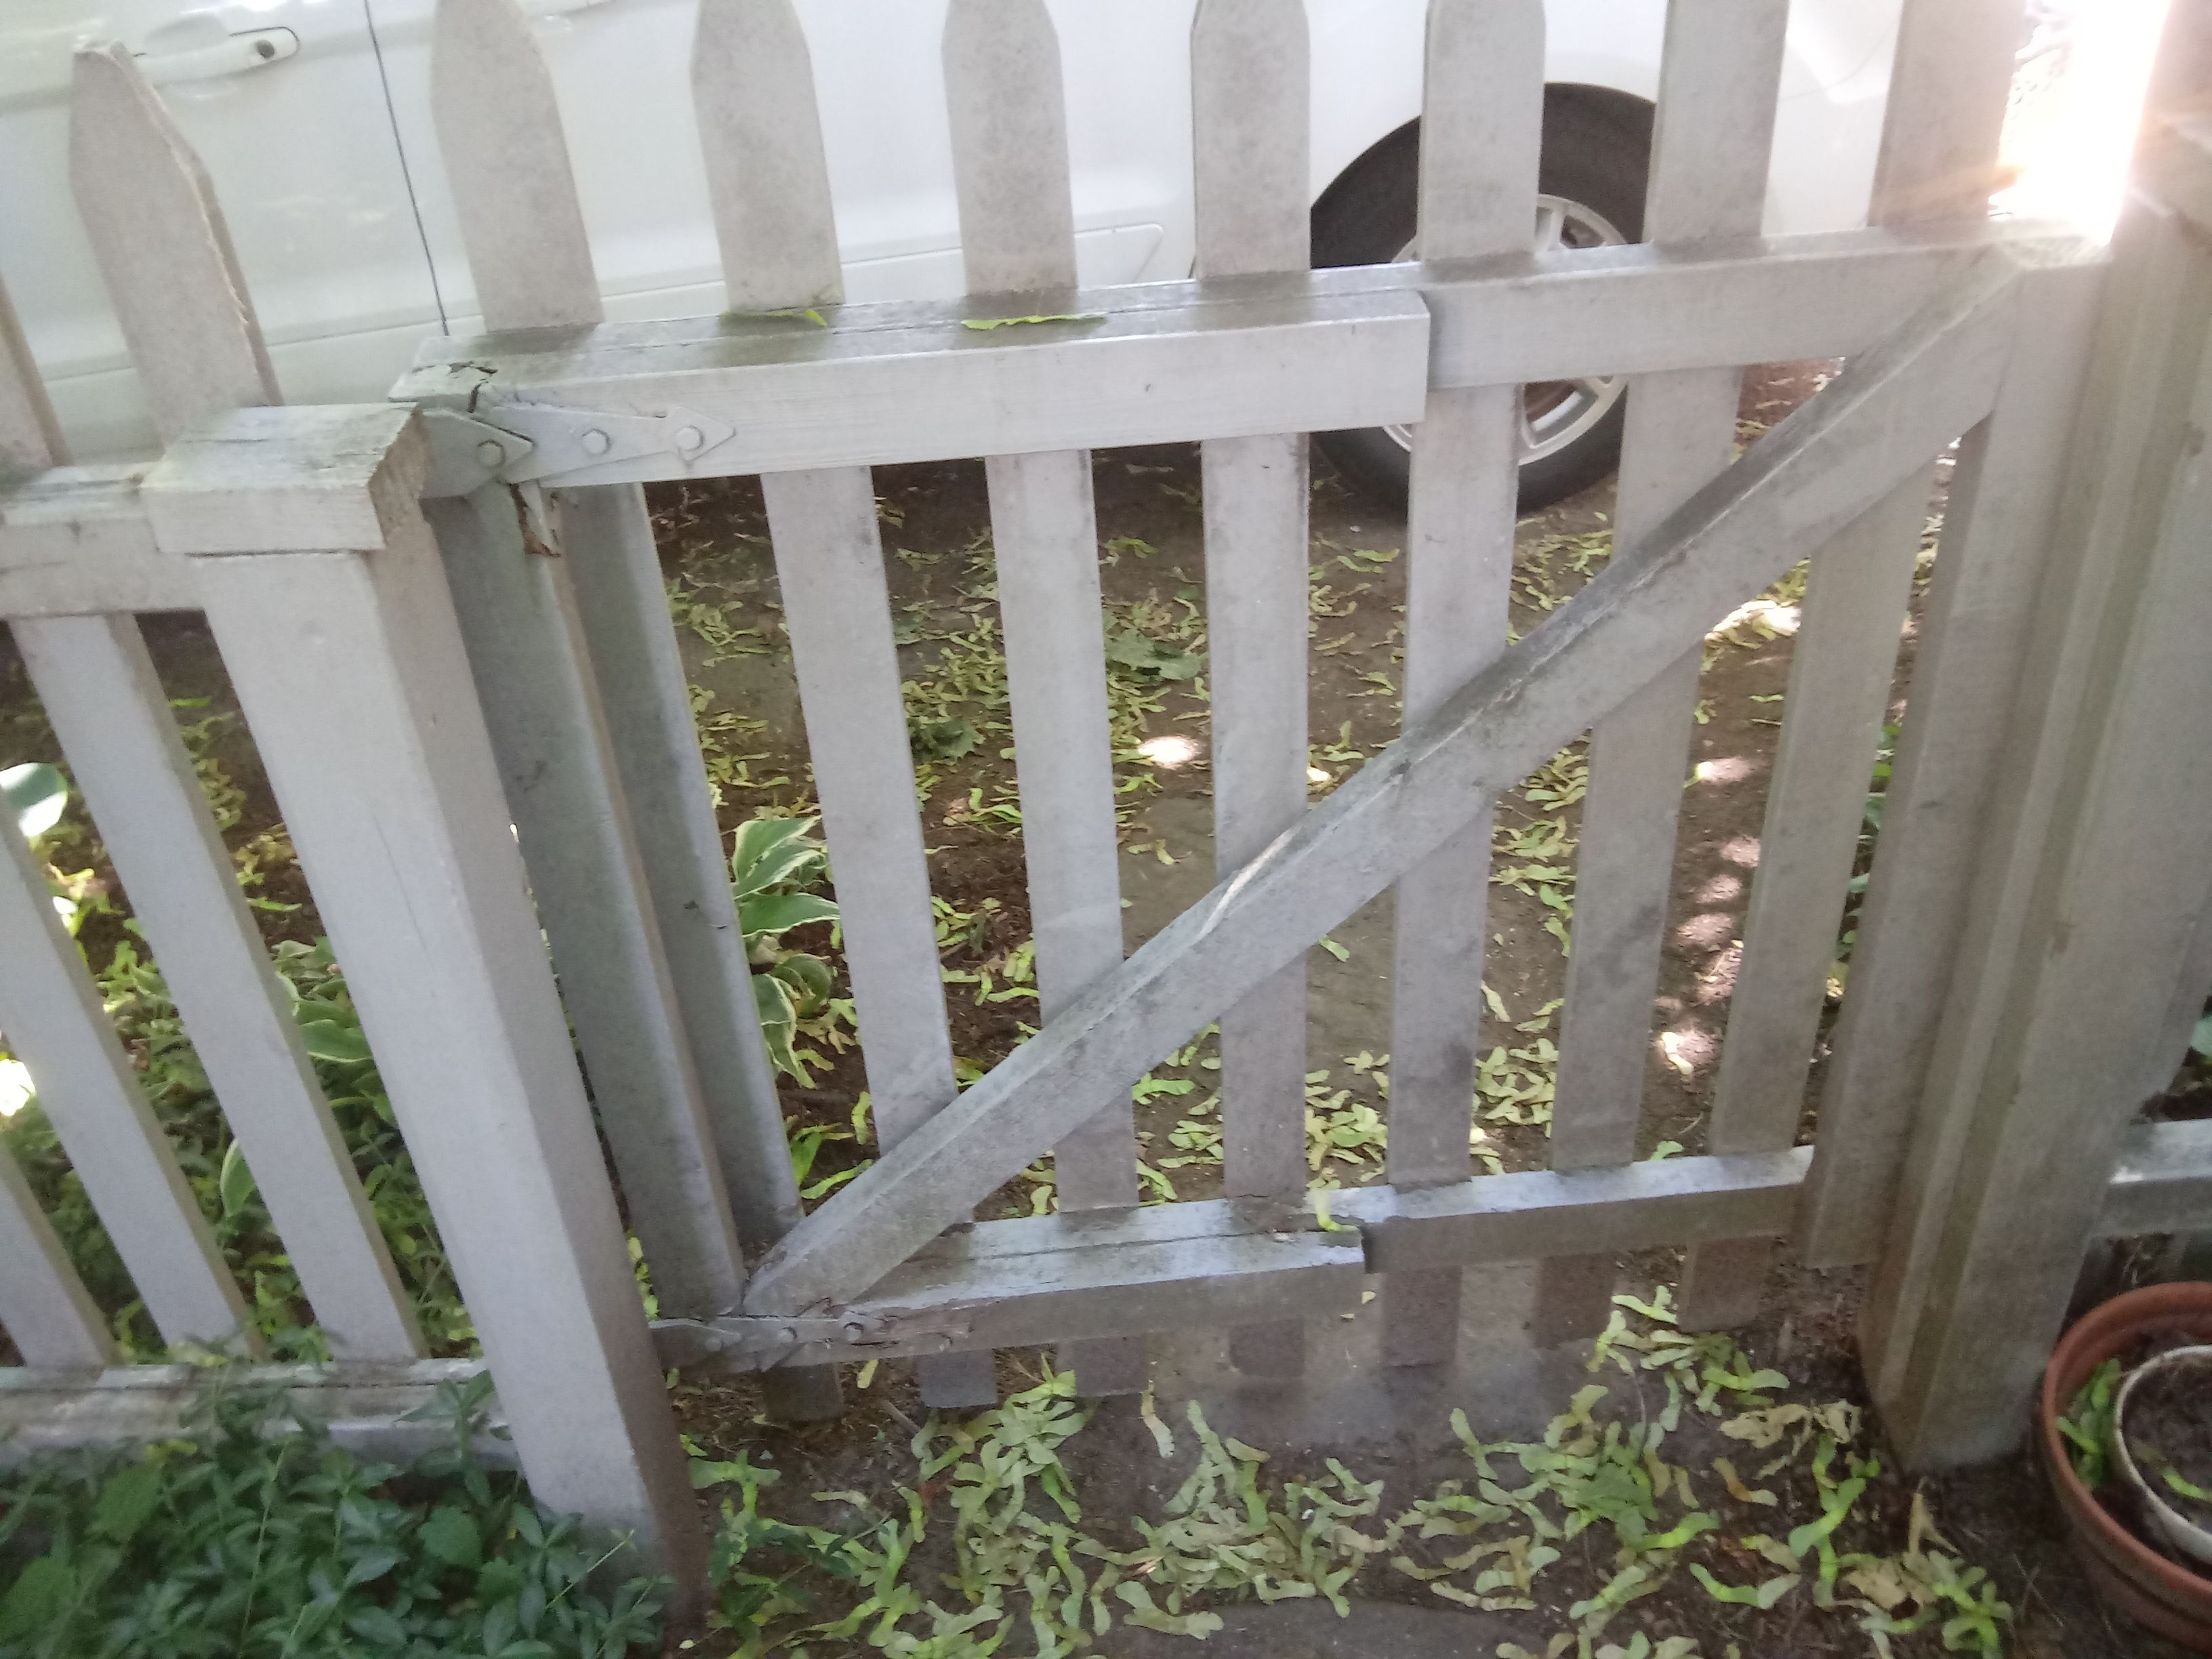
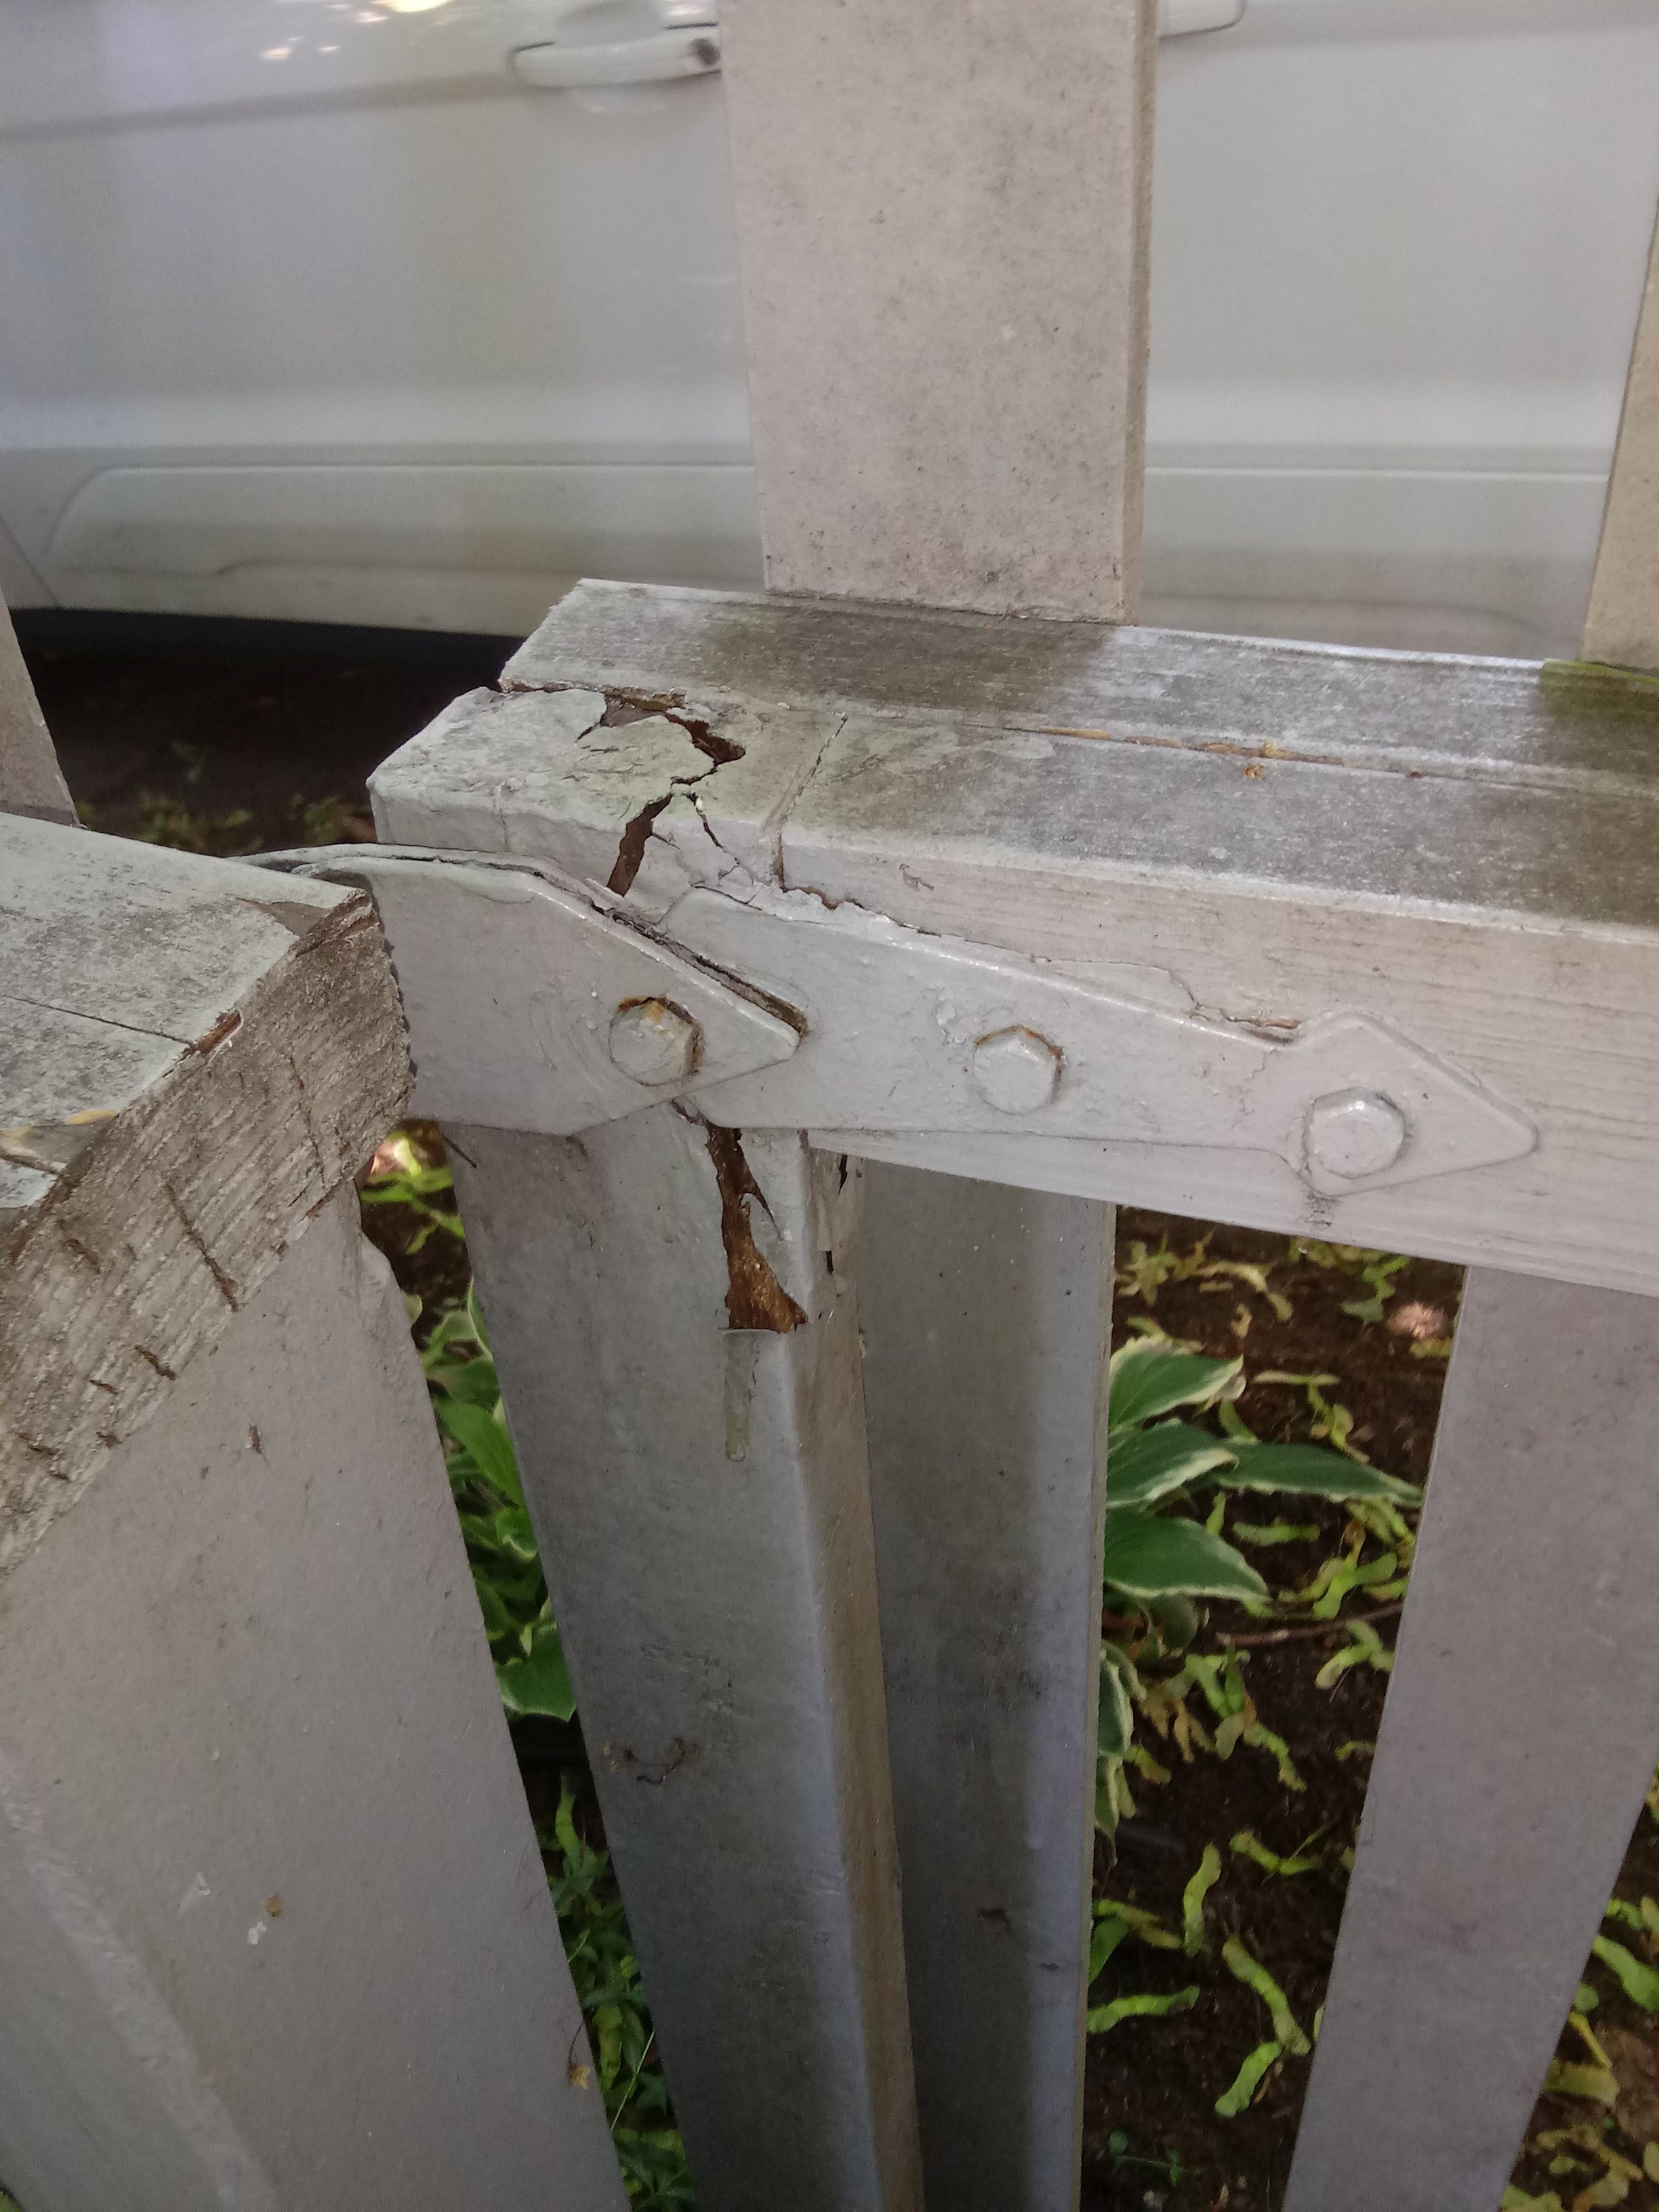
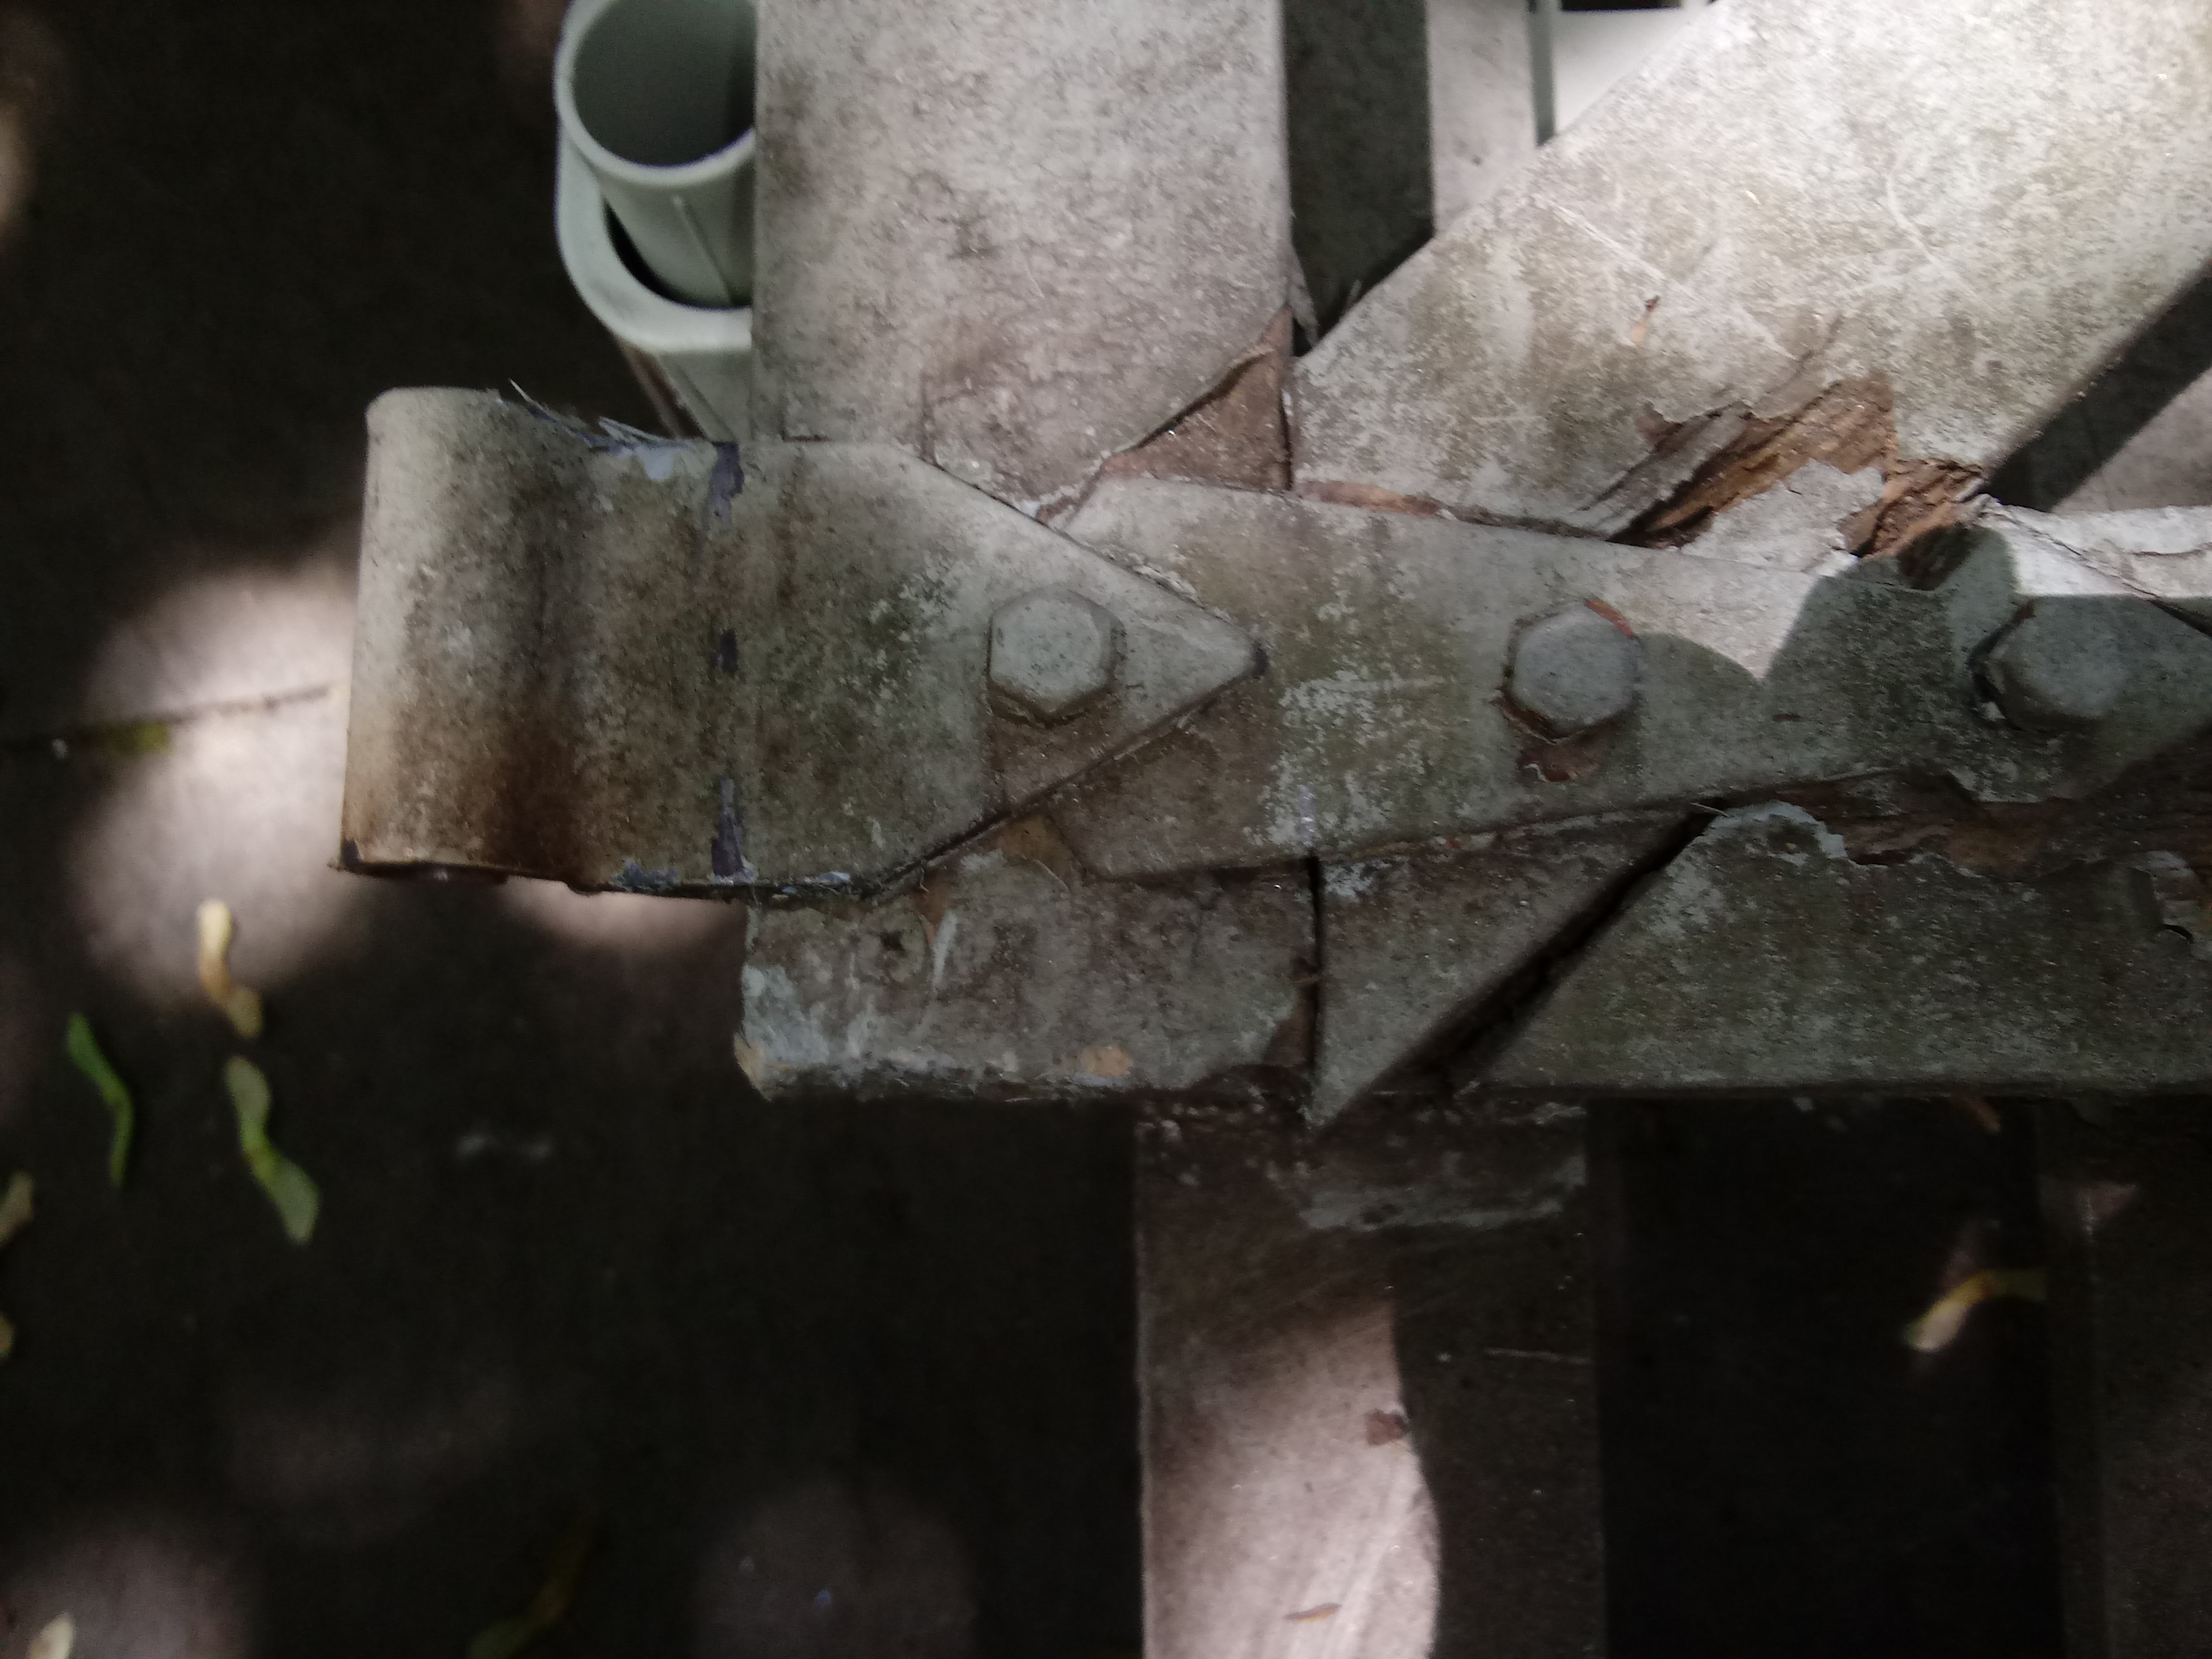
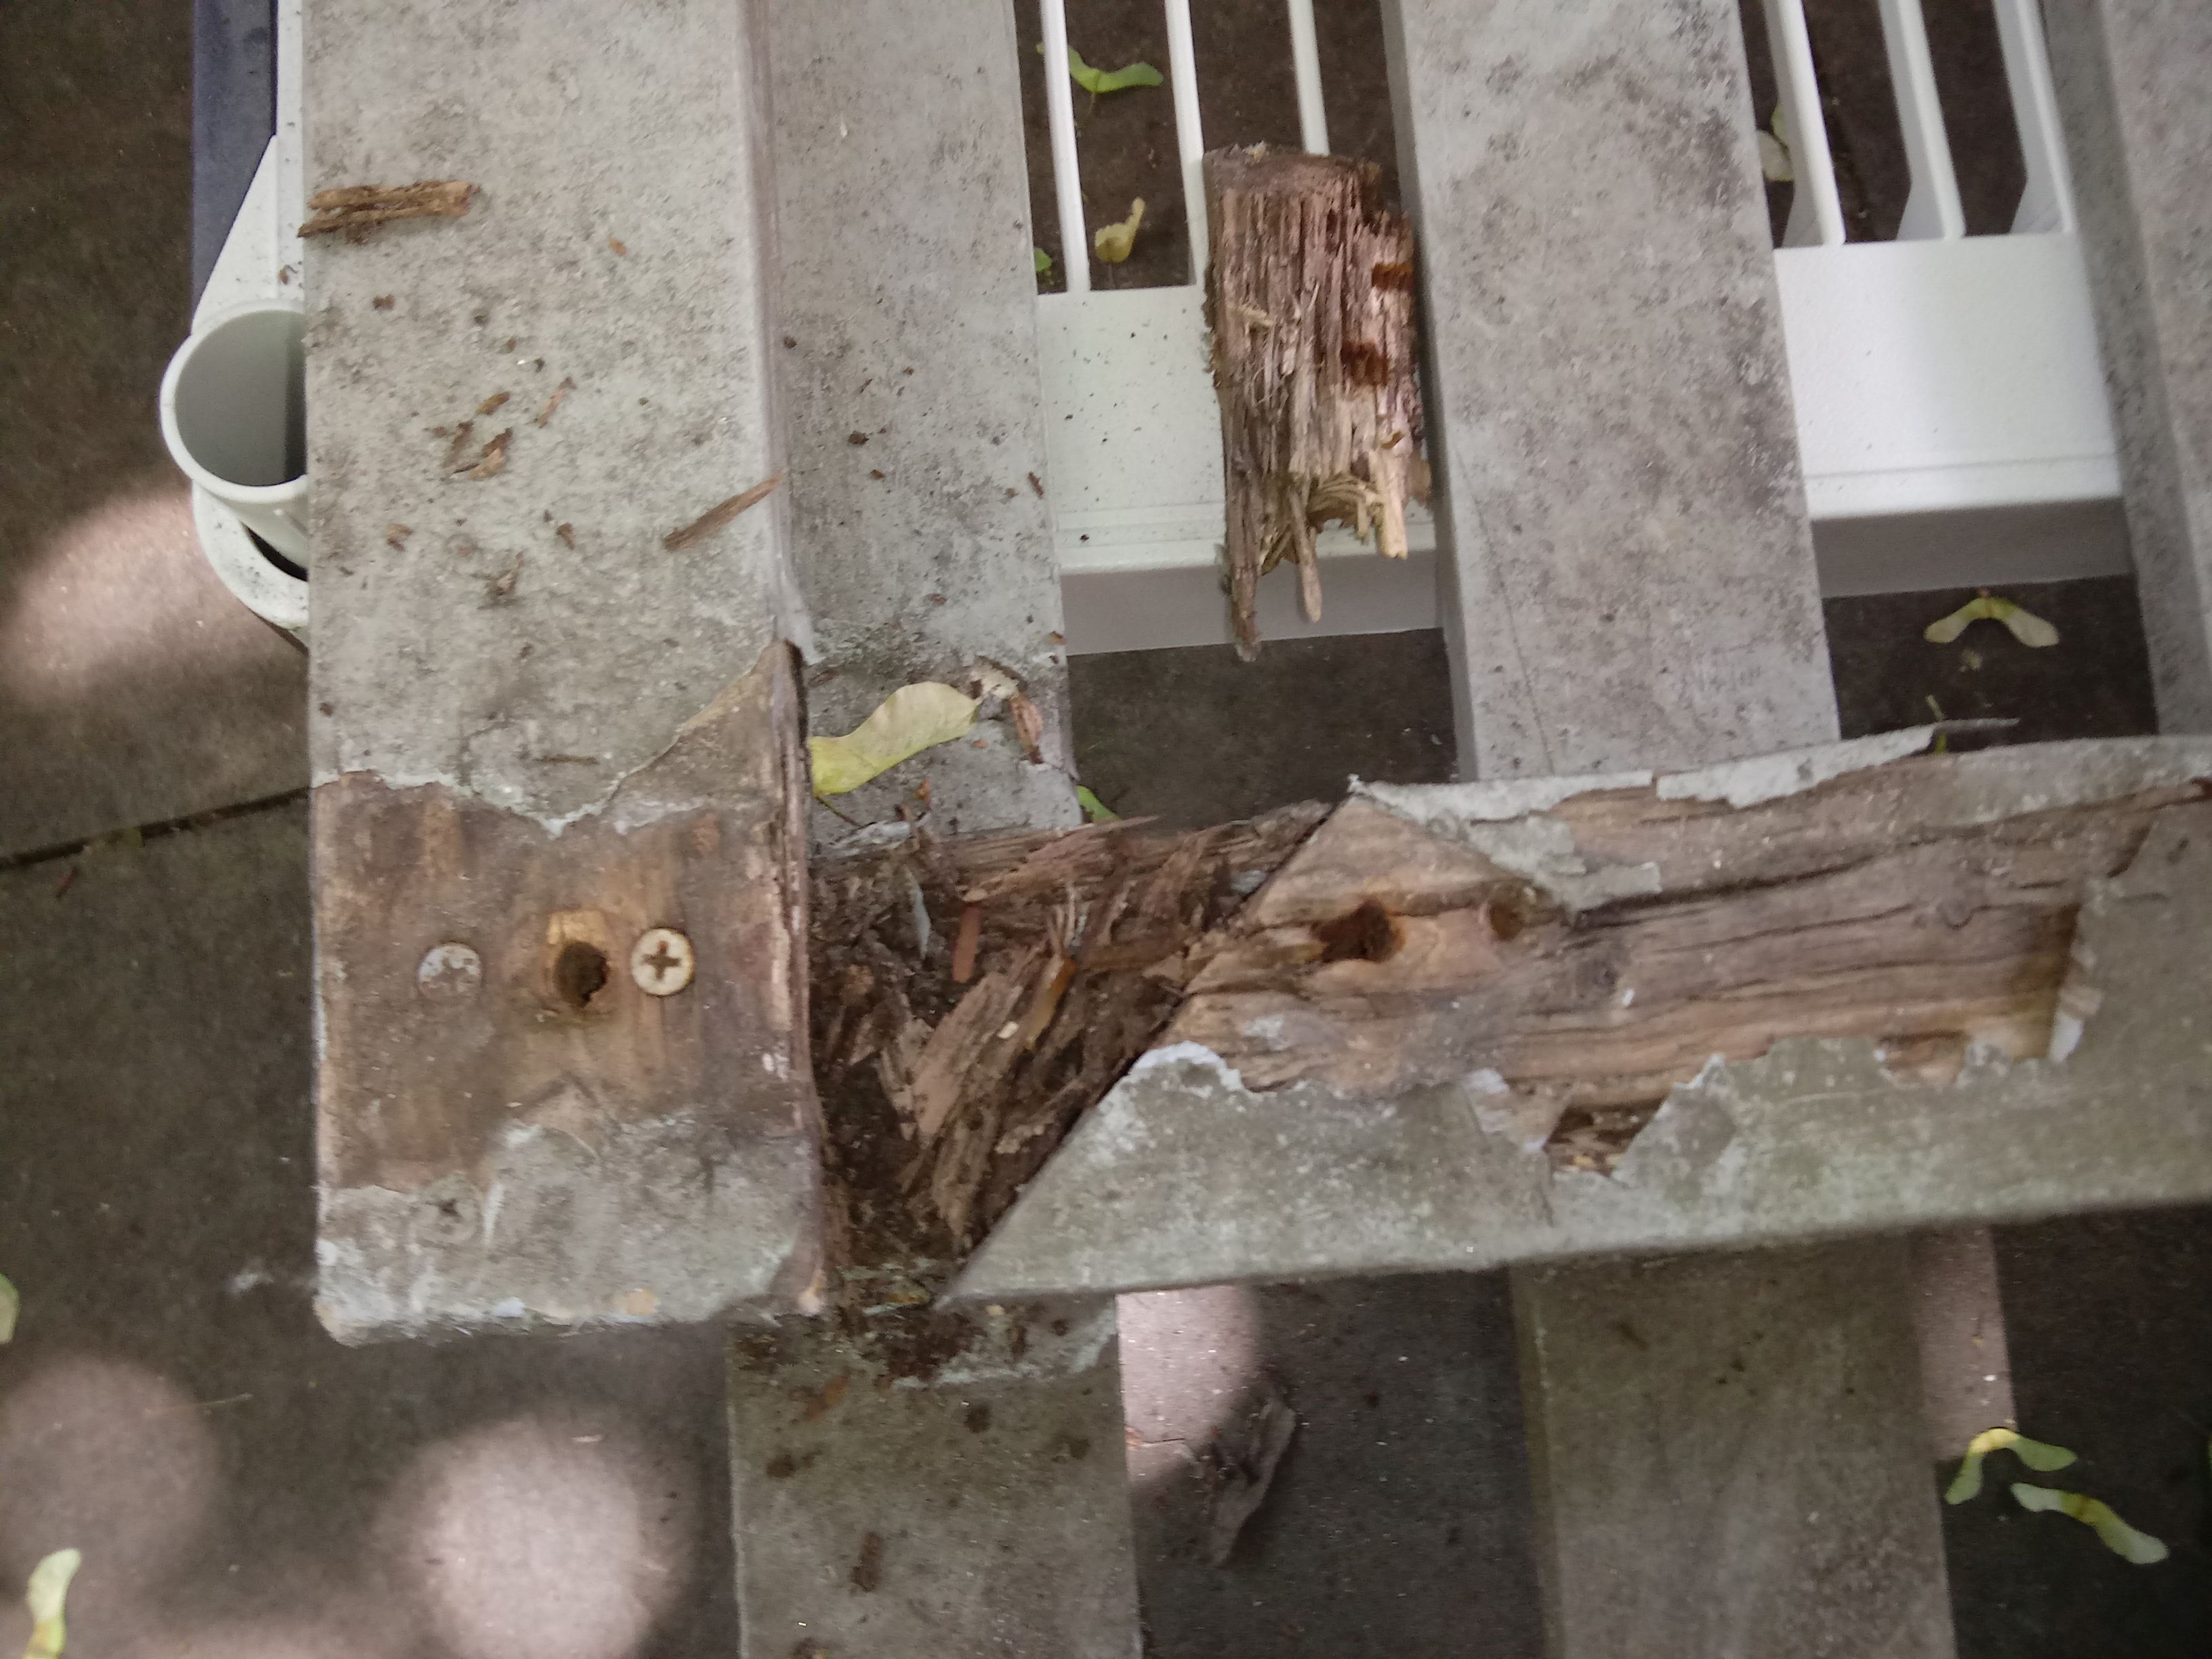
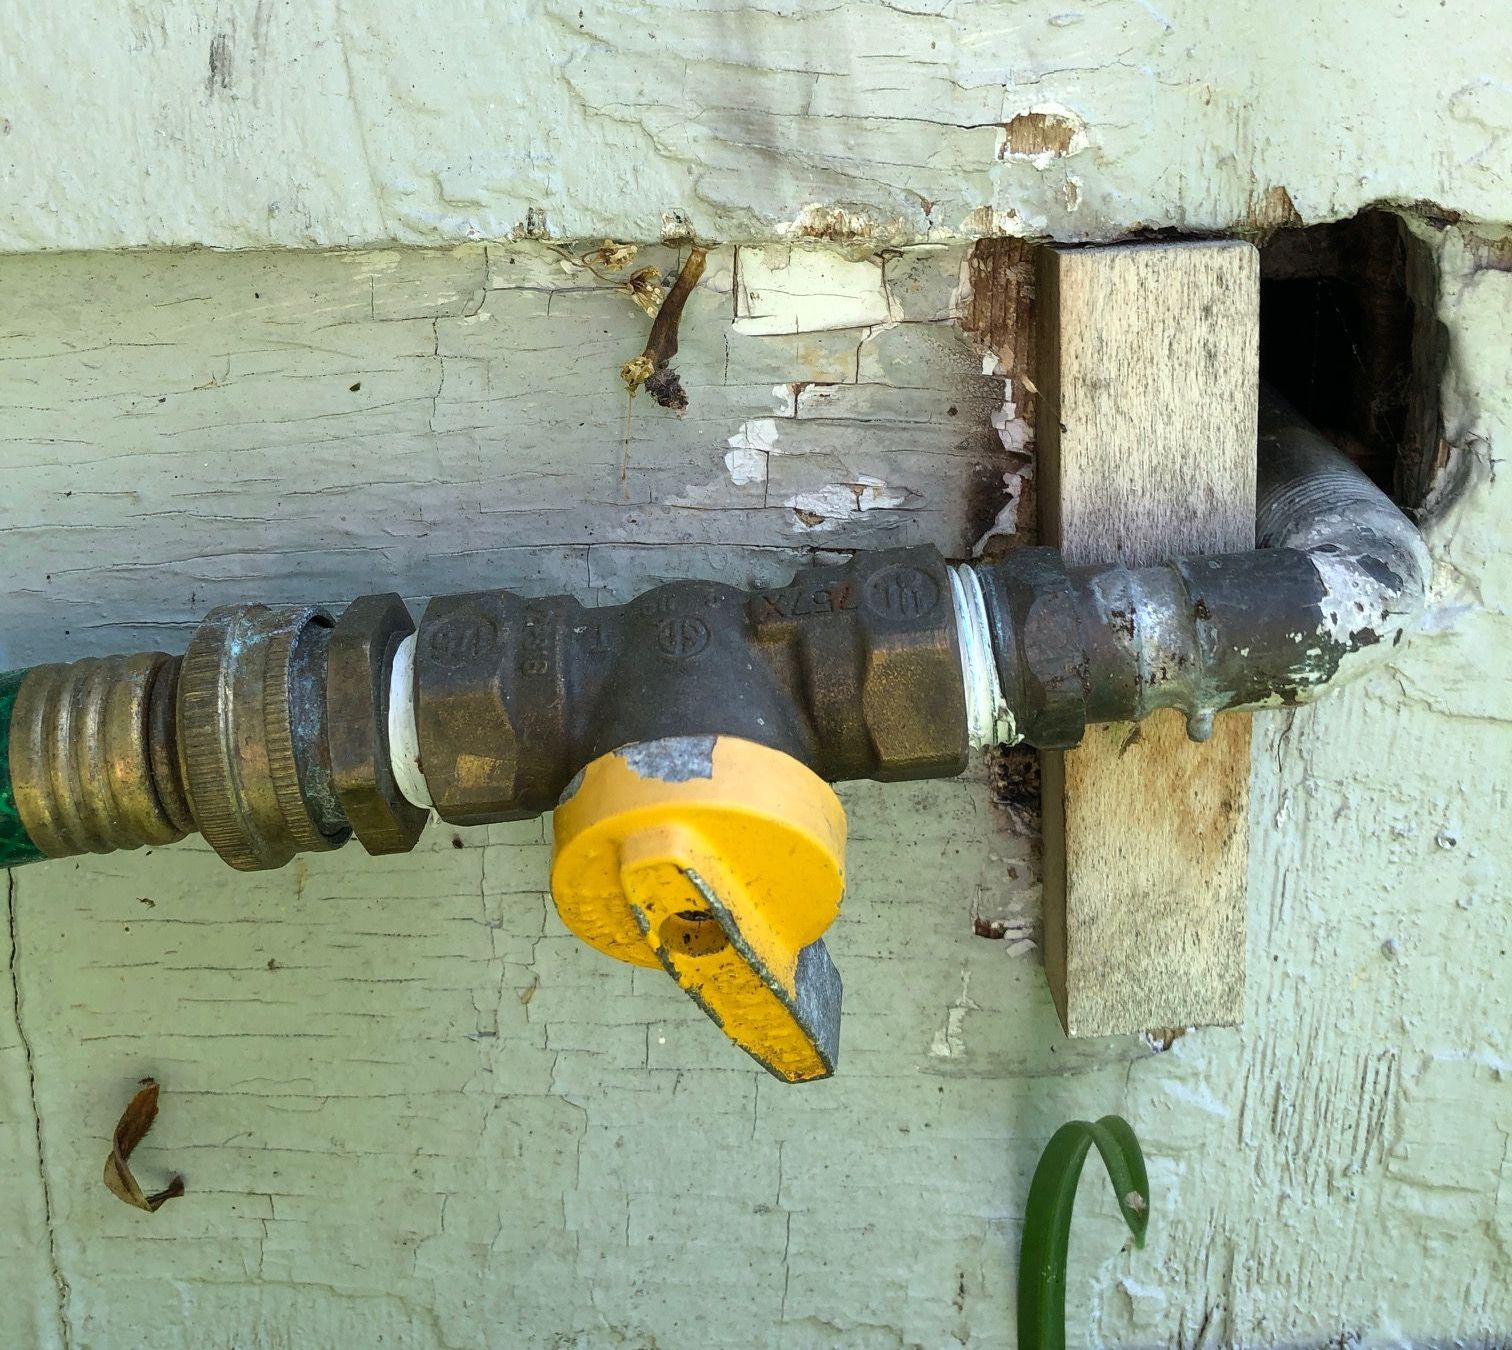
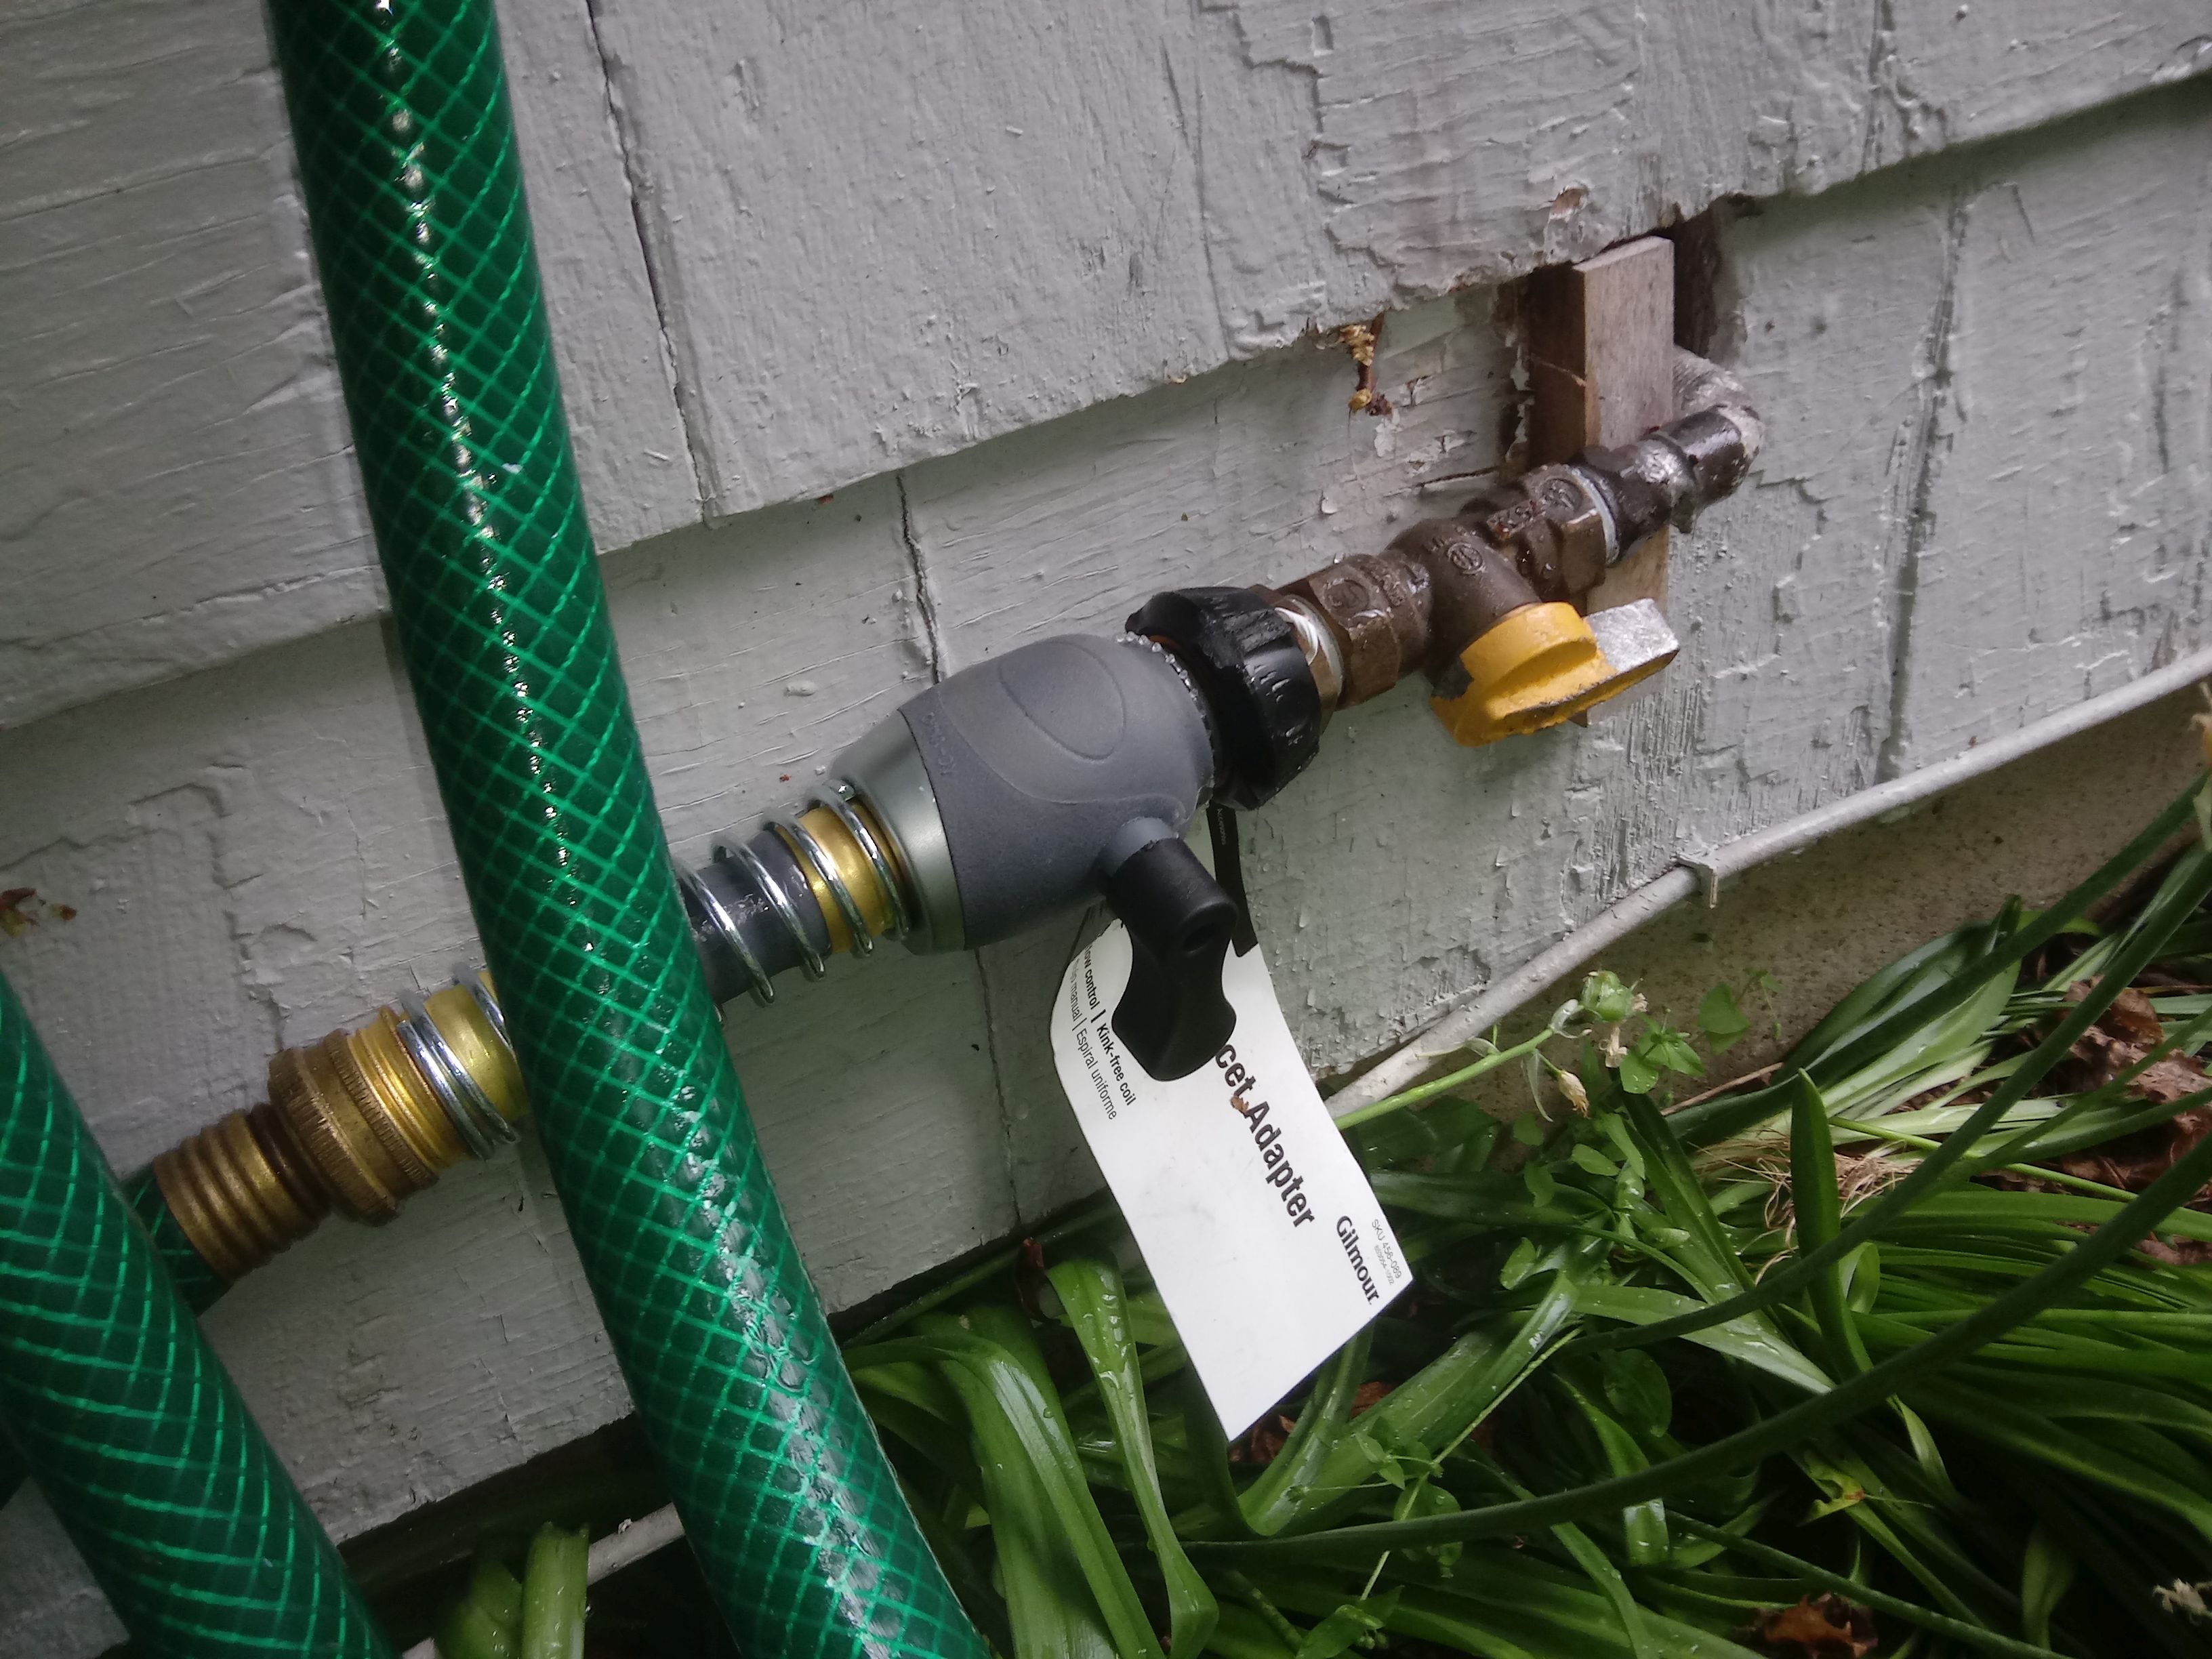
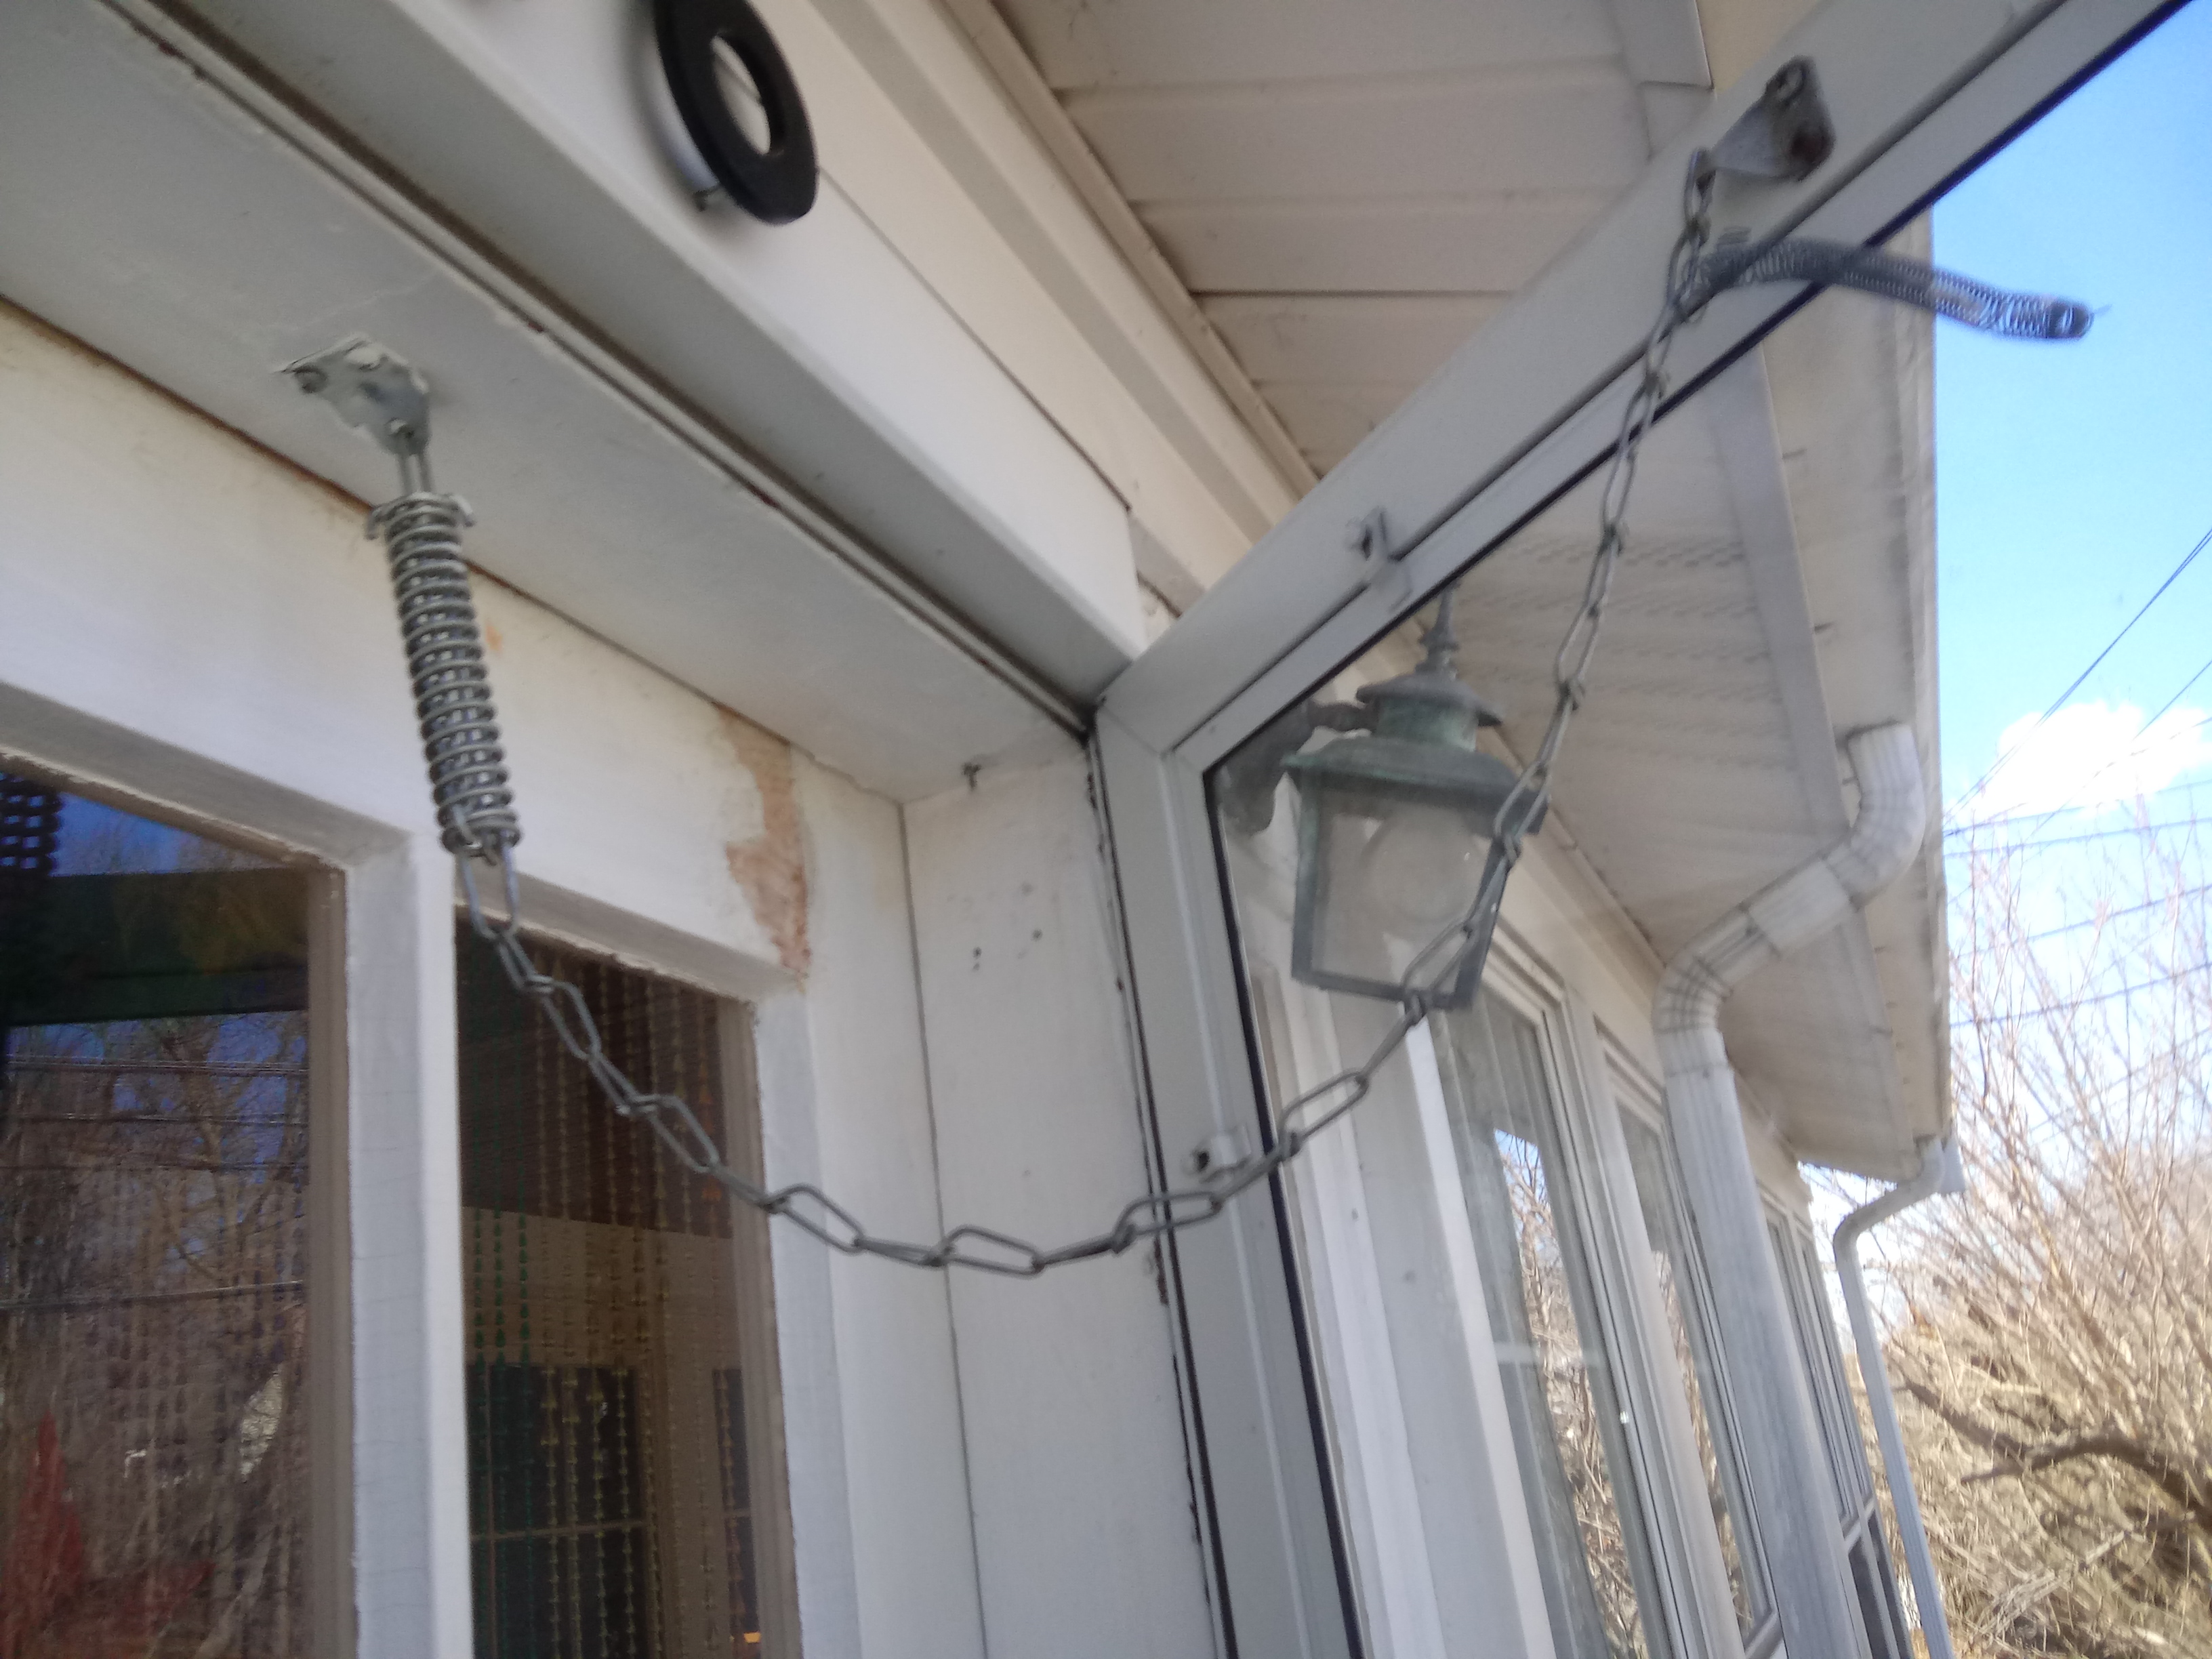
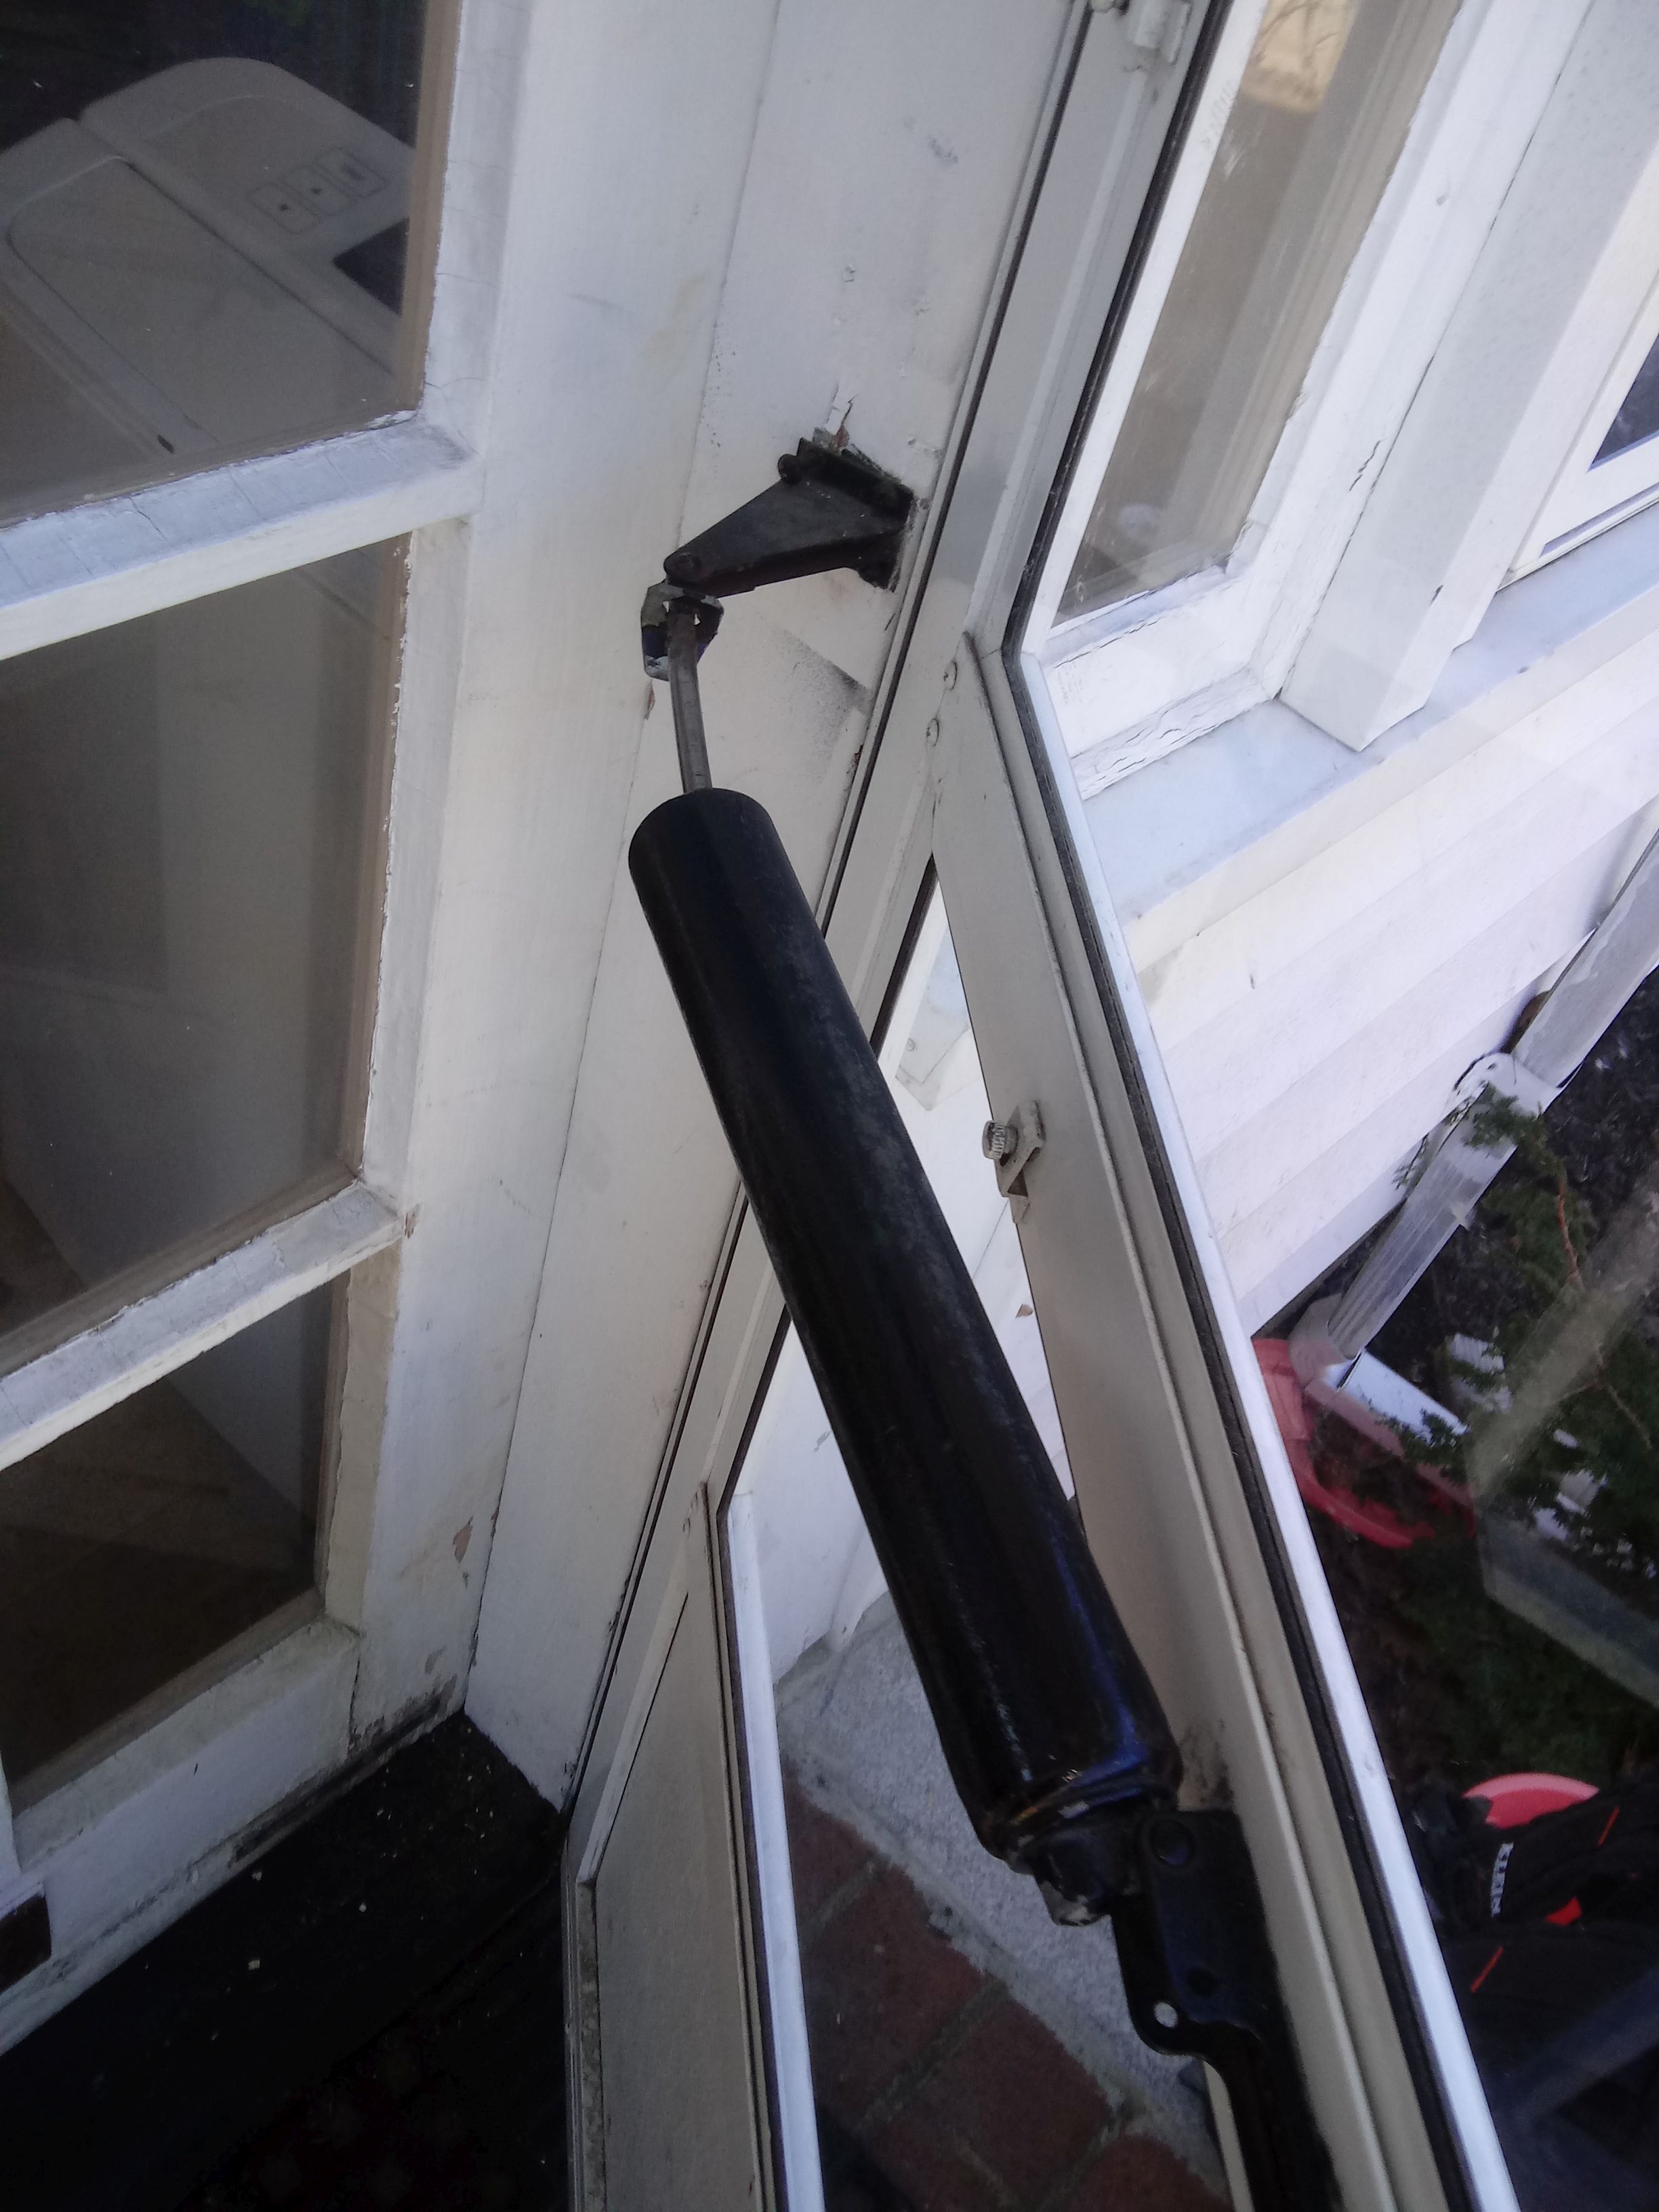
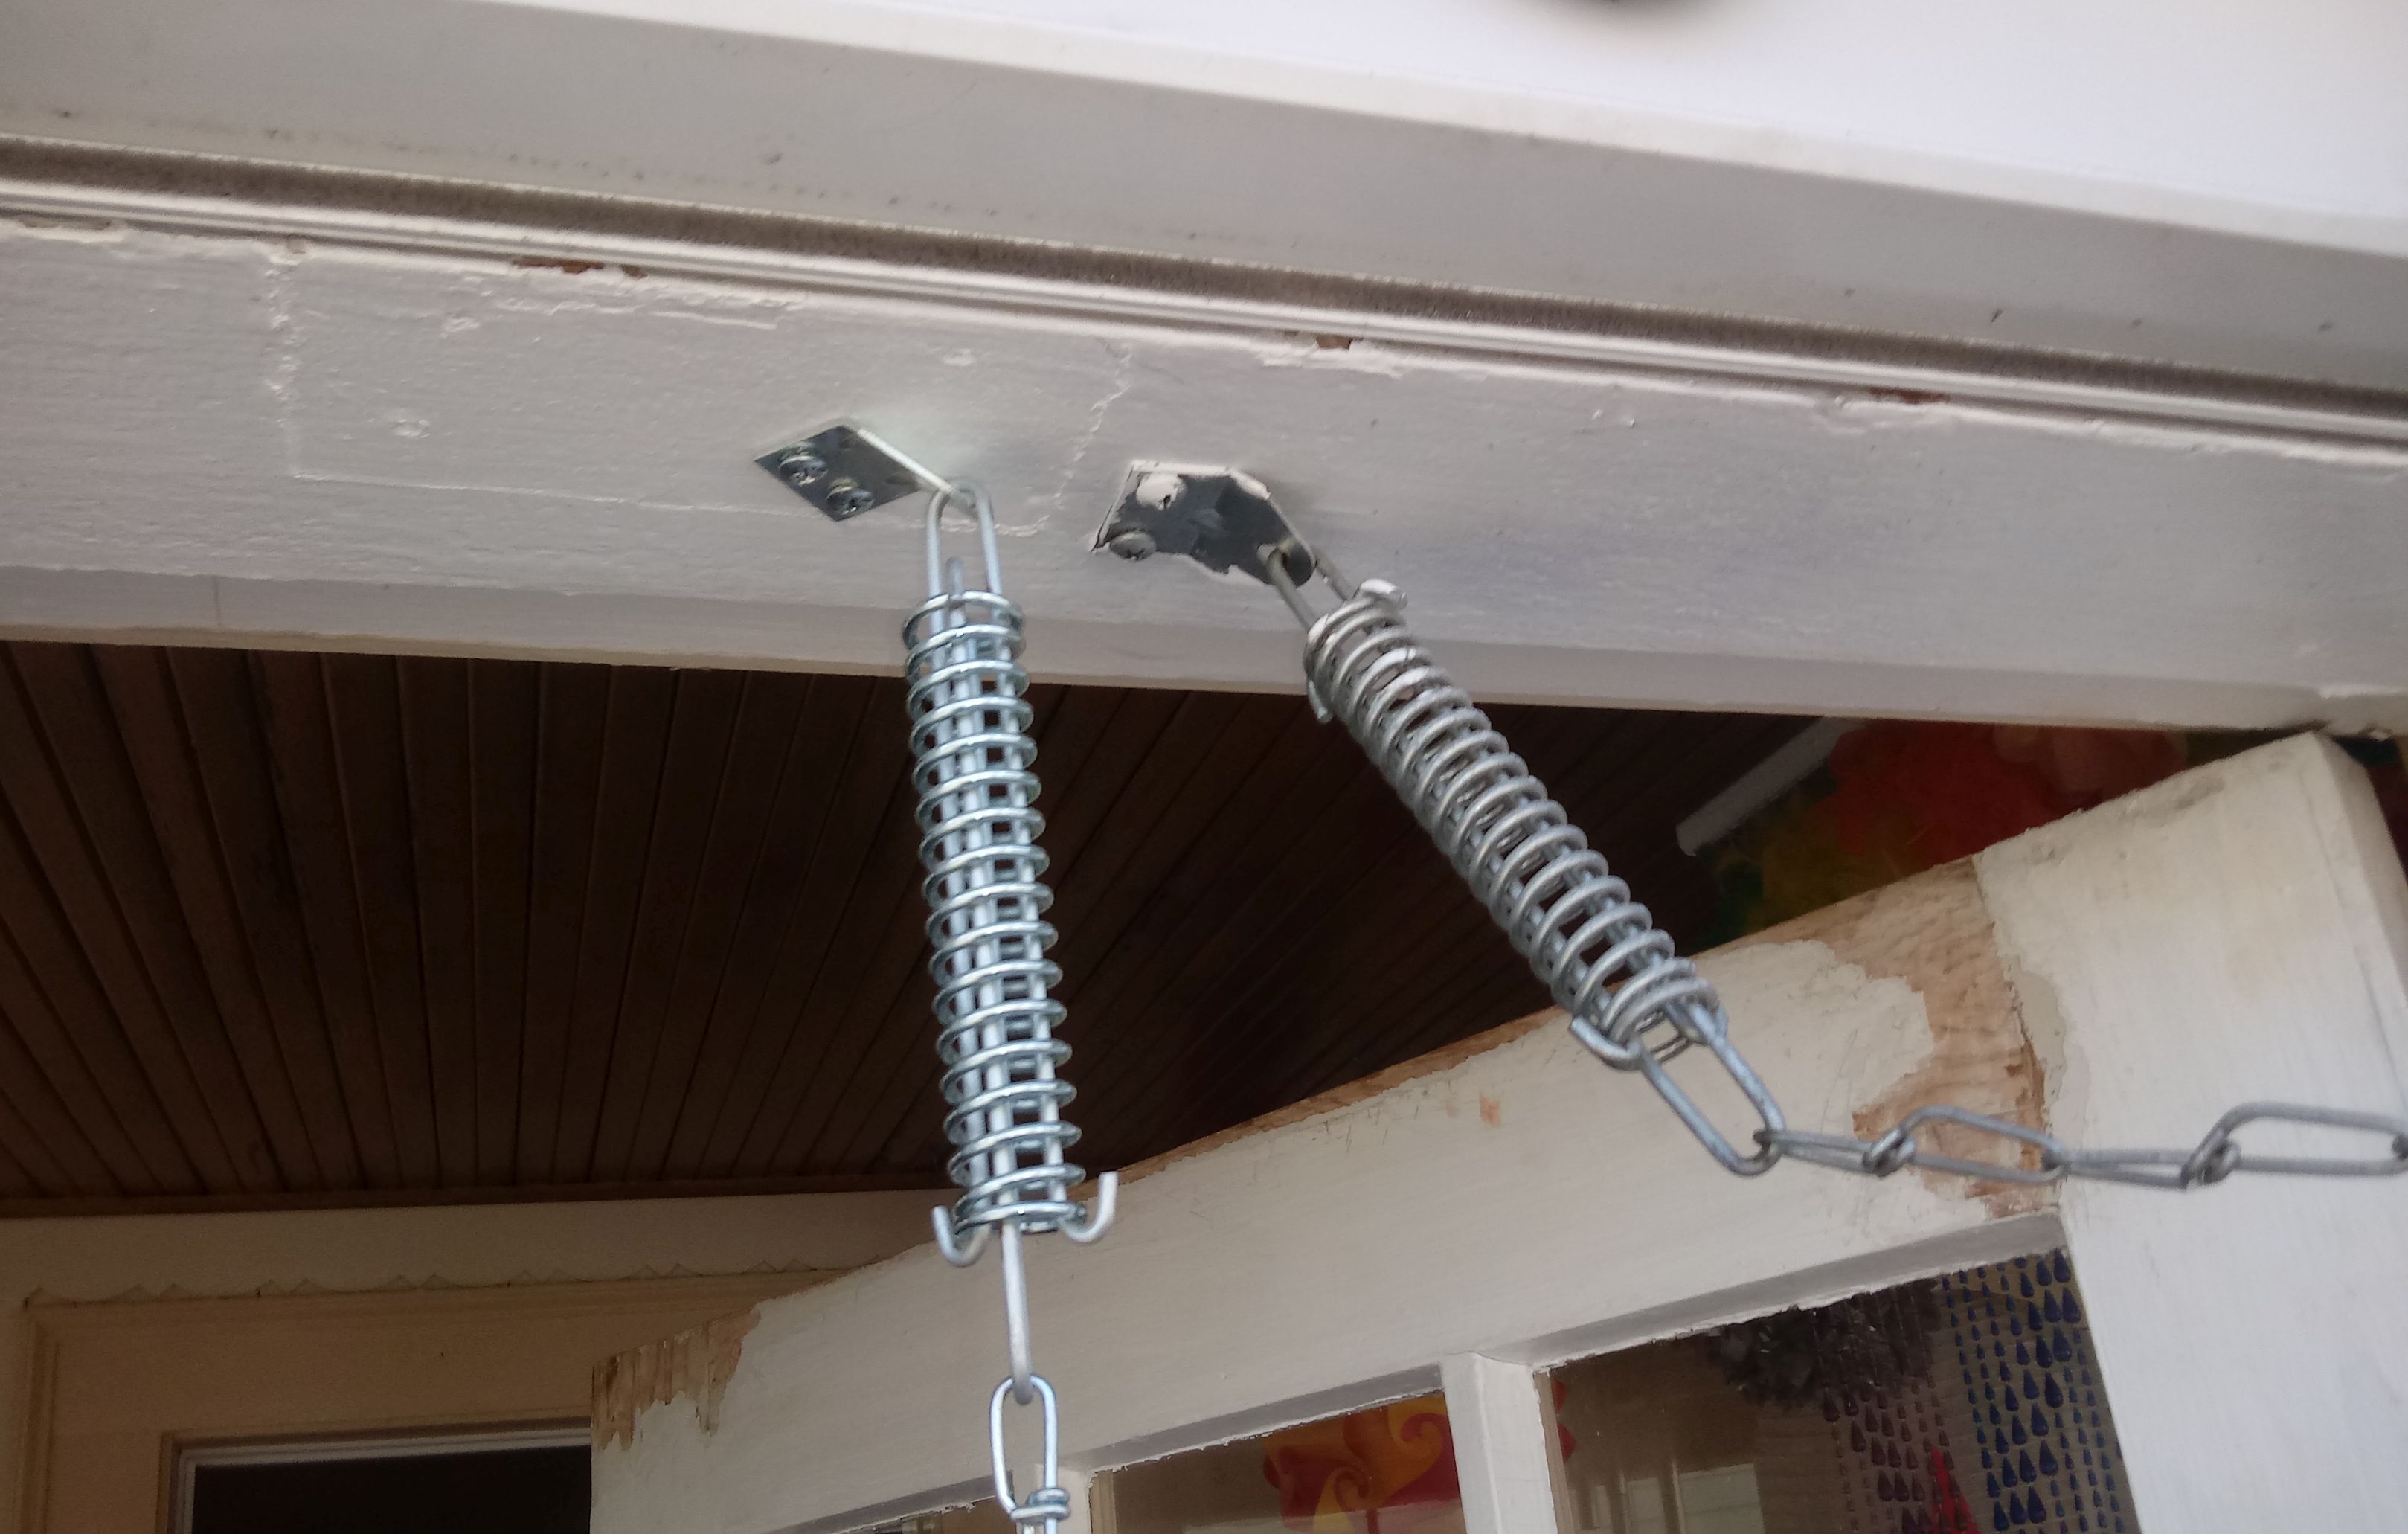
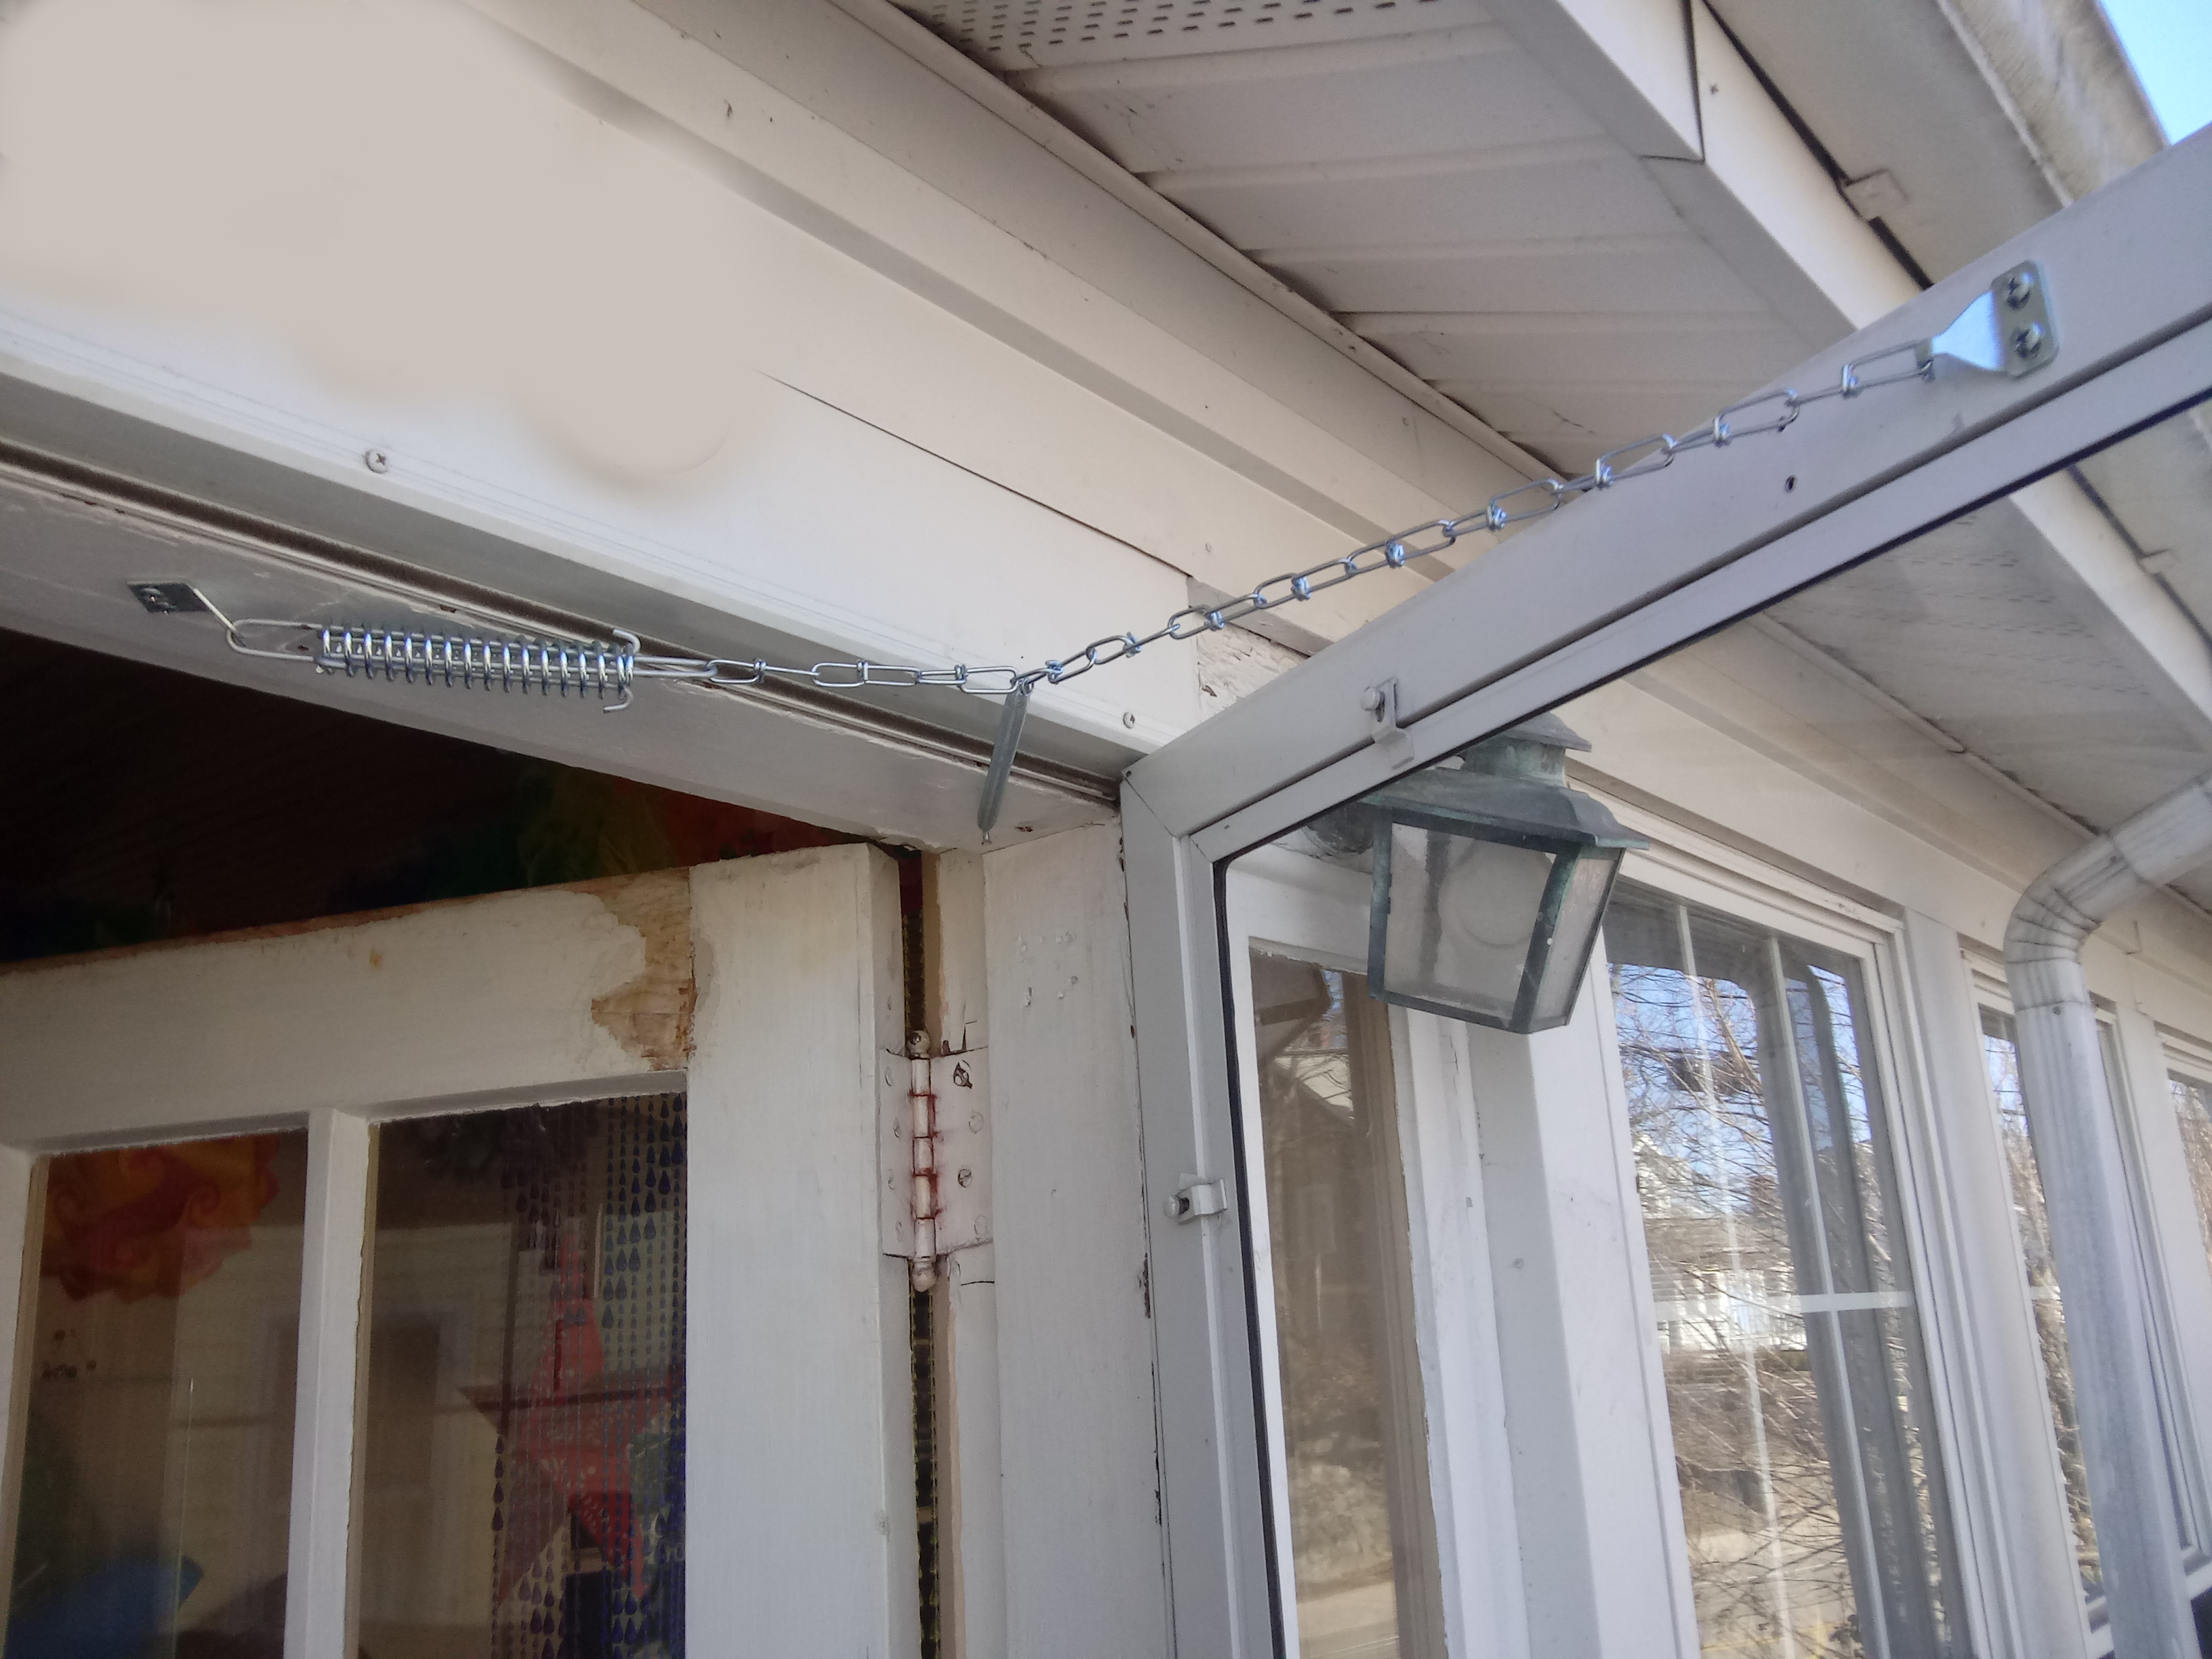
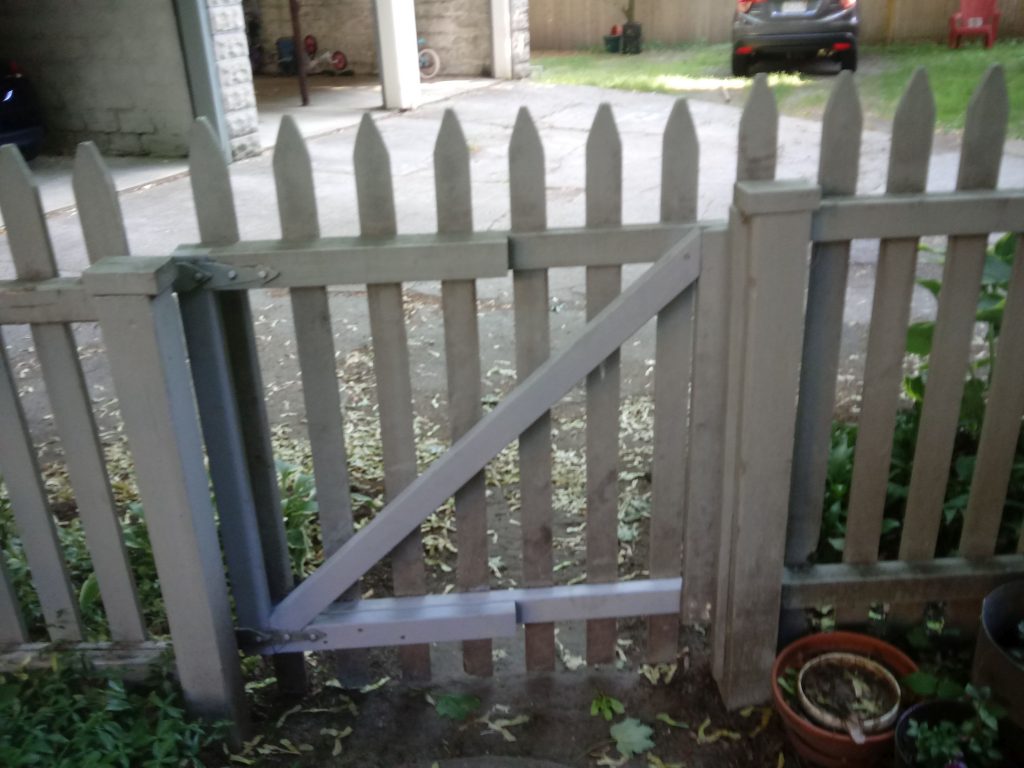
I plan to put painter’s caulk all over to prevent the rot that occurred first time.

What can I say, it looks and works great.  Getting bold in my old age.  This was my most ambitious carpentry project to date by far.

Restoring an Objet D’Art

With all this downtime due to the pandemic, my sister came to me with a . . . I don’t know what to call it except an objet d’art . . .  that she picked up someplace.  It had been painted, but the paint was peeling bigtime:

So I went at it with some paint stripper, one layer at a time:

Until finally, after much scraping and sanding, VIOLA:

Fixing a Wacky Pipe Install

I see a fair number of wacky installations in this line of work.  And, here is one more.

A client called and the complaint was, it was hard for this very elderly (90+) woman to operate her hose bib.   She said it was hard to turn the knob to turn on the hose, and thus water her garden.  So here is the pic they sent me:

Now again, I do not do plumbing so this was all a mystery to me.  I figured they had installed a main pipe shutoff valve instead of a spigot(which, it turns out, was close).  So I figured, maybe I can just get a shutoff valve with a longer handle that this lady can manage with her minimal hand strength.  That way I could just remove and replace and use the existing pipe adaptors.

So I wandered down the plumbing aisle at Home Depot and there was a guy standing there and I showed him the pic.  And that’s when I was told, this was not a water shutoff valve, it was a GAS shutoff valve.  Yeesh.

I have this little theory about some jobs, where things are just bizarre: the theory is, the guy made things work, not properly, but just barely, utilizing parts he had “in the truck.”

So I went round and round with the Home Depot guy about other shutoff valves and then he said, “Let’s go look in the garden section.”  And lo and behold, he found a hose bib extension doohickey that had a little 90 degree turn shutoff arm.  All I had to do was put this in between the hose and the beastly thing.  And here it is:

So now the lady can turn that black doodad easy peasy.  Nice and secure with no leaks.  Hats off to that kid on staff at Home Depot!


Sink Drain Fix

A regular customer called with a pressing issue: they had a water leak.

The leak was in the drain of a basement utility sink.  Normally you would just say “don’t use the sink,” but they had a dehumidifier which emptied– constantly– into the sink, thus the leak was constant.  They had to put a bucket under the sink, and haul it up some rickety bulkhead stairs at least once a day.  Plus it was a wooden floor.  Yikes.

Now as I have said many times, I am not a plumber.  I don’t spend a lot of time learning plumbing skills, as I just don’t like pressurized water, too dangerous.  But, since drains are not pressurized, I am happy to at least give it a look.

I’m not sure if you can see without clicking on the picture to enlarge it but the “tailpiece”– the piece of metal pipe that exits the drain proper– had rusted out, as had the fastening nuts, thus all the brown rust crud running all over.

Next, at the top of this tube was a fastening nut that was just stuck on there.  Perhaps rust, perhaps paint, I don’t know . . . but I want to tell you, I could NOT get that thing to unscrew.

I tried penetrating oil, a banged it, I tried a pipe wrench, I tried heat . . .  nothing.  Finally in desperation I took a hacksaw blade out of the saw frame, held it in my hand, and sawed through it.  Amazingly, that worked.  Once I had a deep enough groove in the nut I was able to split it with a screwdriver.

Removing that nut was actually 2/3 of the job.  For the install, well, it took a lot of watching youtube videos and asking the guy at FW Webb how to do it, but these tubes all fit together like puzzle pieces.  Here you see the top of the new tube not attached yet:

(The fastening nut is down at the bottom)–  it’s pretty cool how they design these things, you don’t need any teflon tape, just use the supplied gaskets and screw them on.

And, here is the final product.

I did an extensive test of running water, and not one single drip came out.  Yay.

I confess, it is just so satisfying to take on a project like this and win, also to do something that expands my repertoire.  You can watch ten youtube videos, but that can never match actually buying the parts and putting them all together.  And it’s especially thrilling when the job solves a really nasty problem for a customer.


Storm Door Wind Chain

[Question:  this post is by far the most popular post on my handymanning blog.  Tell me, is this just one person who loves to read it over and over, or is there that much interest in this topic??  So curious!  best,  Justin]  

A problem I see repeatedly has to do with storm doors.  Many times people install storm doors and they forget to install a wind chain.

A wind chain keeps the door from being swung open–hard– more than 90 degrees by a sudden gust of wind.  Some folks rely upon the door closer to do this job but that’s not really what it is designed to do.  The following pix will illustrate:

Here is what I found upon arrival:   

This was kinda screwy in several ways.  Note the spring hanging off to the right.  This makes no sense.  Also, because the door went flying wide open it bent the porch light.  Next you see . . .

. . . the existing door closer.   Note how the piston rod has been bent, from the force of the wind blowing the door open.  Also if you look carefully you can see that the bracket holding the piston rod has been pulled out of the door frame (I had to fix that).  Also . . . it’s black and obviously does not match the white door.

So here you see the new chain (left):

The old chain (right) was not installed properly.  It is in the wrong spot, too close to the jamb, also it is square with the frame when it should have been put in at a 45 degree angle, as I did the new one.  And here it is all done:


Note how the spring is now properly mounted in the middle, so when the door is shut the chain is pulled up and out of sight.  And finally the new closer:

I left the existing (black) door attachment piece on there, as that piece of hardware had been attached several times before and the door looked like a swiss cheese in there, full of holes.  The existing piece was well attached and I decided (as I often have to do) to do a compromise, as perfection is the enemy of the good, or in the this case, good enough.      A little adjusting of the piston screw and it’s closing perfectly, and no more wind gusts ripping everything up– the new chain will prevent the door from opening more than 90 degrees.