More Downspout Fixes

I normally don’t announce that I “fix downspouts” because I only have a 6 foot stepladder, and to fully fix downspout issues one has to have the ability to climb pretty high.  That said, if a downspout has an issue that lies in its bottom 10 feet, I can fix the issue.

I have a certain fondness for fixing downspouts because my third handymanning client had a downspout problem.  Back then I was eager to make money so I took on jobs that I didn’t really know how to do, but I figured I could figure out the issue . . . learning on the job was always a bit of a stress test, and continues to be, but in that case I succeeded, and now I know all the rules.

Anyway, fixing downspouts is actually pretty easy BUT . . . you have to know all the little in’s and out’s.  And it amazes me how often I encounter downspouts that break those rules and thus need fixing.

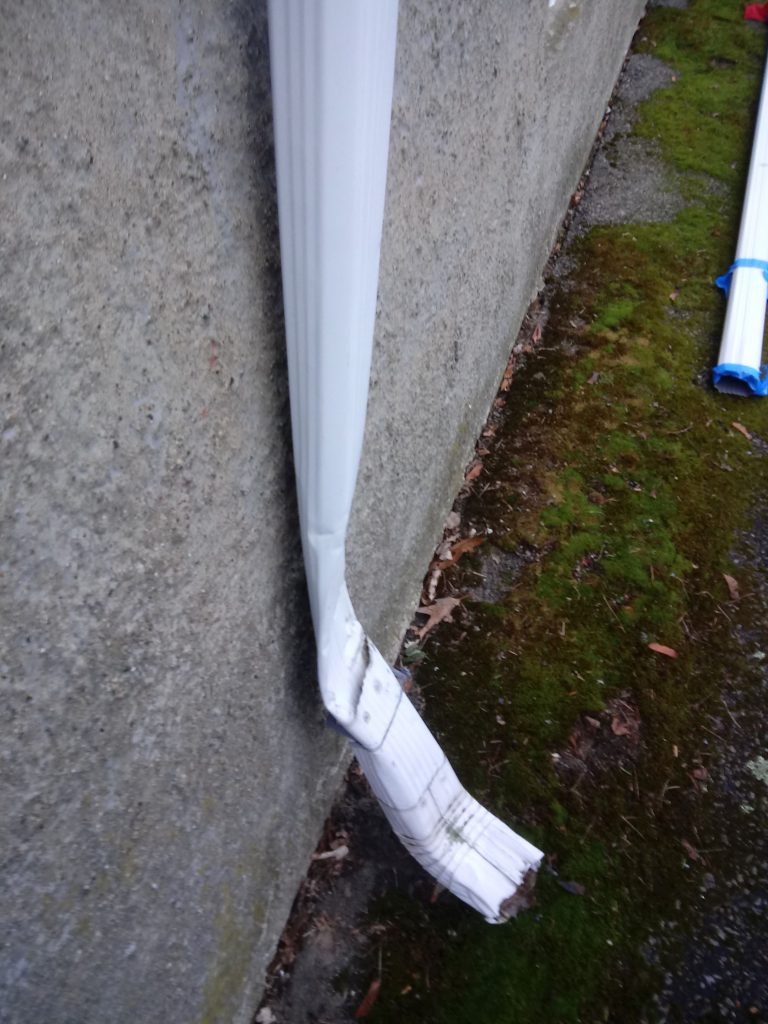
So anyway, a regular client called, and someone had backed a car into a downspout and crushed it, thus:

Not only that, an attachment bracket up about 12 feet had come loose out of the brick mortar, so that needed to be fixed too.
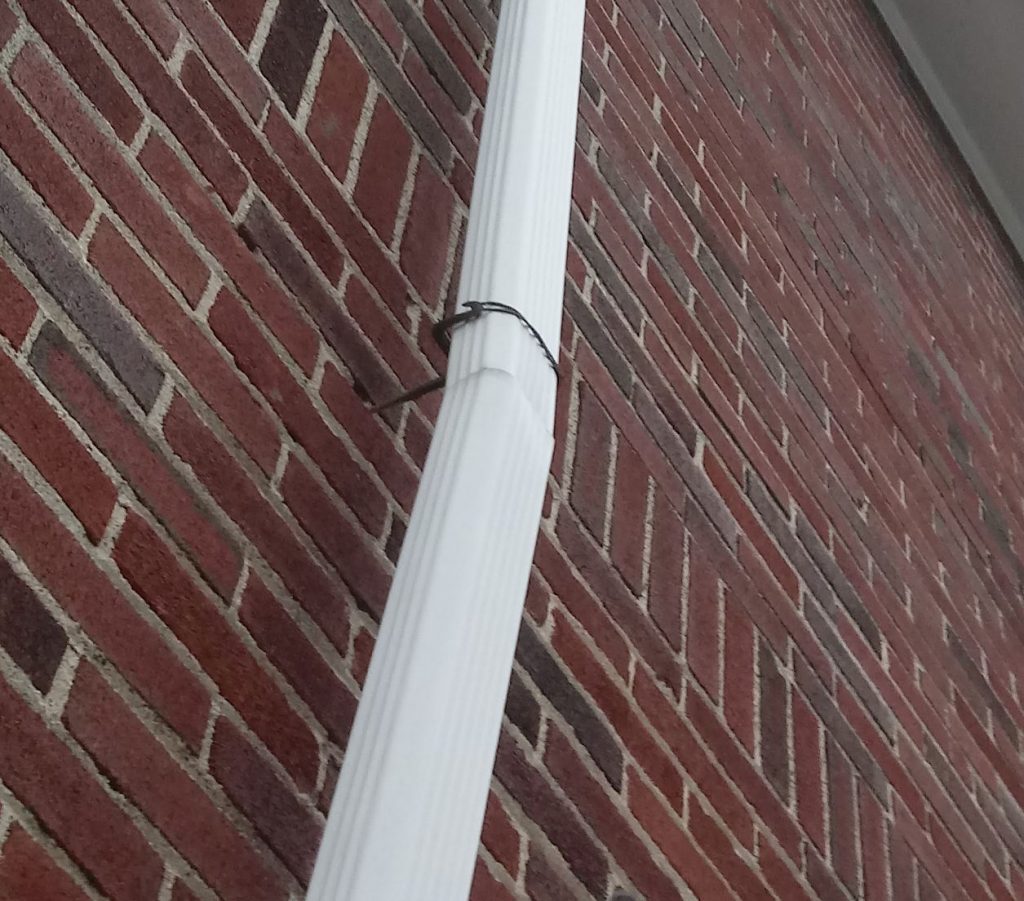
Closeup:

So, I put some construction adhesive in the hole and pounded the connector back into place.

Then I removed the tube, yeesh, it was a ten foot piece:
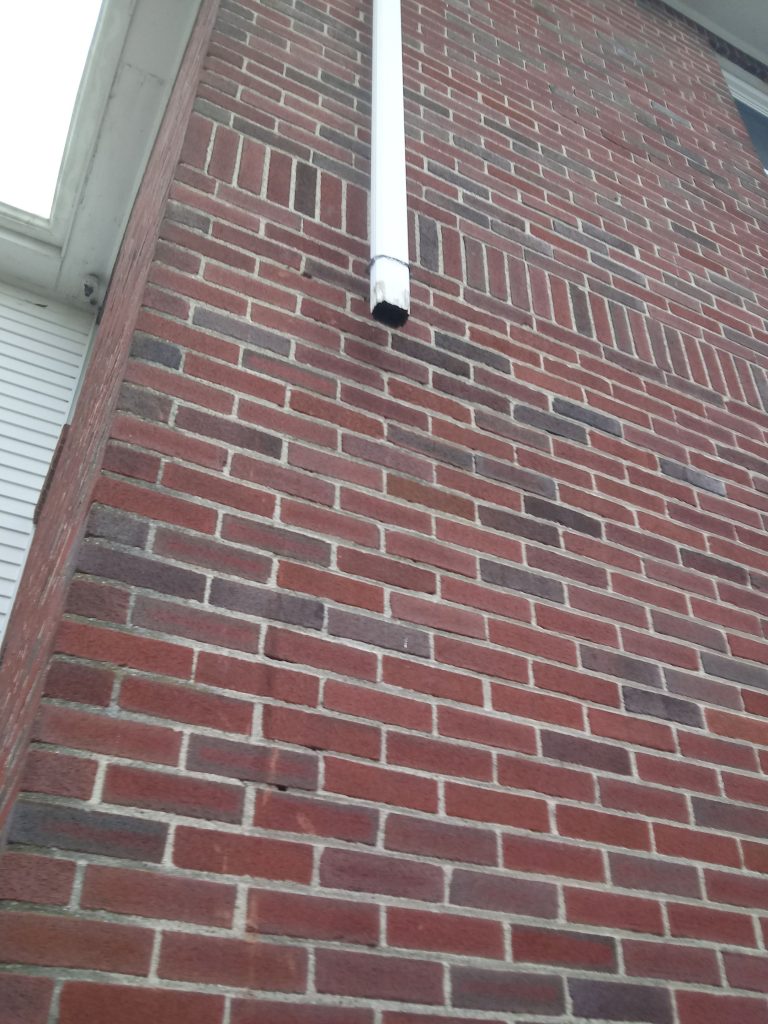
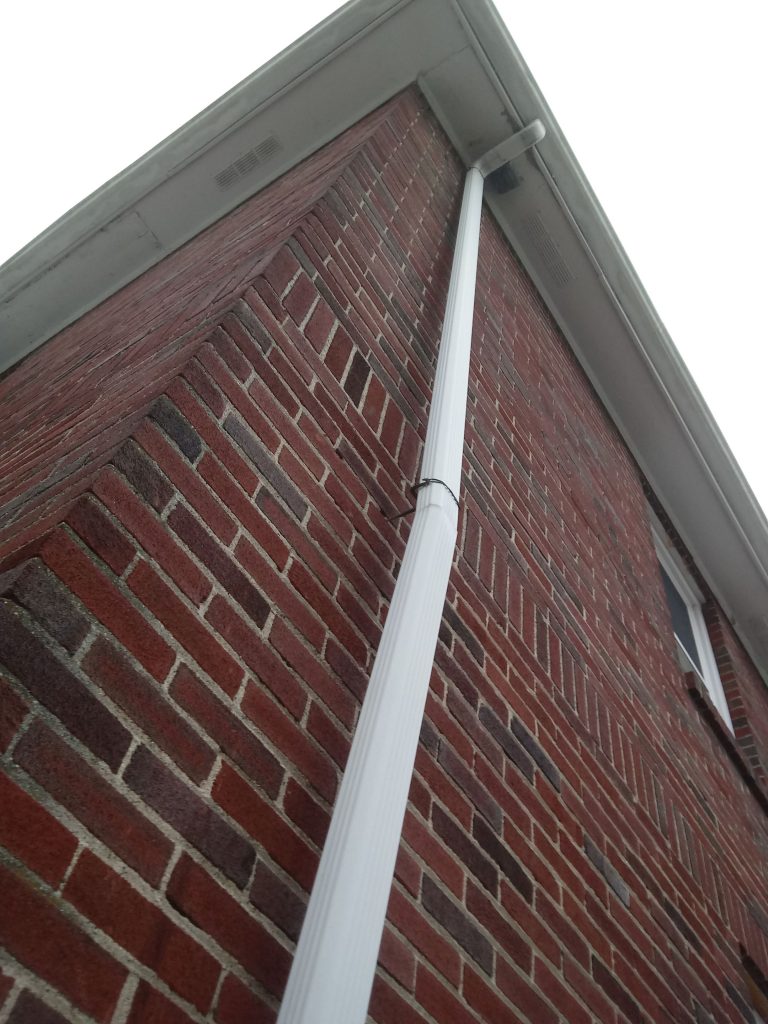
 And I put on the new piece, attaching it with a white stainless screw (which had been lacking previously):
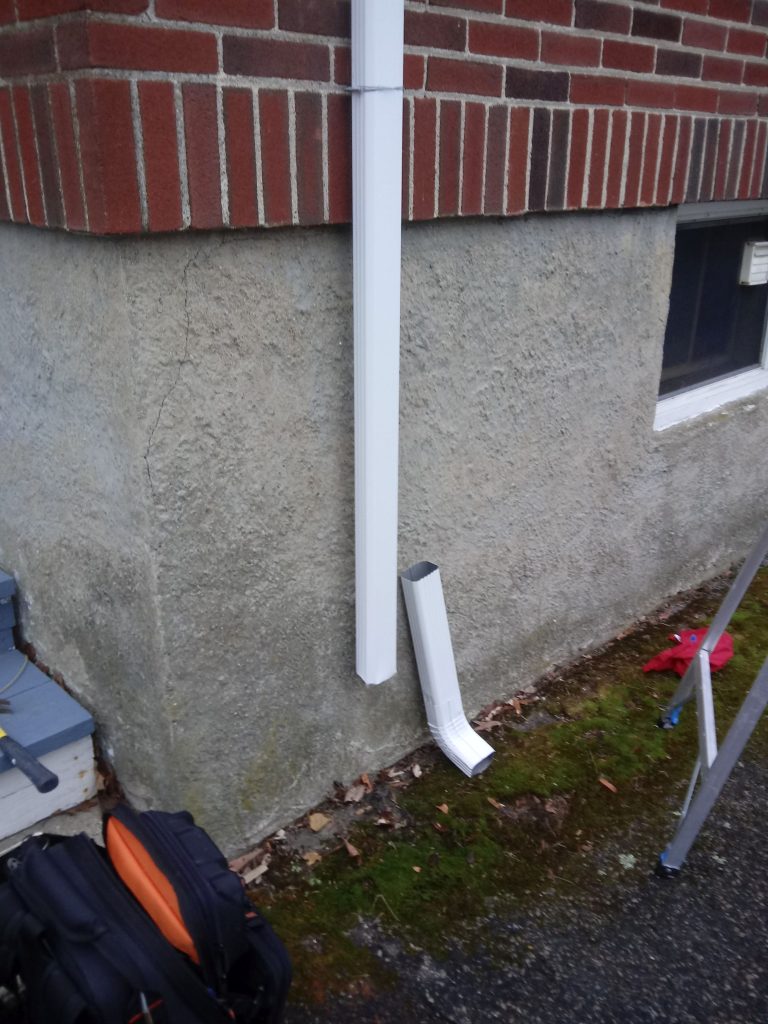
And then I fitted on the bottom piece.  Also I added a connector onto the concrete.  Now it’s all straight and solid.
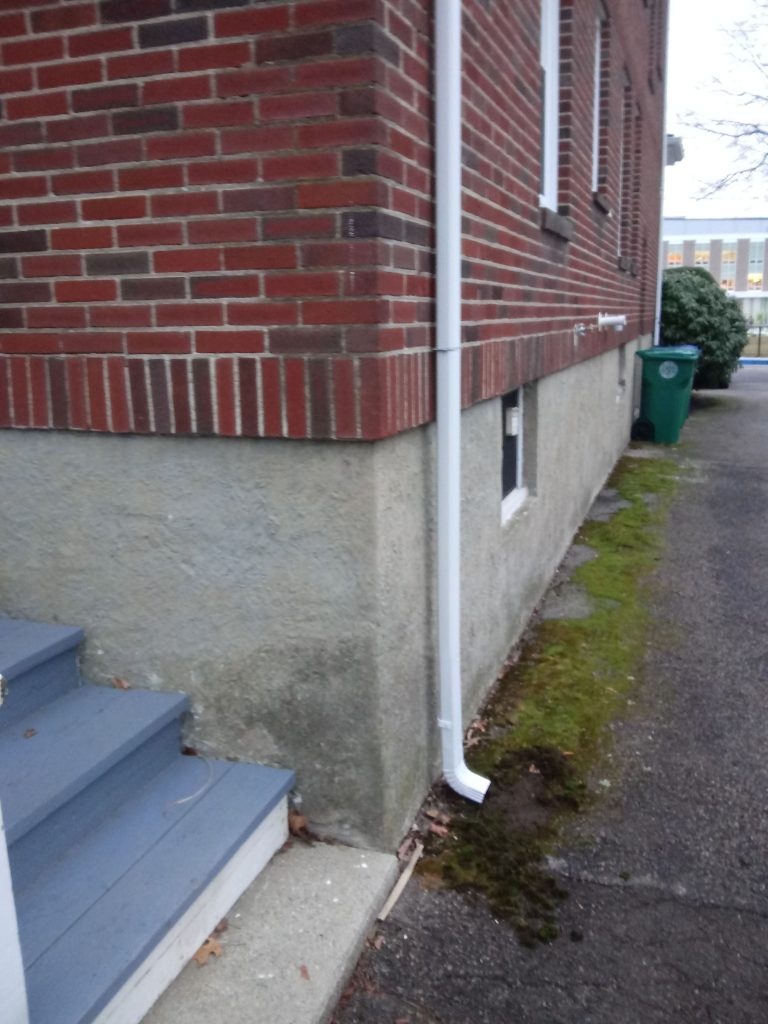
Notice the white headed stainless screws.  Looks fabulous and is properly attached everywhere.
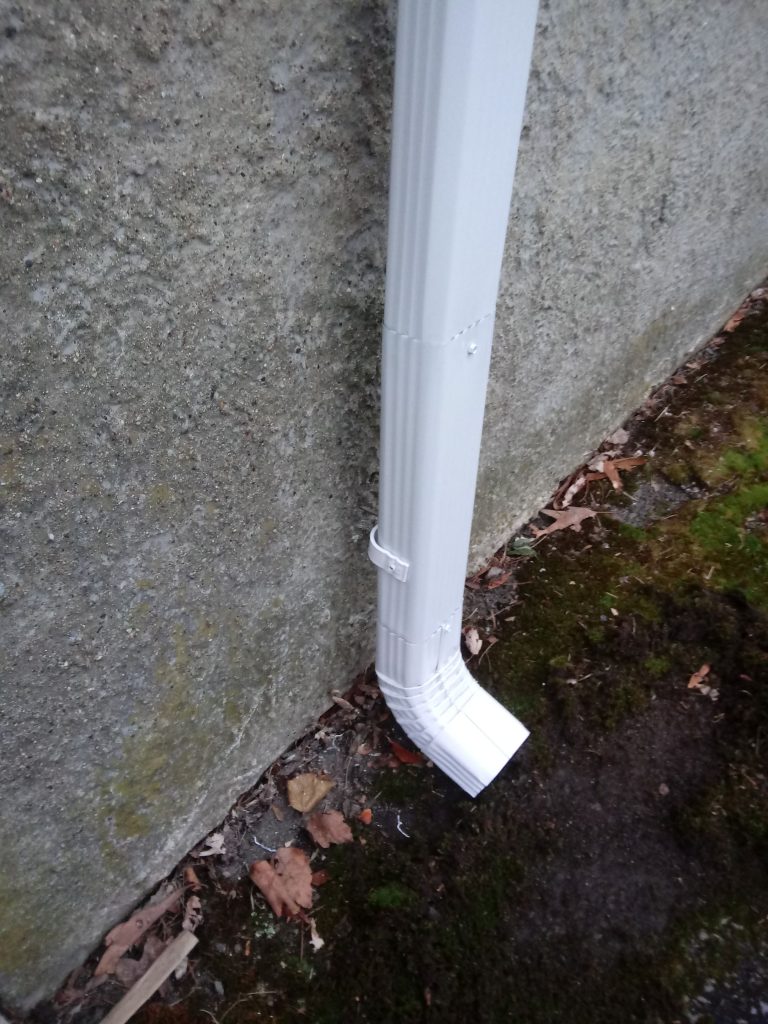
Note I offered to clean up the moss but they said they would do it themselves.

Cat Tree Install

A big part of being a handyman is assembling things and hanging things on walls.  A client called and asked me to assemble a “cat tree” for her newly adopted kittens and install some shelves for them to climb upon.  Here we go.

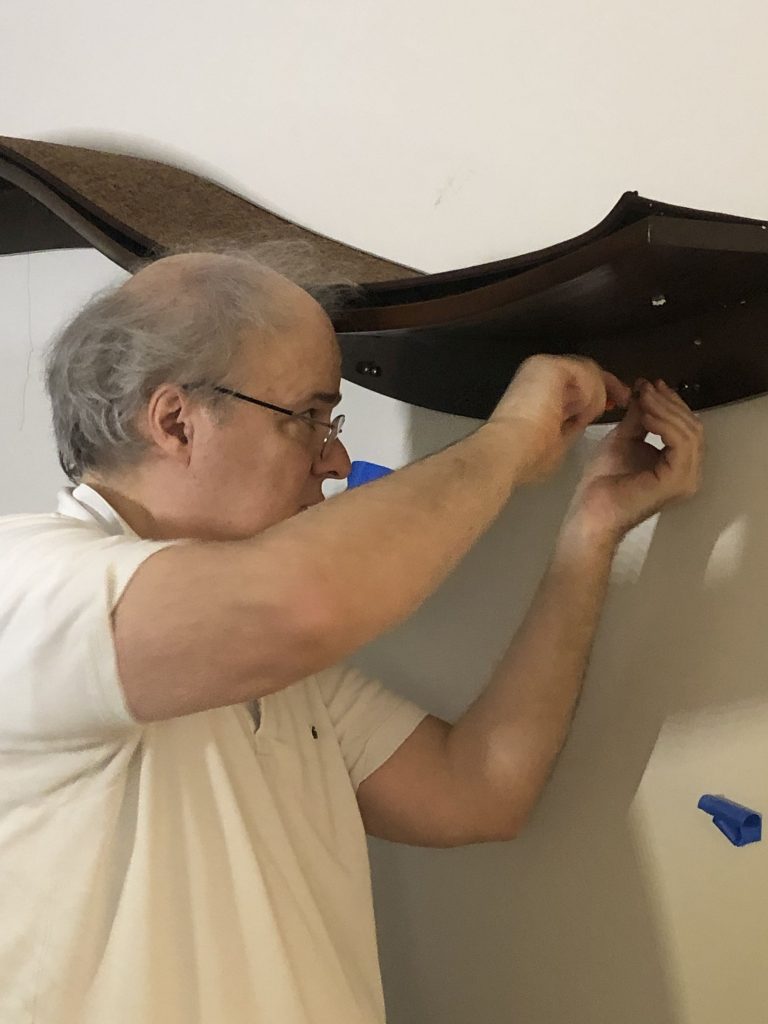
A rare pic of me working:

And here is the cat tree:

Looks simple but it took 2 hours to assemble. And finally the shelves for the little critters to hang out upon:

I like to see satisfied customers 🙂

Basic Switch Swap

I know a little bit about electricity . . . as I am fond of saying, mostly, I know to call an electrician.   But there are a few things that I dare to tackle: mostly rewiring lamps, and the occasional switch and fixture swap.  As long as the existing wiring is kosher, I generally know what to do, and it helps that I have a pal who is a licensed master electrician who will take my calls for help.

Anyway, I was doing a general list of fixits for a client in a gorgeous old house, when I noticed that their electrical faceplates were all . . . old.  Just scuffed up and worn out.  So at my urging, we started to swap out the faceplates.  Made a huge difference.  But then I got to the kitchen and  uh oh
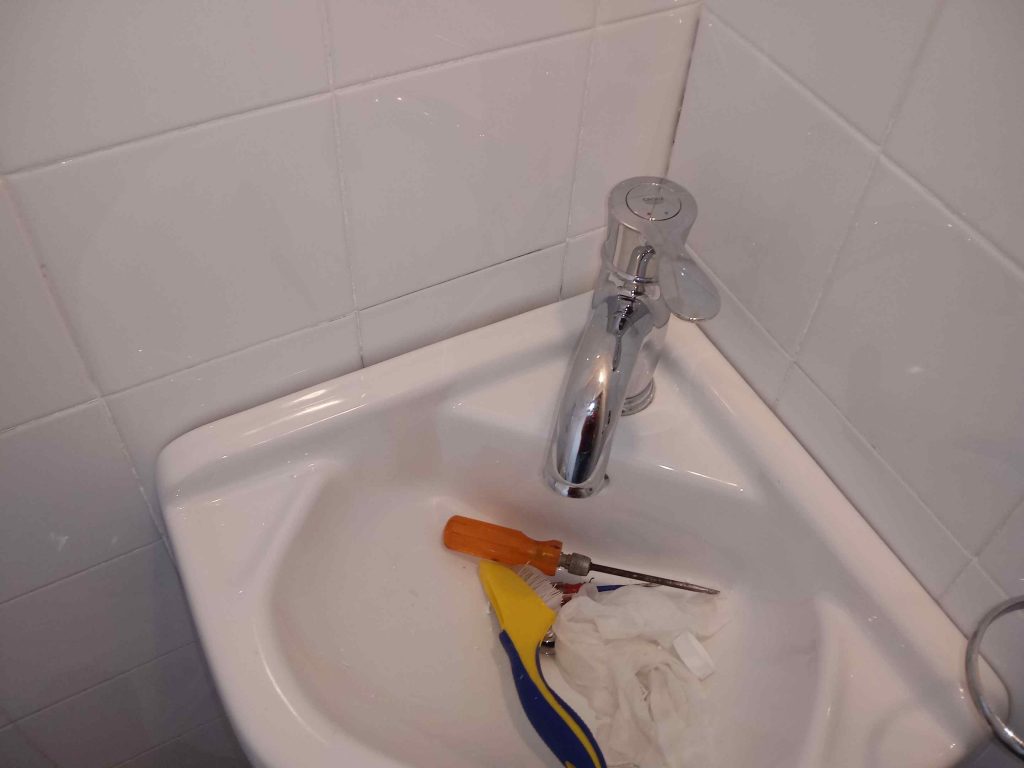
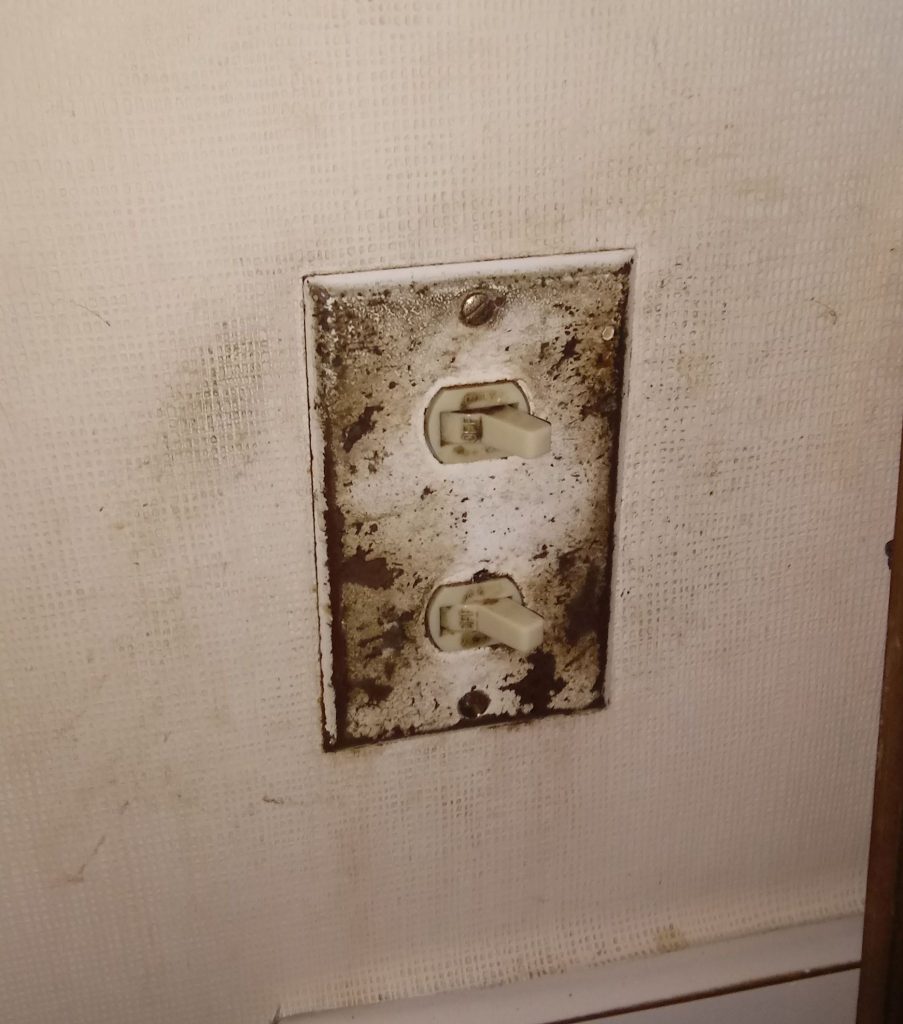
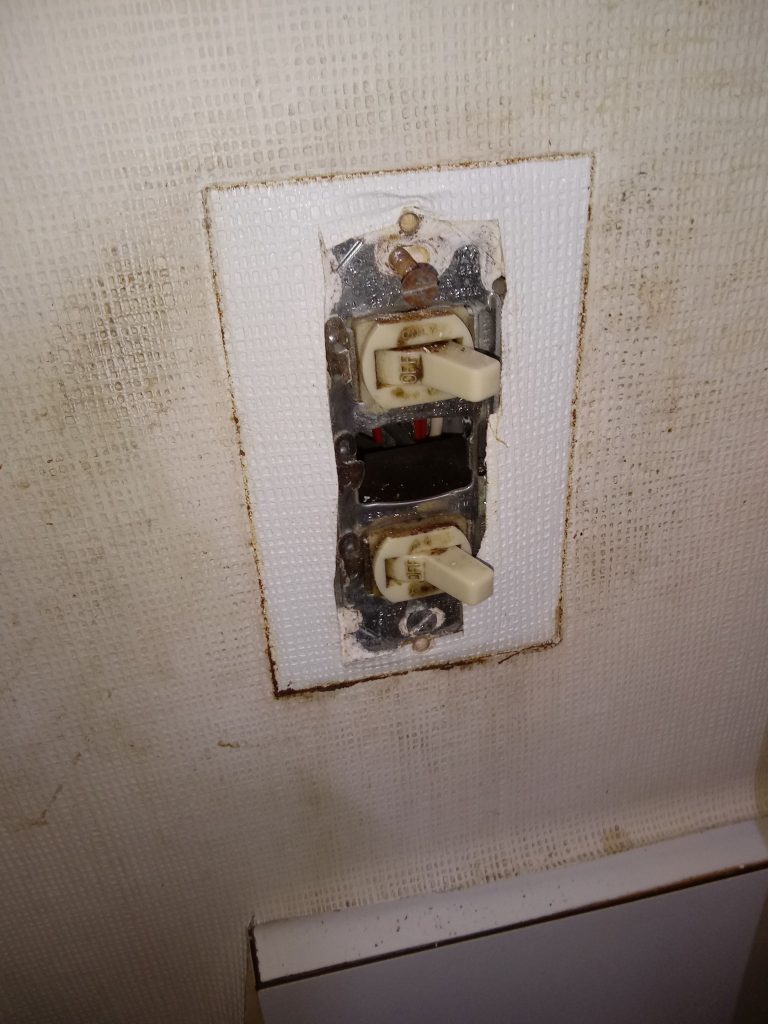
This was a weird setup.   Normally a “over/under” switch like this just takes a regular outlet cover, but this was super small.  After some research I learned this was an outdated and now obsolete/illegal design.  My goal was just to improve aesthetics, not mess with wires, but this needed a replacement.

So, cover off: 
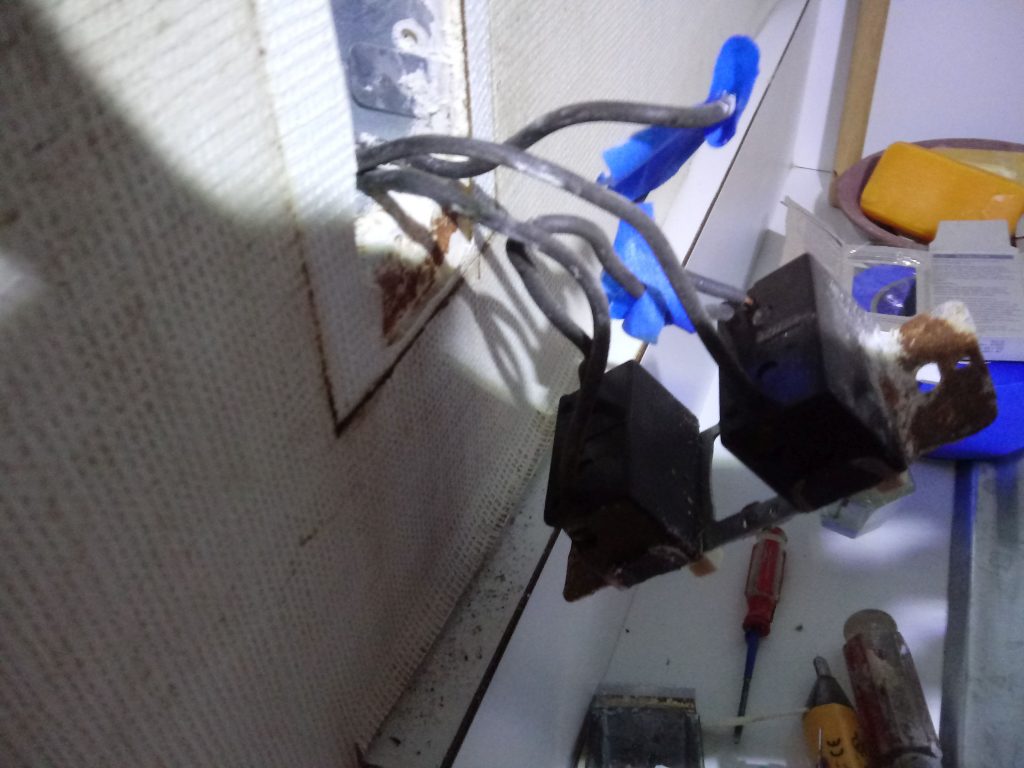
Wires out:
 

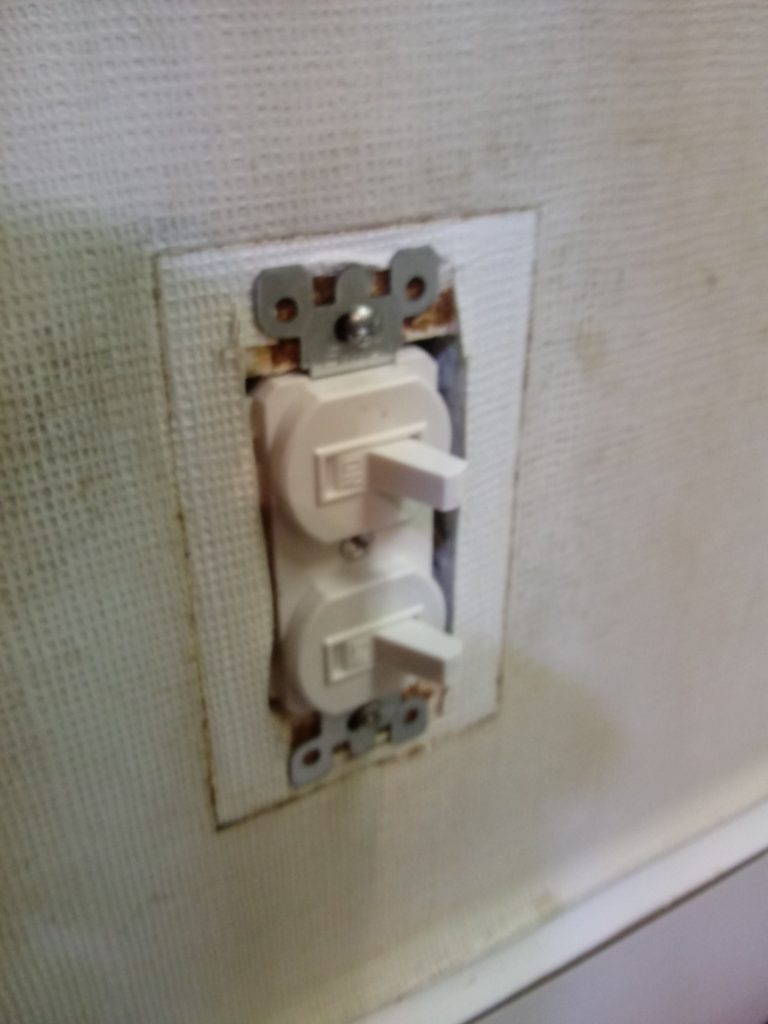
New Switch, which in this case was really two new switches:

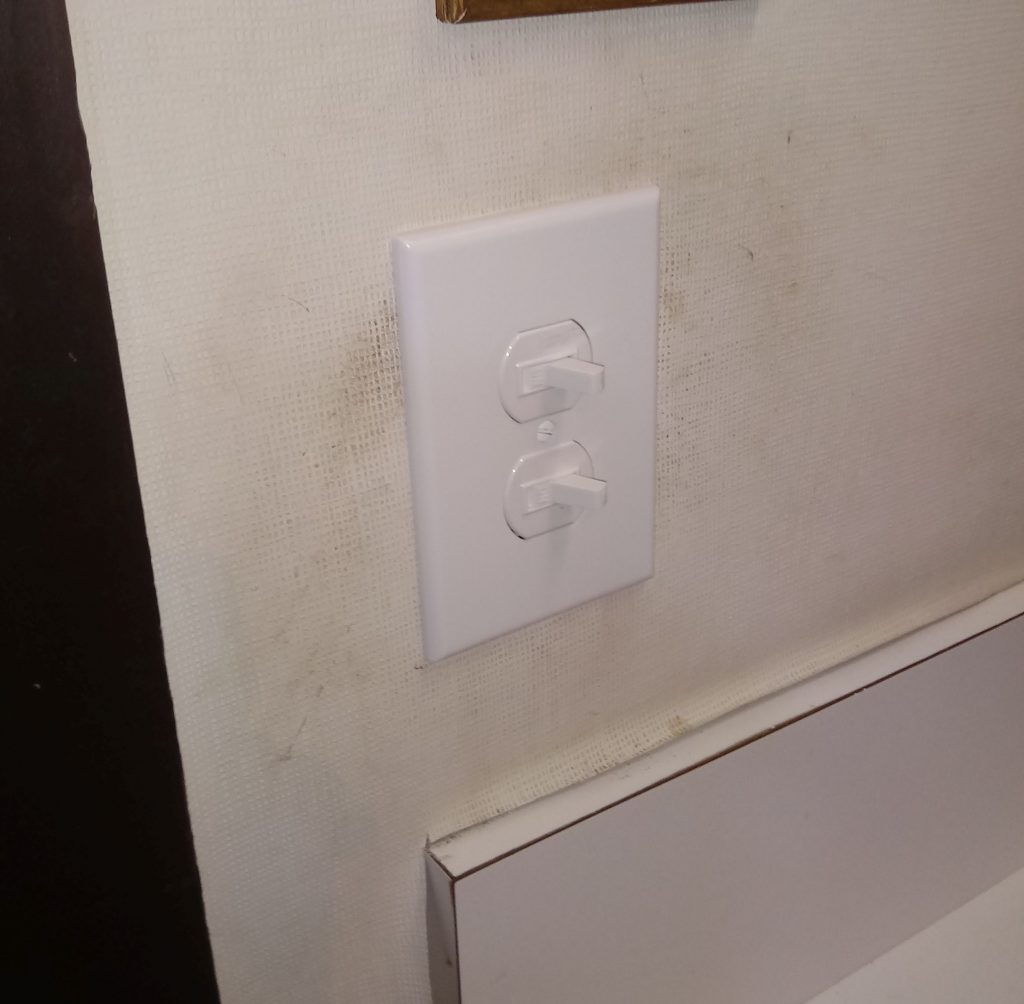
And in a final turn of handyman cleverness, I used an oversized faceplate to cover the crud of the old, VIOLA:

Tools

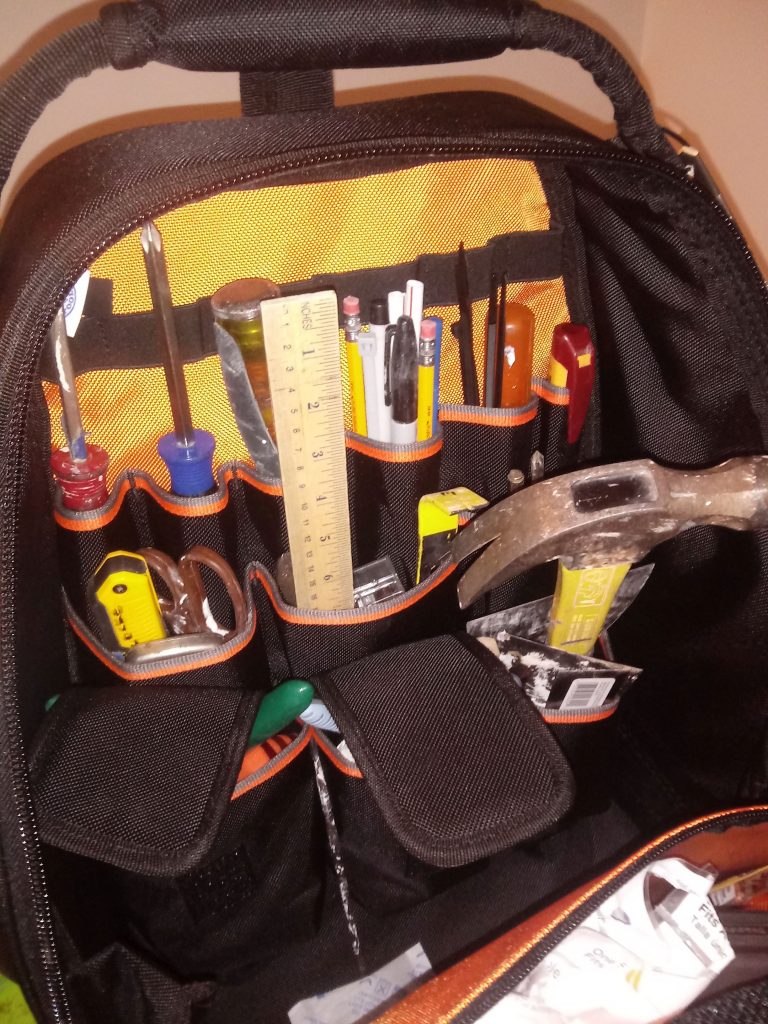
When I started this handymanning thing, I already owned a nice big steel toolbox, and I have been using that for years, but it only has a top and bottom compartment so things tend to get jumbled.  So now I need to move up.  I just bought (actually my sister bought it as a xmas present) a high end Klein backpack toolbag, and boy is it awesome:

These are just a few of the FORTY NINE pockets this thing has!!  So anyway  I thought it might be fun to share what a handyman like me has to carry to every job, as you just never know what you might need. Here goes:

hammer

pliers
needle nose pliers
pinch pliers
channel locks

screwdrivers, philips:
large
medium
small
tiny
offset

screwdrivers. slotted:
large
medium
small
tiny
offset

plus a 6 way screwdriver with both heads

putty knives:
large
medium
small

sharpies
pens
pencils

chisel

crowbar

file

wood rasp

clamps

tape measures (large/medium)

ruler

work gloves:
leather
disposable latex gloves
neoprene gloves

nylon ties
paintbrushes (regular/tiny)

wood:
stir sticks
popsicle sticks
1×2 pieces for whatever (kept in truck)
shims
toothpicks

soft copper wire (romex)
grout brush
toothbrush

scrub brush
straw

liquid nails
wood glue
silicone

nylon string
magnets

WD40
Bolt loosener

long drill bits

circuit tracer
voltage tester
black tape
wire nuts
electrical pliers

water

cordless drill
cordless drill batteries
drill bit case
long drill bits
stripped screw head removal kit

razor blade window scraper
box cutter
jackknife
ice pick
flashlight
aa / aaa / 9 volt batts
headlamp

tin snips
vice grips
stud finder
wire brushes
fasteners: screws, nails, molly/butterfly bolts
stain pens

sandpaper

rubber hammer

grout float

assorted primers and paints

socket set

And there are more little doodads bought for one job and never used again that don’t live in the active toolkit, but I keep them on the tool shelf just in case.  That includes spackle, drywall joint compound, drywall tape, foil tape, mesh tape, wood putty, bondo, and sandpaper everywhere.  Plus my dremel saw.  door lock drilling template kit, and an orbital sander.

This backpack saves major wear and tear on my elbow ligaments when hauling this 45 lbs of stuff.  And of course it keeps things organized which is huge.   See you on the next job 🙂

Fixing a Rotted Door Frame

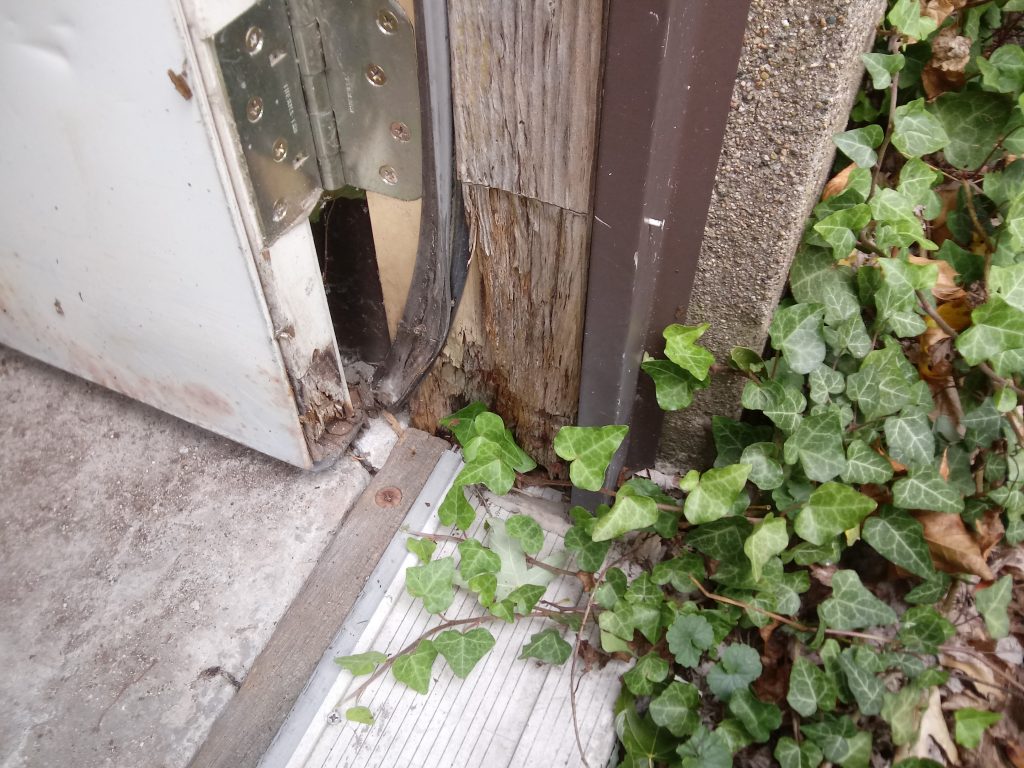
A regular client called me to look at an exterior door that exited her basement.  I often say that 60% of my work is fixing improper installations, and this was a good example.  The drainage near this door was not really ideal, so lots of water was getting in, but even then, lots of other things were wrong, like wood touching concrete.  Anyway, long story short, the bottoms of the jambs were rotted out.  So one could ignore it and live with the inevitable results, or shell out 500-800 (or more) to replace the door, OR . . . Have Justin repair it.  here goes.

This pic doesn’t look so bad but   .  the bottom few inches of jamb was rotted away, plus the weatherstripping had curved inside.

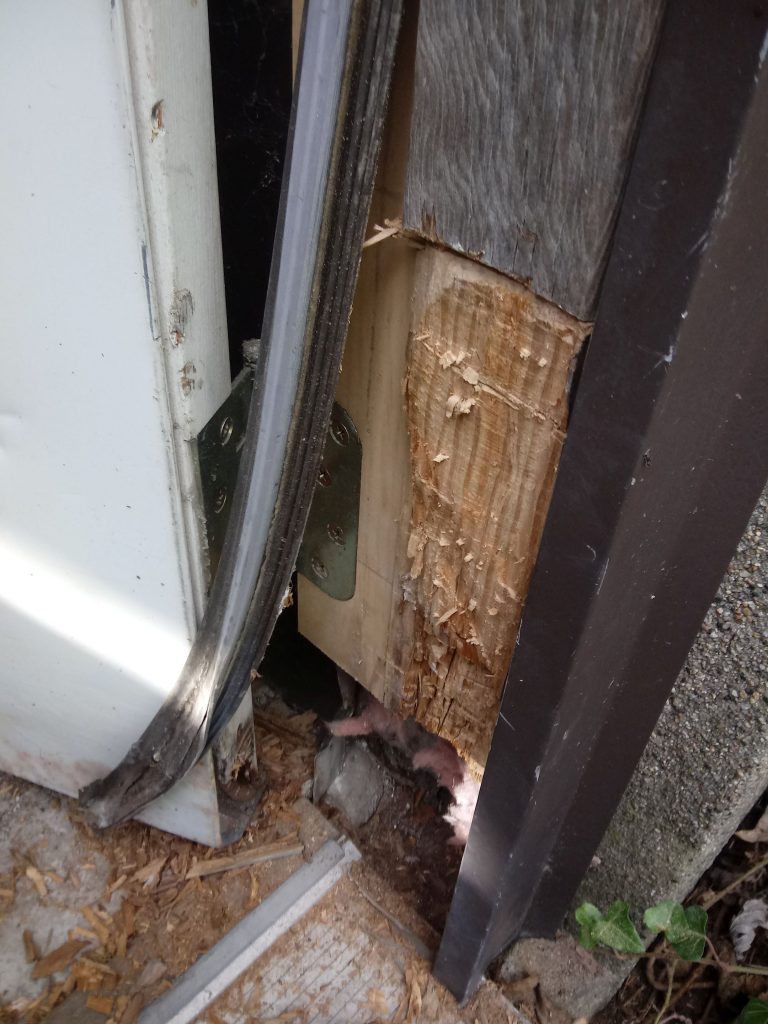
So I started to remove the rotten wood, not knowing what I would find . . .

I got all the rot off, then I had to prep the area to accept a patch.

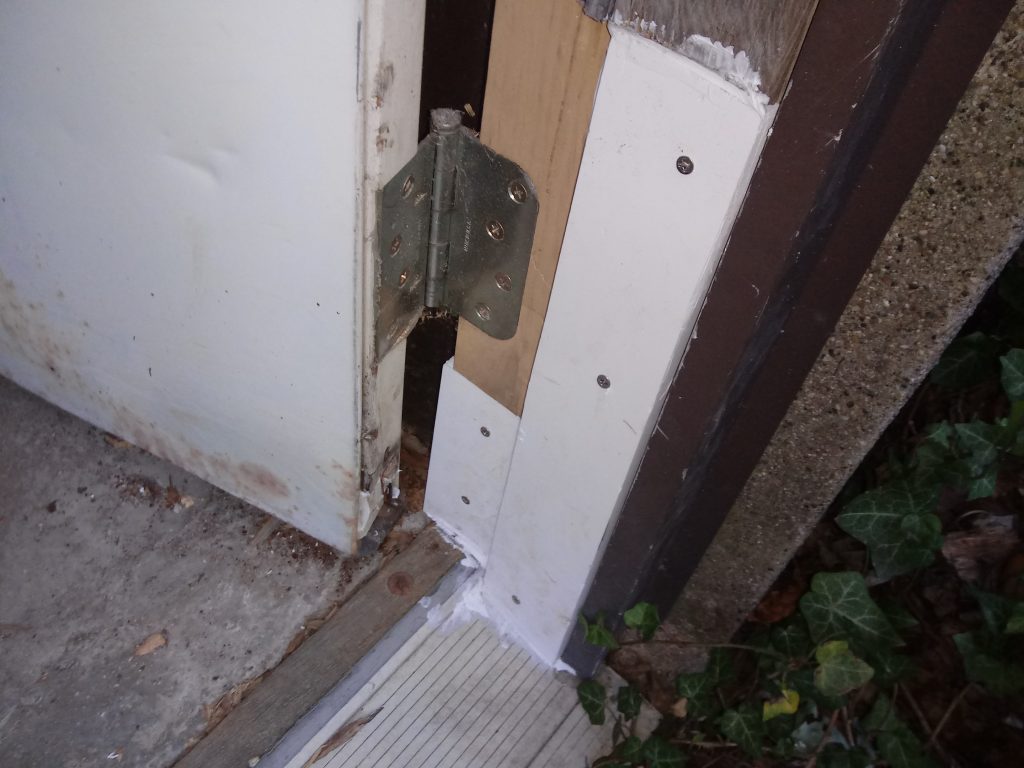
I had to drill into the concrete and I used PVC board for the patch, as it is totally waterproof, viola:

I had 8 feet of PVC board, so I used it to build up supporting structures between the concrete and the patch, so it is nice and super solid.  The other side of the jamb had similar problems, also fixed, so the client is now rot free and good to go for at least 10 years, maybe more, for a quarter of what a new door would have cost.

Way Too Much Silicone

I confess, one reason I write this blog is purely for therapeutic reasons.  Sometimes the work is somewhat traumatic.  There is an unwritten rule in the home repair biz which is, “make it easy for the next guy.”  Alas, this guy did not do this.

Case in point, a while back a friend bought a house and asked me to remove the glass doors in the tub.  Hey, I thought, no big deal, demolition is easy, just take it apart and go home . . . WELL . . .

I got the top piece off easily enough, it was just on there with gravity.  And with it went the doors.  So then all I had to do was remove the two screws holding the side pieces, break the silicone seal with a knife, and done.  SO I THOUGHT.

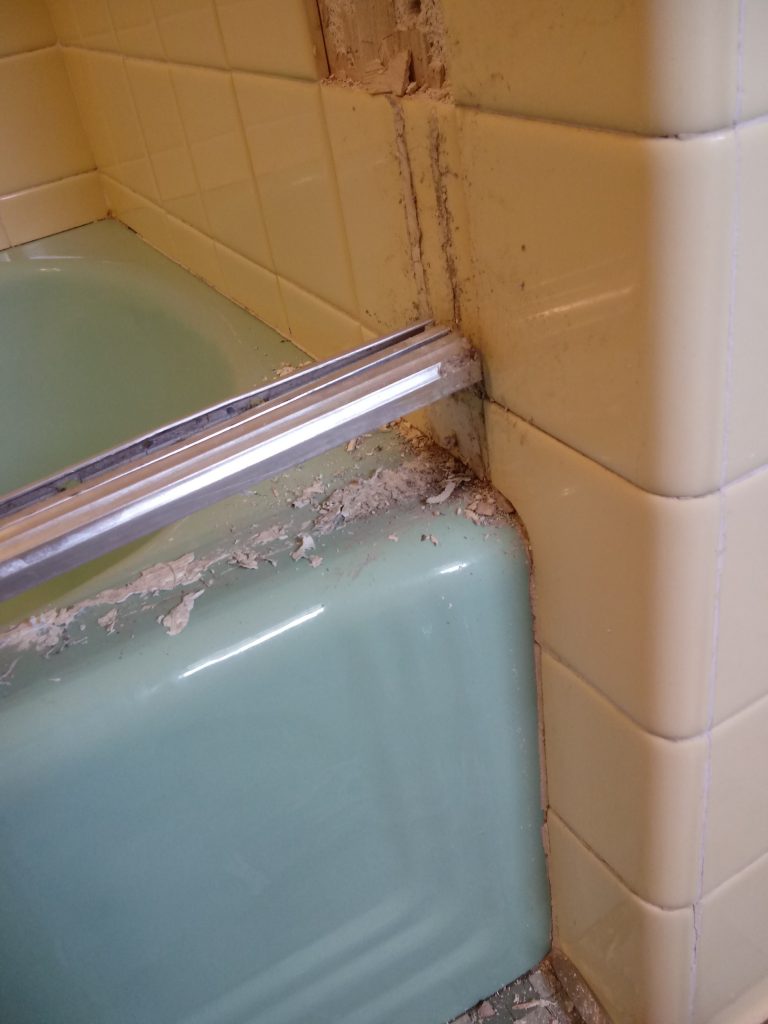
I quickly learned that the previous owner was seriously into overkill.  I started to try to remove the side and bottom pieces, and I discovered that he had used, what  6 tubes of silicone caulk?  Maybe more.  The 3 metal pieces were glued on there.   Insane.

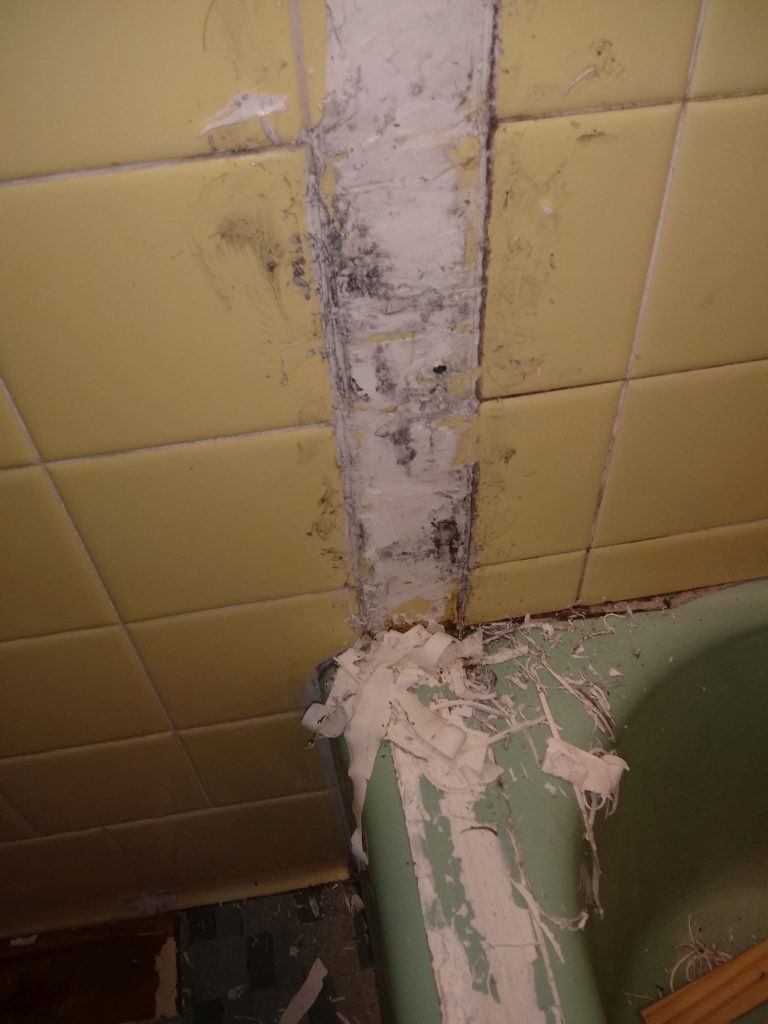
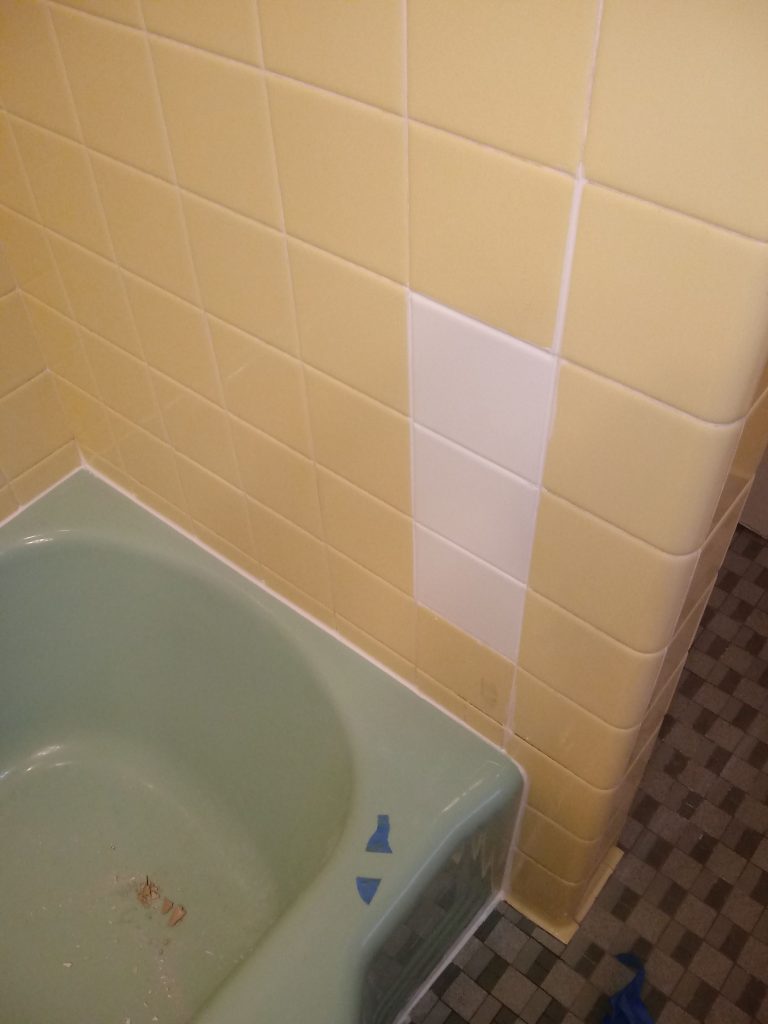
The right side piece was glued on so tight that it pulled 3 tiles off the wall when I pulled on it.  Had to replace those, see below . . .  Client is redoing the whole thing next year so we just did a patch.

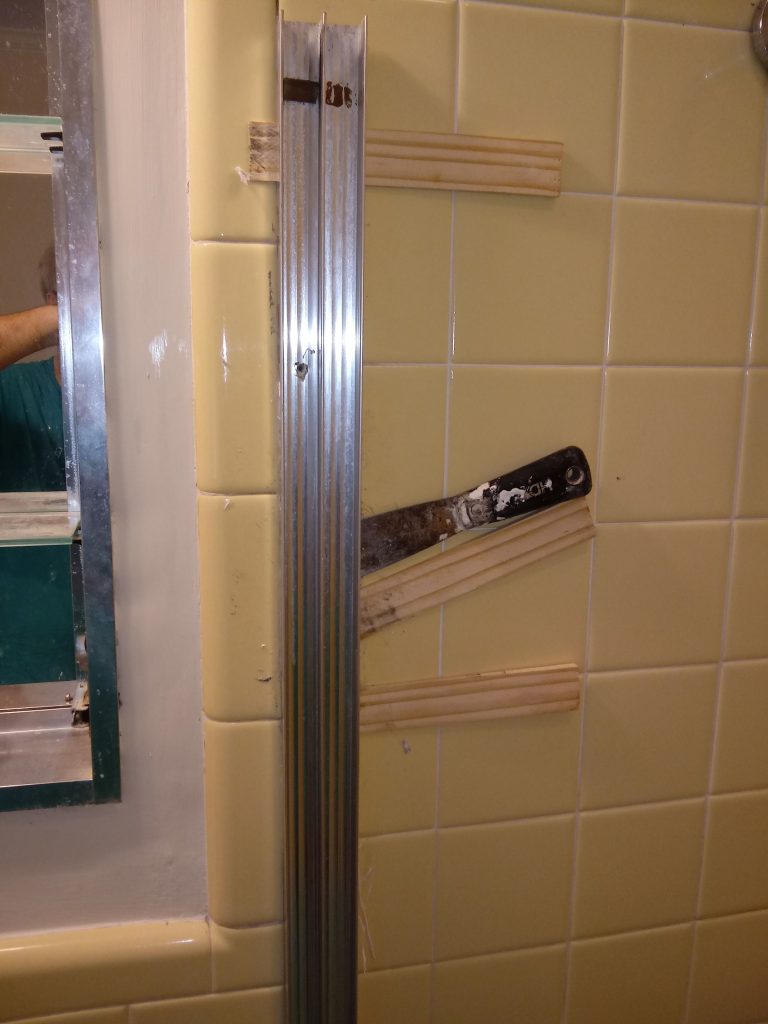
More pix . . . The pieces were not only on like crazy, but when I pried them off and went to the next section, the previous section would fall back and re- glue itself, so I had to use shims all the way down to keep pieces separated:


Yes, no joke, he really did use this much caulk.  The thing would not come loose until I pried loose the last 3 inches.

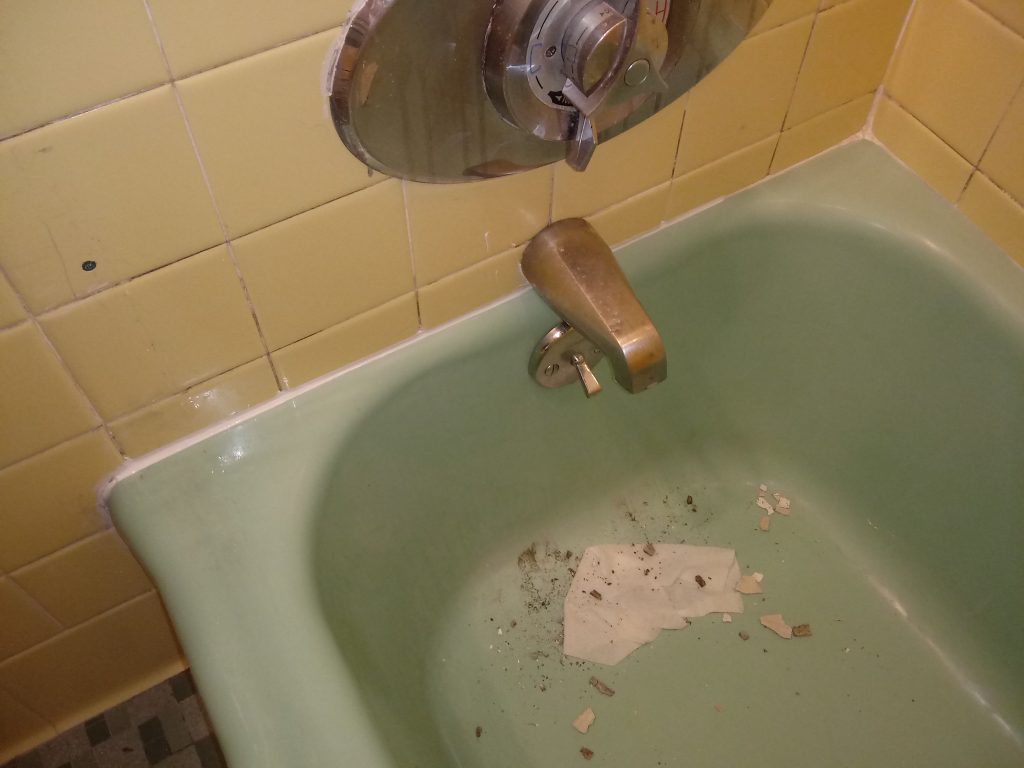
So got it all off and put some silicone on the top edges to just waterproof the thing til next year.  What a frickin nightmare.


A Massive Wall Fix

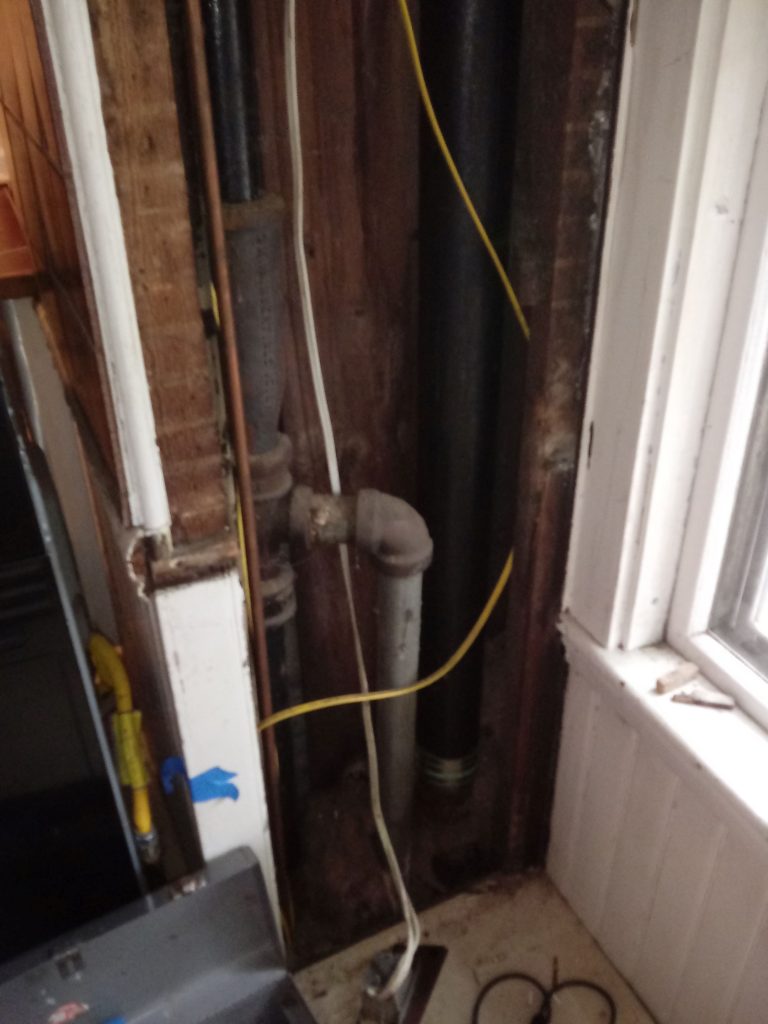
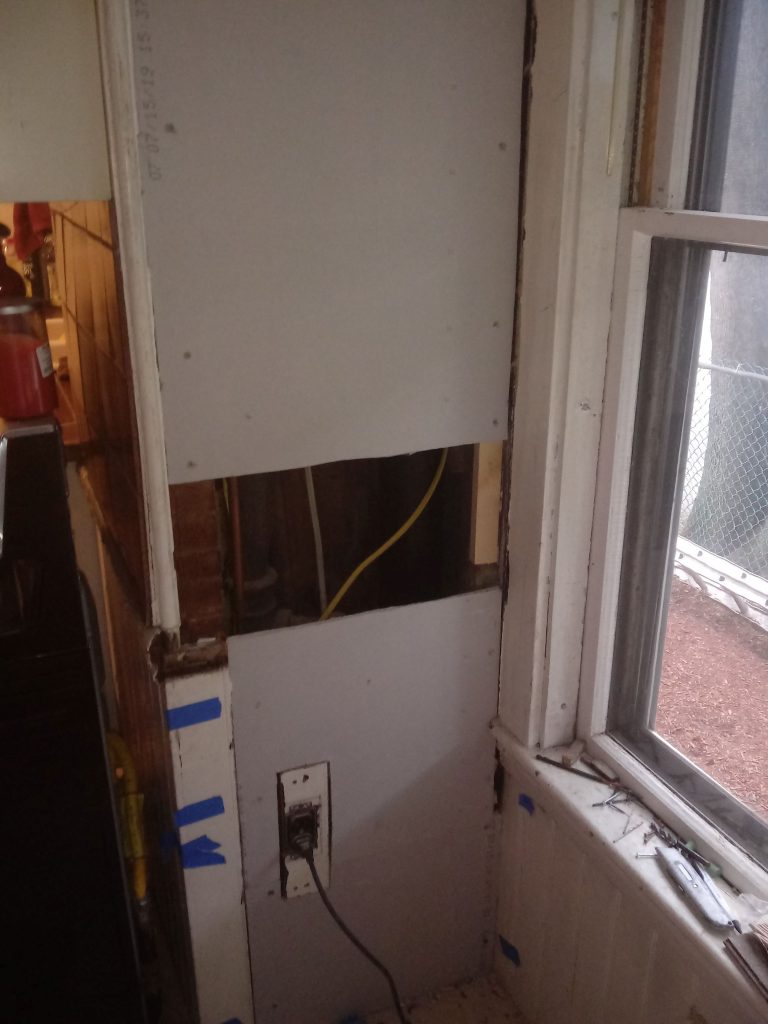
I confess I love plumbers, as they are always busting holes in walls that I then get to fix.  In this case, an entire section of wall was knocked out by plumbers to address a leak:At first I thought “whoa, this is way too big for me,” but then I thought, “I plug holes in walls all the time– this is just a slightly bigger hole.”  So I picked up some lumber and drywall and went at it.

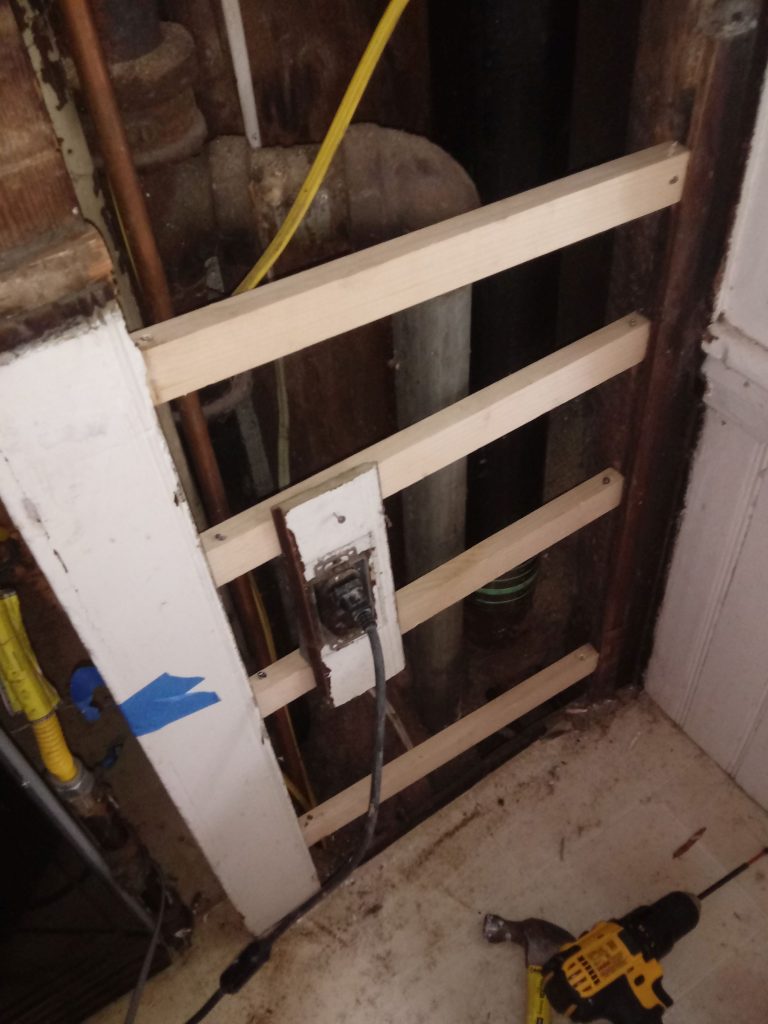
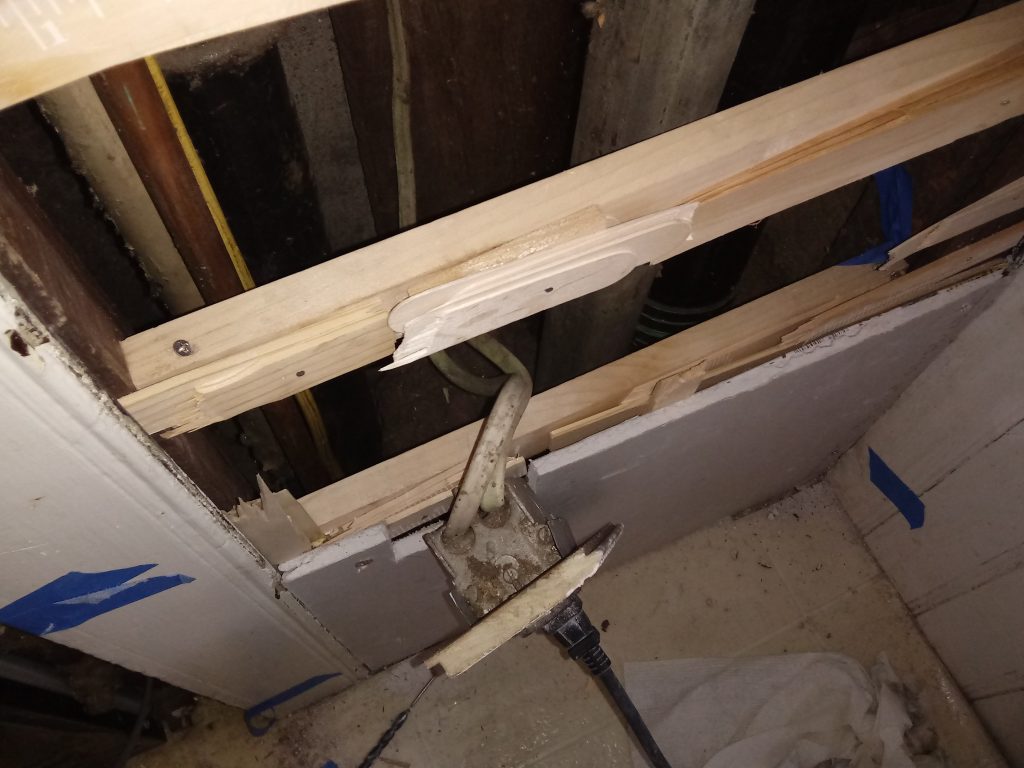
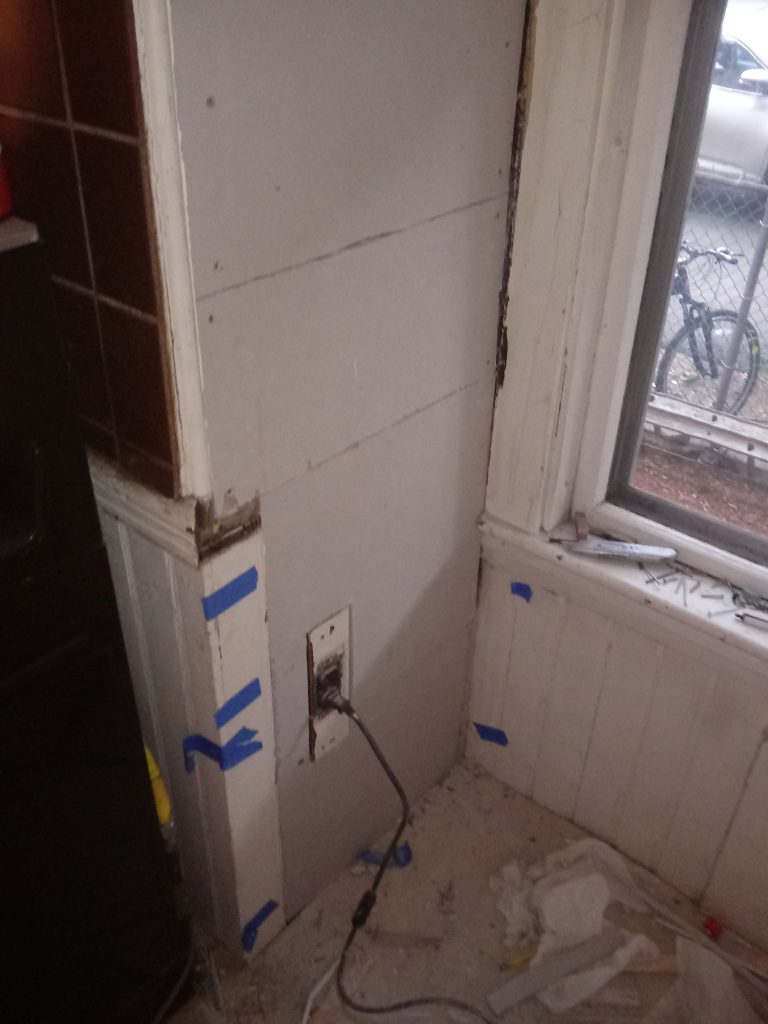
The trick to putting up drywall is having a nice level skeleton of support behind it.  This job was tricky because here at the lower half it used to be tongue in groove wainscotting, AND there was an outlet in the mix.  OY.  SO I had to shim shim shim to create a decent underlayment: I used shims and stir sticks.  then I had to cut the hole for the outlet.  once I got the lower half done I could do bigger pieces from there to ceiling:

And, well, finished in terms of the wall existing:

Oy this was a lot of work to make it all fit with no lippage and no spongy spots.  I put 2 struts across the back of the outlet to support it.

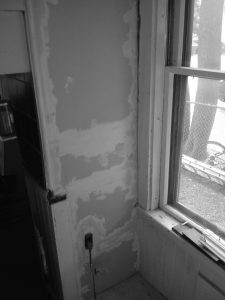
And finally, before and after– here it is all taped and mudded and ready to be sanded and painted.  What a difference!

Gotta Get the Good Goop

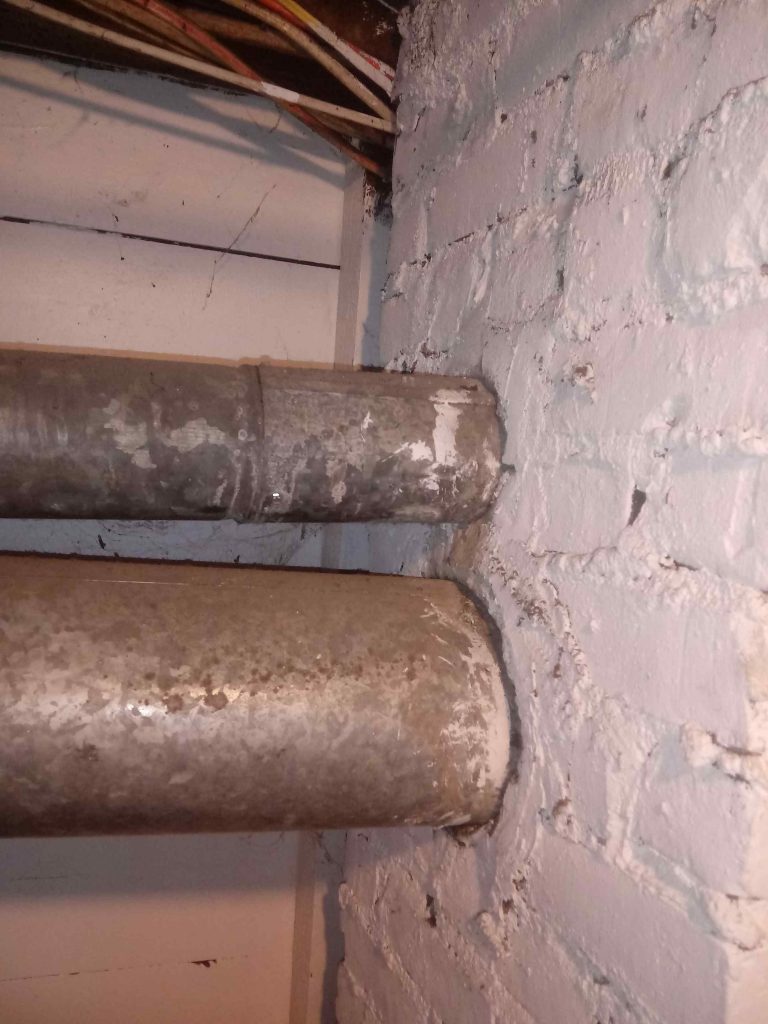
So a regular client came to me with an issue, she had two furnace pipes going into a chimney but they were not sealed around the edges, and her insurance company said she had to get them sealed, as they might leak carbon monoxide.

In any job calling for some kind of sealant (I refer to such gooey substances as GOOP), I always have to be on high alert, as it is SO easy to get the wrong stuff, and there are so MANY WRONG CHOICES.  so I asked my guy at Home Depot about this, and he said I should get this product from Oatey/ Hercules,  their high temp furnace cement:

Okay, this certainly looked good and made sense, I figured I needed something that could withstand the heat of the gases in the pipes.  So I bought a tub of it.  (Big mistake here, I did not cross check with other experts.)

Comes the day to do the install, I could not quite figure out the instructions on the tub for how to do the curing, as I was supposed to run the heat a little after installing as the heat would cause it to cure.  So I called the company hotline and told them what I was up to.  And they said, “NO NO NO you should not use this product for that kind of thing, out product needs super high heat to cure and those pipes will never get that hot.”

OOPS.  WRONG GOOP.

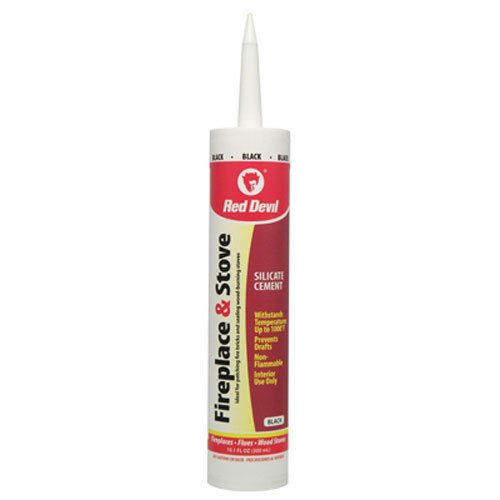
So I called a local hardware store that deals in cement and mortar, and as luck would have it they had a guy who knew what kind of goop I needed, a product from Red Devil:

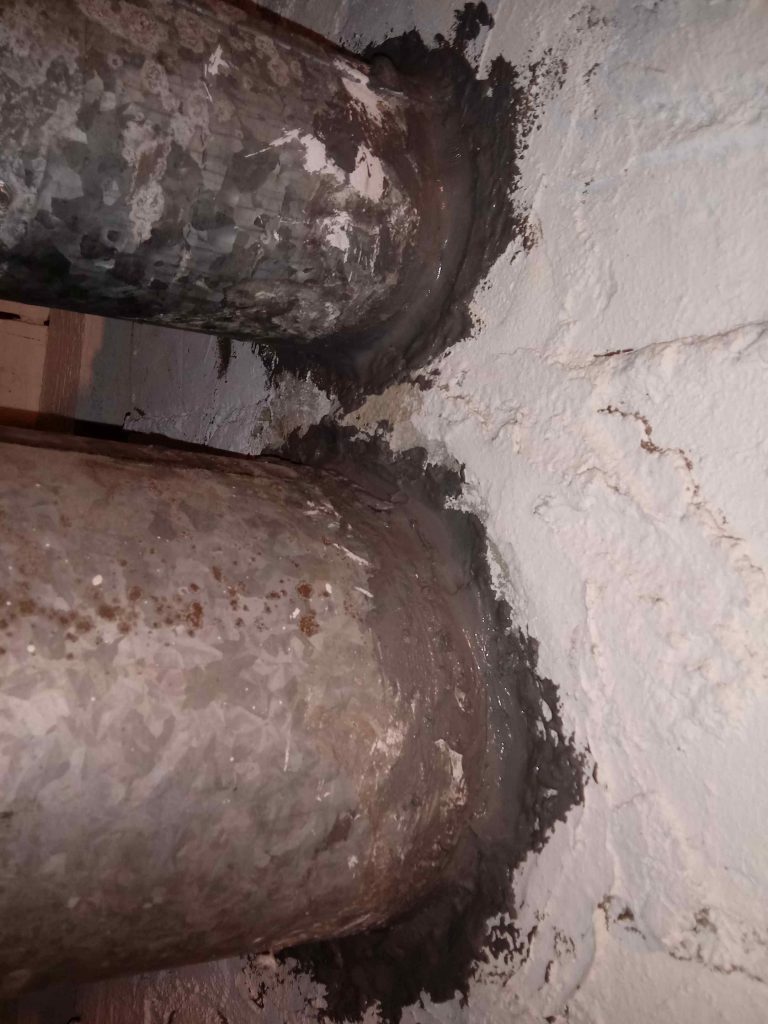
This was the right stuff as it hardens with minimal heating.  And this time I called Red Devil help to make sure it was the right stuff.

It was a tough install because I could not get around to the other side of the pipes, access was blocked by pipes and a furnace, so I had to do it by feel and with a mirror, but I succeeded:

This is a perfect example of something I endlessly do battle with, these pitfalls of getting bad advice.  I don’t do bigger jobs like installing storm doors, but these little jobs, there are always variables . . .  you have to be very alert and make sure you get the right goop or whatever to do it right, and it is SO easy to get blindsided with bad advice, as I had been.  My constant paranoia paid off bigtime.

Gotta do the research!   Nothing is simple.


Caulking a Sink

Well you can’t really get the full effect here but this sink had been caulked a long long time ago, and while the sink itself was in great shape, the edge/corner caulking was in serious need of some love and attention.

So I went at it tooth and nail, below you get a better sense of what was in there, it may have been silicone but felt more like latex, it was all mealy and discolored:

It took me over an hour working in tight angles/spaces to get it all cleaned up:And finally, with a bead of Silicone II, it looks truly fabulous:

Grout Job

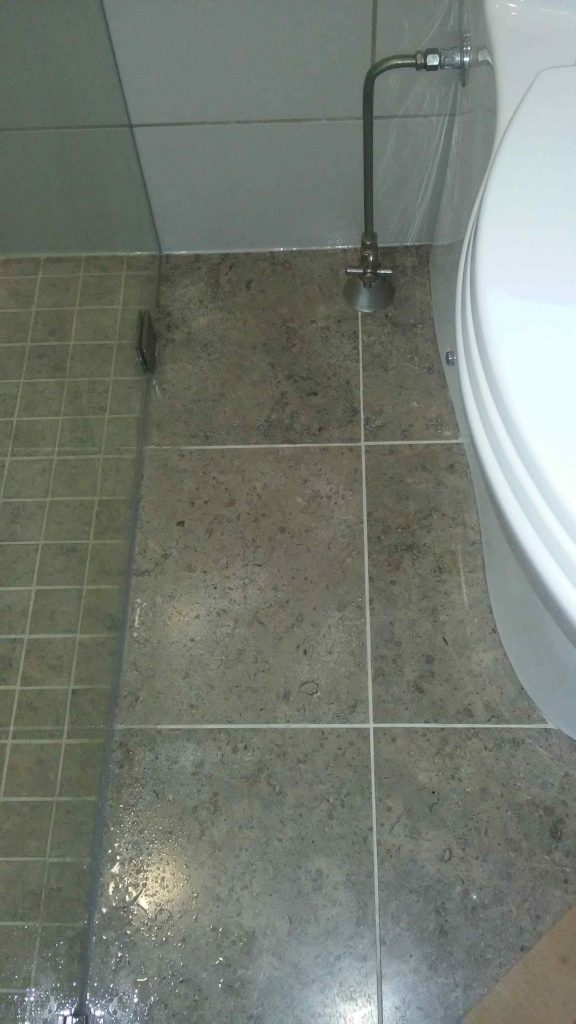
So a regular client came to me with sadness in her eyes as her only 3-years-old new master bath had started to look like a slum.  Specifically, the grout had not been done right, and was starting to seriously funkify:  If you look closer at above pic, you can see that there was no grout placed under the glass shower wall at left, so crud and weirdness had begun to build up in the trench.  Looked WAY worse in person,  Also at the top of pic, the meeting of far wall and floor was crudding up too.   A closeup of floor:

Numerous mistakes had been made here, the worst of which being they had used unsanded grout, and so it had shrunk and had let mold grow and it was no longer flush with tile surface etc. etc.!!

So I ground all the old grout out with a dremel tool and replaced it with matching sanded grout:

Note I also grouted under the glass wall, and sealed it up with clear silicone.  I also caulked at top where floor met far wall, with matching color caulk.  Now it looks nice.  (Pardon the splashed water)   Closeup: