Massive Porch Screen Project

A regular client asked me to install some large screens on his porch.  I had never done anything quite like this before so I tread lightly and carefully.  We went back and forth a LOT on the color and fabric and also whether they would hang inside or outside.  One of his main goals was to keep snow off this porch so we went for outside.   First, a before pic, where a less than ideal, always falling over, paper folding screen was used for privacy from street:  

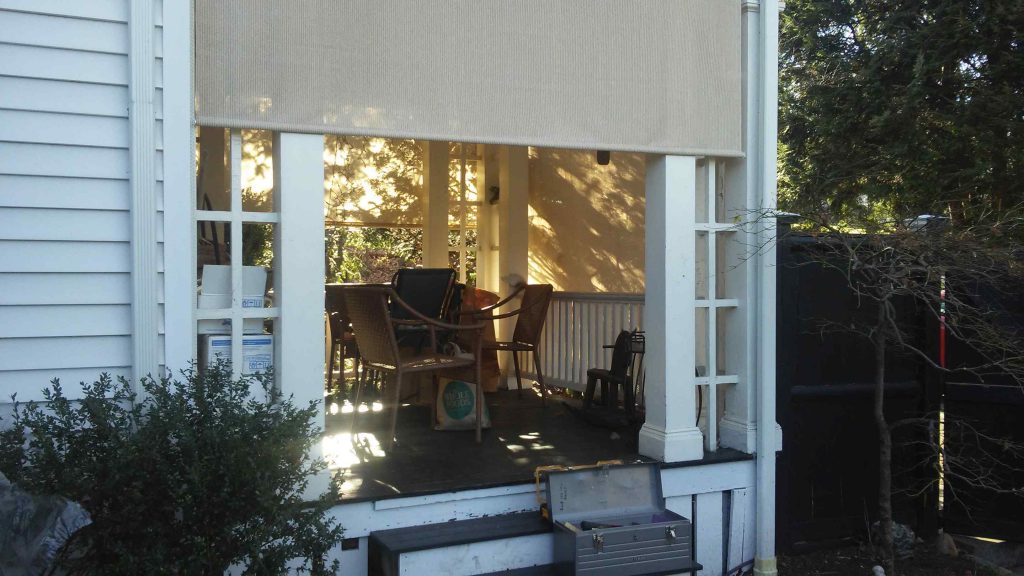
Next, the view from the garage, still screen-less:

Okay, let’s get busy.  I did this in stages, only ordering one screen at a time so if there was a major disaster in color or whatever the fallout would be kept to a minimum.  The issue was, the hangers had to be screwed in VERY precisely as the screen rods only had a pin that was maybe a half inch long–maybe less!!
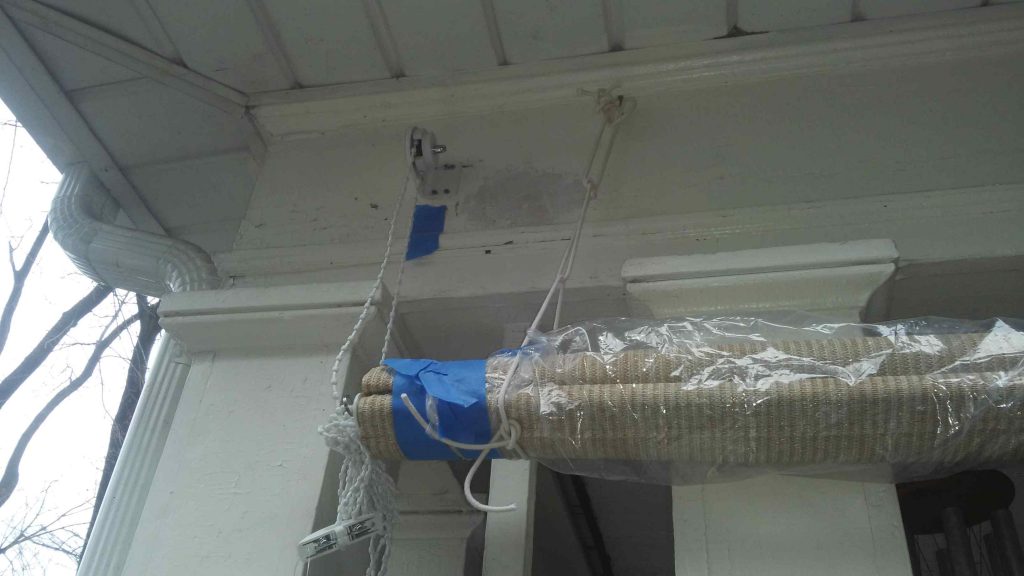
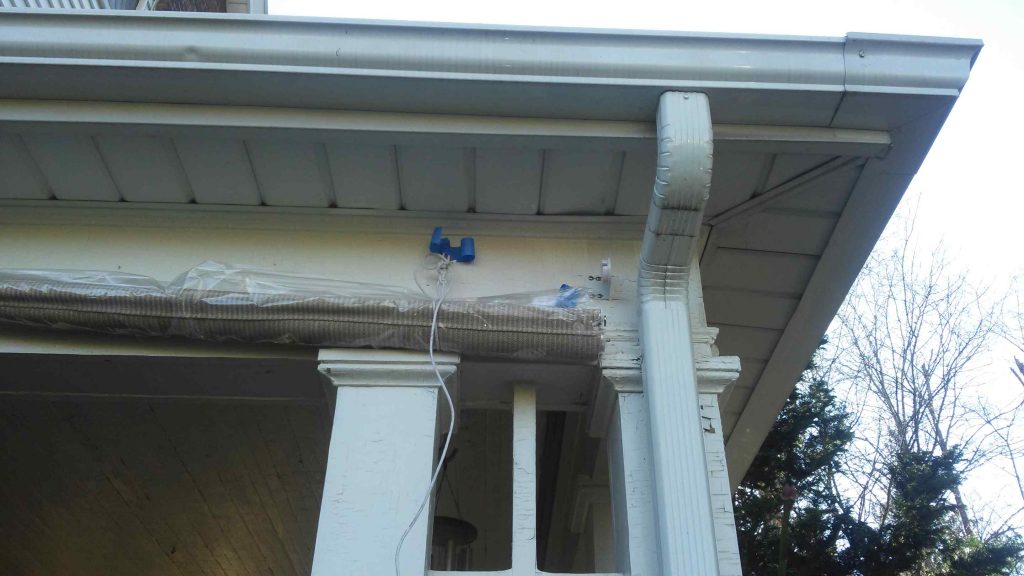
Since I was 10 feet up and working alone, I put some temporary screws into the porch and hung the screen loosely using rope.  Once I had the left hanger in place, I was able to hold the screen up to the location of the right hanger and get it marked exactly:

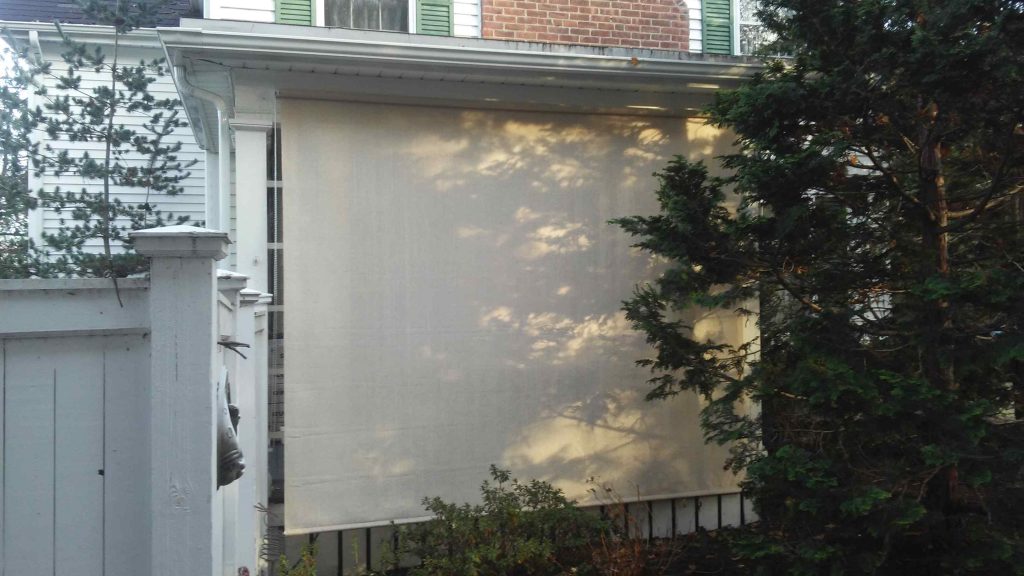
And, VIOLA, first screen went up successfully:

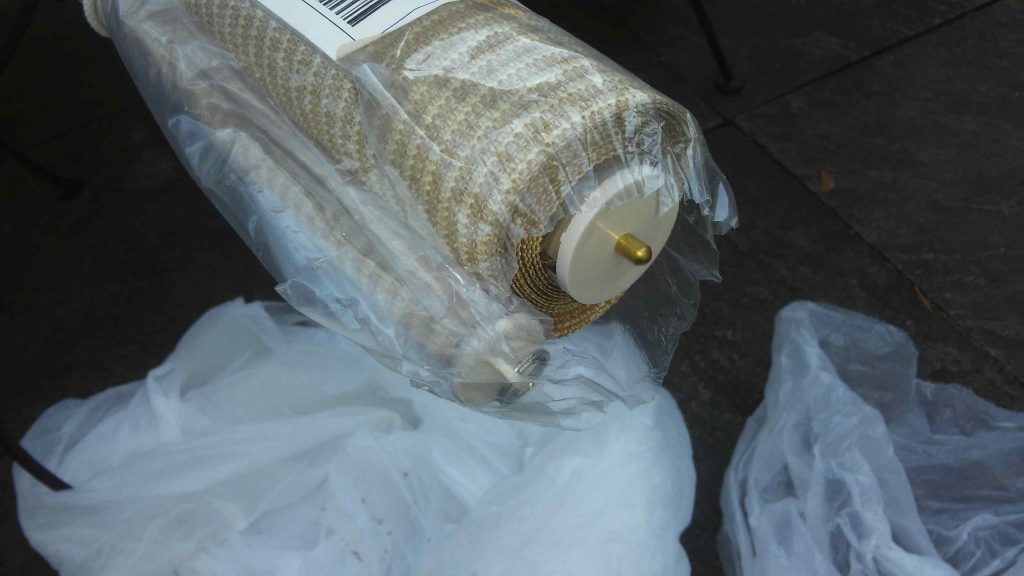
So, a week later, pick up the other two (these were BIG LONG boxes!):

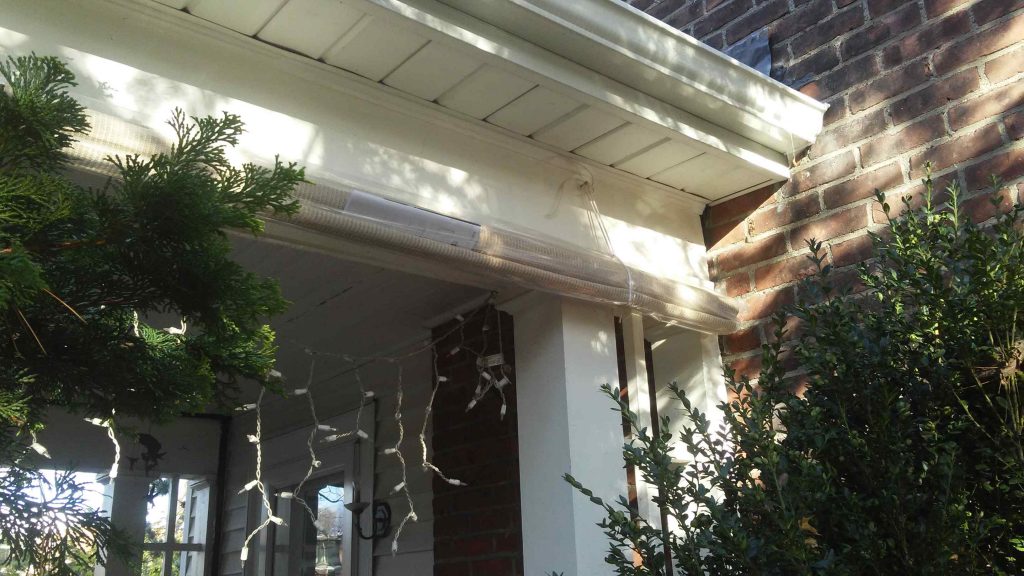
And, same procedure, putting up temporary screws to hold them loosely in place so I could precisely place the hangers:
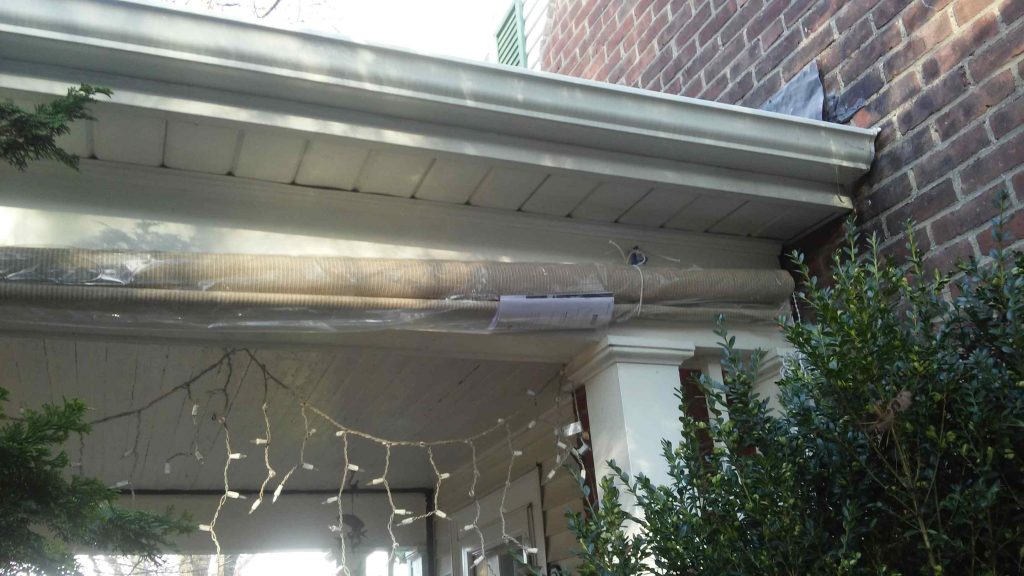
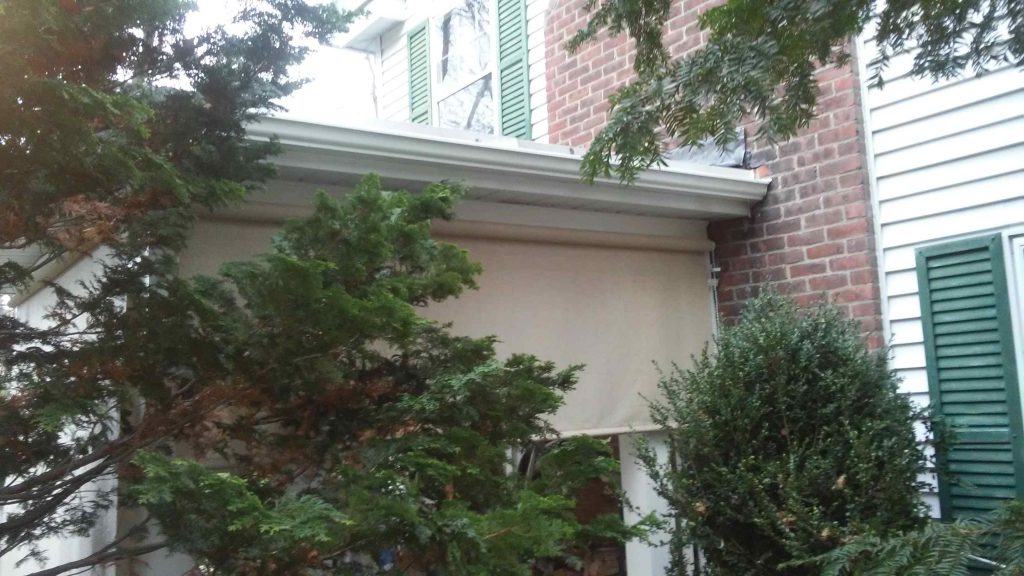
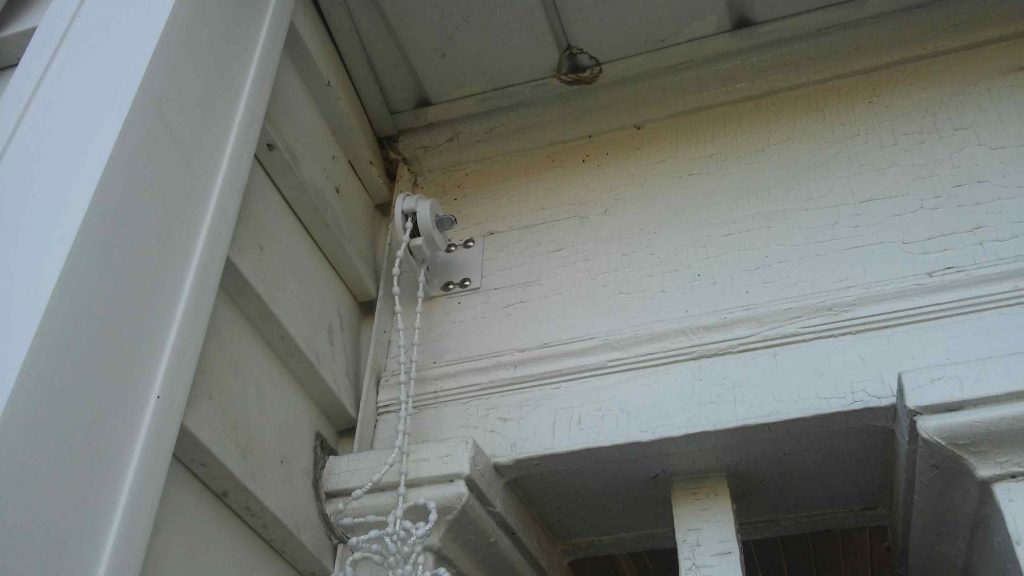
And on the rear of the house (note, the way the hangers were designed it was NOT easy to get a full set of screws in there, as I wanted 4, not 2, plus I substituted my own stainless screws):

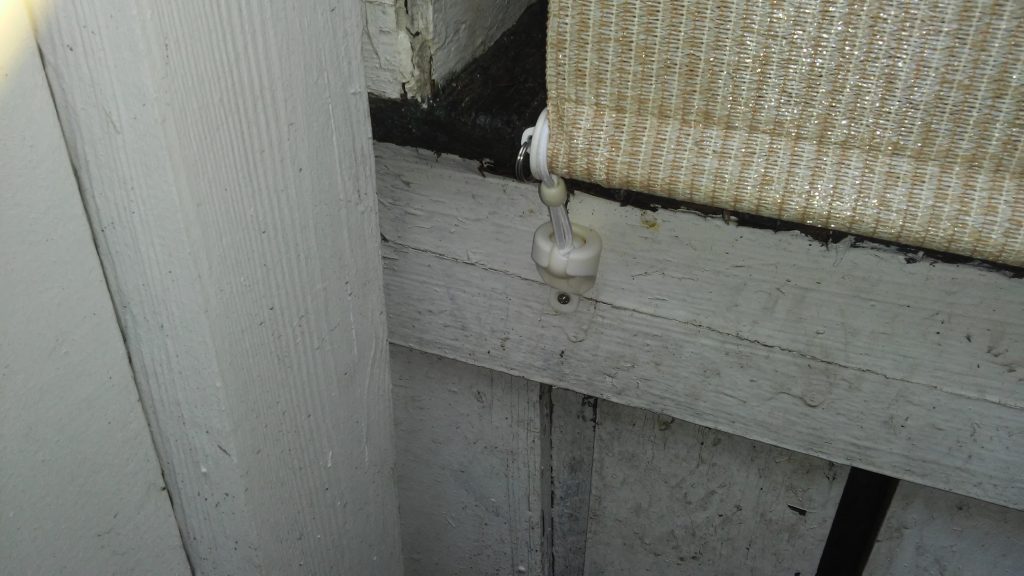
They also had these nifty bungee cord tie-downs at bottom to keep the screen in place: 
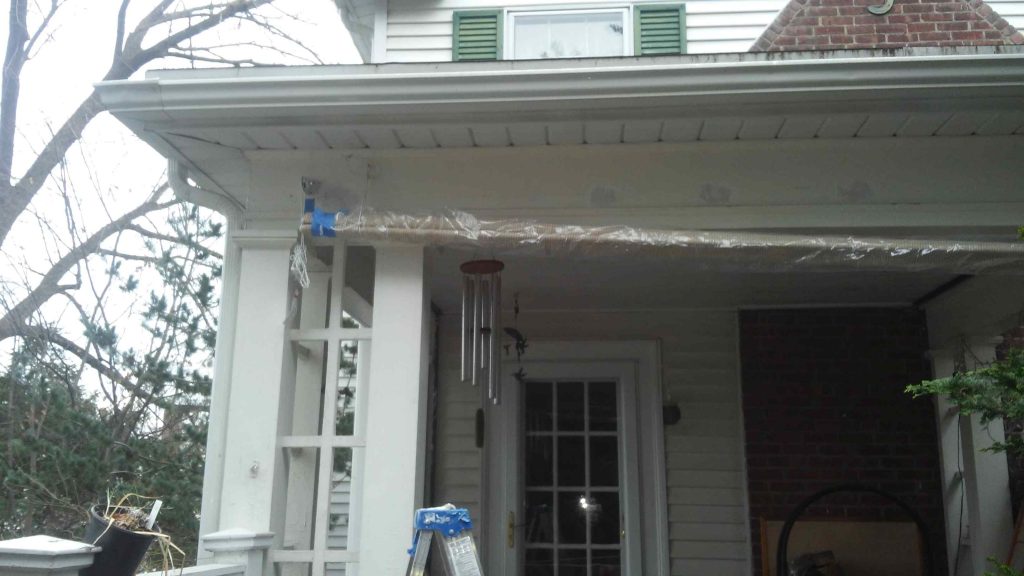
So it was pretty wild dealing with the cold and the height and the various trees and bushes that were endlessly in the way of the ladder but it’s all done, and it’s working to keep snow out and I think it just looks great.

 

Fixing a Broken Window

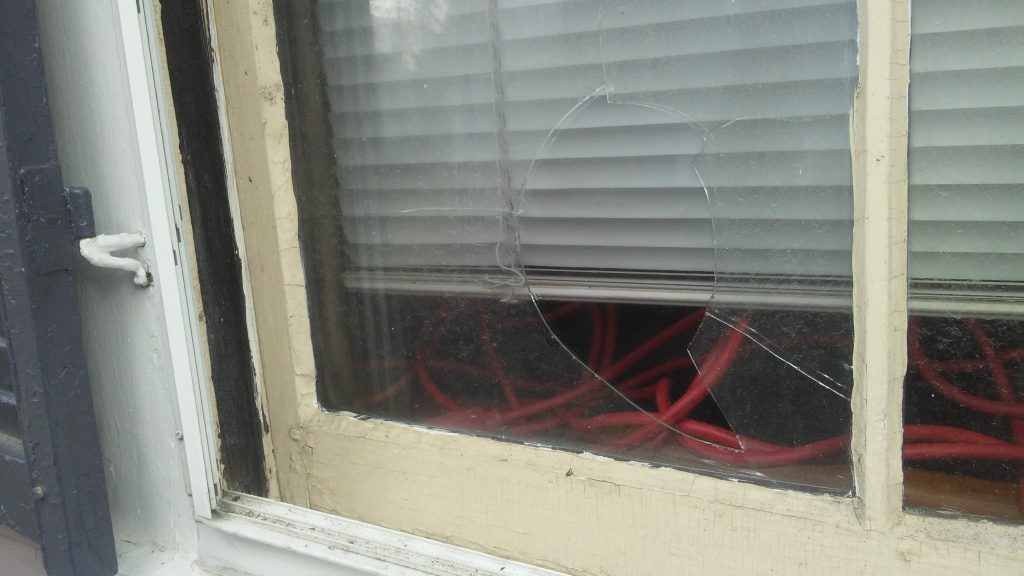
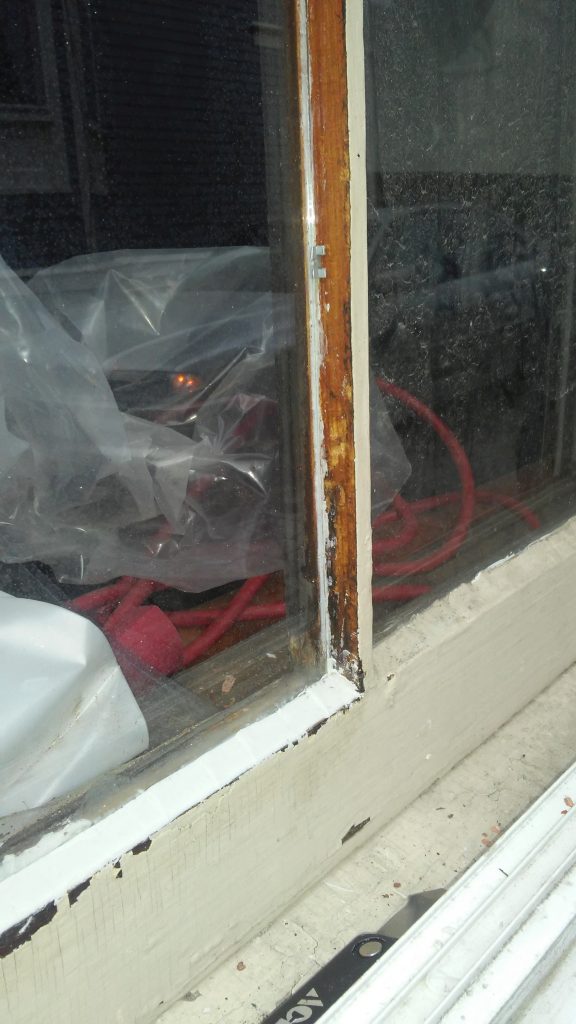
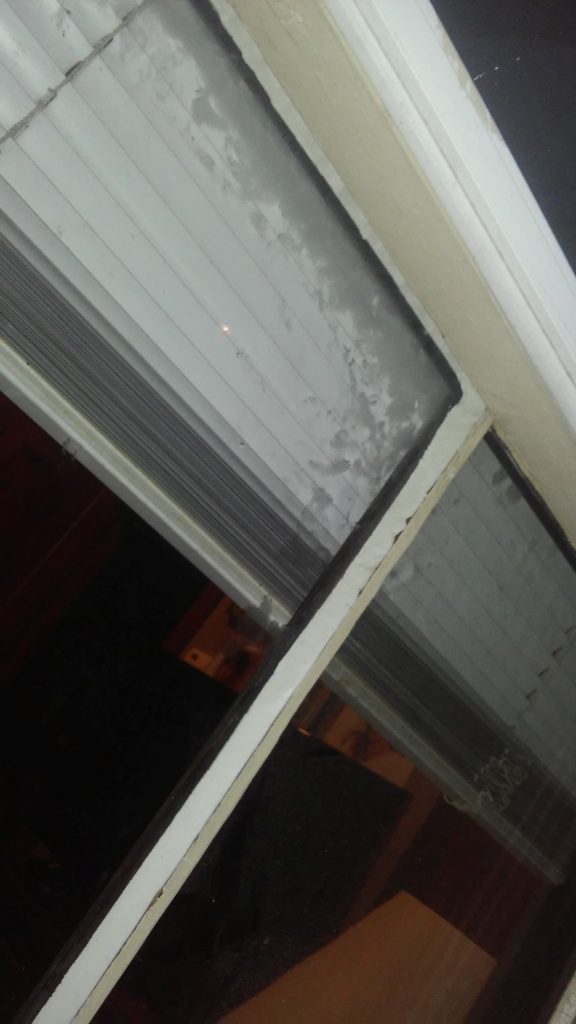
So a new client called the other day asking me to fix a broken window:

(Before proceeding, please take note of how sloppy and uneven the existing glazing is 🙁 –)

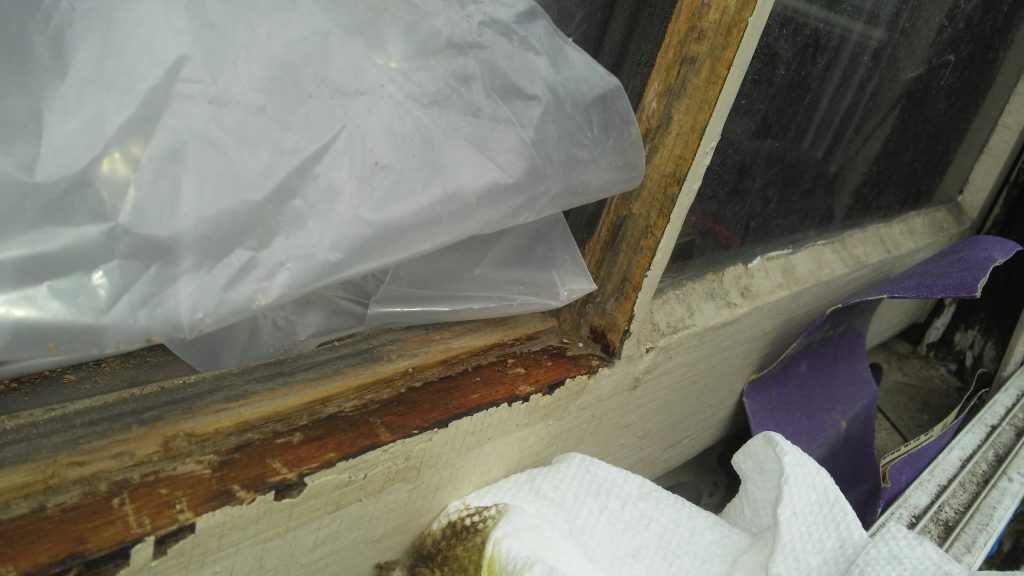
So, start at the beginning, by slowly chipping off all the old glazing:

 This actually wasn’t TOO bad, I have seen glazing that would not come off without power tools, but this all snapped off with the glass.  I think a fair amount of water had penetrated over the years, since the last guy didn’t do such a great job.

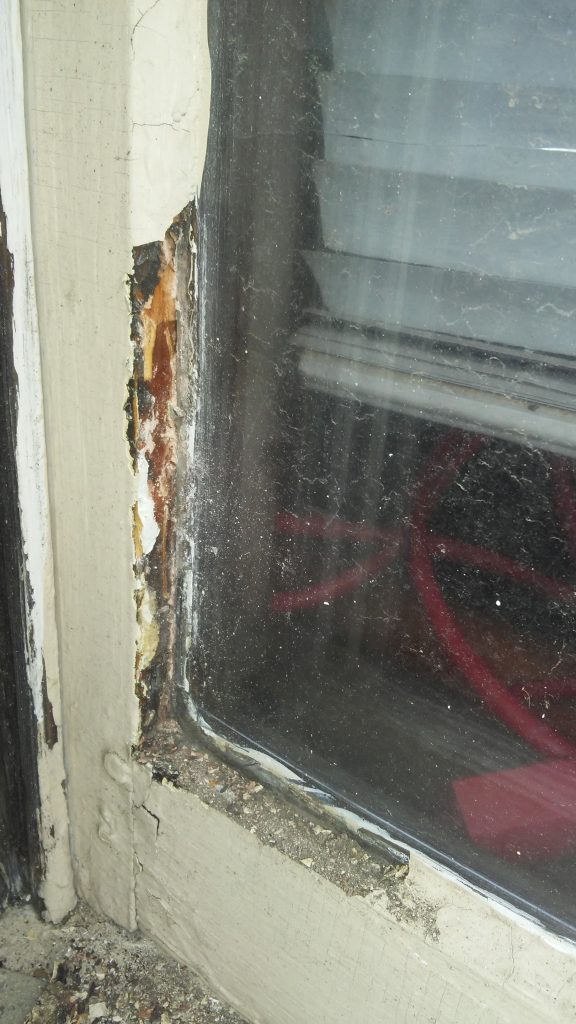
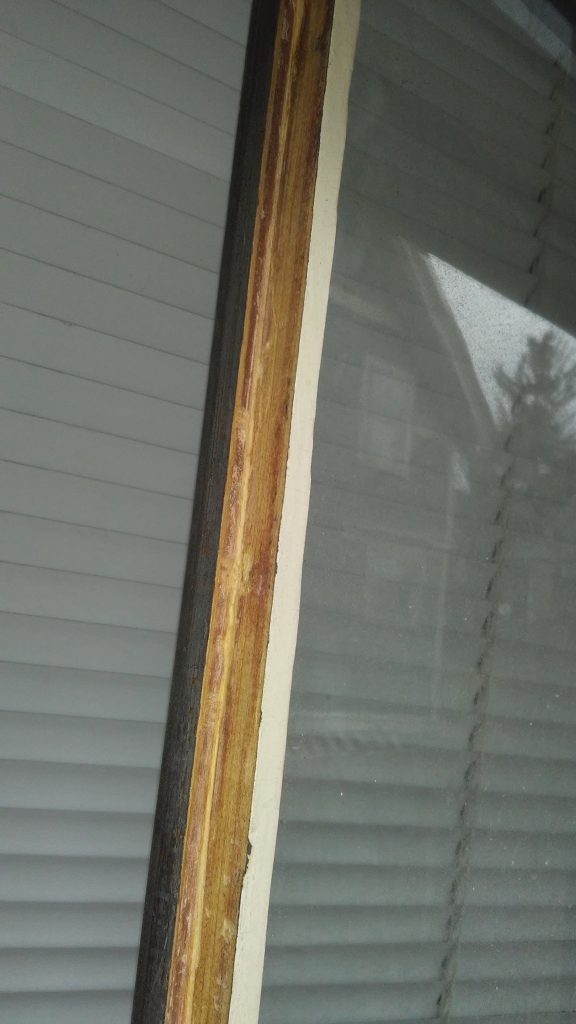
So anyway, once the main glazing is off there is always a bunch of residual crud to clean off– you must must must get down to bare clean wood.  So here is a before and after of the mullion on the right side:


Again, I suspect this pane had been broken and replaced before, and I think this level of extra hard-as-rock gunk was from the original install, so I had to get that out before proceeding.   Of course i had to be always super careful because this was a divided 2 pane sash, and god forbid I should crack the other pane.

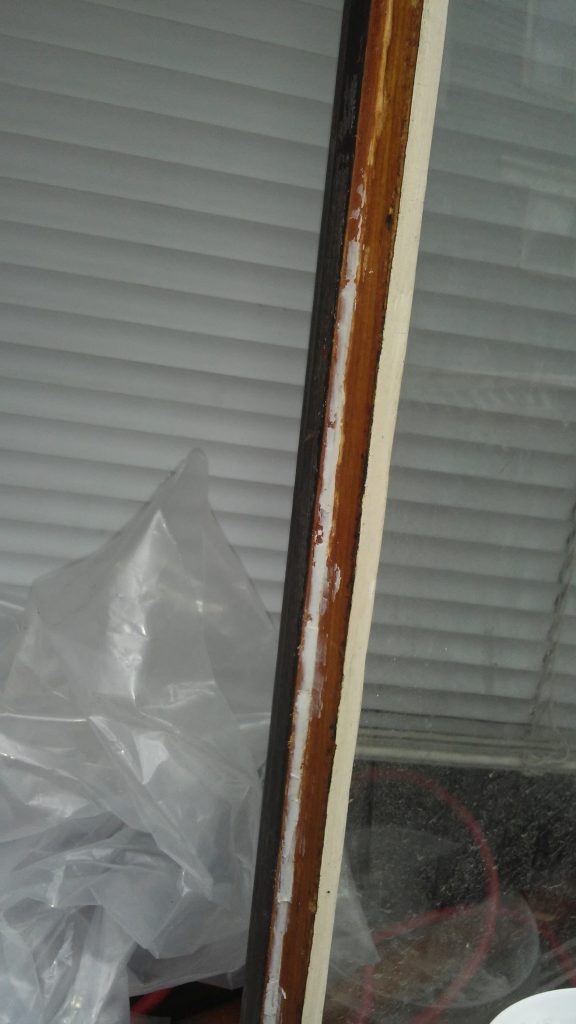
So even tho the tub of glaze did not ask for it, I put on a little linseed oil (this keeps the dry wood from sucking oil out of the glaze).  In this pic, I have only oiled the bottom, hence the darkness:

Then a little layer of glaze on the inner ridge of the wood, to keep moisture out from the inside:

At this point, the fun began. I pulled out the new pane of glass and UH OH . . . My hardware store  guys, with the good intentions of sanding down the edge, had scratched the glass. so I had to stop the whole process and get a new pane, and then, because the wooden rim in this ancient window was only an eighth of an inch, I had to get a third pane, cut super close to size, and that fit perfectly.  Once that was in, again, it being a narrow rim, I had to trim the glazing points (see little guy in center) with some pinch pliers and then the real fun begins of putting in the glazing compound.

So because of the mistakes by my usually fabulous hardware guys, and the pickiness of this old old window frame, and the sloppy work of my predecessor, it took way longer than expected, BUT  . . .  once the glazing cures (3 weeks) and it gets painted it will be good as new– actually better 😉  as everything here was done according to Hoyle.  With a way nicer look because I used the right tool to get a flat angle.

With any luck this will last another 50 years 🙂

Fixing Drawers

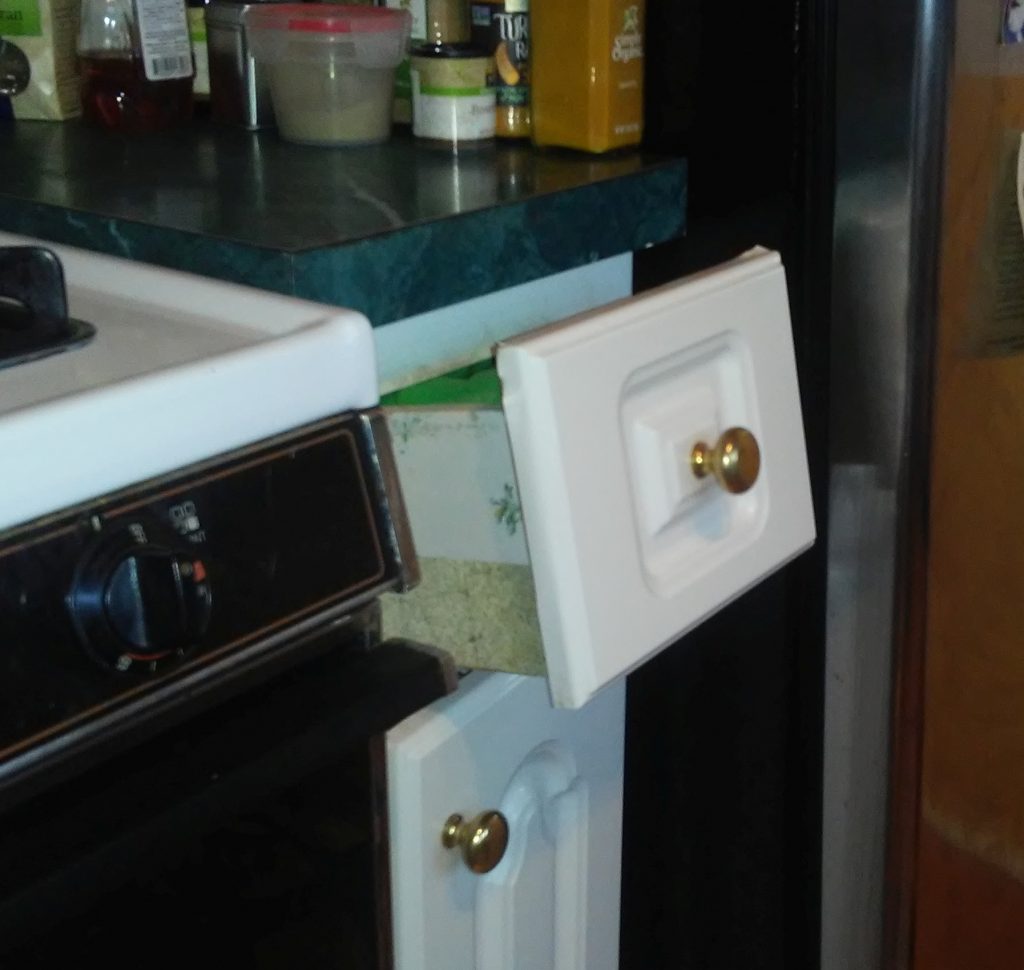
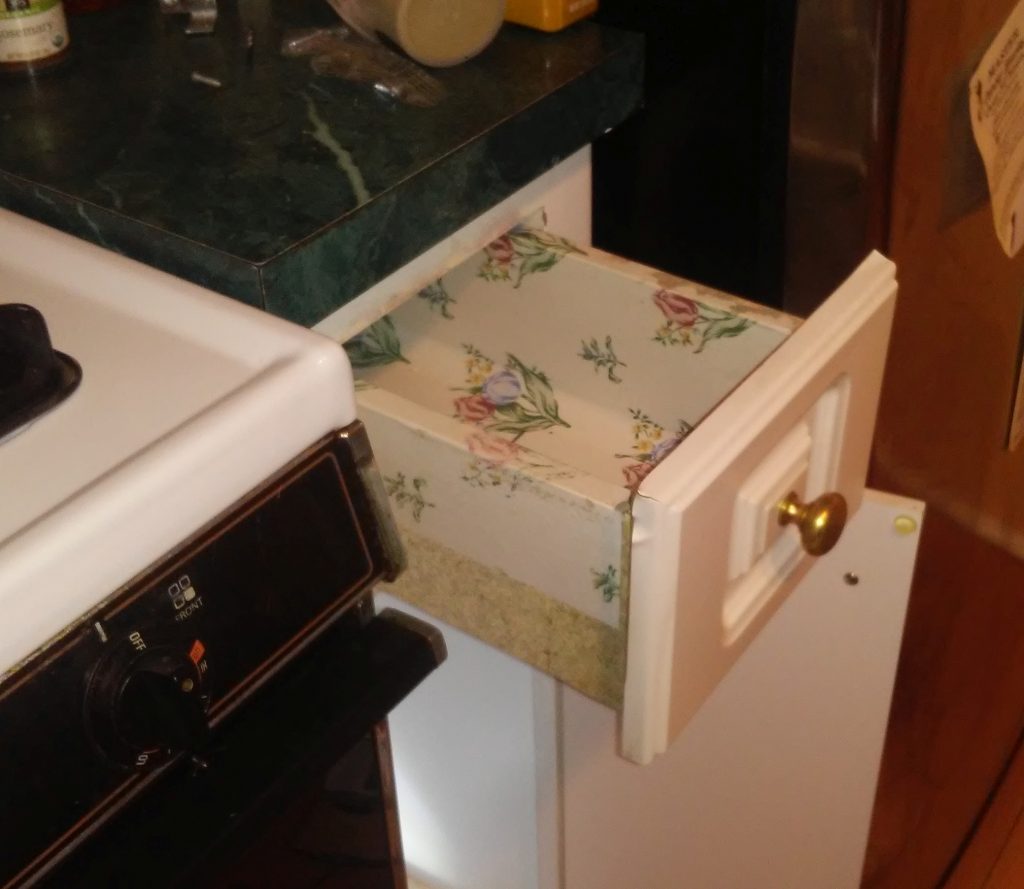
So lately I have been inundated with calls to fix kitchen drawers.  Just one example, this drawer in an old house was just sort of dangling . . .

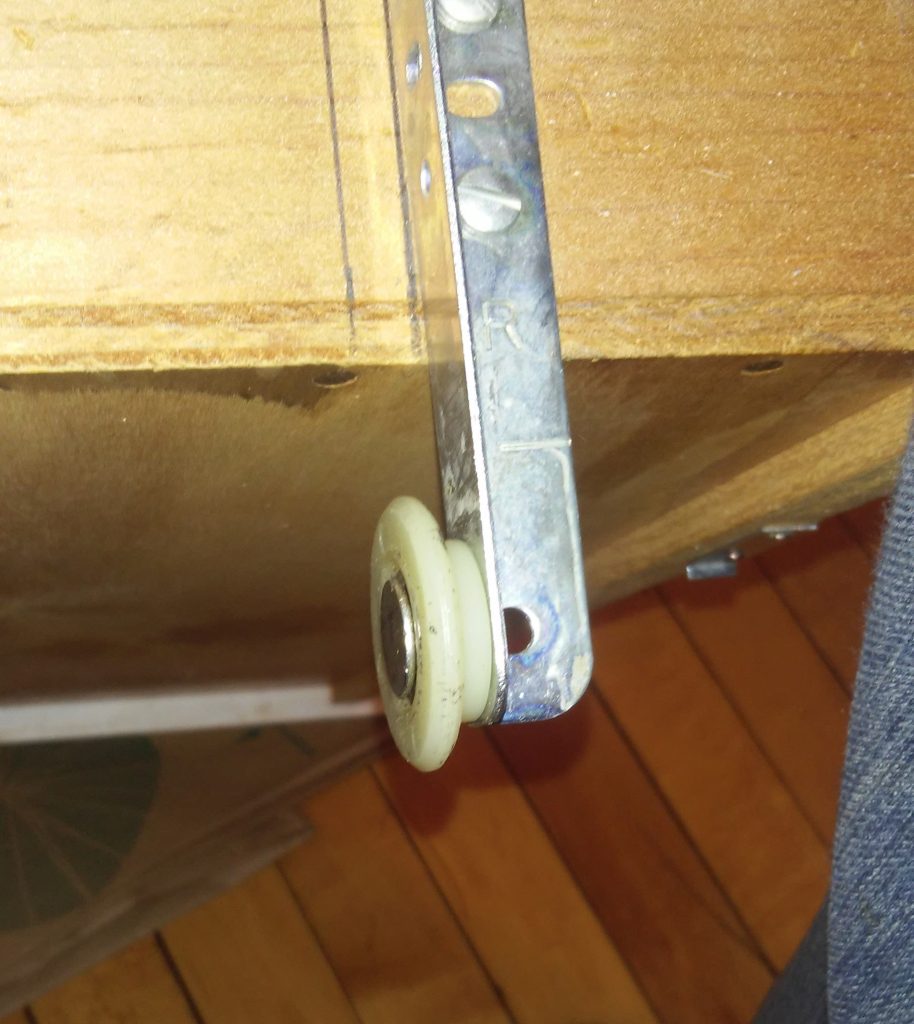
When I pulled it out to look at it, there was a wheel in the rear/ middle:

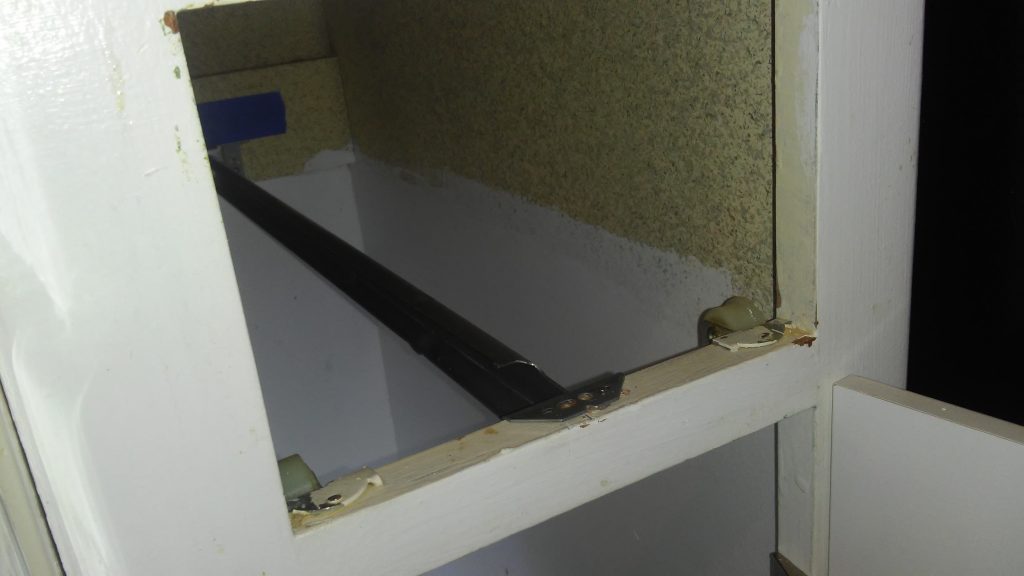
But when I looked in the drawer enclosure there was no track for it:

Altho in the back you can see the mortal remains of what WAS the track, or at least a bracket for attaching one.

So anyway I went to the Waltham Home Depot and there was a guy there who sold me just what I needed, a new track and similar wheel.  I had to hacksaw a half inch off the new runner/track to make it fit, and I had to install a new bracket in the back but the old bracket was a great guide for where to put it:

And, VIOLA the drawer is now properly supported and slides just like a real drawer, and it doesn’t look like the Titanic about to go under any more:

This was just one of a cavalcade of drawer fixes I have been doing lately– mostly they are problems caused by improper installations, where the tracks just need to be shimmed or adjusted, but sometimes the runners and mounting hardware are all broken and mangled and I have to get clever.  But so far I am 6 for 6!

Caulking a Fiberglass Tub Enclosure

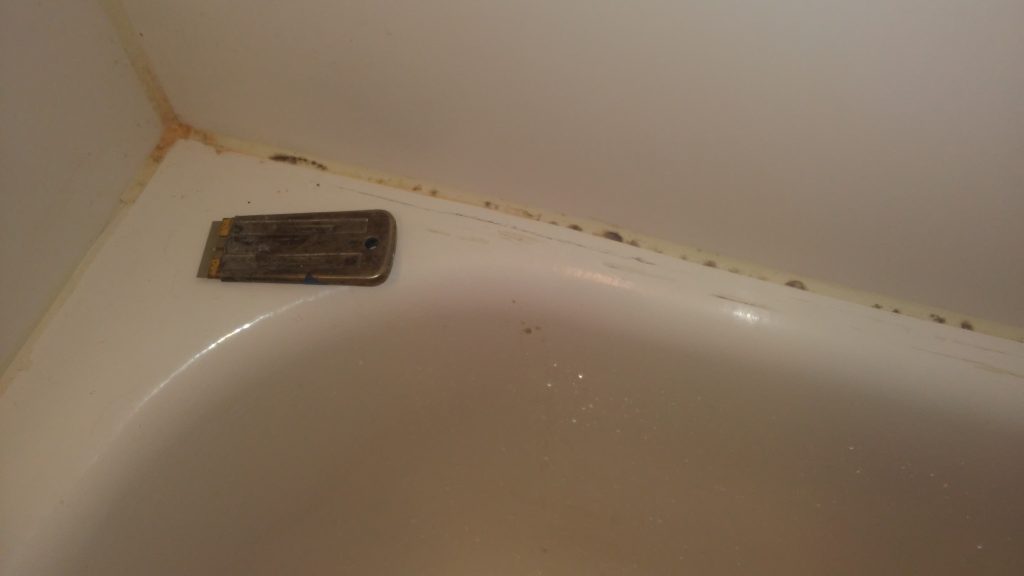
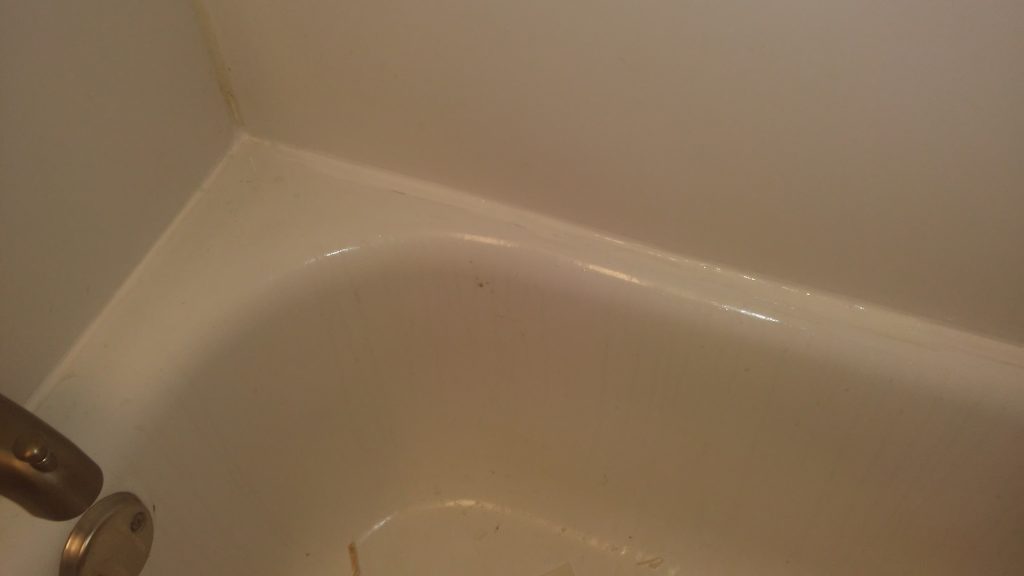
Okay so normally when I re-caulk a tub enclosure it’s a tiled enclosure, and 80% of the job is chipping out the old grout or caulk or whatever, but in this case it was a fiberglass tub enclosure.  And of course, the installer had taken the easy way out and had used cheap water based caulk, which, as sure as night follows day, allows water to get in and then mold to grow. The stains were horrific.  No amount of scrubbing would get them out, they were embedded.  ICK!

But, since it was fiberglass and not tile, thus cheap latex caulk and not old cracked grout, all I had to do was take a razor blade and cut out on the bottom and the side and the old caulk bead came right off.  Normally, with a tile/grout enclosure, that takes a couple of hours to do and is just nasty hard work.

So I taped it up and did a bead of Silicone II and shaped it with my finger, and now it looks glorious.  Well, as glorious as fiberglass can look.


Underwriter’s Knot– Not

Oh my goodness this has been a record breaking week here at Justin the Handyman.   I have been runnin’ and gunnin’ every day, but I came across something that I felt merited a blog post.   This is an electrical issue known as the Underwriter’s Knot.
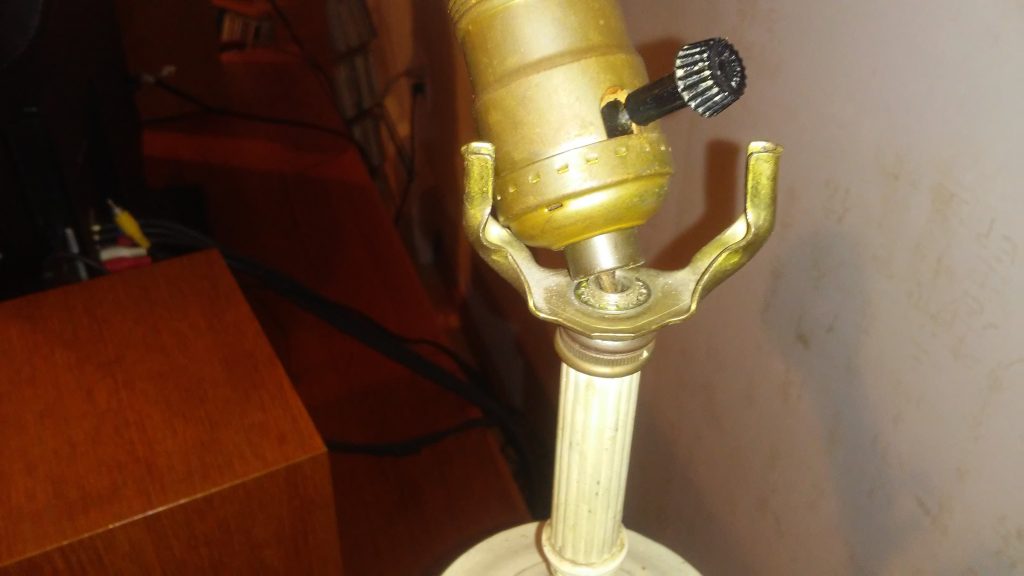
So I had client present with a saggy baggy lamp socket:

Now I like to emphasize that I am NOT an electrician, but it is an oddity of life that most master electricians will not bother with re wiring lamps, so it comes to folks like me to fix them.  I am always amazed at lamp sockets– all that stands between your hand and a fully energized 110 volt bare wire is a little sleeve of cardboard about 1/16″ of an inch thick.   That’s IT.  Scary.

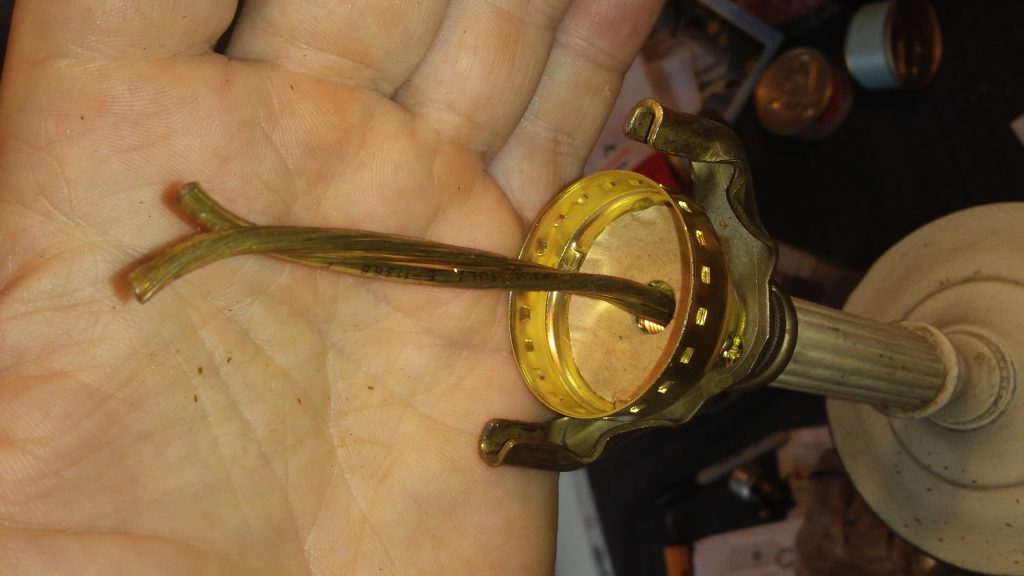
So anyway, this lady had had some lamp shop re-wire this thing, so you would THINK they would know how to do it.  But when I popped off the old socket, UH OH

There was no UNDERWRITER’S KNOT.

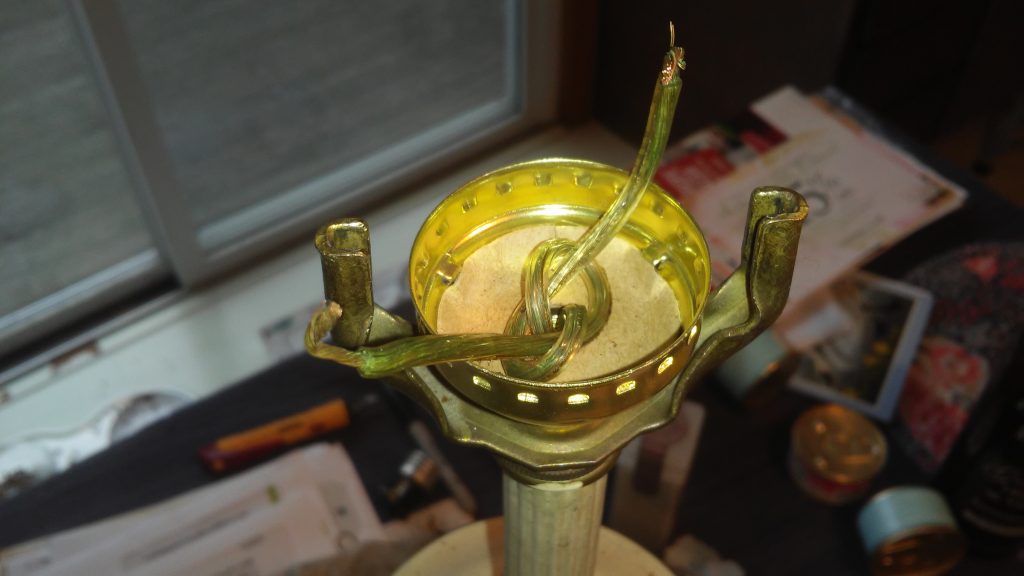
The idea here is, if someone trips on the lamp cord, that MIGHT pull the wire out of the socket and now you have bare energized wires touching the metal of the socket base, or maybe even falling out of the lamp altogether.  so when rewiring a lamp you ALWAYS ALWAYS ALWAYS  tie a special “Underwriter’s Knot” in the wire, thus:

This makes it pretty much impossible that the wire will get yanked off the screws on the socket.

I had other problems with this thing, the previous re-wire being an amateurish job I had to triple check to see which wire was the “hot” as the hot wire MUST go to the gold screw, otherwise more risk of shock.  (Sorry no pic of done socket, this lady had a “list” a mile long and I was going and going.)

Rewiring lamps seems simple but it’s serious business.   VERY easy to screw it up and create a shock hazard.

Gotta Clean Those Refrigerator Coils

So I have established a little ritual that I do with every new customer lately, I do it for free as a signup bonus of sorts . . . I check people’s refrigerators.

There are essentially 2 kinds of refrigerators– those that have the coils in the back, and those that have them at the bottom.  if your frij is the latter design, there is a 90% chance that you never knew that you needed to clean those bottom mounted coils now and then.

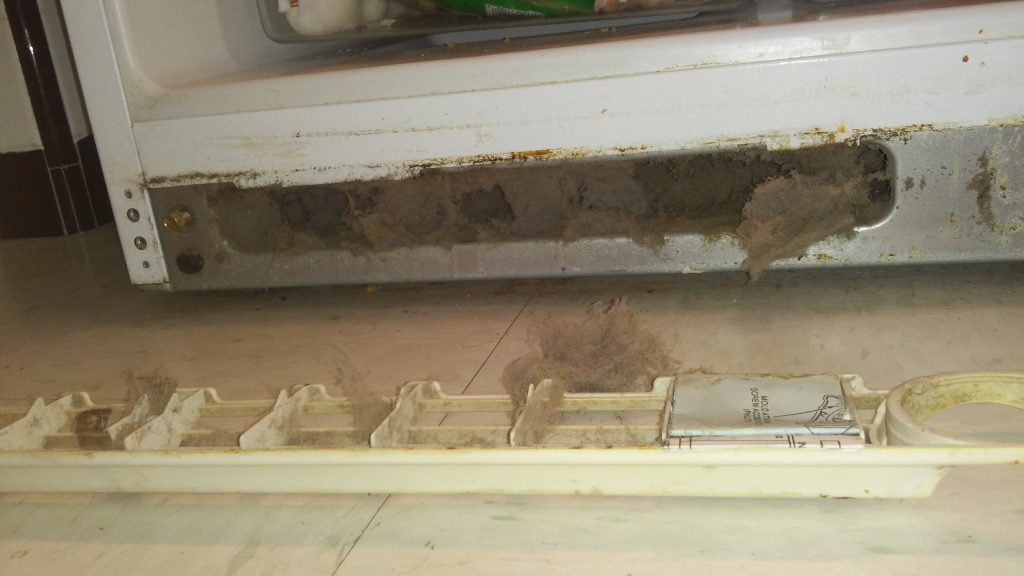
Once I see that louvre cover at the base of a door on a frij, I pull it off and this is typically what I find:

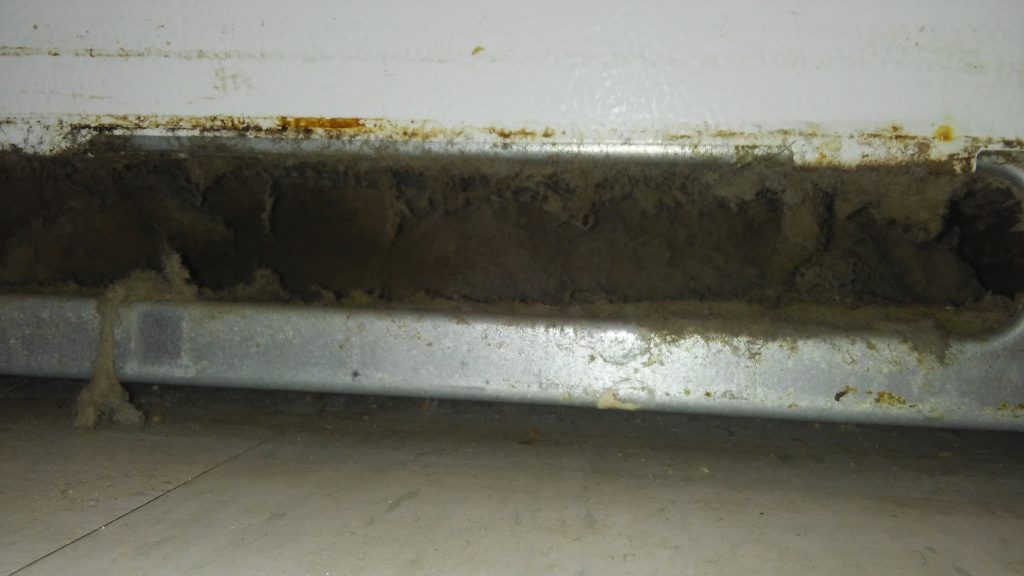
 Gross, is it not?  Not only is this completely blocking the flow of air over the coils, thus making the frij waste power, AND wear out the compressor prematurely . . . it is also blowing this garbage into the air of the house.  Another pic:

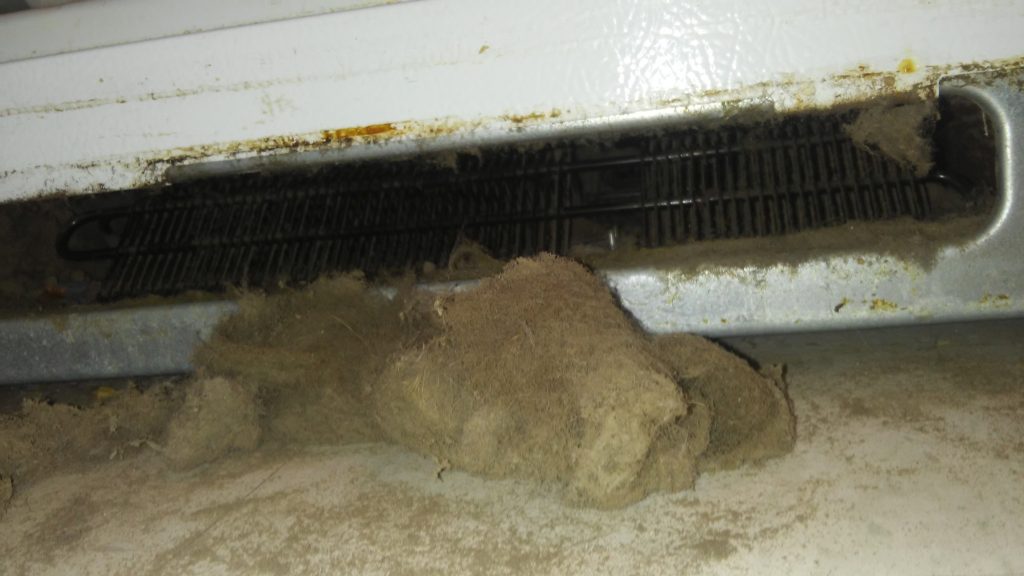
And at last, below, you see the SAME SHOT with the crud removed and the coils at last getting some cooling air.


Dust bunny?  This is a dust hippo!  🙂

This frij dust blanket problem is TYPICAL.  The stuff I see!  🙂

Setting a Mailbox Post in Concrete

Okay so a client called with a problem that their mailbox was listing to starboard– or to port, depending on the wind direction.   Wobbling.

So I pulled it out– and whoosh, it came right out, I was amazed the thing had been standing up at all, it was only buried about 5 inches deep.

So I started to dig, and I discovered why my predecessor had gone so shallow– CLUNK there was a big rock right where I planned to go.

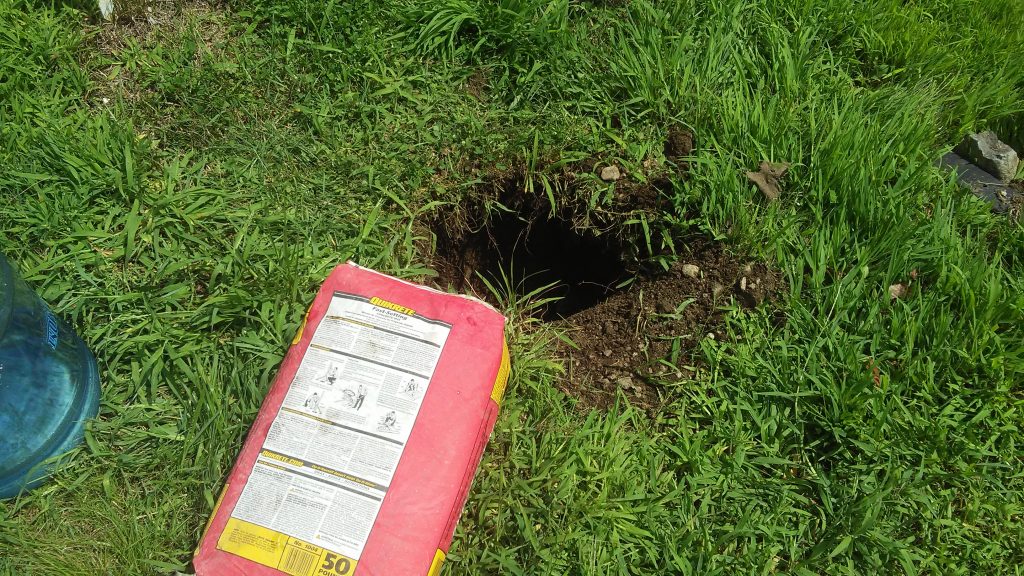
So, without calling 1 800 digsafe, I dug around it.  See the straight rock edge at lower right of hole.

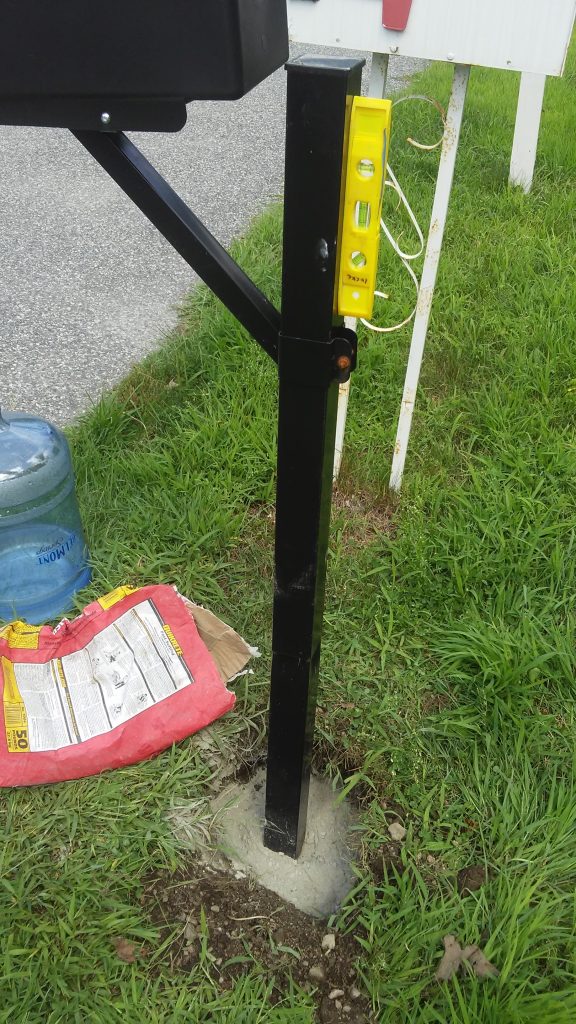
And then I poured in a 50 lb bag of quick setting cement.

I wanna tell you, when they say quick setting, they mean it– it was hot and humid and when i poured the water in, instead of taking 20 minutes, the cement set up almost immediately.  Fortunately I had already made the post plumb!

I also adjusted the height of the box to USPS specs (41-45 inches).   And I covered the cement with dirt and stones, not pictured.  Viola.  That thing is not going anywhere.


Simple Door Closer Fix

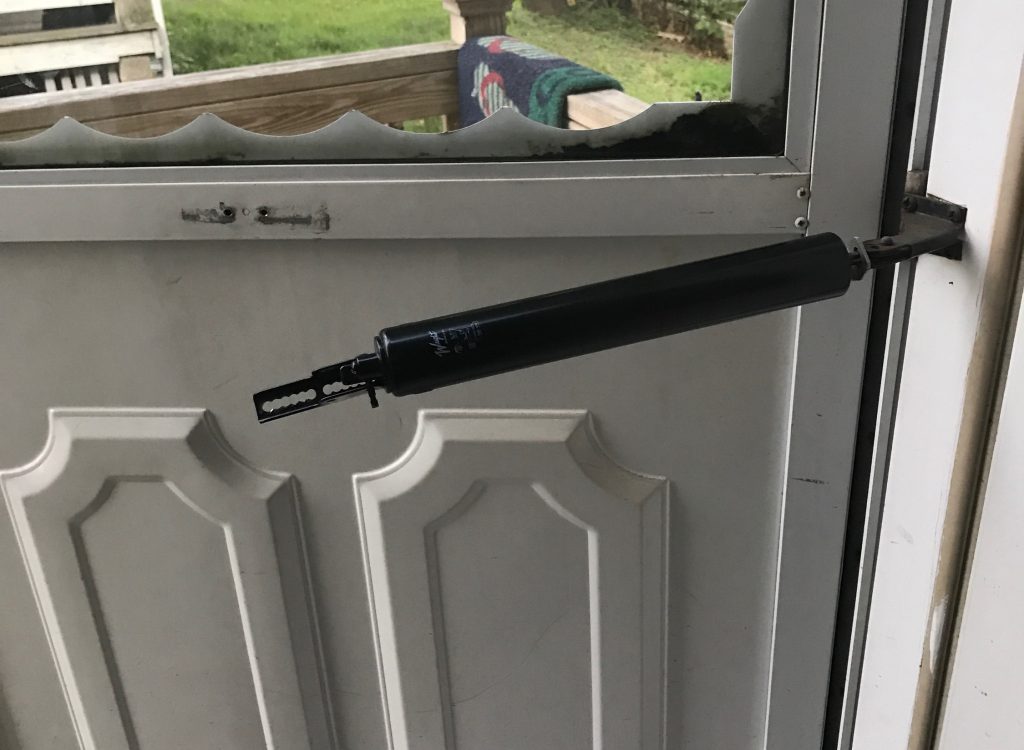
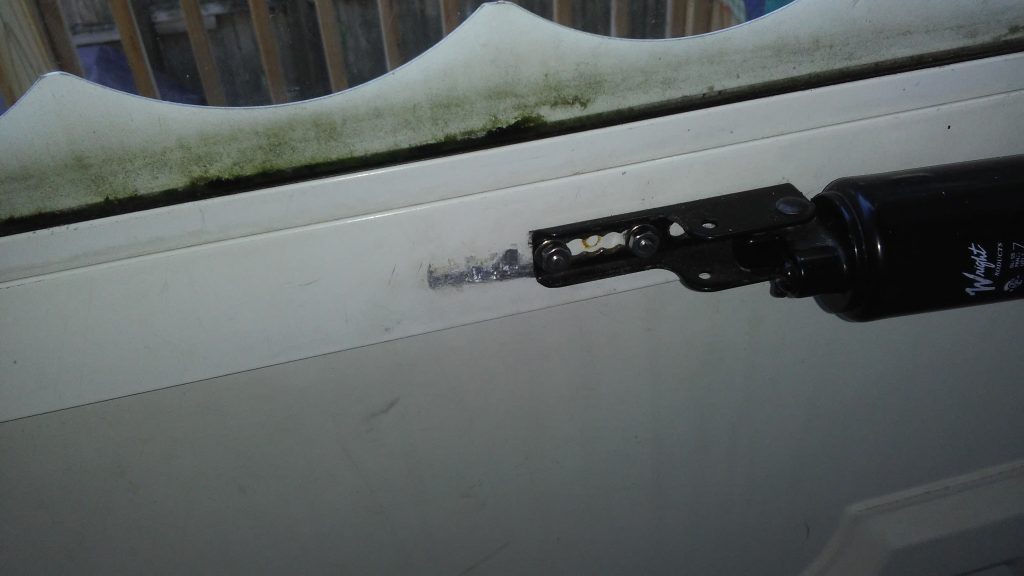
I generally advertise myself as a “small project guy,” and this is a perfect example of the kind of problem I like to solve.  A customer called with a rear screen door that had flown off its pneumatic closer attachment.
This had been a somewhat cheesy attachment to begin with, just sheet metal screws screwed into the door.  Also the chain up top designed to prevent the door from being blown away was all out of adjustment, it was so loose as to be useless.  So I fixed that,

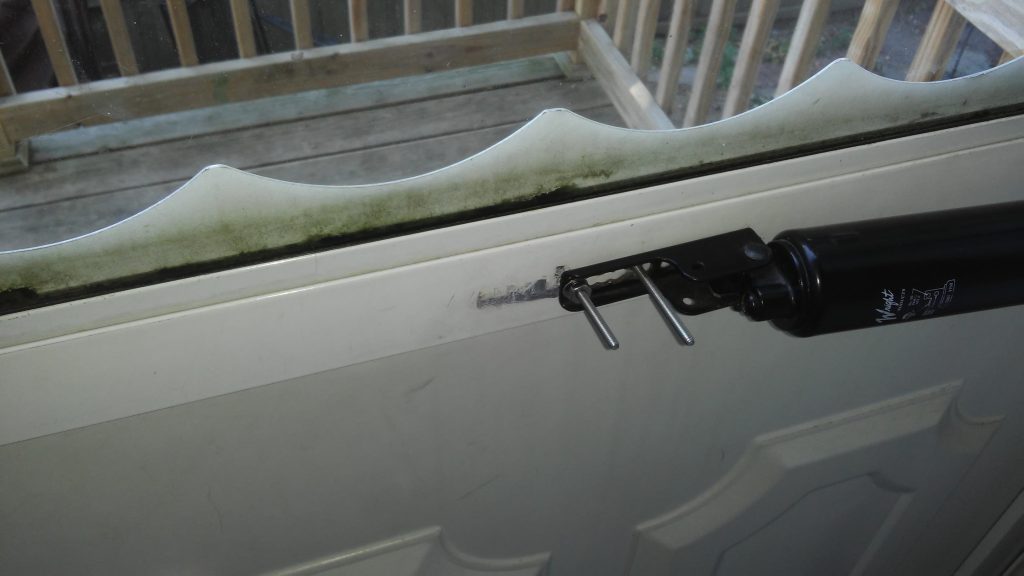
Then I drilled all the way thru the door and installed some stainless steel (ALWAYS use stainless steel on exterior stuff) bolts and lock washers and nuts . . .

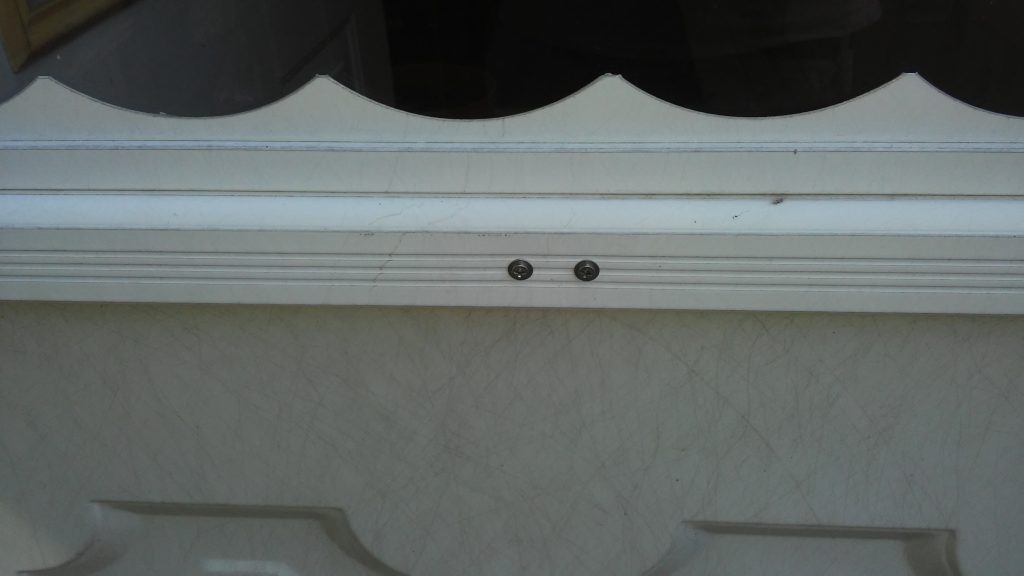
The outside you can see the heads . . .

And finally I sawed off the excess lengths of the bolts, and filed them down so no sharp edges.  And, VIOLA.

Vinyl Siding

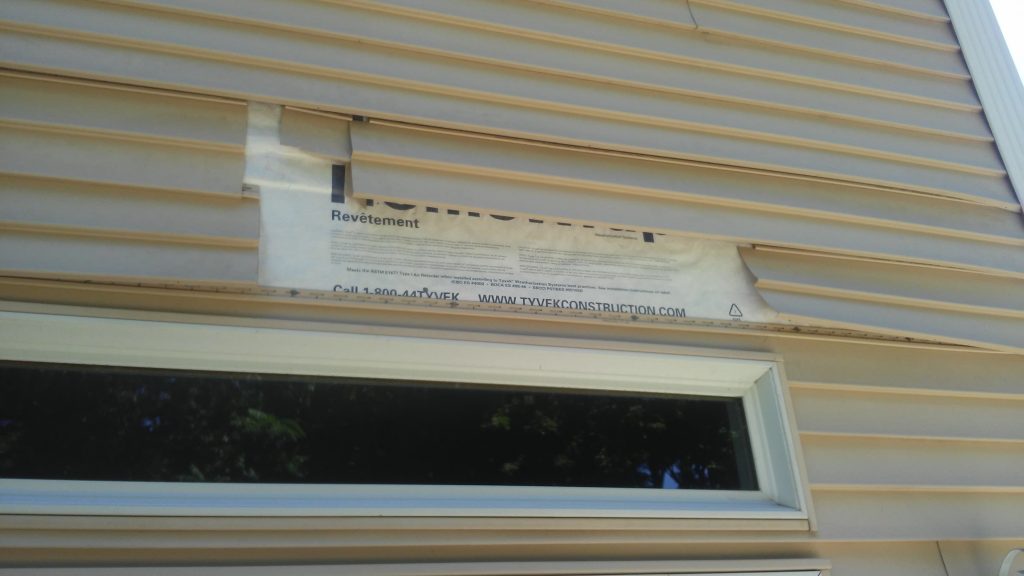
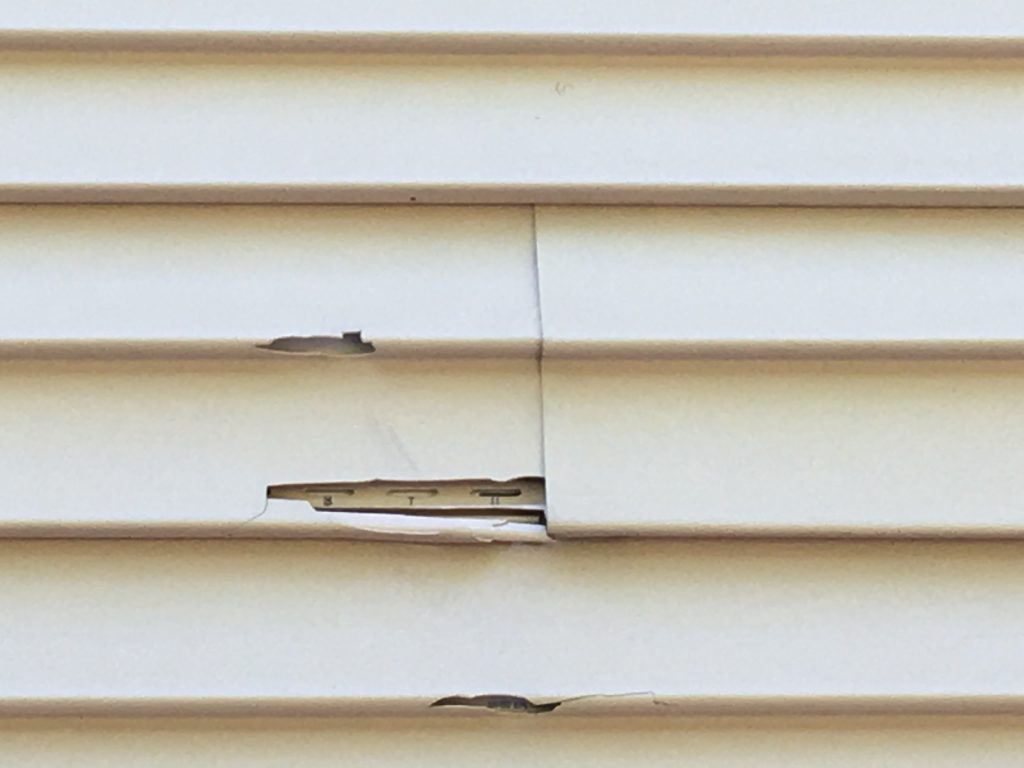
Tis the nature of this work that people will ask me to do all kinds of stuff I have never done before.  The other day a lady called and asked if I could fix her vinyl siding:

I couldn’t quite figure out what caused this.  Woodpeckers?  Oh well.  Again, I had never done vinyl siding before, but I watched Tommy on This Old House do it and it seemed simple enough, so I bought a zip tool and off we went.

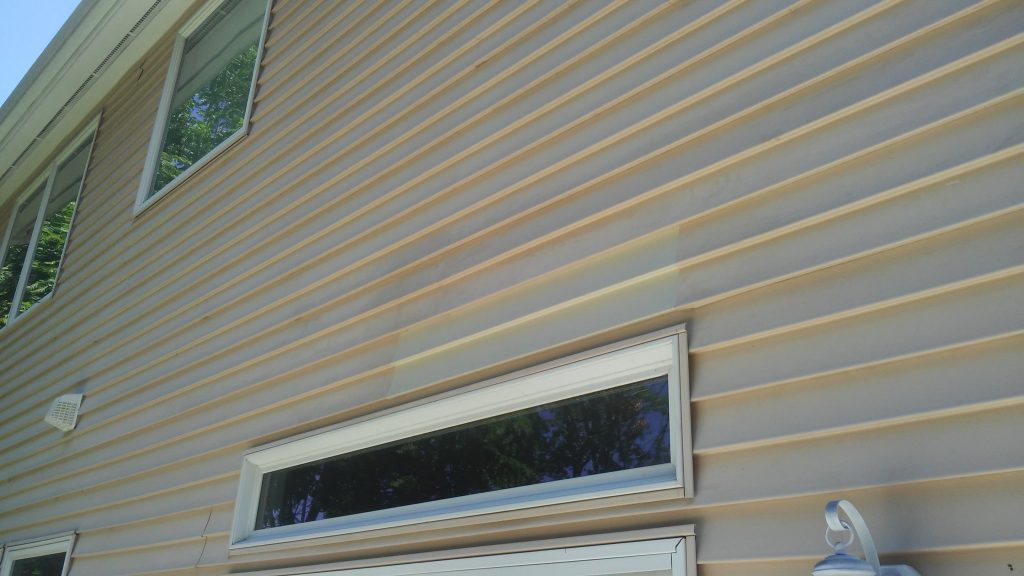
So the biggest part of the job was finding replacement pieces.  They did not make this color any more, so I got something close.  Once I figured that out, off came the old:

After I took out the bottom piece, I realized I had enough of it to replace the top piece with original color, so the only piece not matching is the bottom:

And, now I know how to do vinyl siding patches.

Tile Floor Patch

So one job I get asked to do now and then is to patch something like siding or tile.  And I always tell the client, 80% of it is finding a replacement piece to match.

I often envy people who do all new installs– they don’t have to hunt down sources of off white tile or siding,  be told “they don’t make it anymore, and here is something close but doesn’t match exactly.”

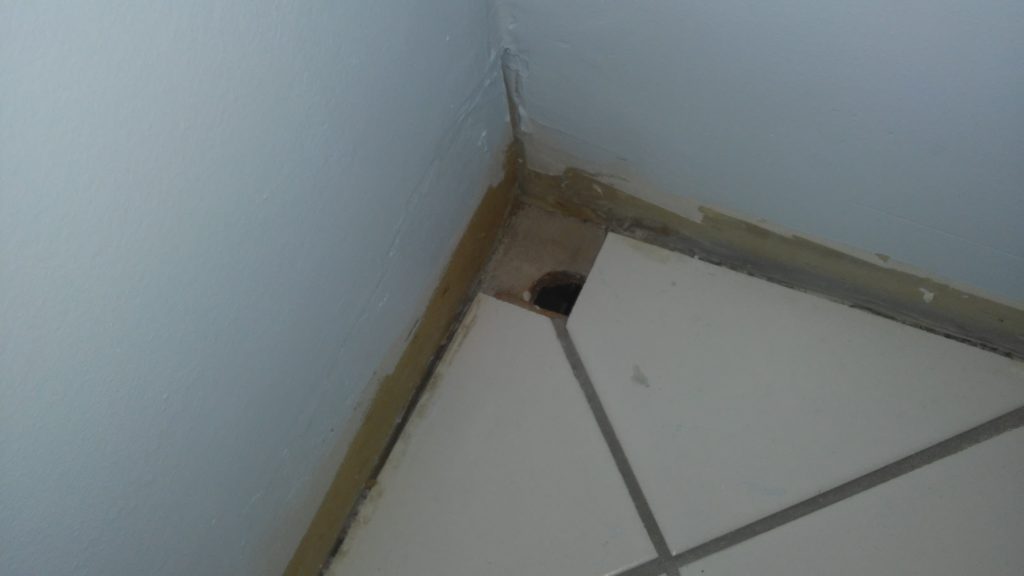
So anyway, a regular client has a small bathroom in her office condo.  They had switched from hot water heat to forced air, and the baseboard heating unit had been removed, and this left her with a godawful ugly hole in her bathroom floor.

So as is so often the case, I did not know very much about tiles, but I set out to solve this tiny blemish and learned as I went.

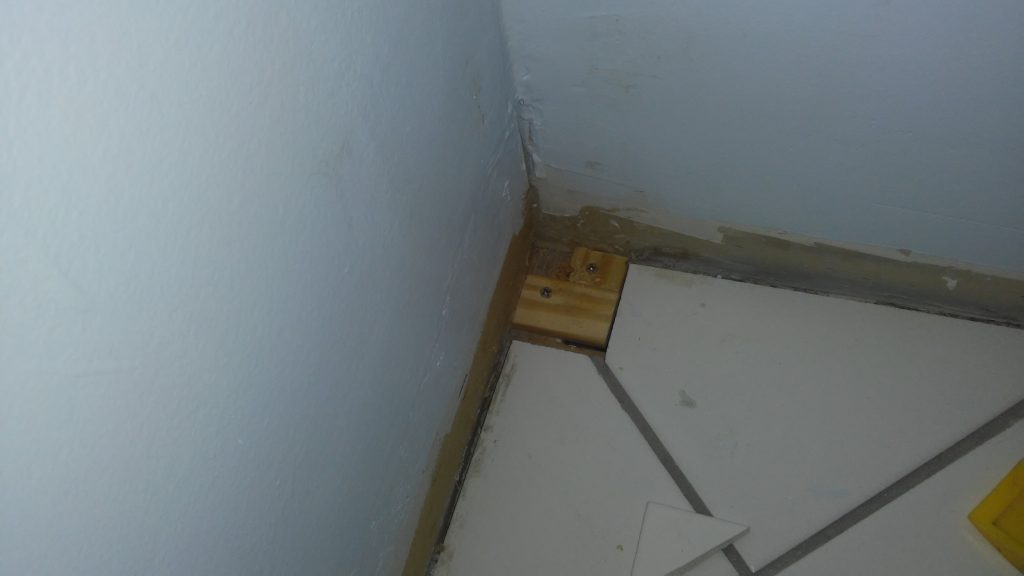
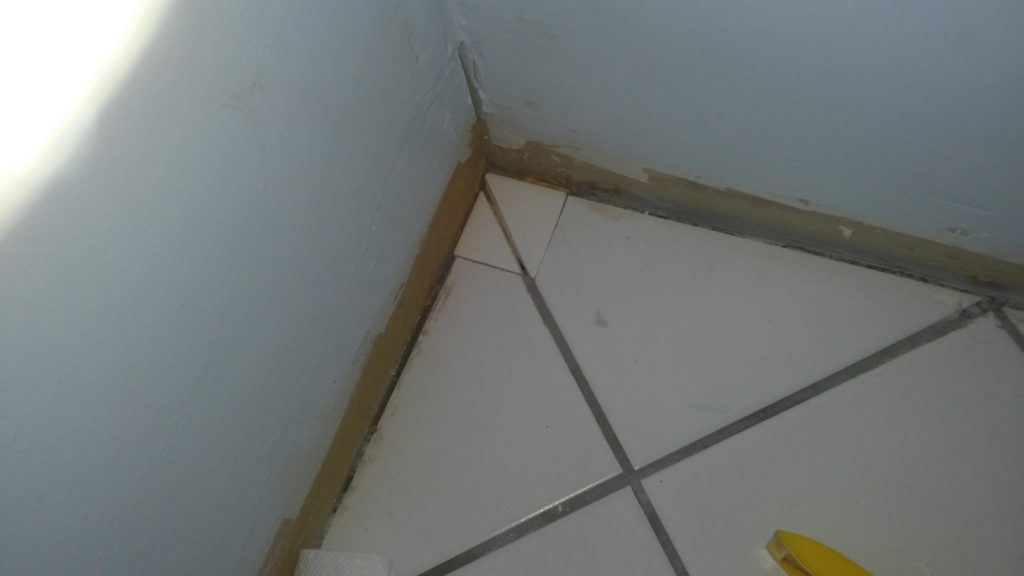
We were lucky enough to find some tiles that almost matched.   And it took me a week to learn how to cut tiles . . . and I put in the patch pieces.  Pix below.

I could not use thinset because the tiles were mounted on a wooden subfloor (this is why I ask endlessly questions at hardware stores– there are traps everywhere).  So I covered the hole with a wooden patch, screwed it in, and attached the tile patch pieces with liquid nails.

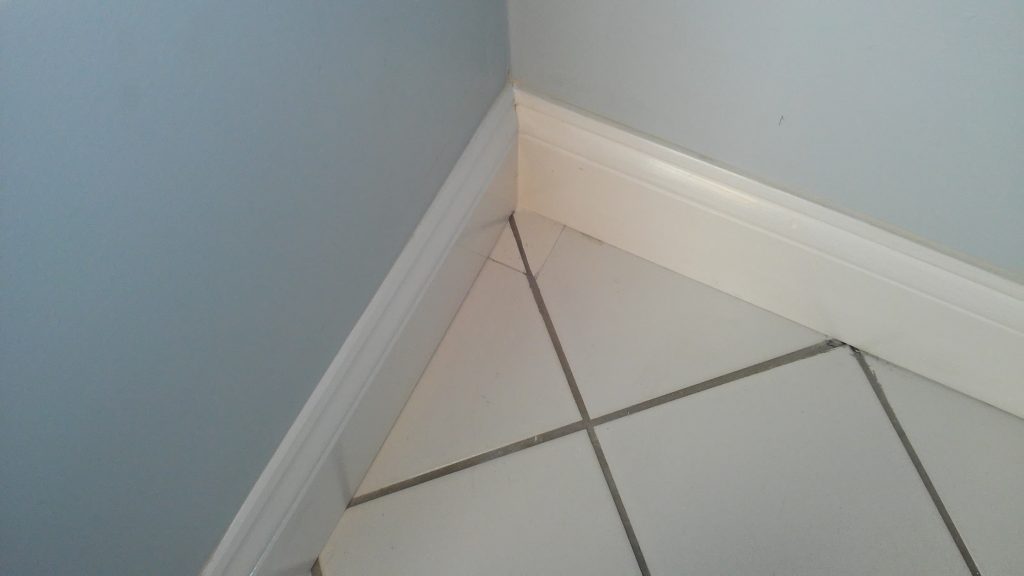
And, with the baseboard installed (I did not do this) it looks magnificent.