I must confess I often have trouble with the word “handyman.”
Month: October 2022
Tenant Changeovers
One of the many social phenomena one runs into as a handyman is something I call “the tenant changeover.”
Typically, when someone rents an apartment, they stay there for a good long time, like a year or five. Then one day they decide to move out. Typically a tenant gives 30 days’ notice, so the landlord is often in a spot where they want to “spiff up” the place to get higher rent but they also don’t want to shut the place down for renovations and lose a months’ rental income. So once the tenant moves out, assuming they moved before the end of the month, before the next tenant can come in, there is a mad scramble to clean up and fix up and spiff up the 1-15 years of wear and tear in a very short space of time while the place is empty. And this becomes “the tenant changeover.”
So, this being the end of the month, I had until the first of next month (i.e., one week) to do everything they wanted done. Here we go.
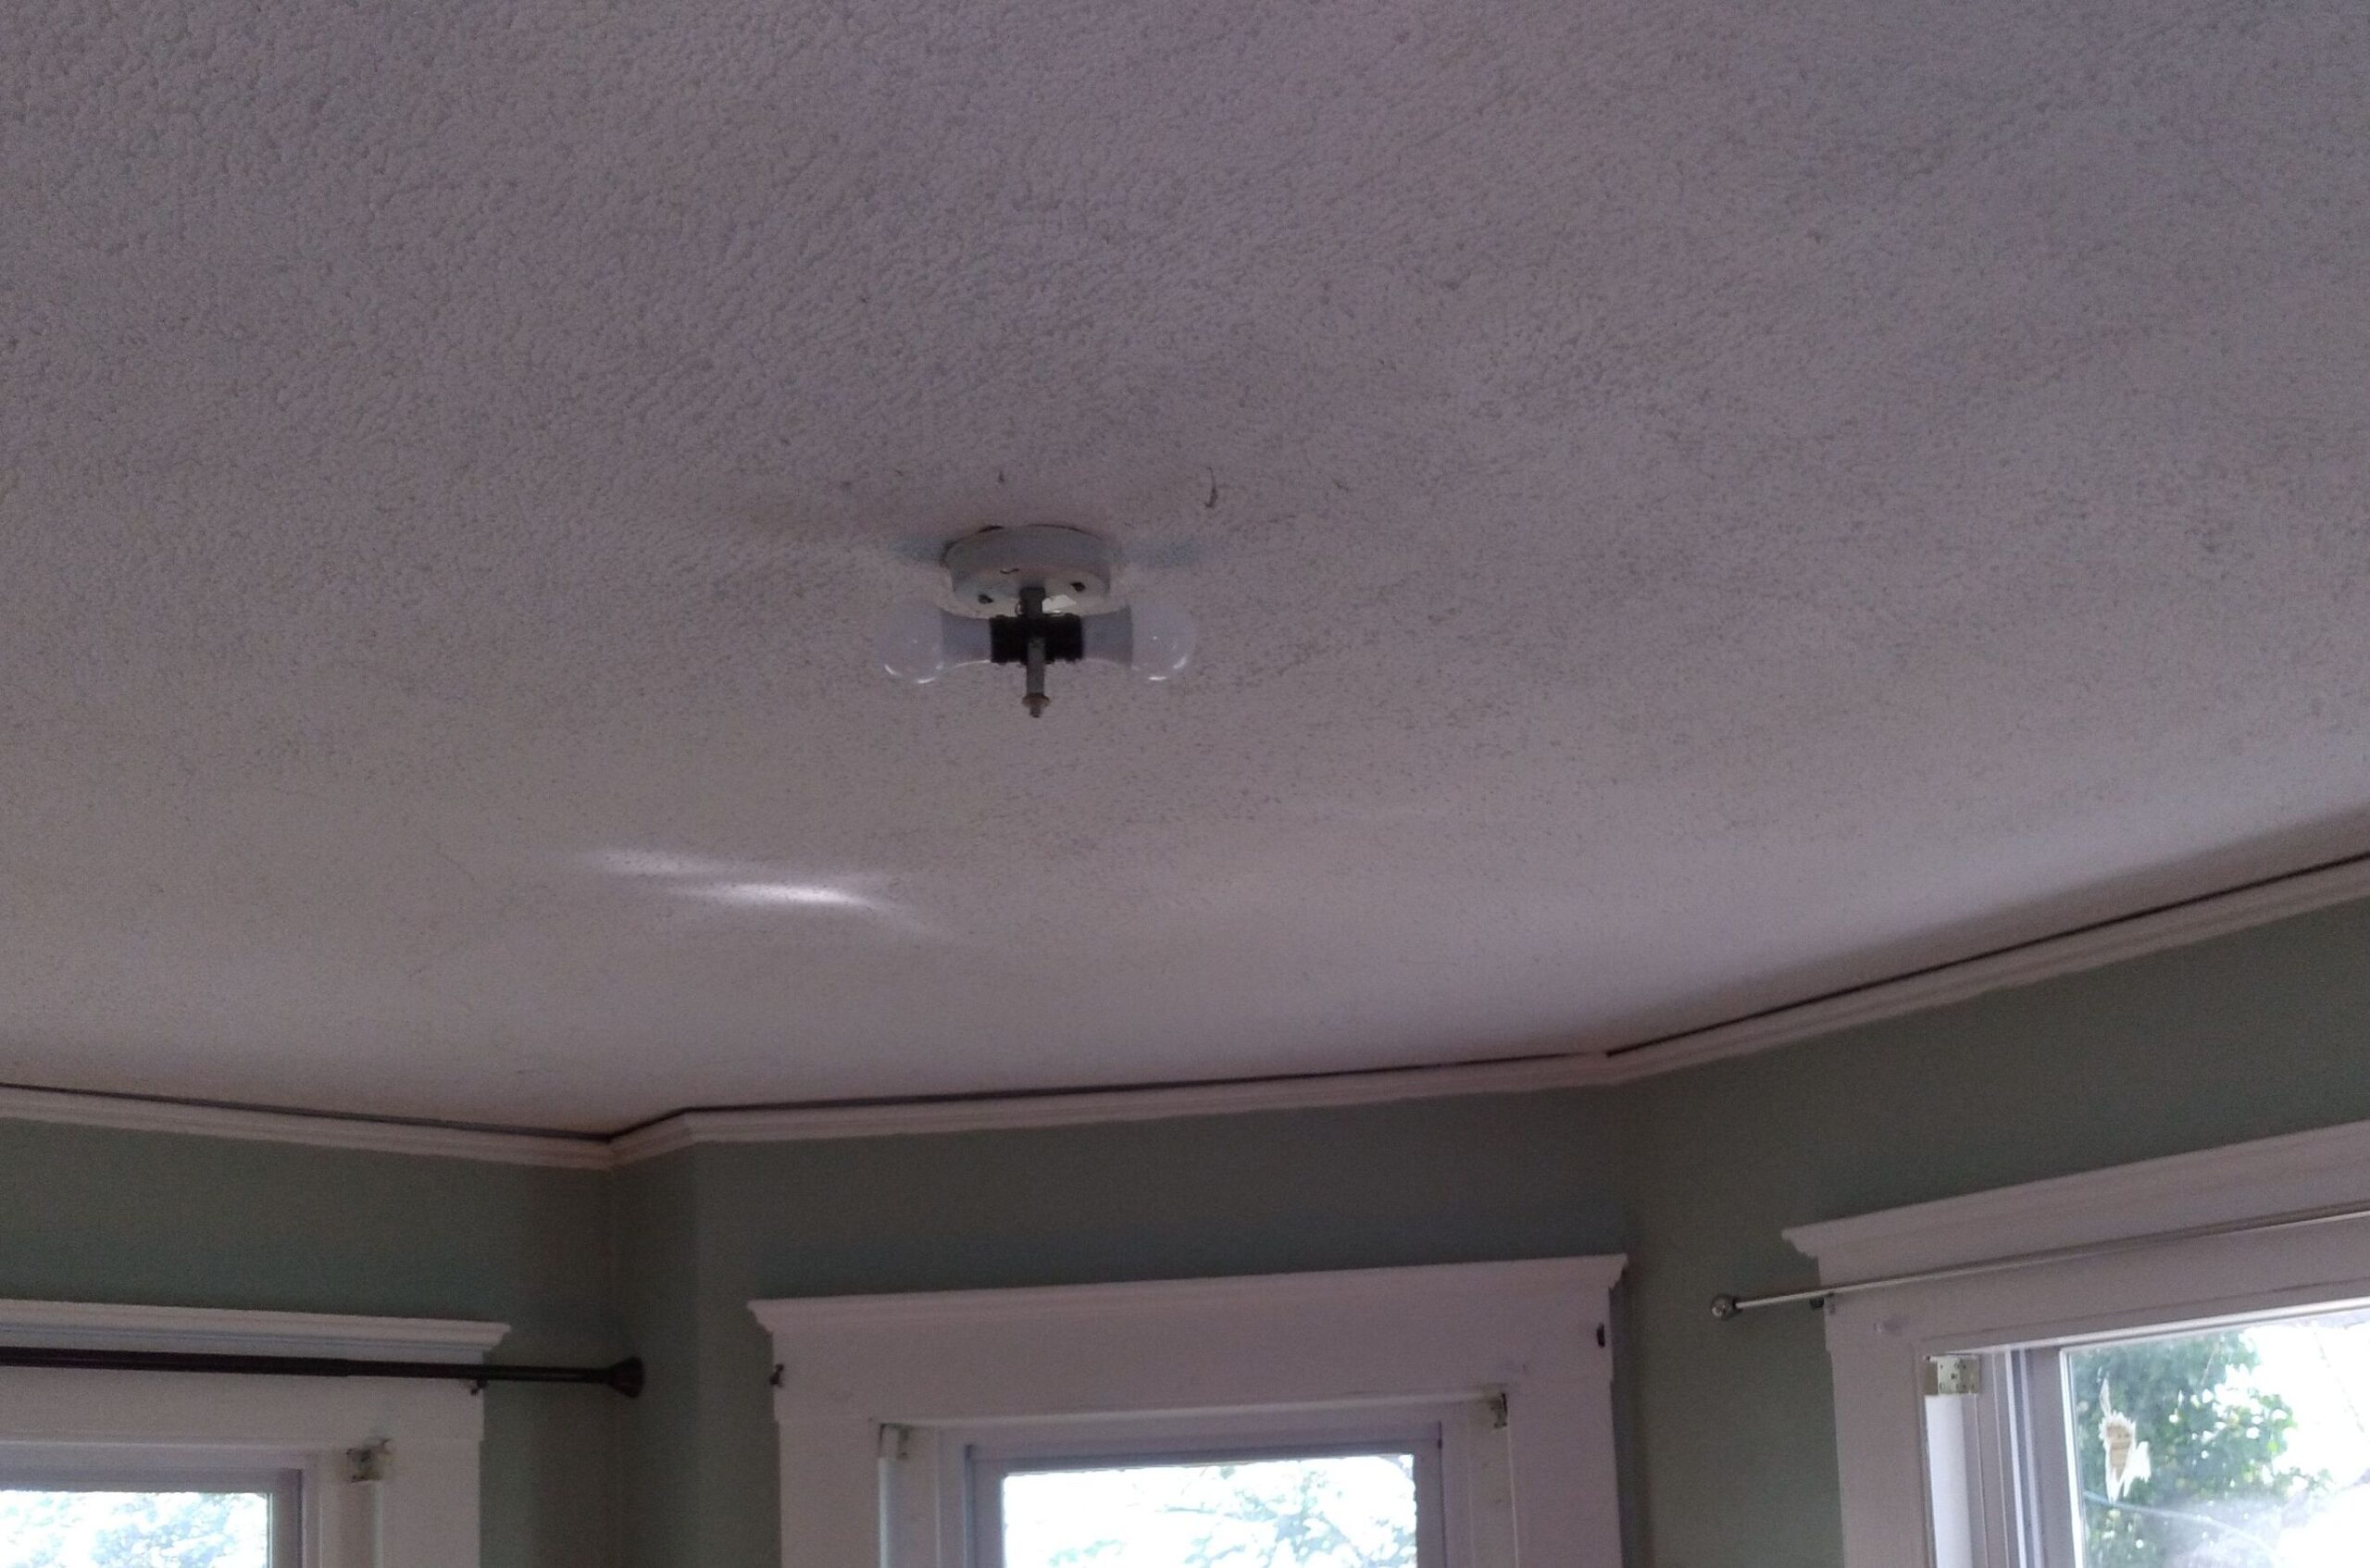
Here we see the bedroom with a less than ideal light fixture:
I call this look “early Alcatraz.”
So with a little guidance from my electrician mentor I popped in a new fixture.
 And, also whilst I was at it, I talked the guy into a new Lutron rocker dimmer . . . They are kinda pricey but he’ll have it forever and it adds value. I love dimmer switches. Obviously, this one below is installed but not shoved into box yet.
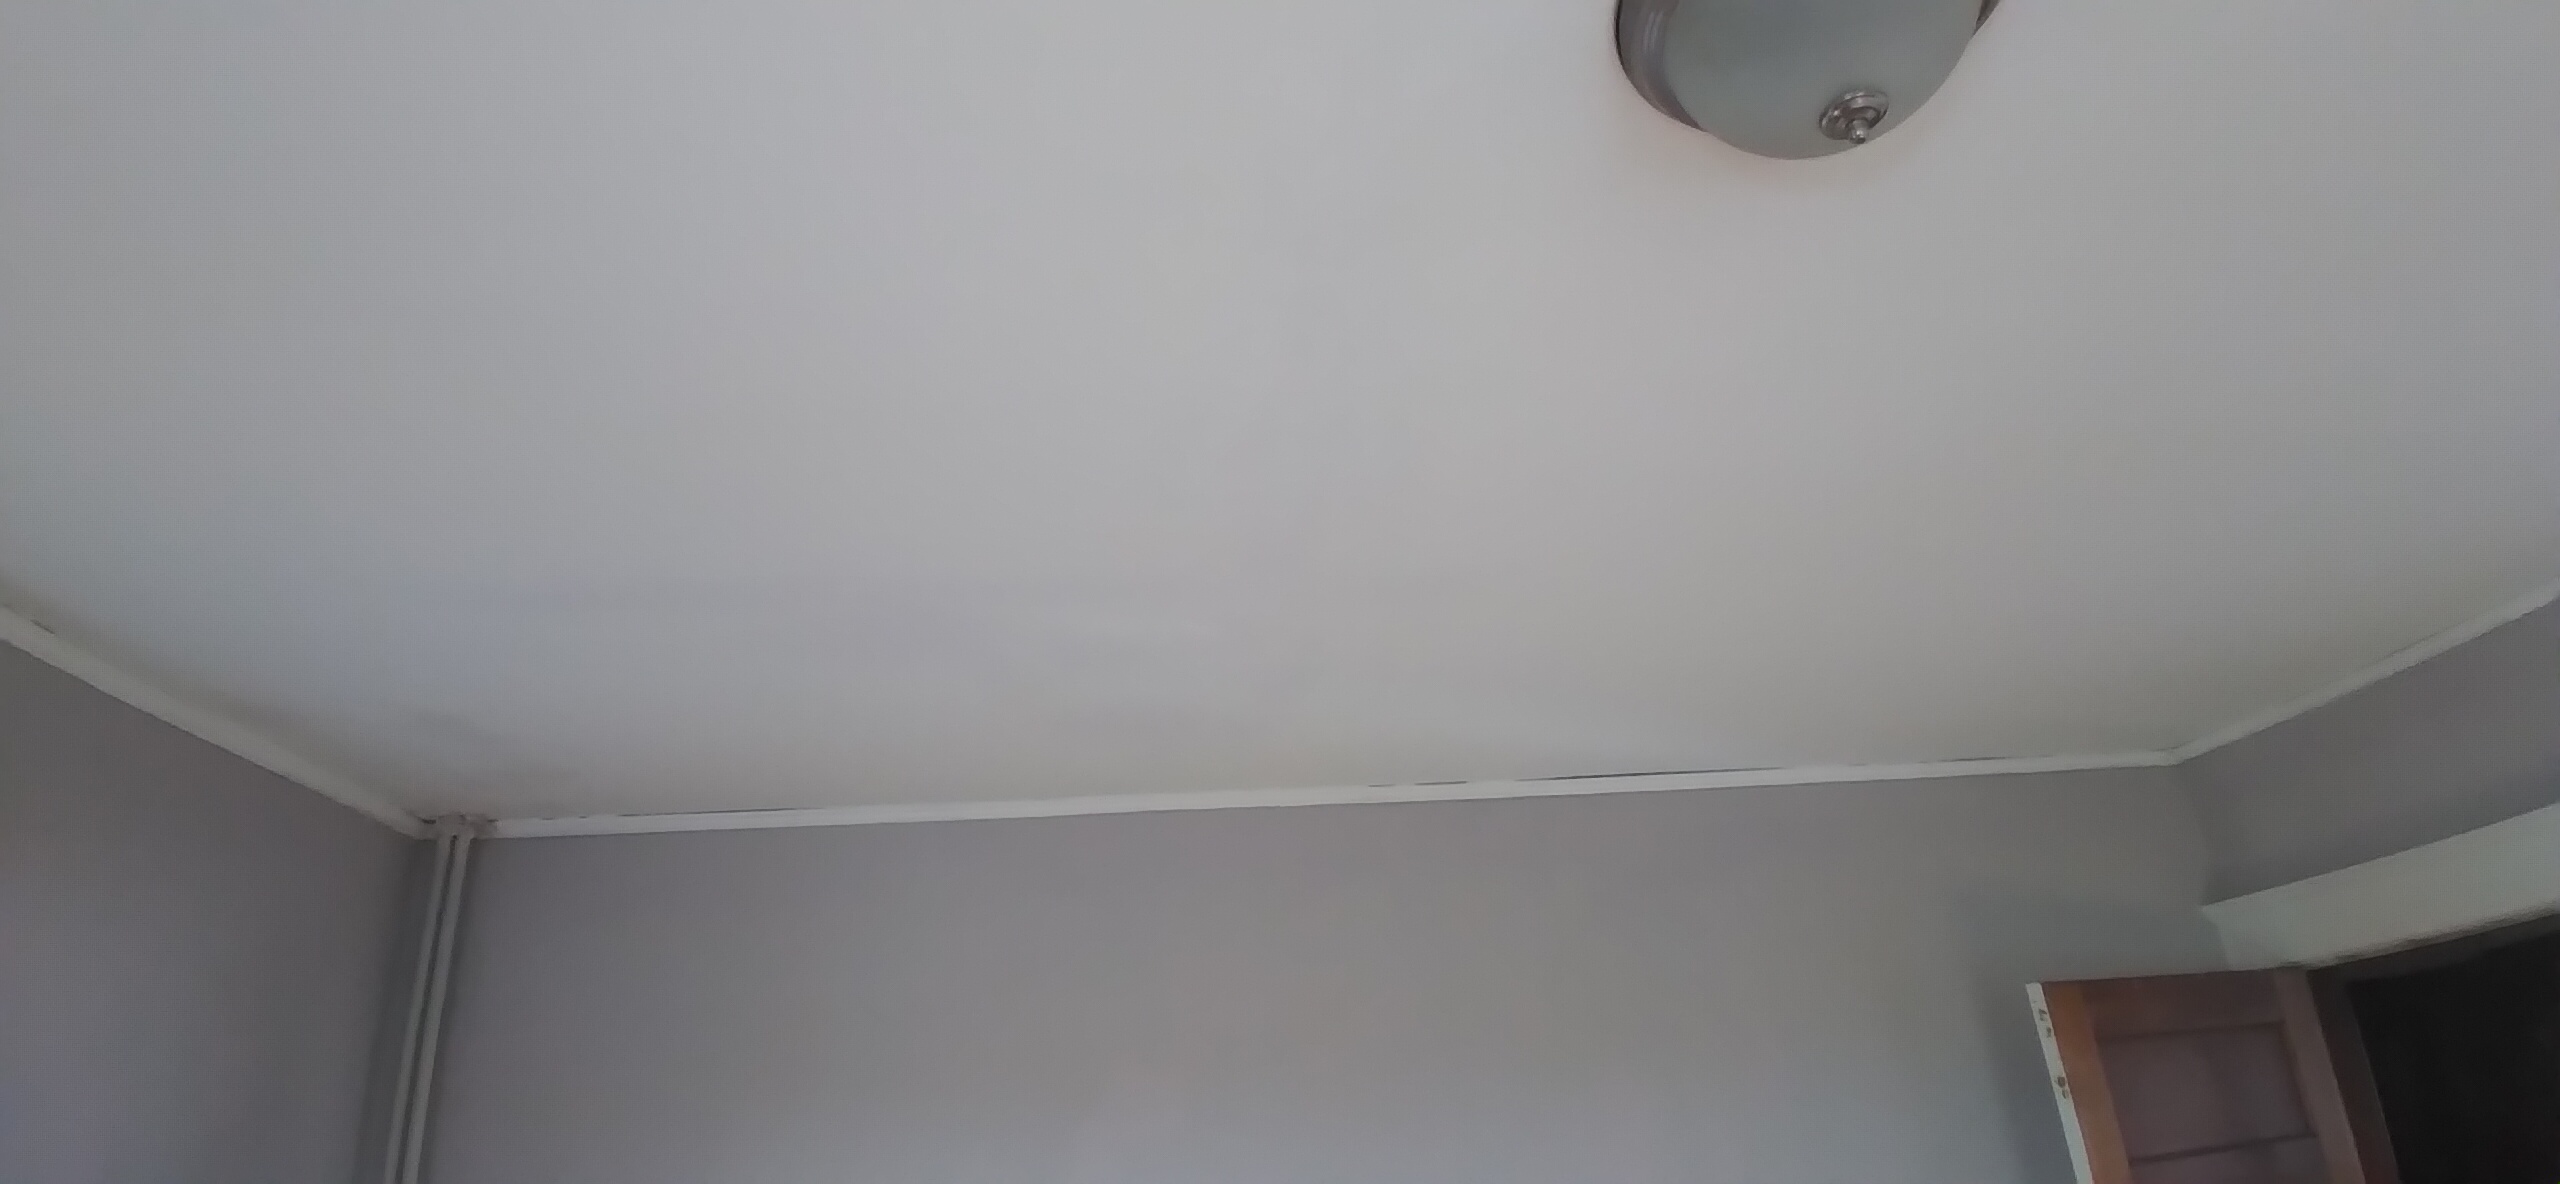
Next, a bit of water damage was marring the living room ceiling bigtime
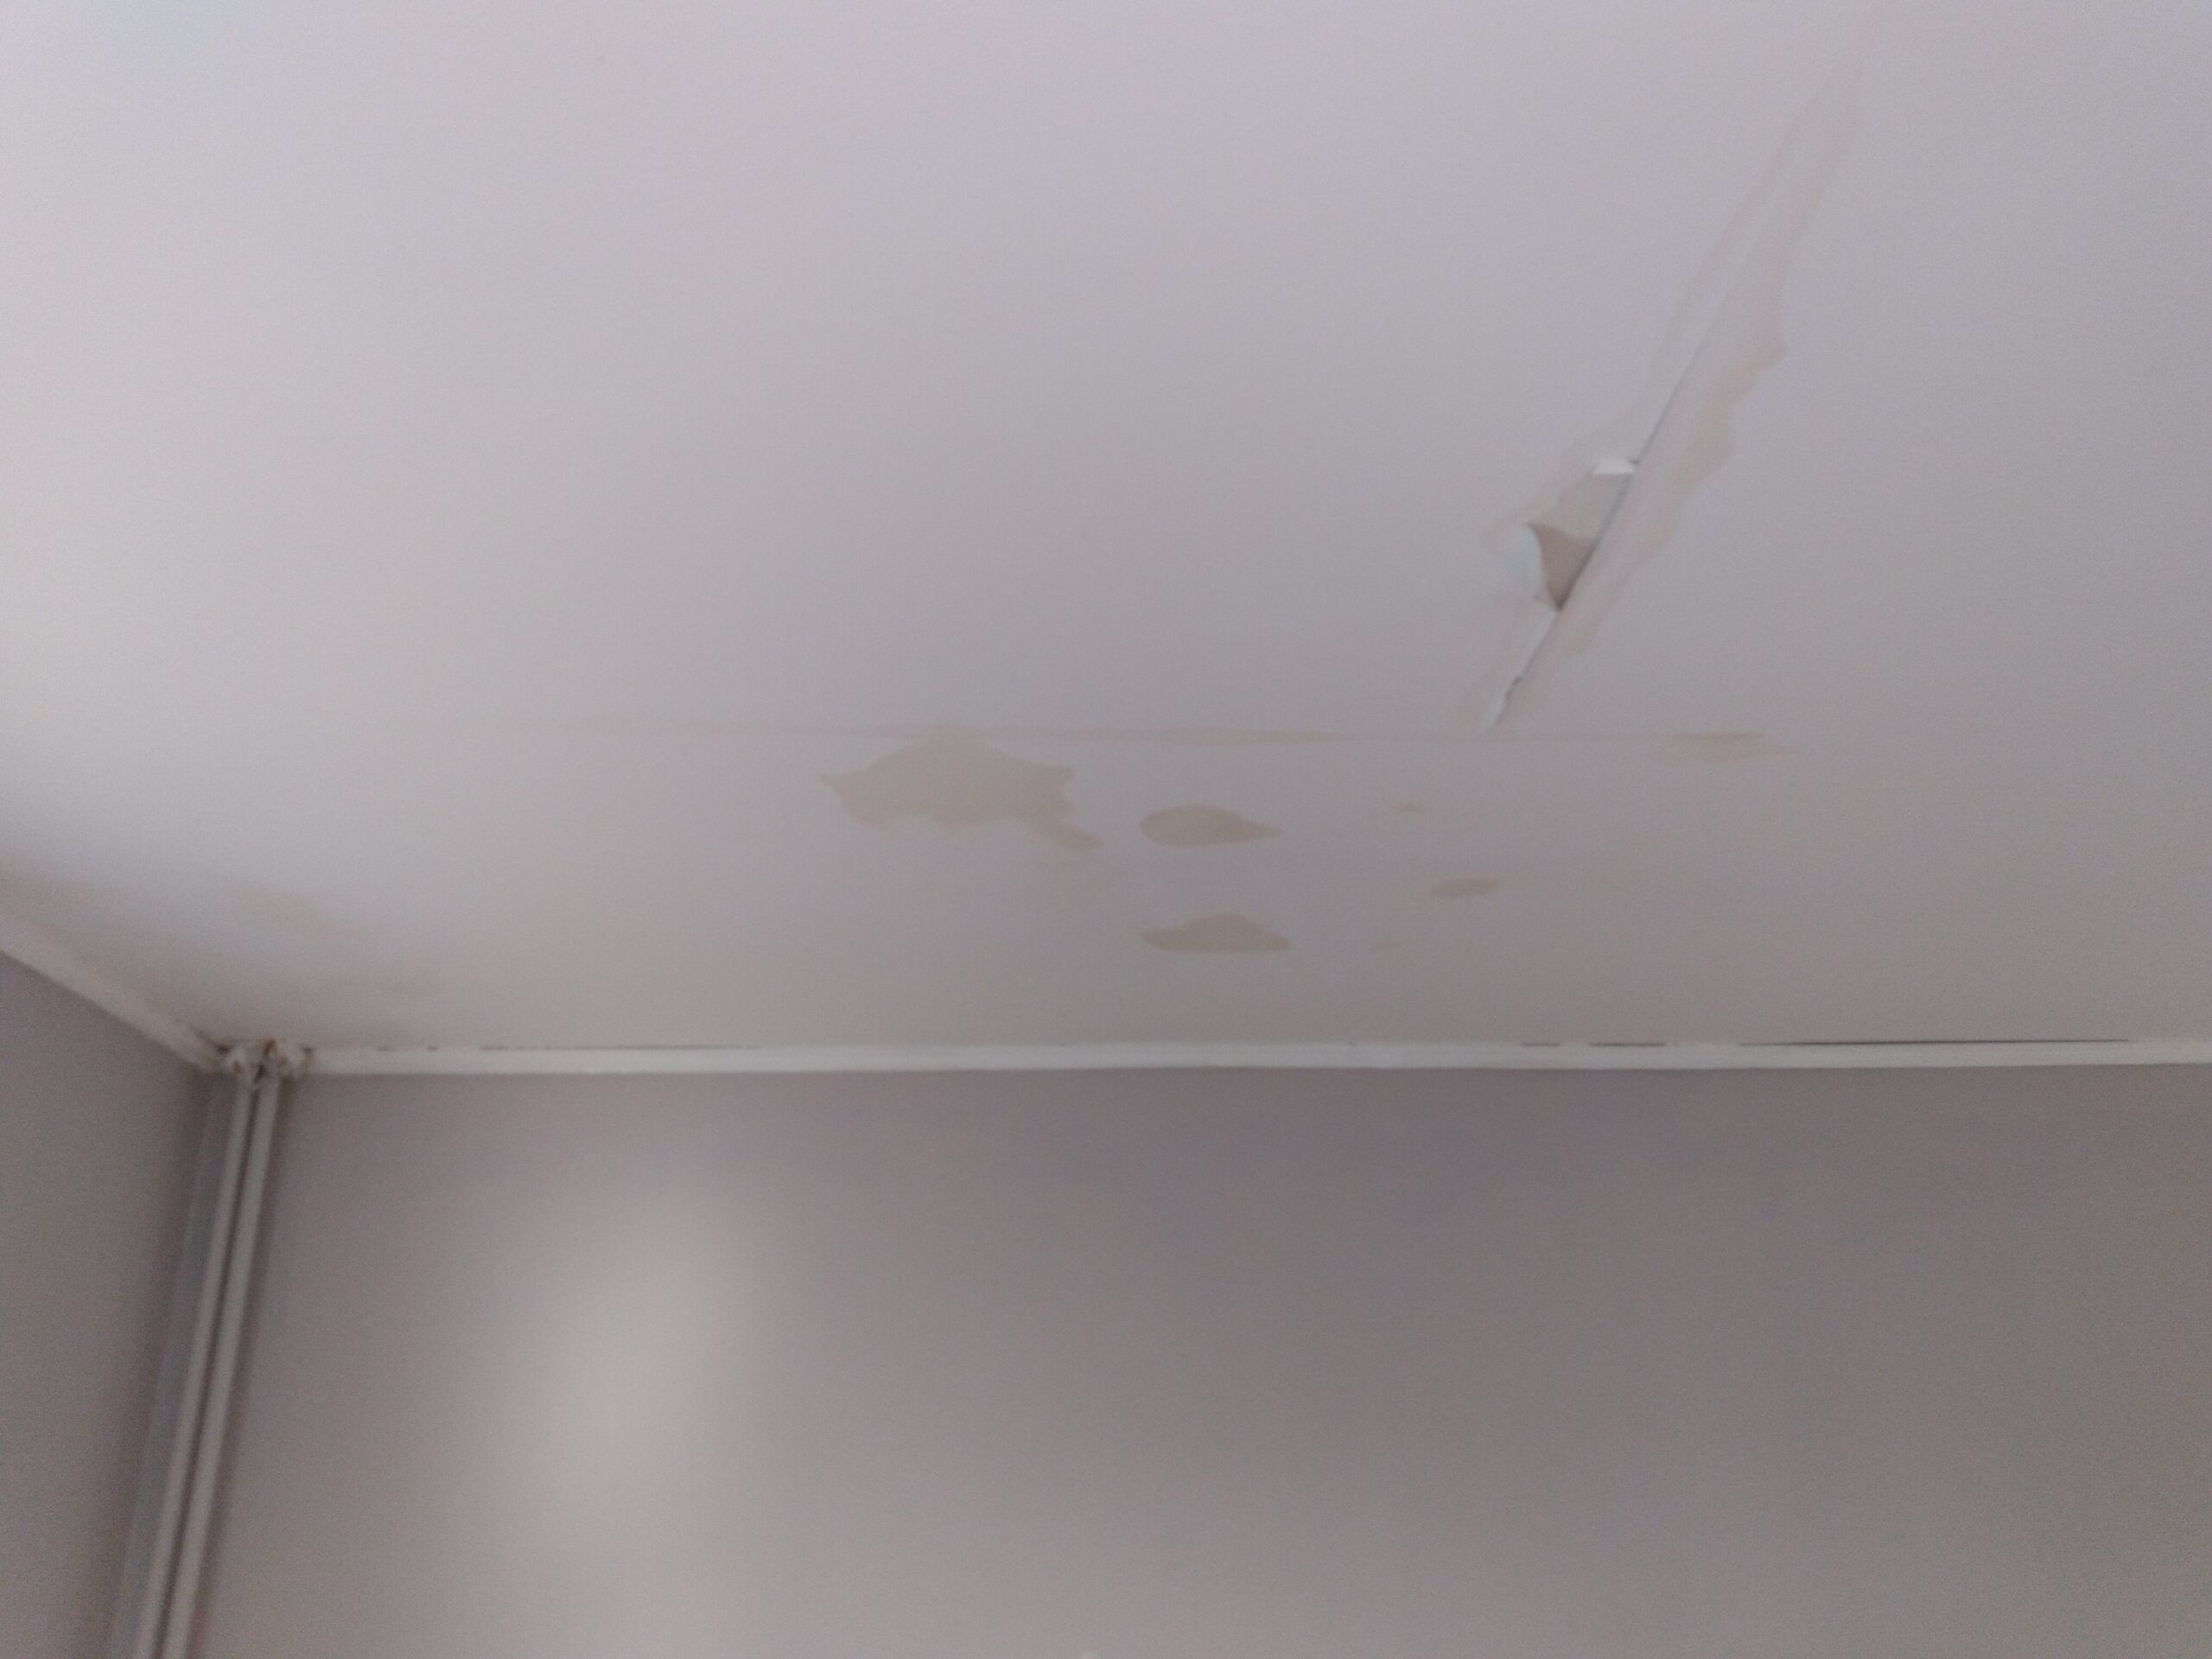 So on day one I sealed it all up with shellac, and on day 2 I painted it white and it turned out really well.
It would take way too long to post all the little cosmetic fixes I did in this unit. Those are just the big highlights.
This entire building place is funky in spots but it provides pretty decent housing for folks who need a lower priced place to stay for a while, and I am happy to support those efforts.
Safety First
Something I guess I picked up from learning all about electrical code is, one must be mindful of safety issues when installing, well… just about anything. You have to think about, not just what is likely, but what is possible.
One safety item you often see is a little bracket that comes with taller build-it-yourself furniture. The idea is, a little kid might pull out the drawers and start climbing up, not realizing that the thing might tip over and land upon them.
Something similar came to my attention a few weeks ago, I was in a client’s attic and there was a tall (as in 8 feet) old bookcase up there, laden with big books. The bookcase was less than a foot deep, and frankly not terribly stable, and it would not have taken much to tip the thing over onto someone.
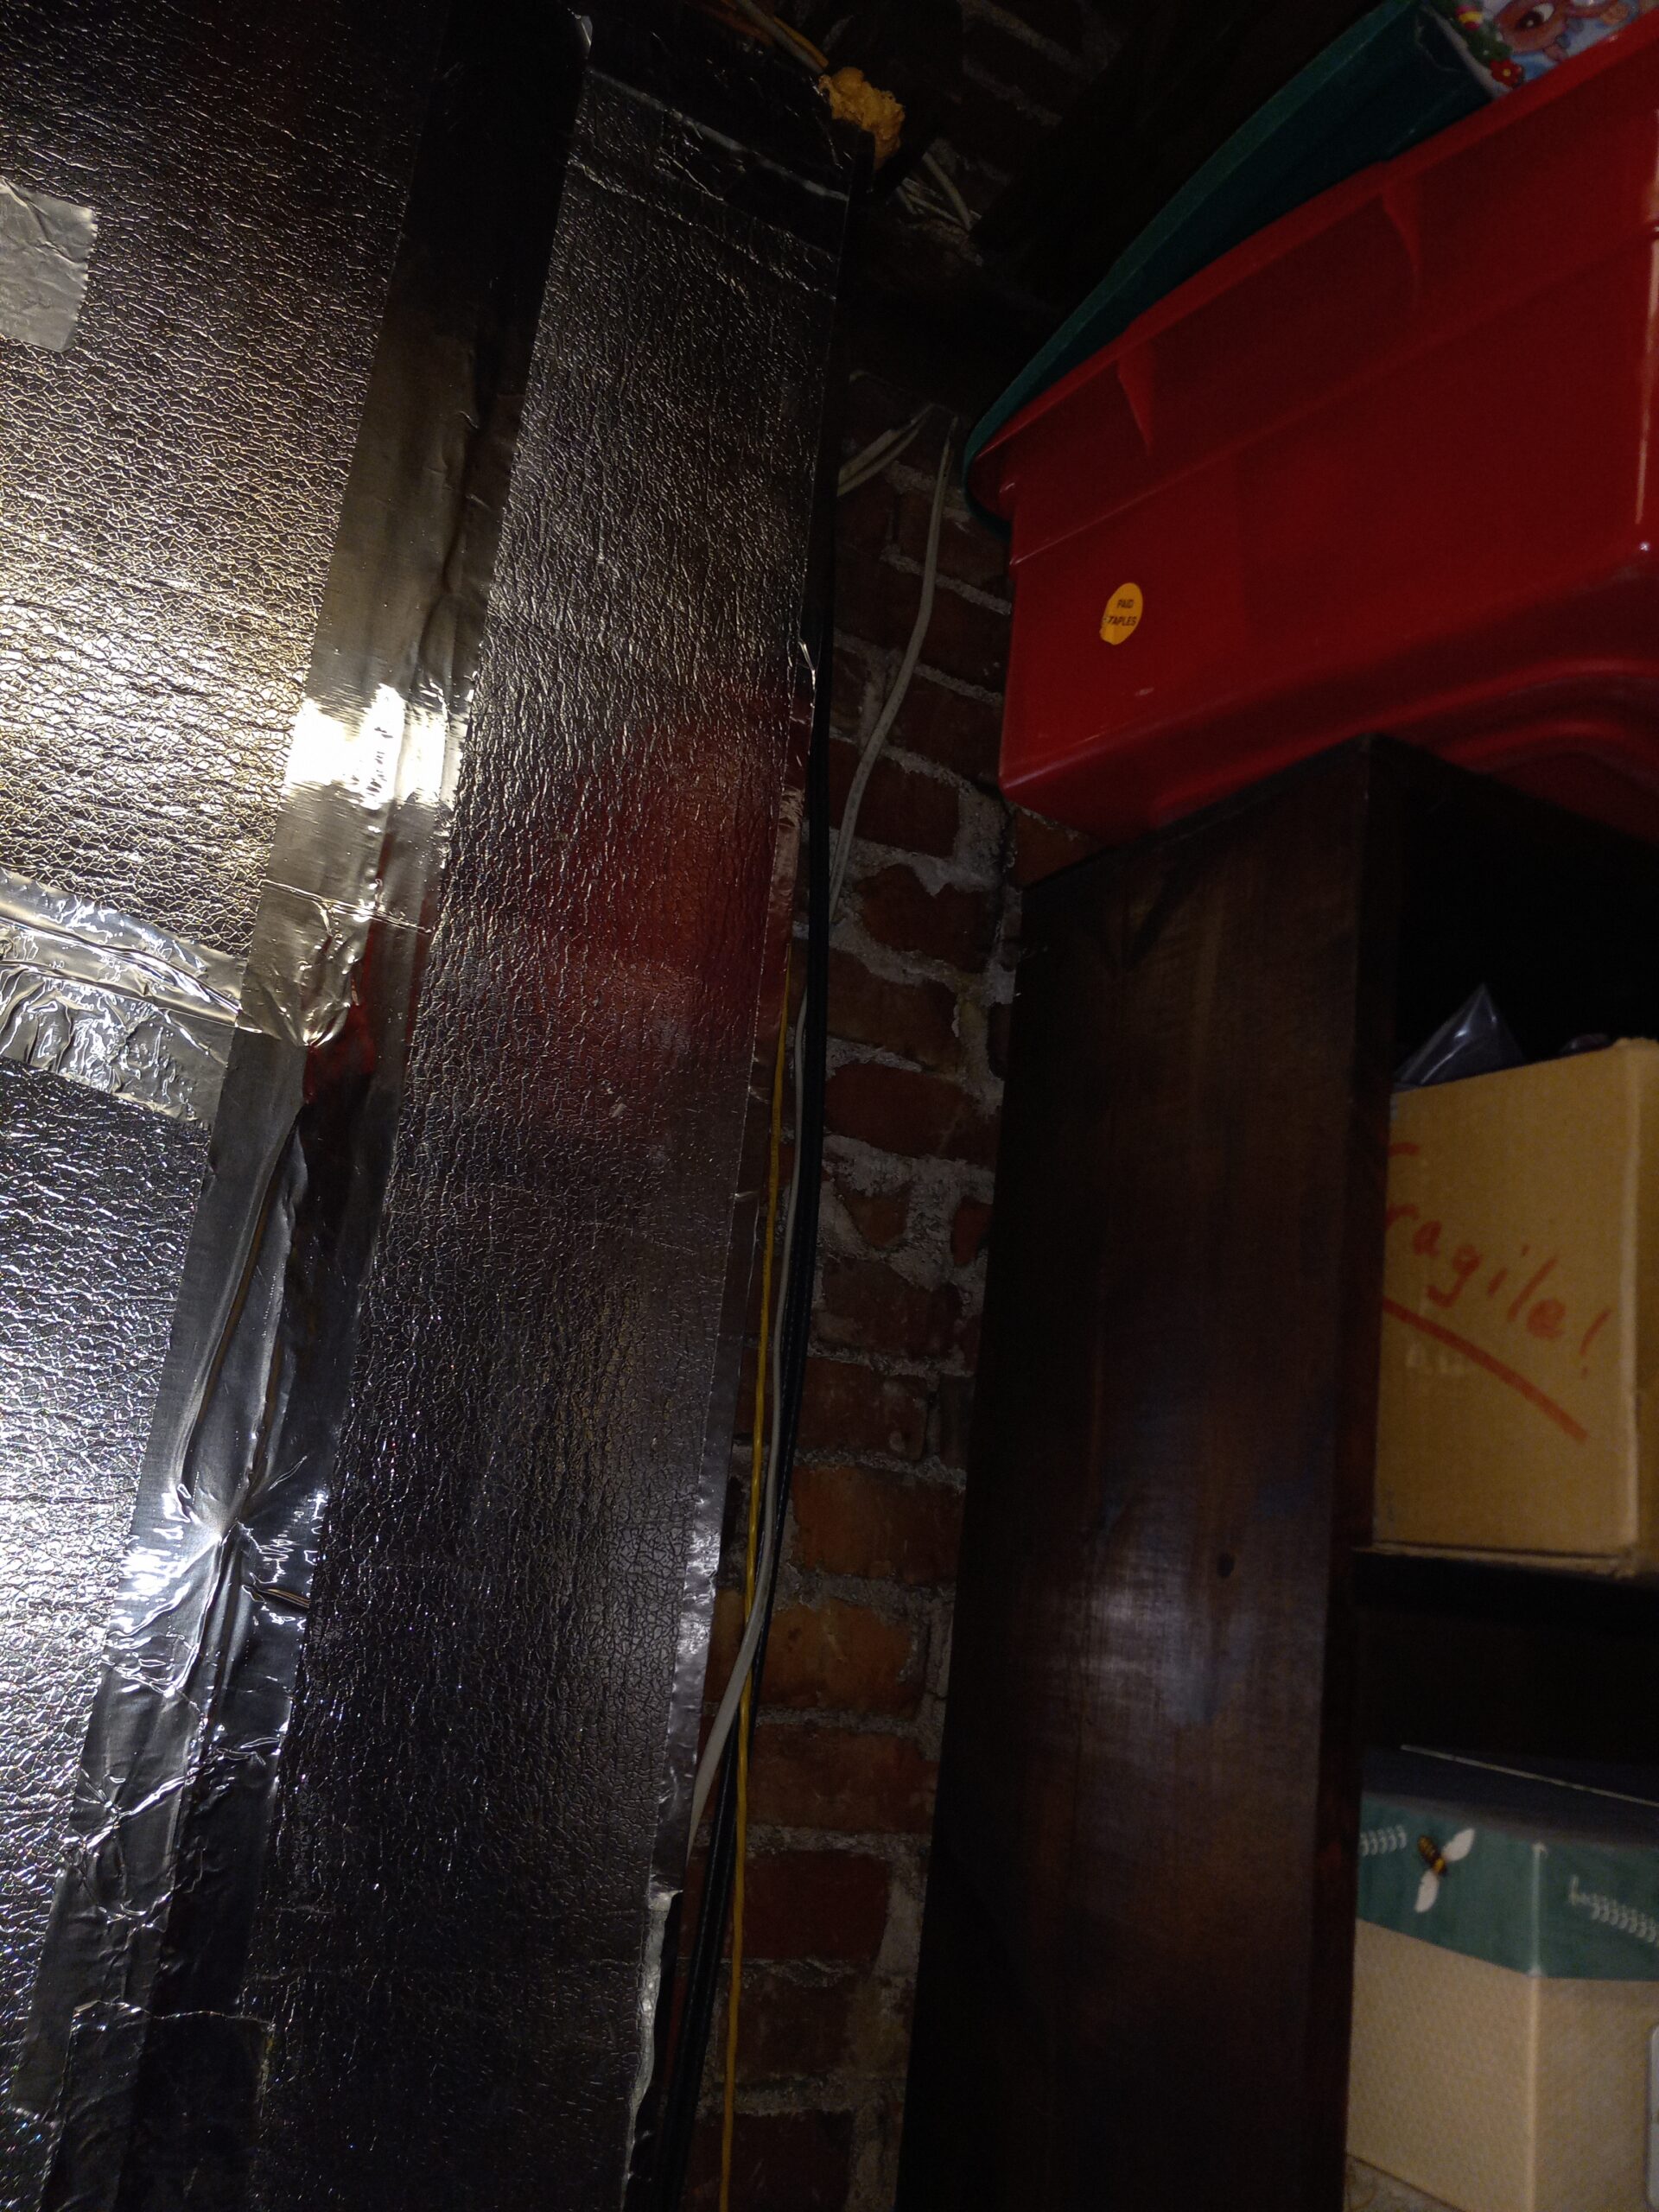
So I thought about installing an Ikea type safety bracket but . . . where to attach it? Behind the bookshelf there was a chimney (brick wall) and a type of insulating wallboard on either side.
I didn’t really want to go drilling into 100-year-old brickwork, and the insulation, well, who knew how thick or strong it was.
I ran this by my guy Jack at the Home Depot pro desk, and he suggested finding the studs under the insulation and nailing maybe a 2×4 to THAT and then attaching my safety bracket. Sounded good to me.
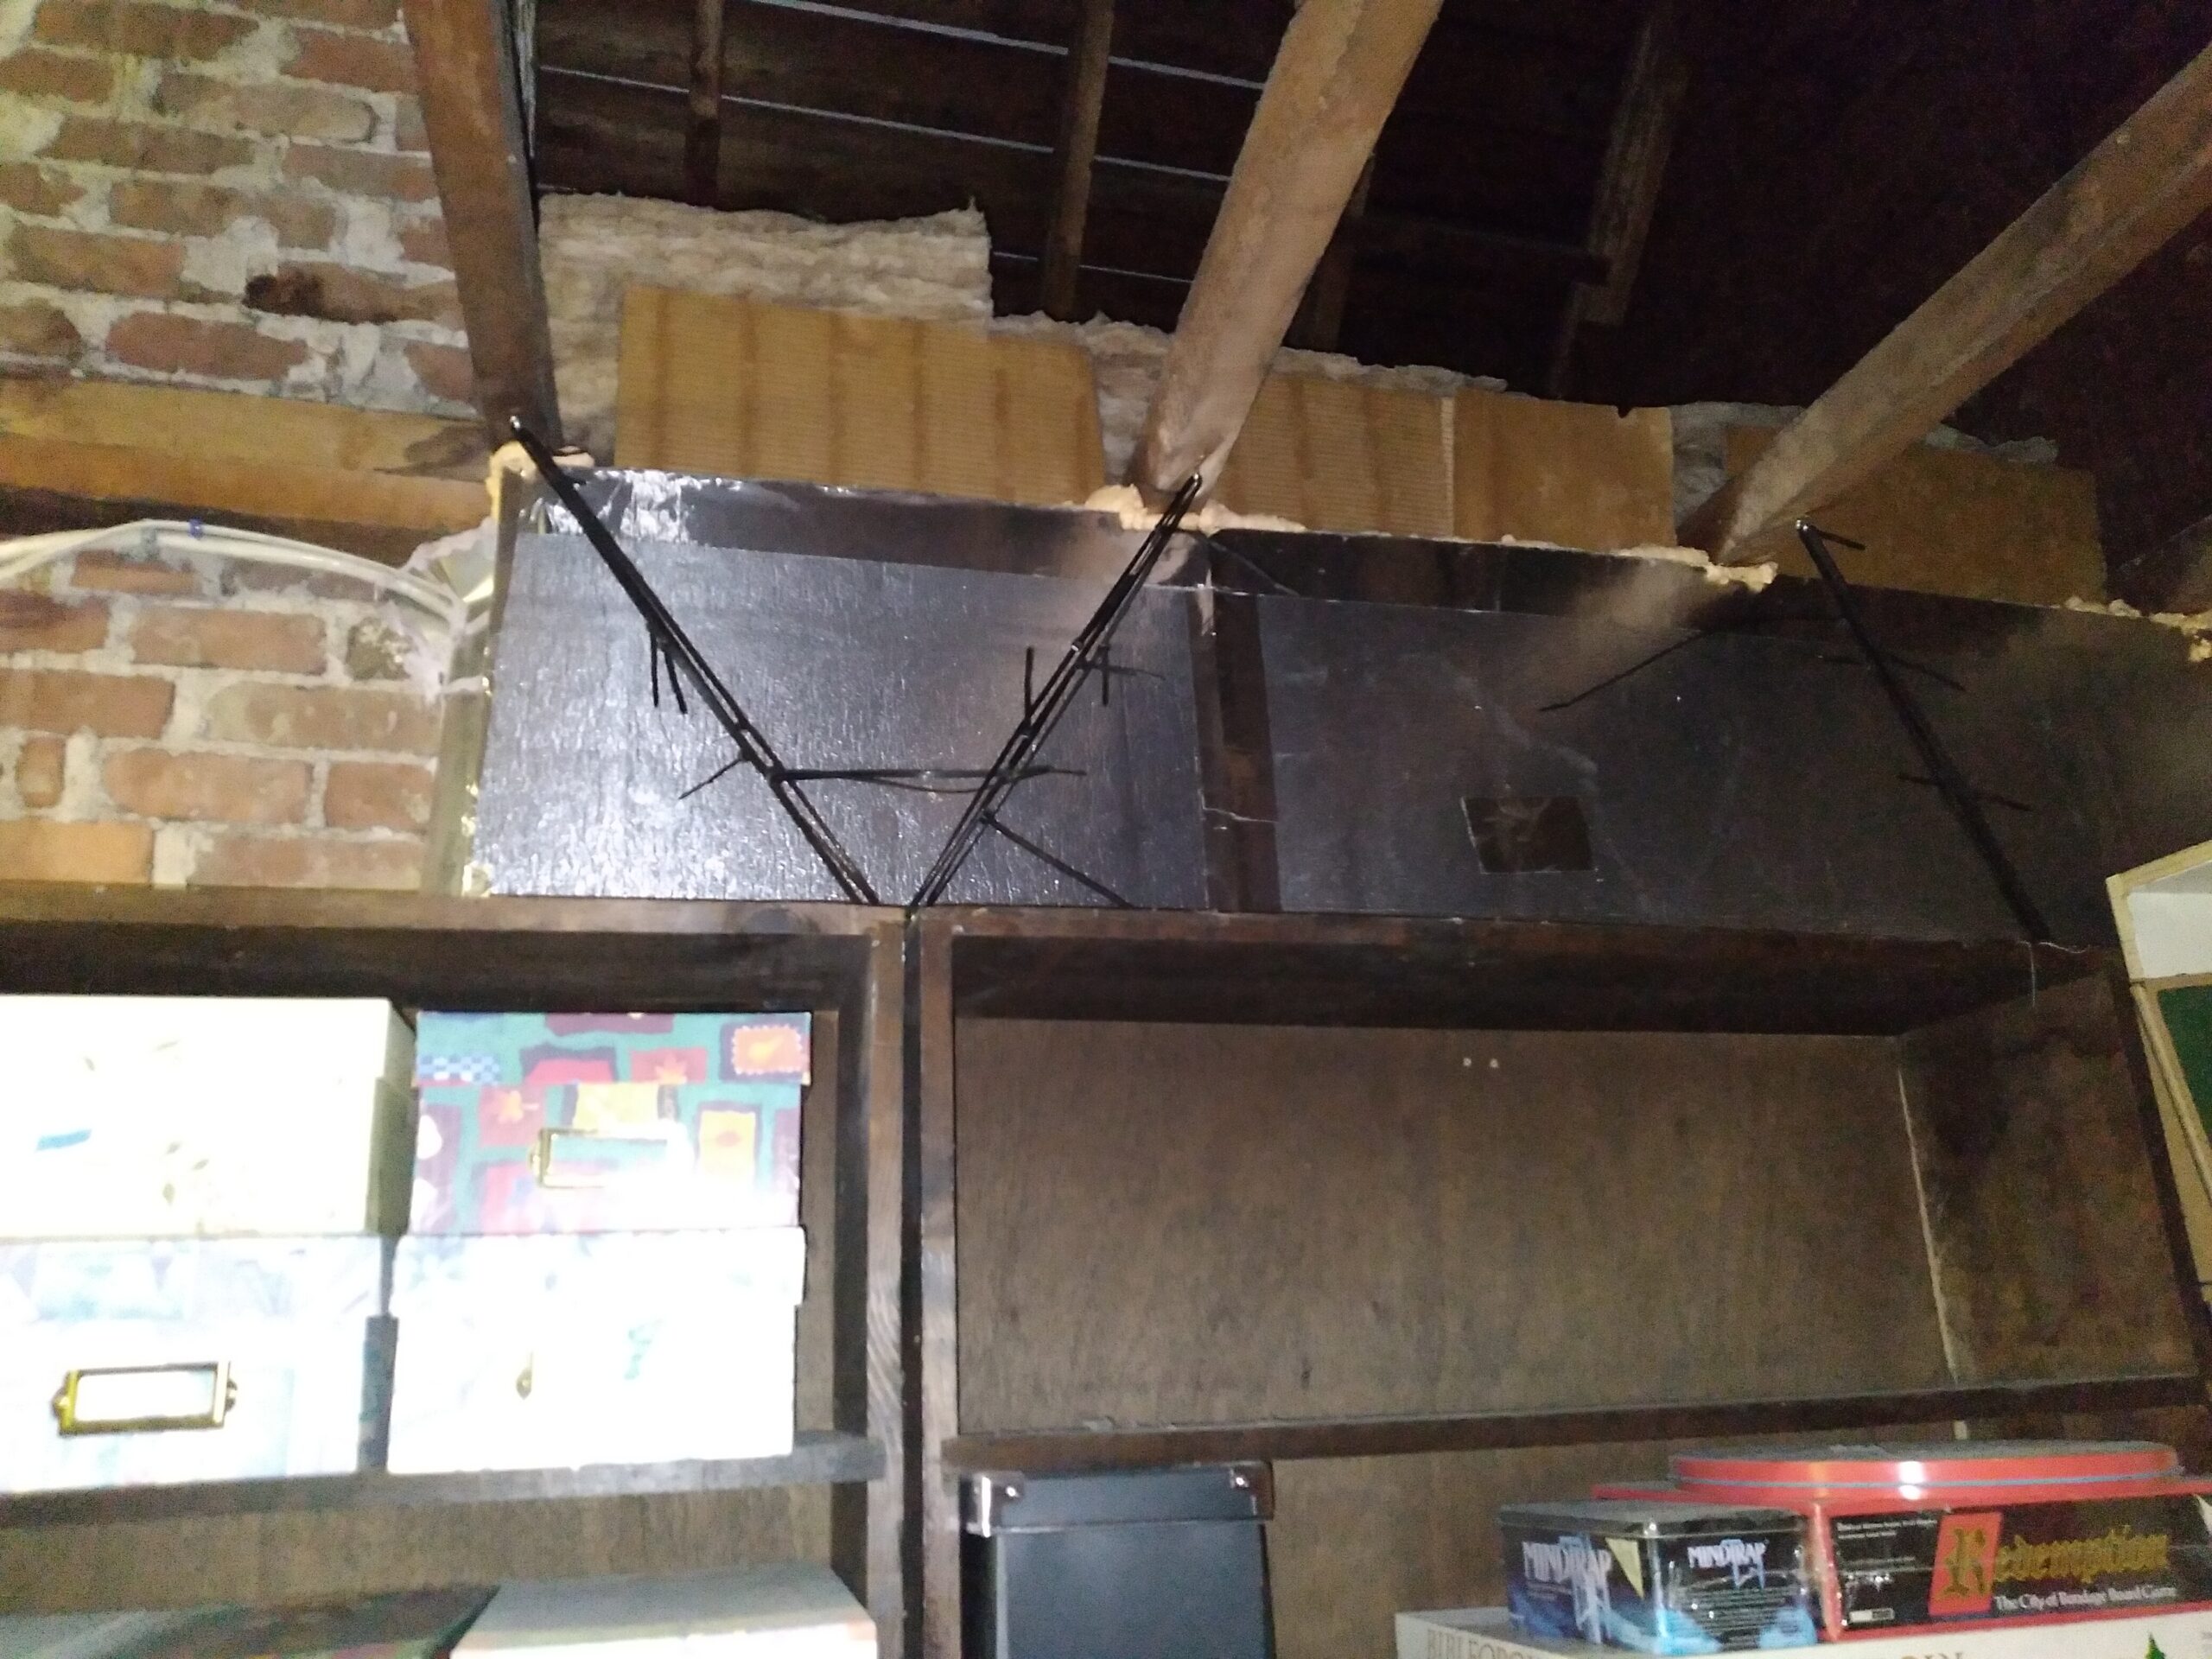
Well when I got back on site I looked up (perhaps seeking divine handyman guidance) and there I saw– some perfectly good roof joists just sitting up there with nothing to do. So I gave up on the 2×4 idea and just drilled a few pilot holes in the existing joists and more in the bookcase itself, screwed in some eye screws, and secured it all with zip ties.
Not sure of the exact weight capacity of zip ties generally (note I doubled them up), but the goal was just to slow the tip-over of the shelf enough to give one time to get the hell out of the way. That said, I tried to tip it a little and the ties held strong, so . . . close enough anyway. Way better than what they had, which was a human sized mouse trap. Sometimes I am so clever I just can’t stand myself 🙂
Drop Cloth Mania
This blog is rarely about “tips and tricks” but one came up today that I thought I would share.
The first time . . . and the 80th time . . . I had to do some painting, without thinking I went to the hardware store and bought the usual dropcloths. They are usually plastic, 9×12, and about $3 each. They work, more or less, but are not always the best thing to use
I have gradually expanded my approach to dropcloths. Nowadays I actually tend to use the cardboard moving boxes they sell at Home Depot. Reason is, they are nice and stiff and easily go right up against a straight edge of a wall without any extra effort and not much blue tape. They are also very easy to move to the spot where I am working. They are usually less than $2 each, and they are much better for smaller jobs generally. And unlike plastic 9×12 dropcloths (which always end the day as a big wad of not-reusable stuff) once they dry out I can use them over and over again. And they are easily stored behind a dresser or whatever.
Another tip and trick: garbage bags, which cost what, a quarter apiece? work just as well if not better as dropcloths . . . again, this is for smaller spaces.
Also the 9×12 plastic dropcloths are a serious pain (and time loss) to unfold when brand new.
The Smoke Detector Always Chirps Twice
Those of you who have read my book already know I harbor a certain amount of ill will towards smoke detectors. But last week one of my regular clients had an issue with their smoke detectors going off, and I learned a few new things that I thought I would share with you.
If a smoke detector is chirping, that either means the battery is dying (and obviously needs to be replaced), or maybe the main circuit coming from the panel has died, or the detector itself is dying. The point being, chirps are not the same as full blaring alarms. Chirps indicate loss of power, either from the panel, or far more likely, the battery is dying. If the thing is going off on a full blaring alarm, it’s usually something else. It is not likely that that is being caused by a dying battery.
This client’s detectors were blaring for ten minutes at a time. I replaced the batteries just because they were three years old and thus had to be replaced anyway, but the blaring, I went looking for another cause, and here is what I learned:
–Wired smoke detectors are usually installed with a communications wire running between them. (This wire makes it so if the basement alarm smells smoke, it will make the 3rd floor alarm go off, etc.) AND, the big point, there is a limit to how many detectors you can string together with that wire. The limit varies depending on who you ask, but at least one local fire department puts the limit at 7.
–Note, and this is not commonly known, it is NOT a good idea to mix and match different brands (e.g., Kidde vs First Alert) on the same communication wire/circuit.
— When you change the batteries (once a year is my own recommendation) it is a good idea to clean the units out with compressed air AND a vacuum. Smoke particles and spiders both look very much alike to a smoke detector. Clean them more often if the place is dirty, and cover the units if you are doing sanding etc.
This client had 10 detectors and 2 different brands going, so I took down the 3 inconsistently branded units (they were overkill anyway), I changed all the 3 year old batts, and I cleaned out the units with compressed air and a hand vacuum.
It’s been a month now. So far so good.
Note the makers all say the units are good for 10 years but I find that at year 7 at least one will go bad. When that one goes, I say, replace them all.
PS it’s also a good idea to combine photo electric detectors with a few ionization detectors if you can. Photo electric are better at detecting smoldering fires while ionization are better at detecting full on flames.
Constant Prep
Well I spent the morning organizing my tool kit backpack . . .
Middle row, putty knives, razor tools,
Third row, brushes, pliers,
Not pictured: assorted sandpaper, spray cans of silicone and WD40, water bottles, assorted batteries, and various electrical tools. And of course the drills are in their own bags. And there are two shelved closets filled with painting tools, cement and plaster tools, specialty tools (zip tool, spline tool, etc.), and so on. But I can do 90% of the work I get called to do with a drill and this bag.
Ready to go to war!! 🙂

