I confess I love painting rooms of old houses. It’s a challenge, and so rewarding. That said, a regular client asked me to paint her second bedroom. I took a look and . . . uh oh. The walls were . . . well . . . they looked like someone had just glopped spackle on them and then had forgotten to sand it down. There were all these lumps. Sad.
 On another wall, the joint where the sheet rock came together horizontally, was just . . . I don’t know how to describe it. It looked like some kind of sedimentary rock formation .
And then where that wall met the corner, there were all kinds of pits and bumps.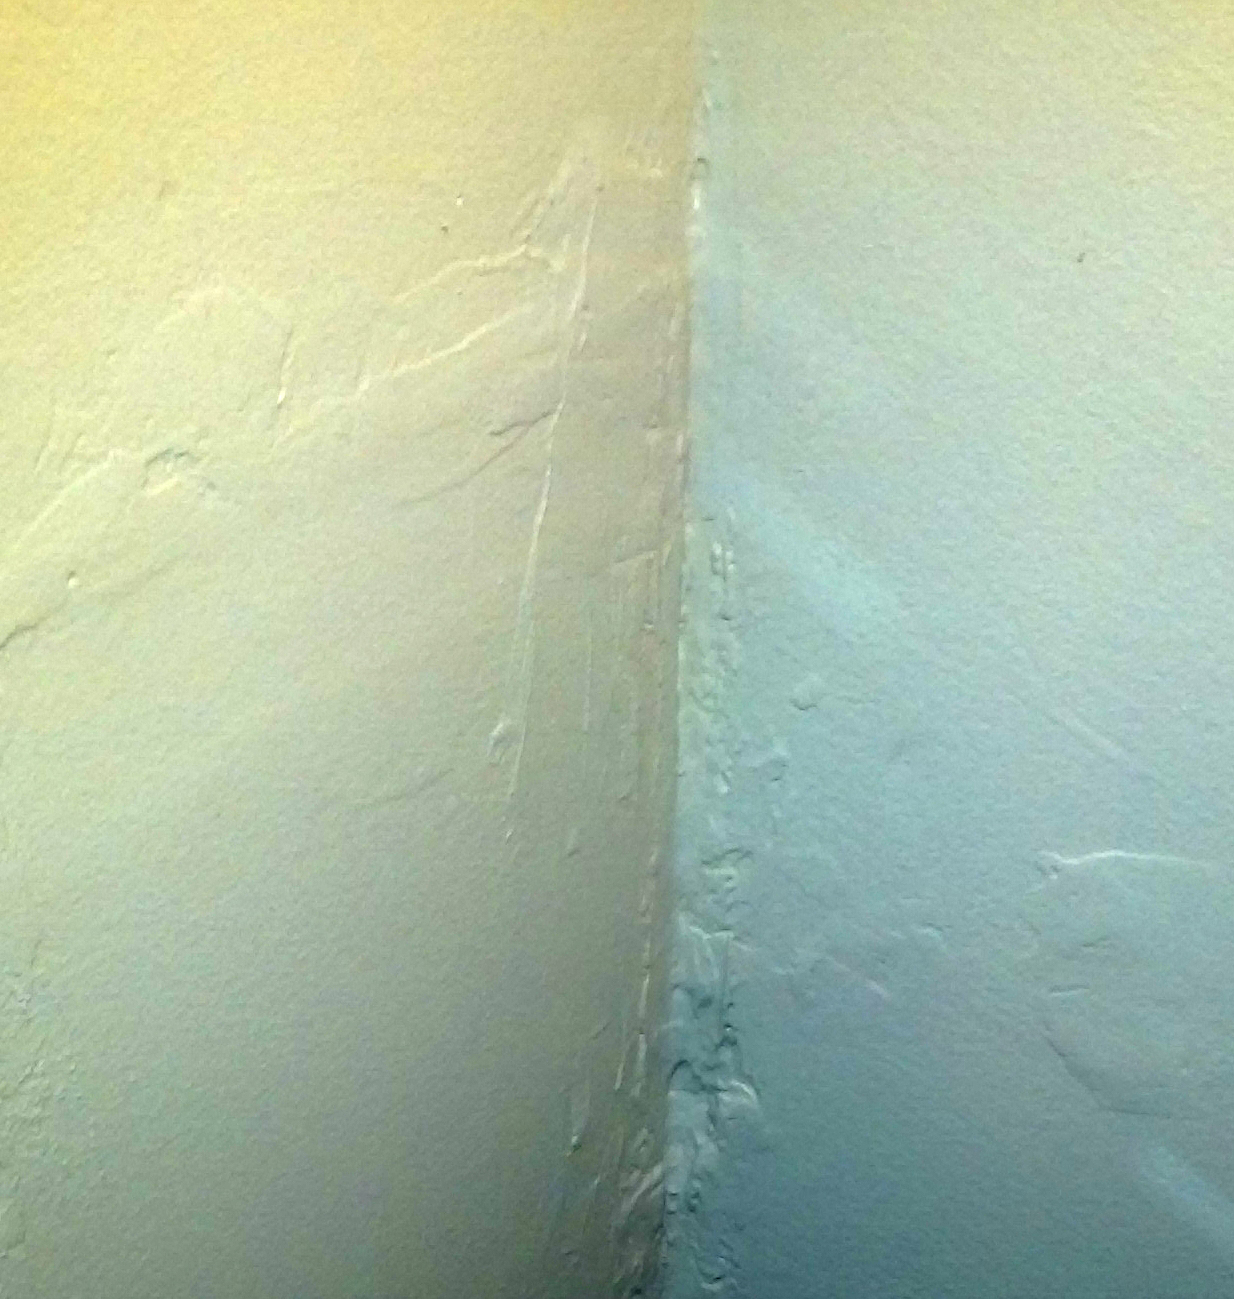
There were other issues but we’ll save those for later. Anyway, to start, . . . out came my orbital sander with 36 grit sandpaper to grind all these lumps of old spackle down flat.
If you have never spent five hours with your hands being vibrated, well . . . it’s interesting!
So once I got all the lumps sanded down flat, it was odd, there was all this old Kermit the Frog green paint under there, and the spackle had the consistency of chewing gum . . . I wonder if the previous owners had added paint to the spackle?? God only knows.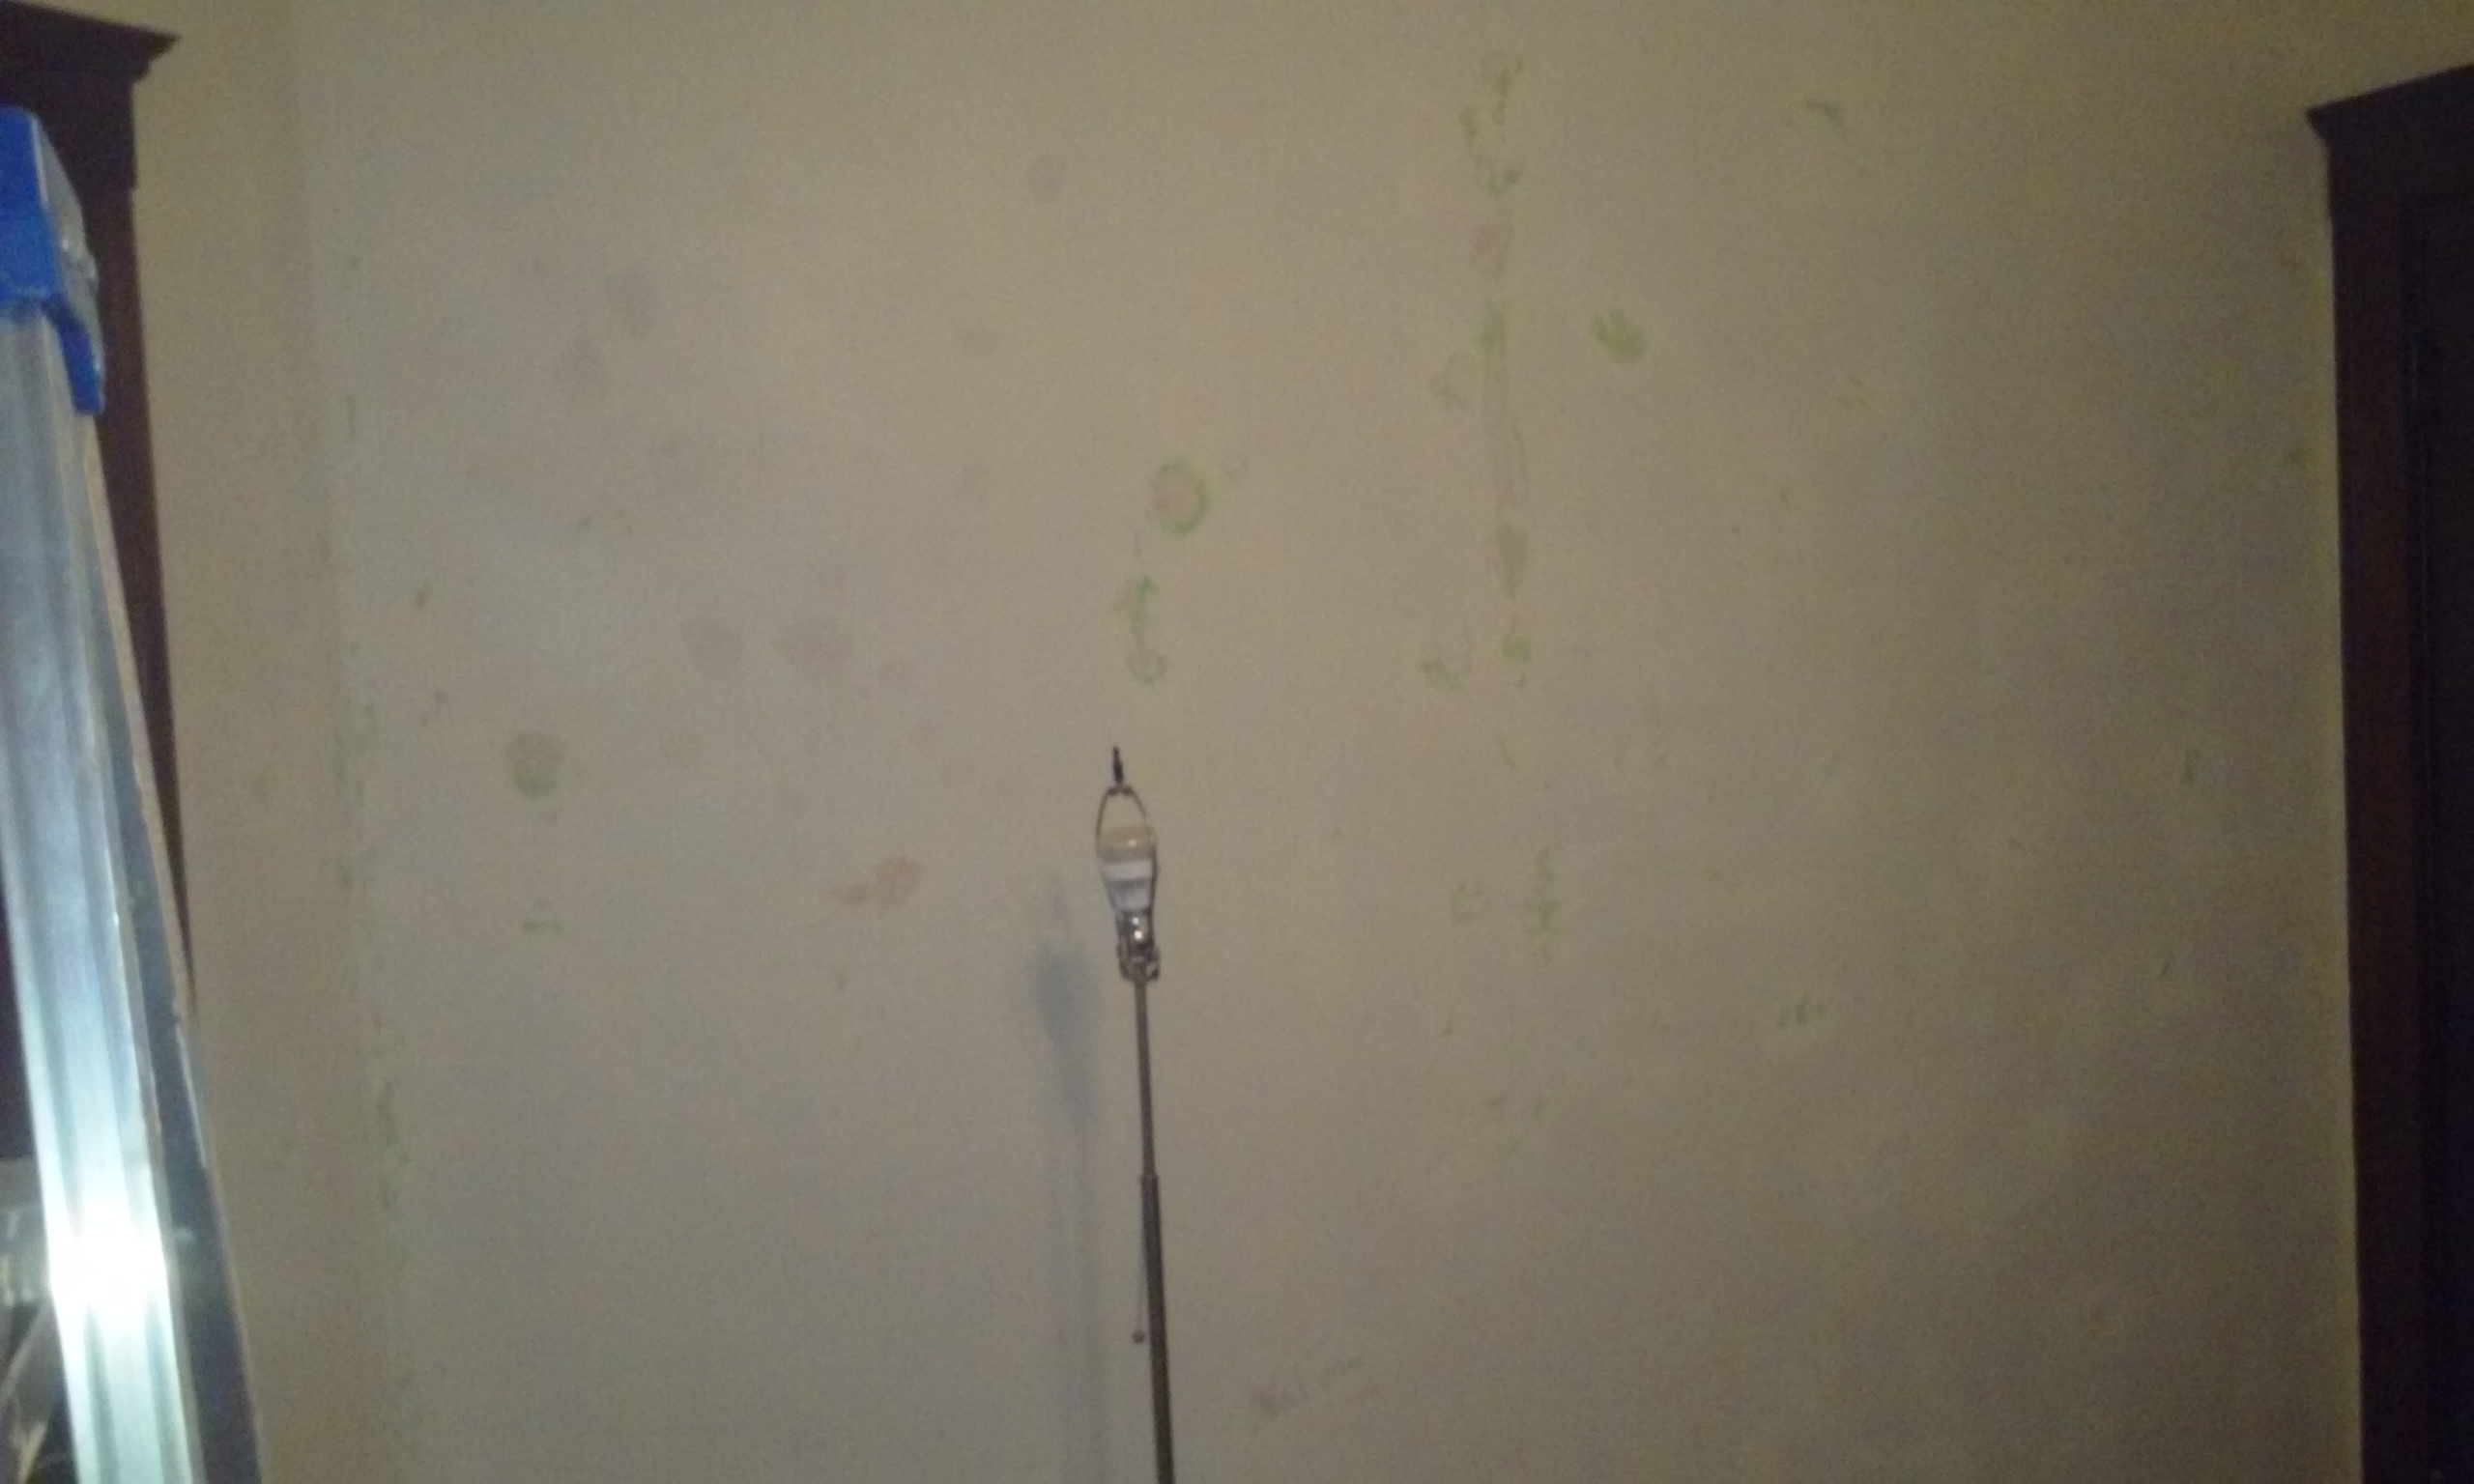
So, Lumps sanded down, now all the pits and valleys needed to be filled in to make the wall flat. Sooooo . . . I bought a gallon of spackle and I used all of it!!!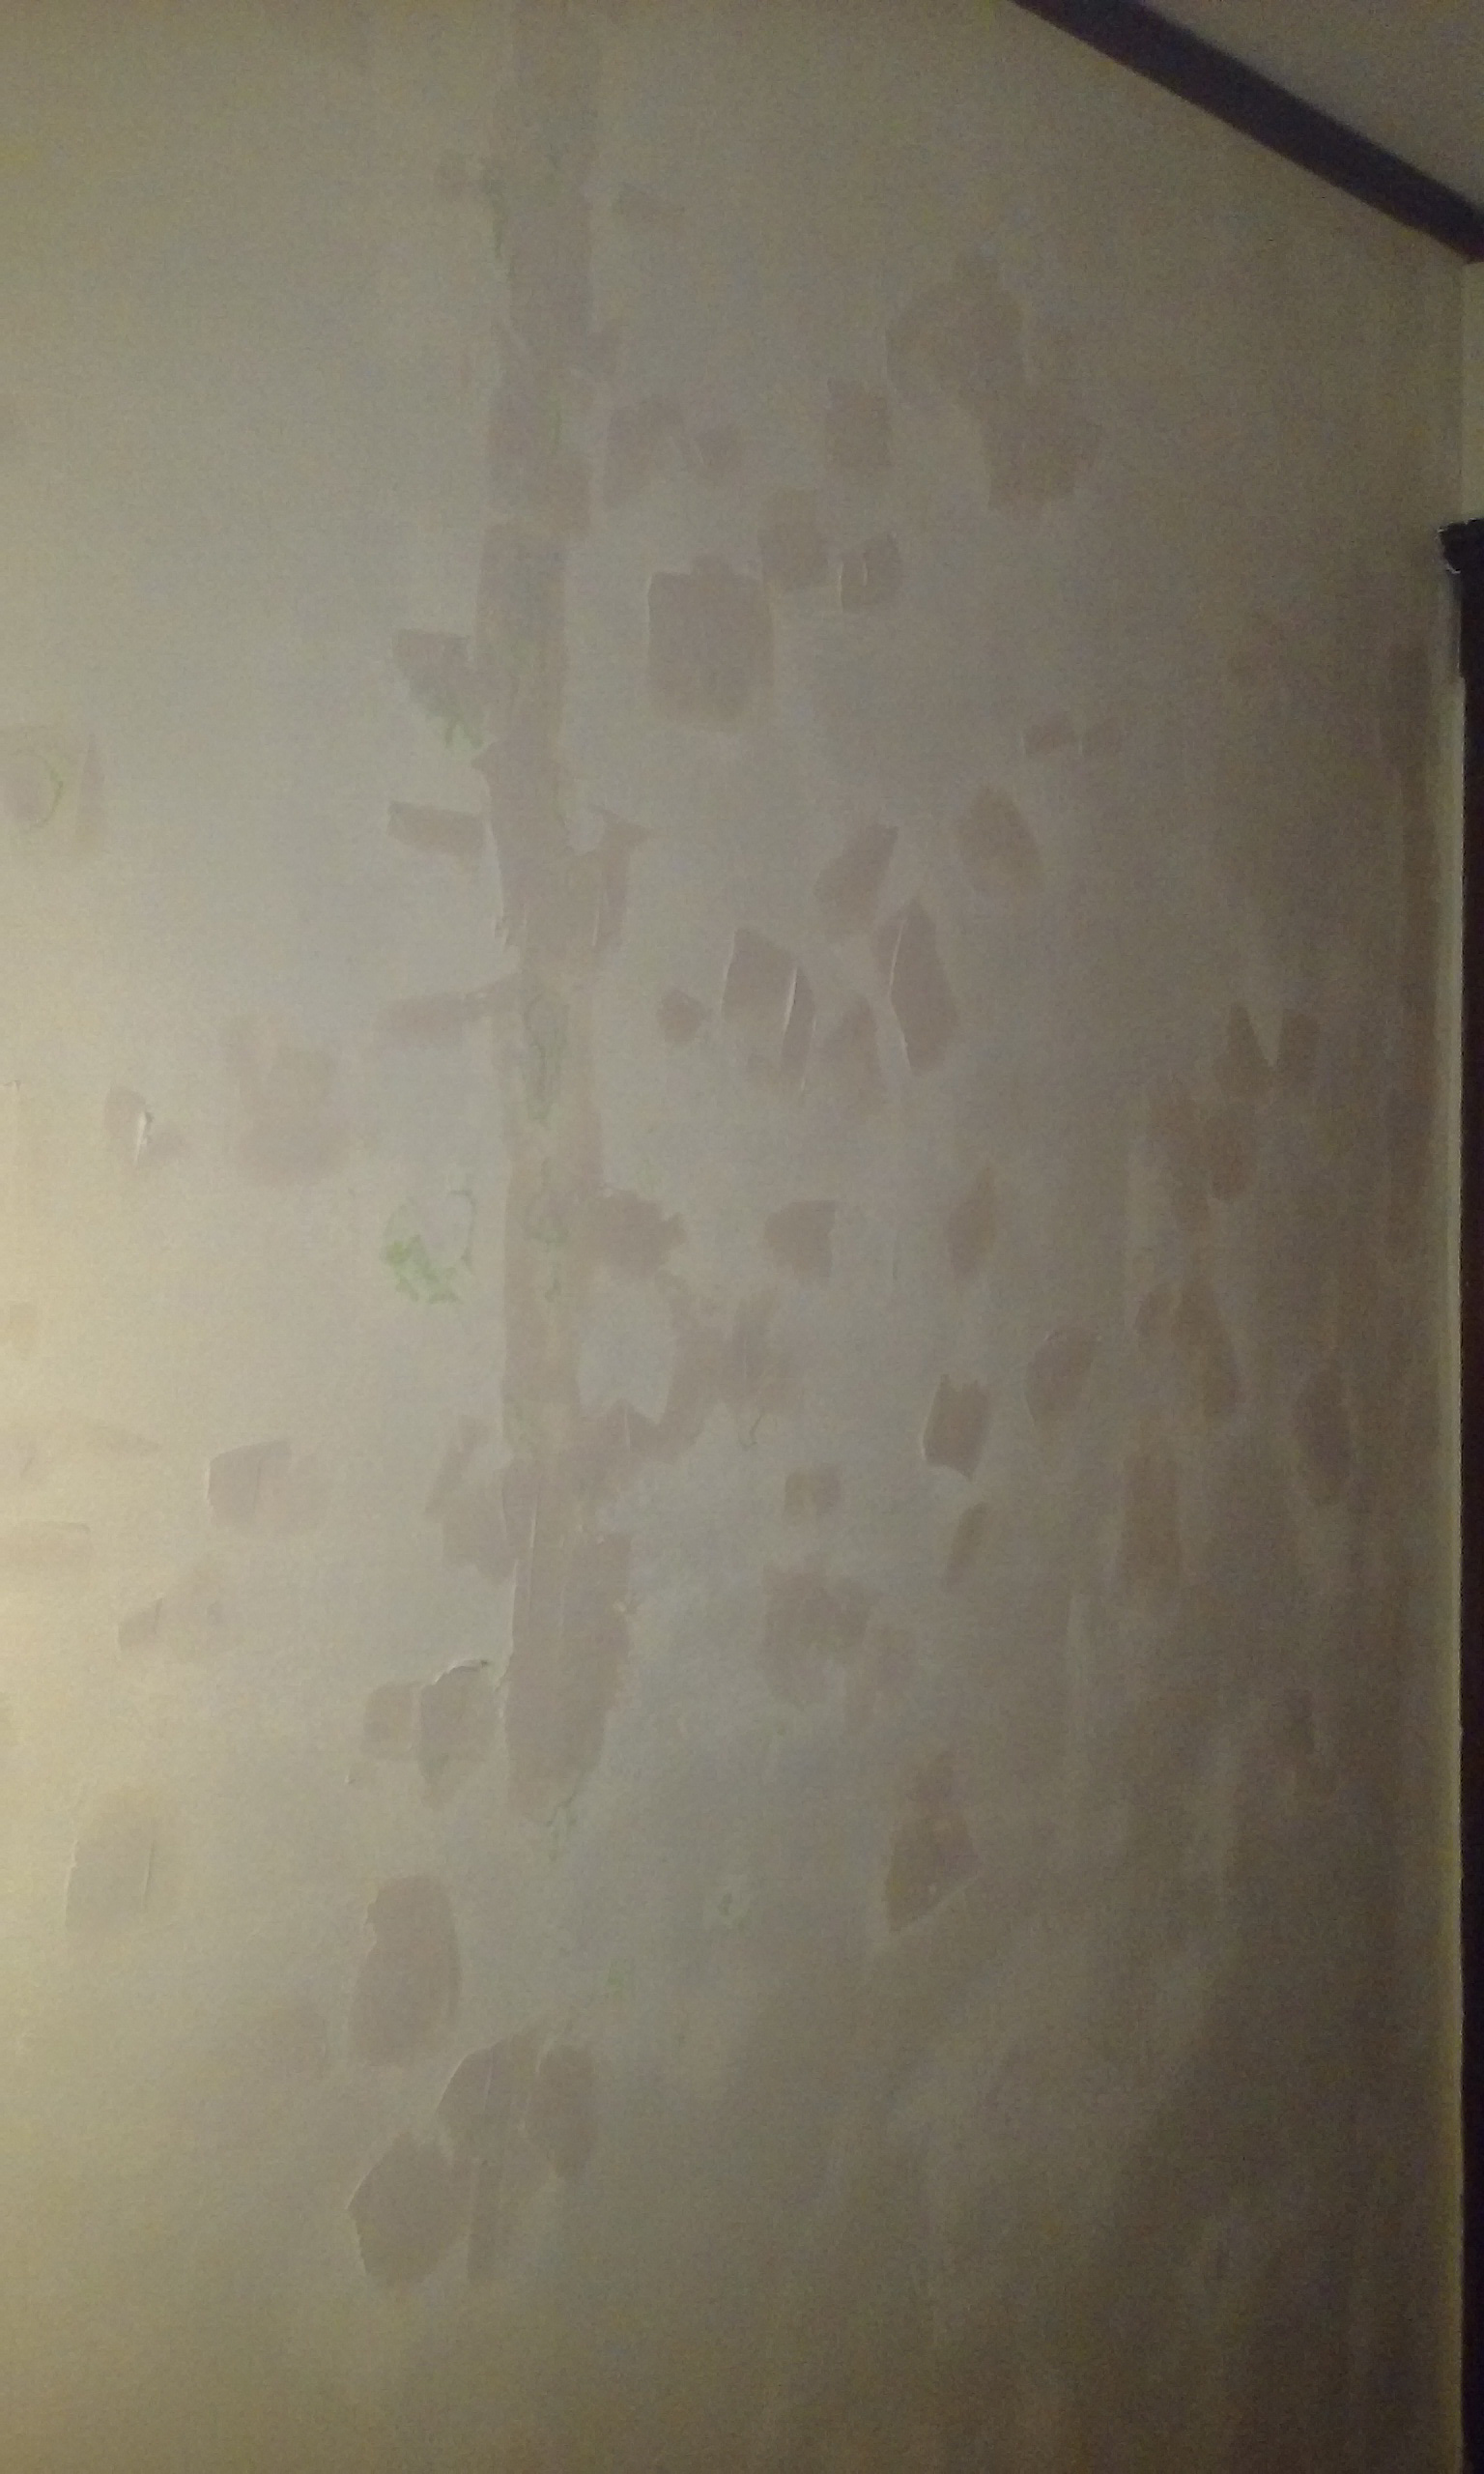
So once the spackle dried, out came the orbital sander again, this time to smooth out the spackle and make the wall flat. Oy, talk about dust!
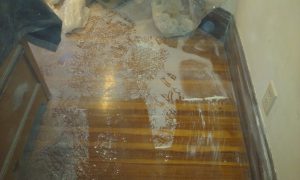
Okay . . . so you’d think i would be ready to paint now . . but you would be wrong. The next step in rescuing this lovely old room was dealing with the paint splotches that were all over the once glorious woodwork. So, I set to work with dental tools, toothbrushes, and solvent.
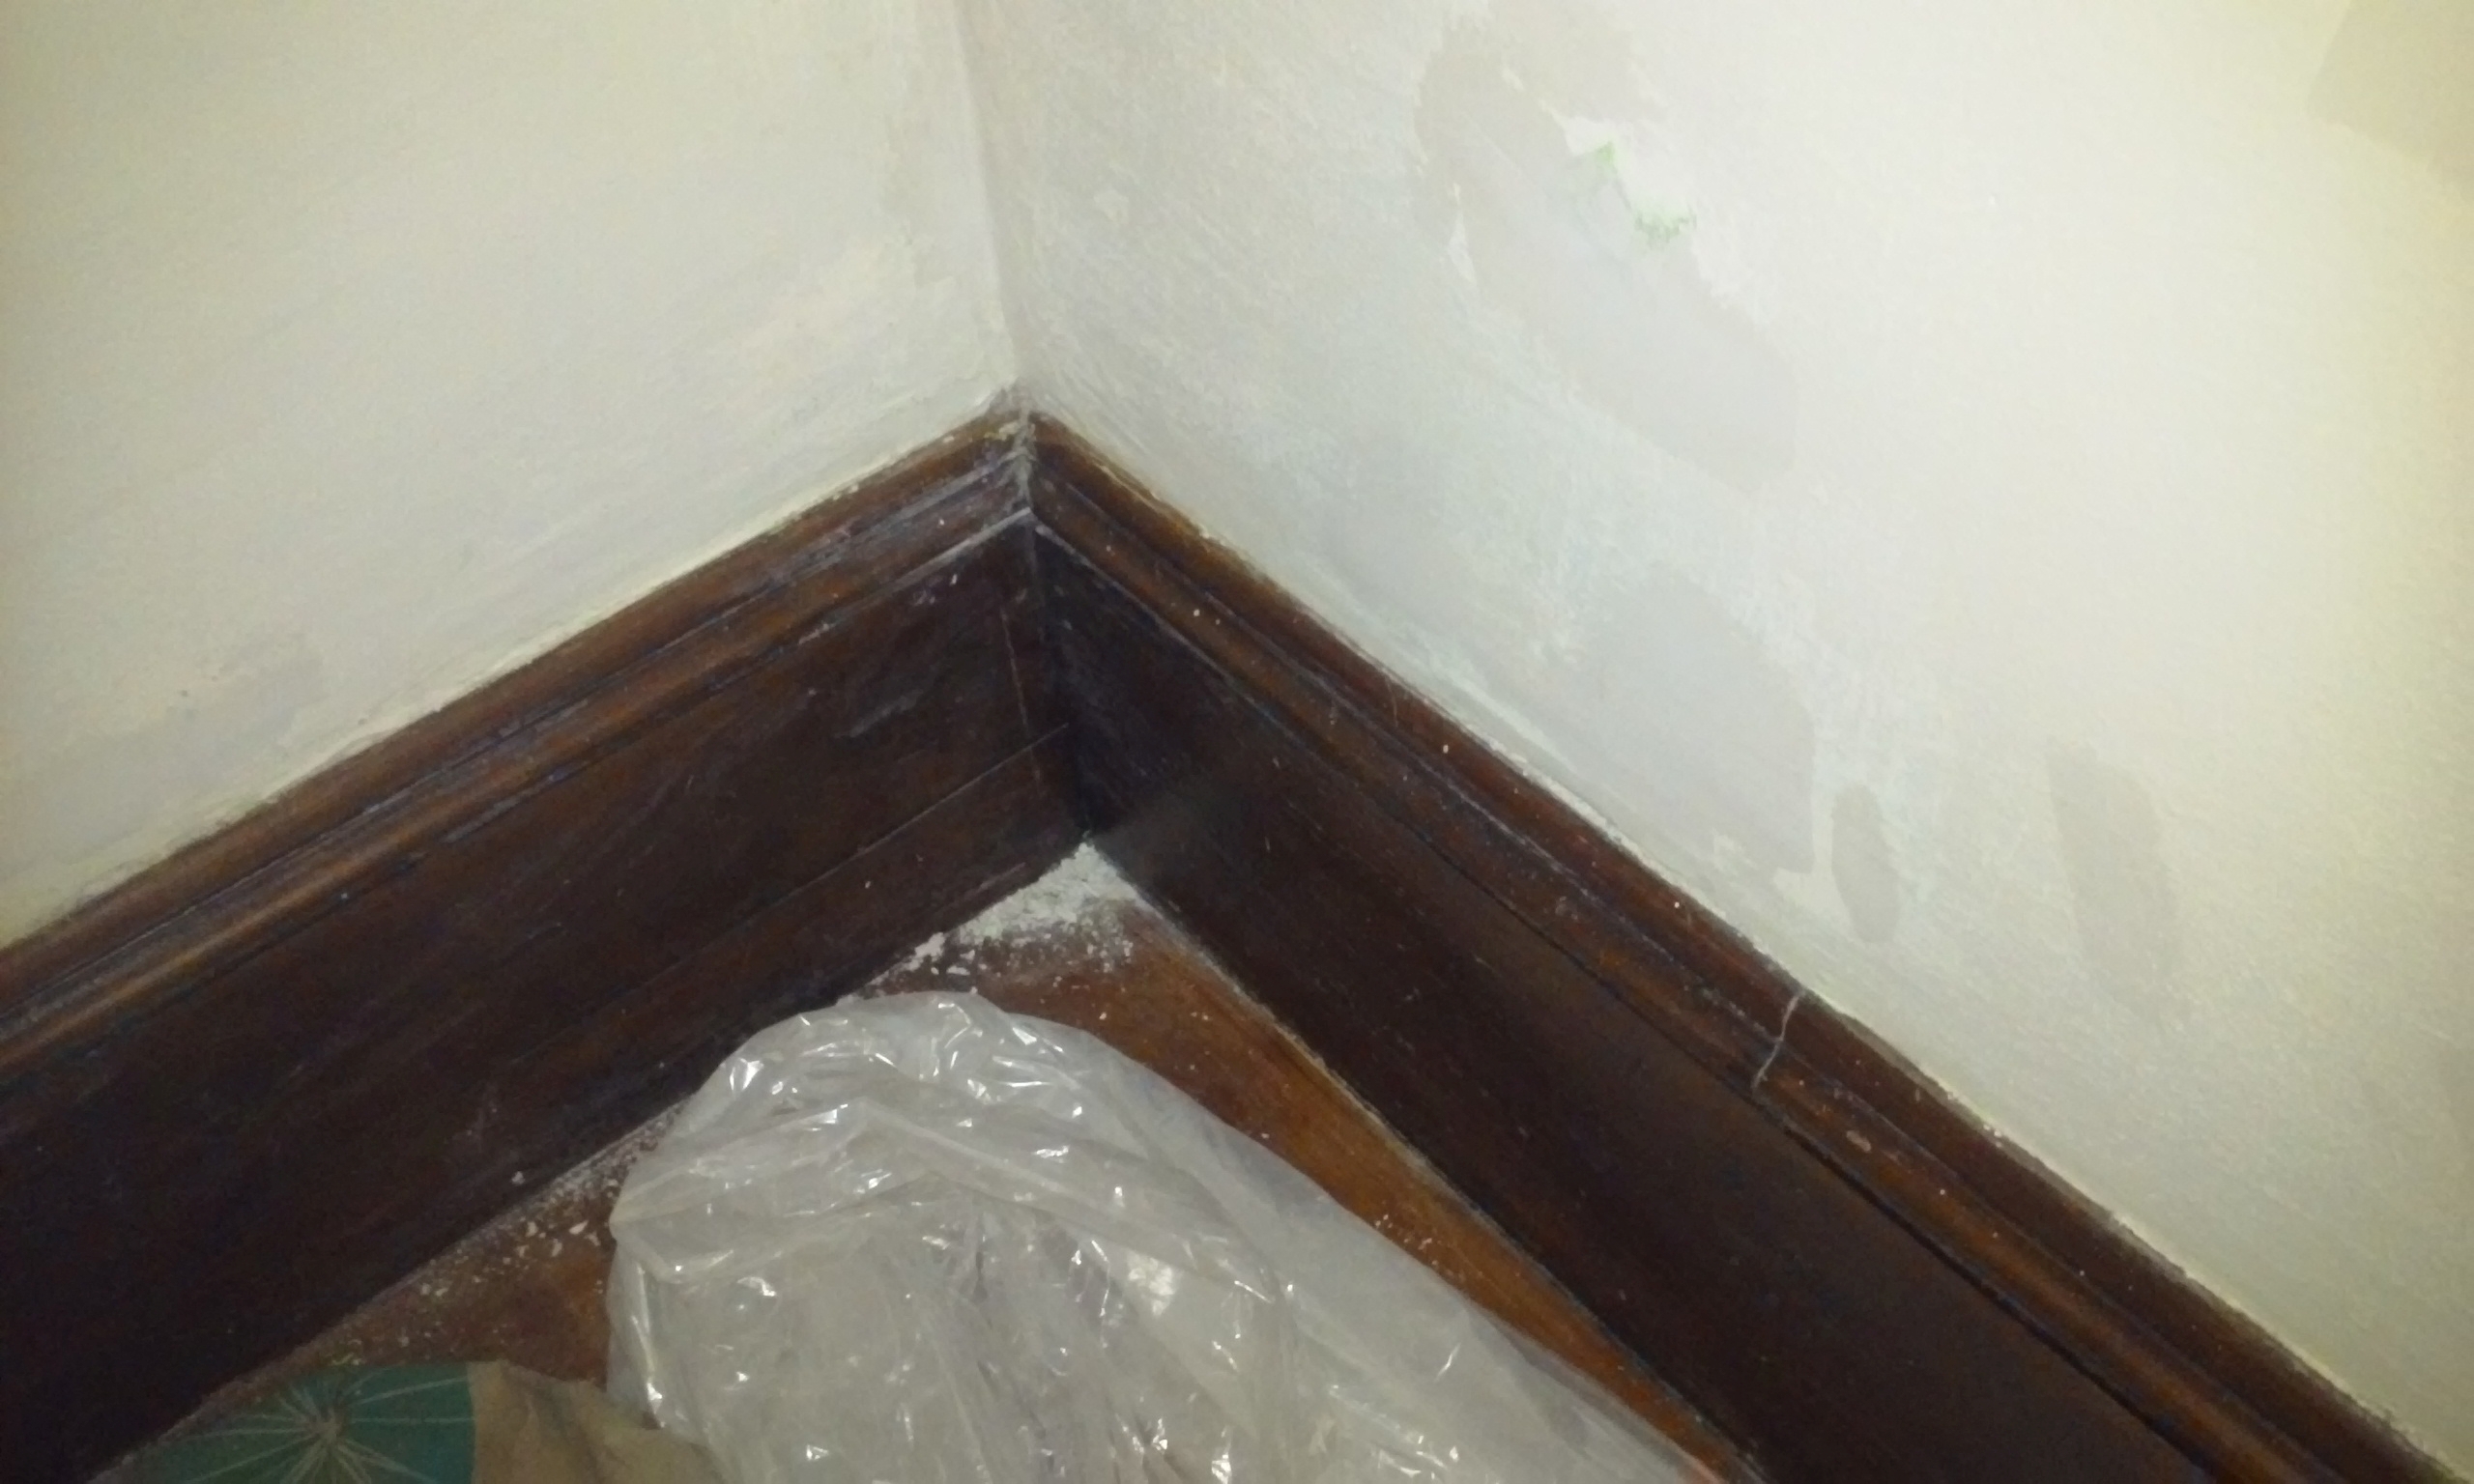
In these pics you can’t really see all the teensy drops of green paint, but here is a “Before” . . .
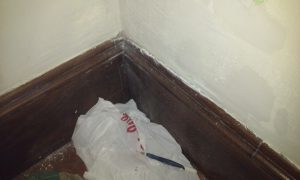
This is a very small sample of a very big part of the job. There was old paint slopped on the sides of two windows, 2 door jambs, on the trim all around the top of the walls, and on the tops of the baseboards. I credit the owner for letting me take the time needed to do the cleanup, it made a huge difference. Sloppy painting is such an insult to the spirit.
ANYWAY
Once all that paint on the woodwork was cleaned up, I still had other issues. In many places the plaster had more or less disintegrated where it met the woodwork, and I had to gingerly press wet spackle in and let it spread in under the woodwork. Here you can see where I essentially rebuilt the top of one wall: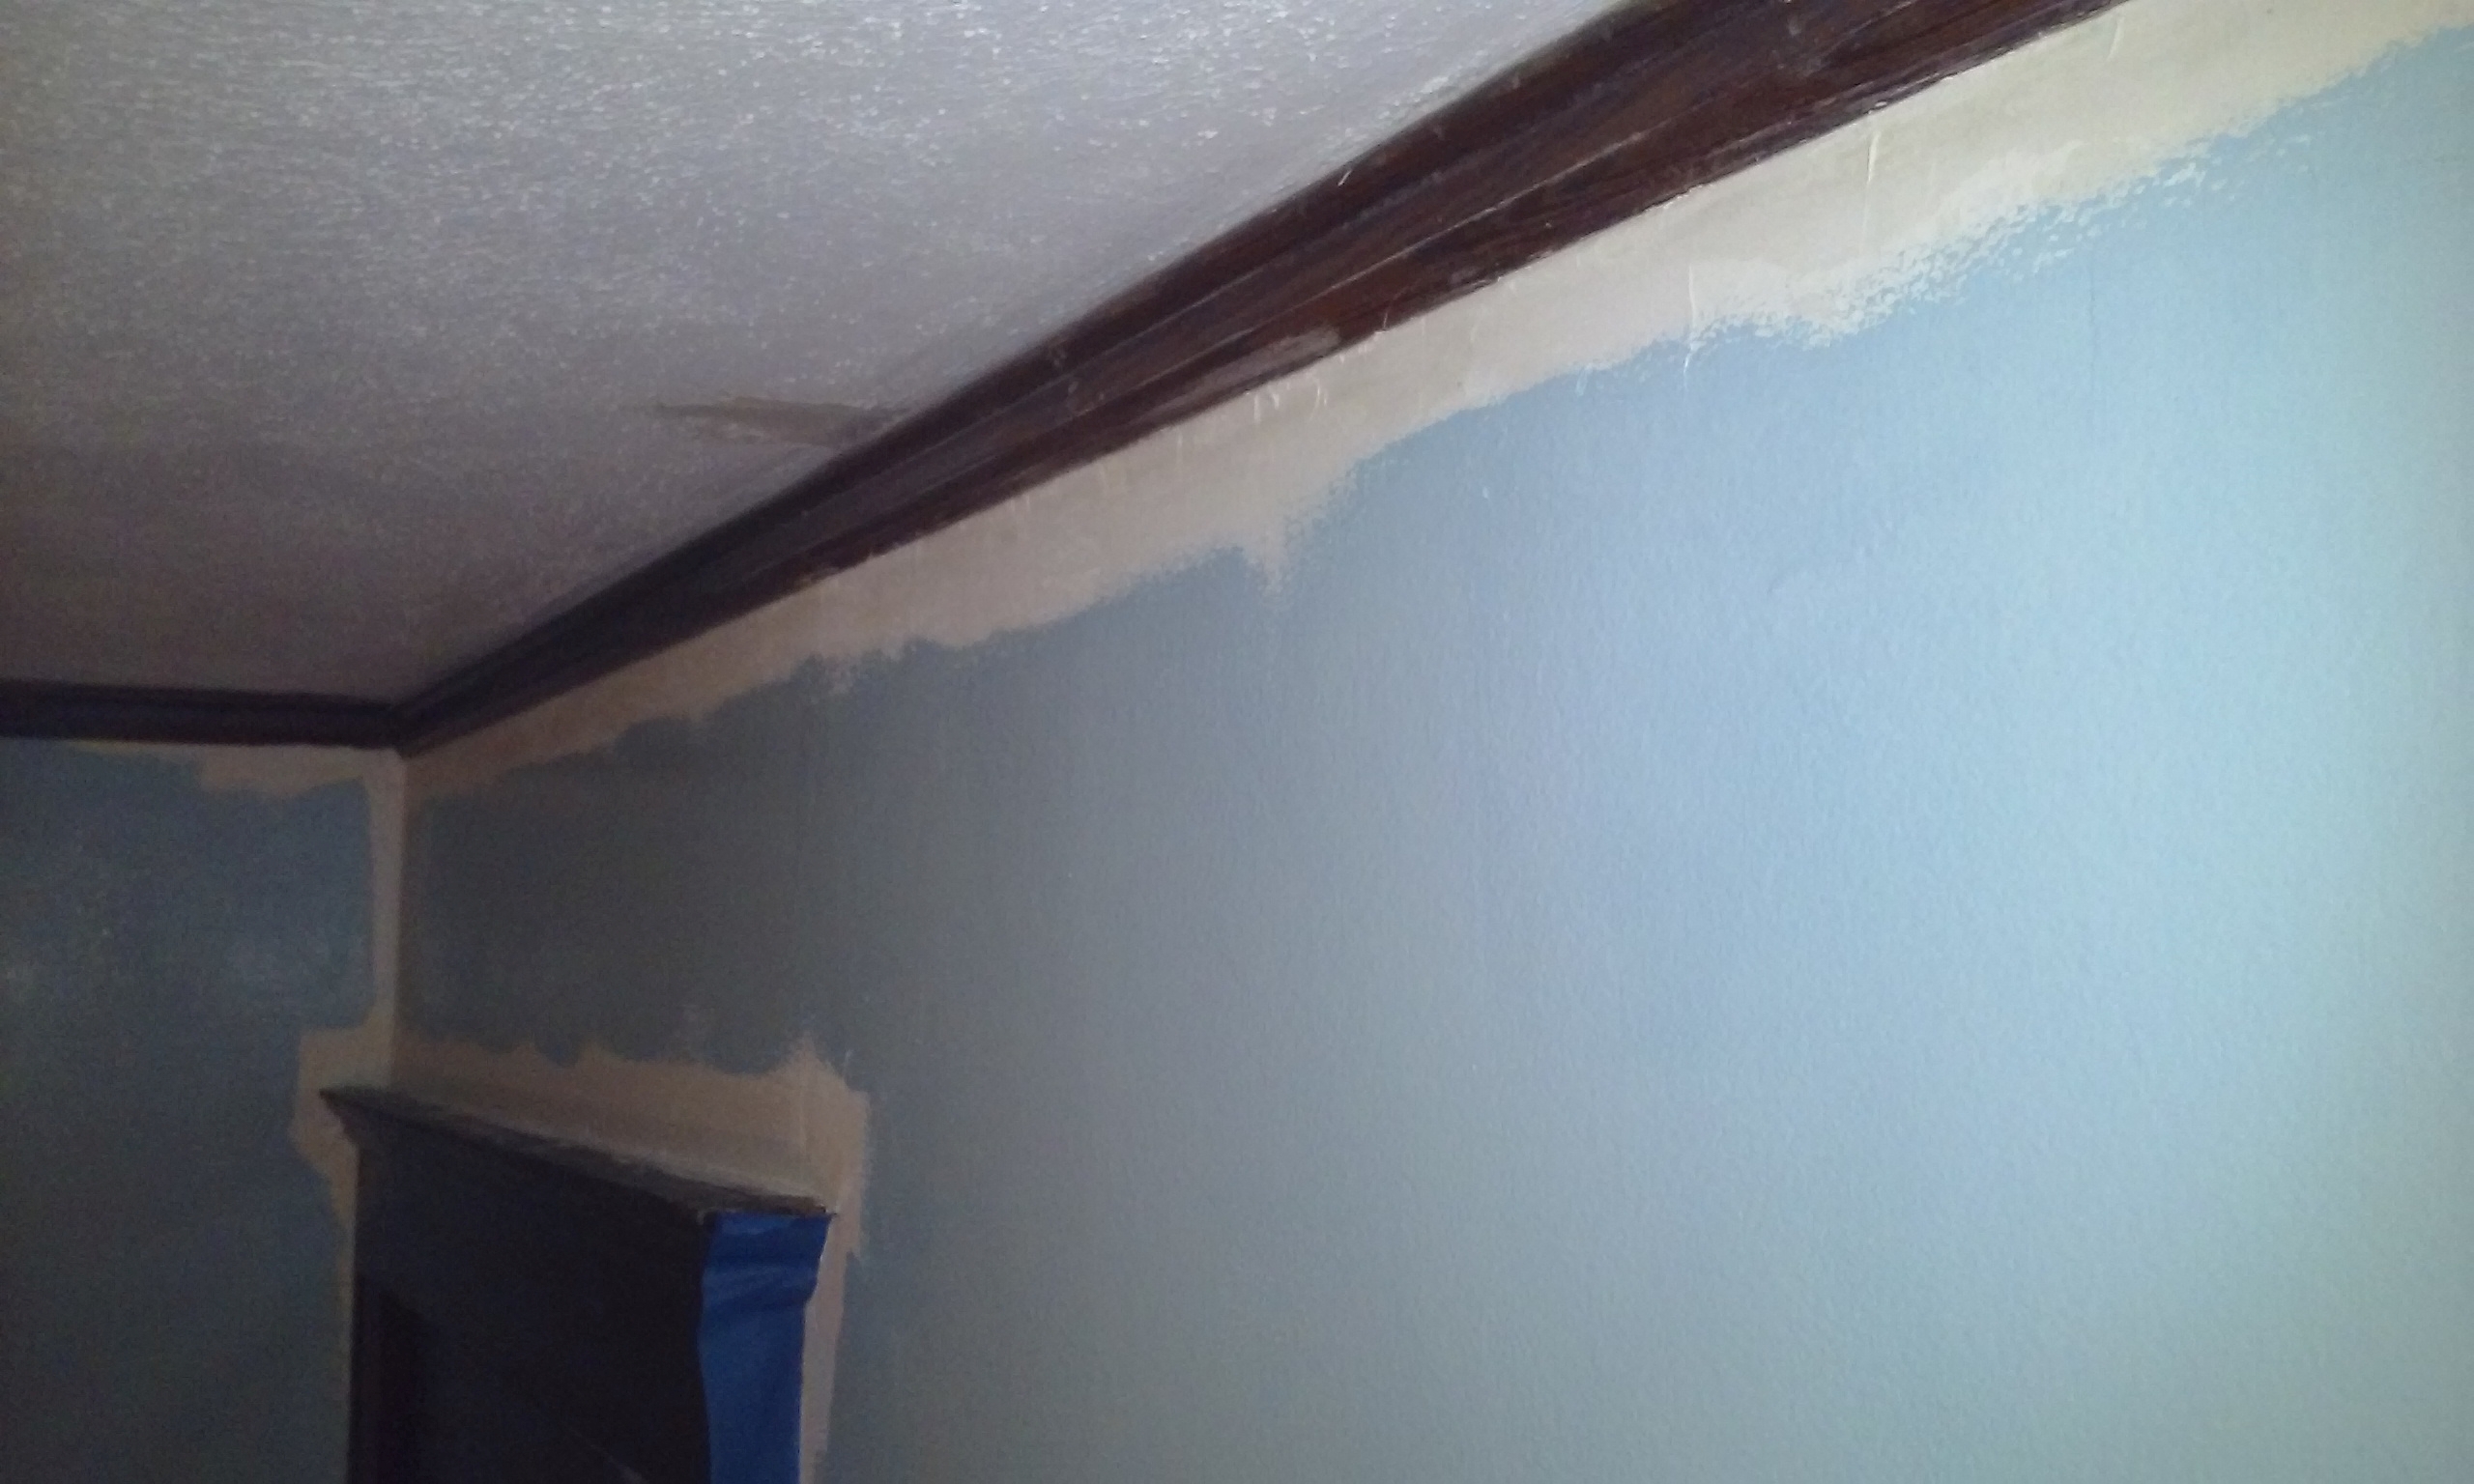
And of course it all had to be sanded down after.
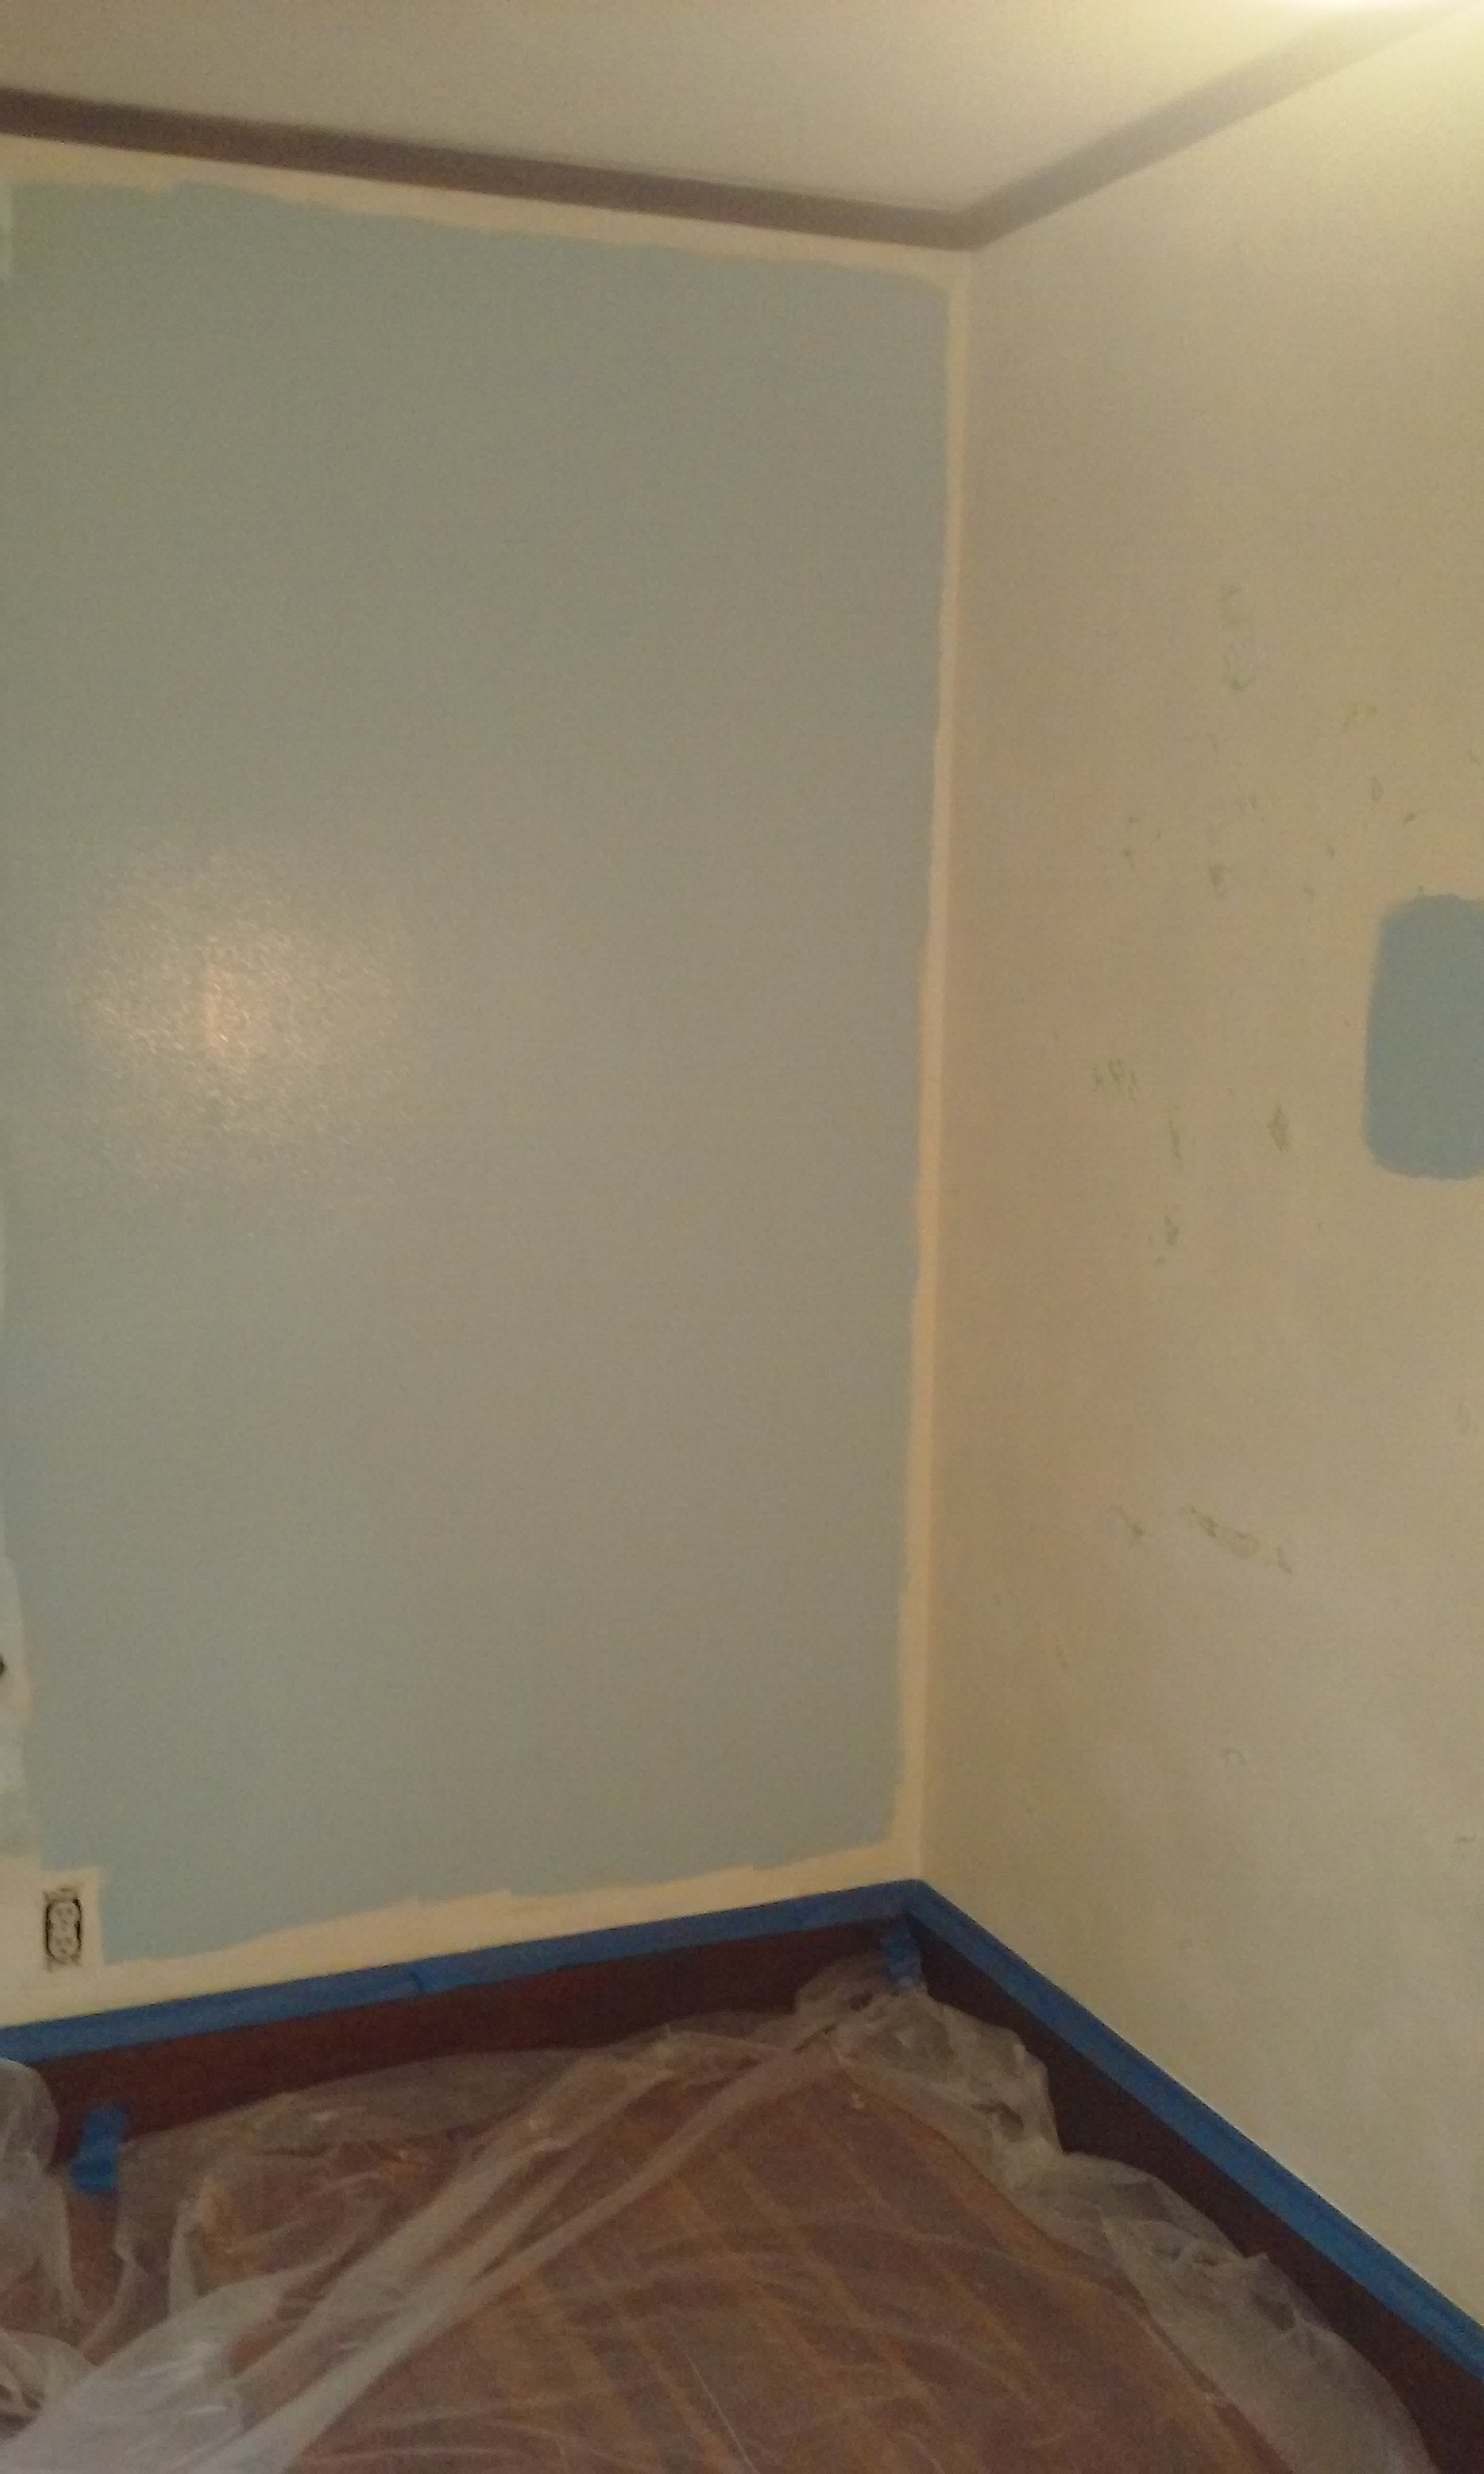
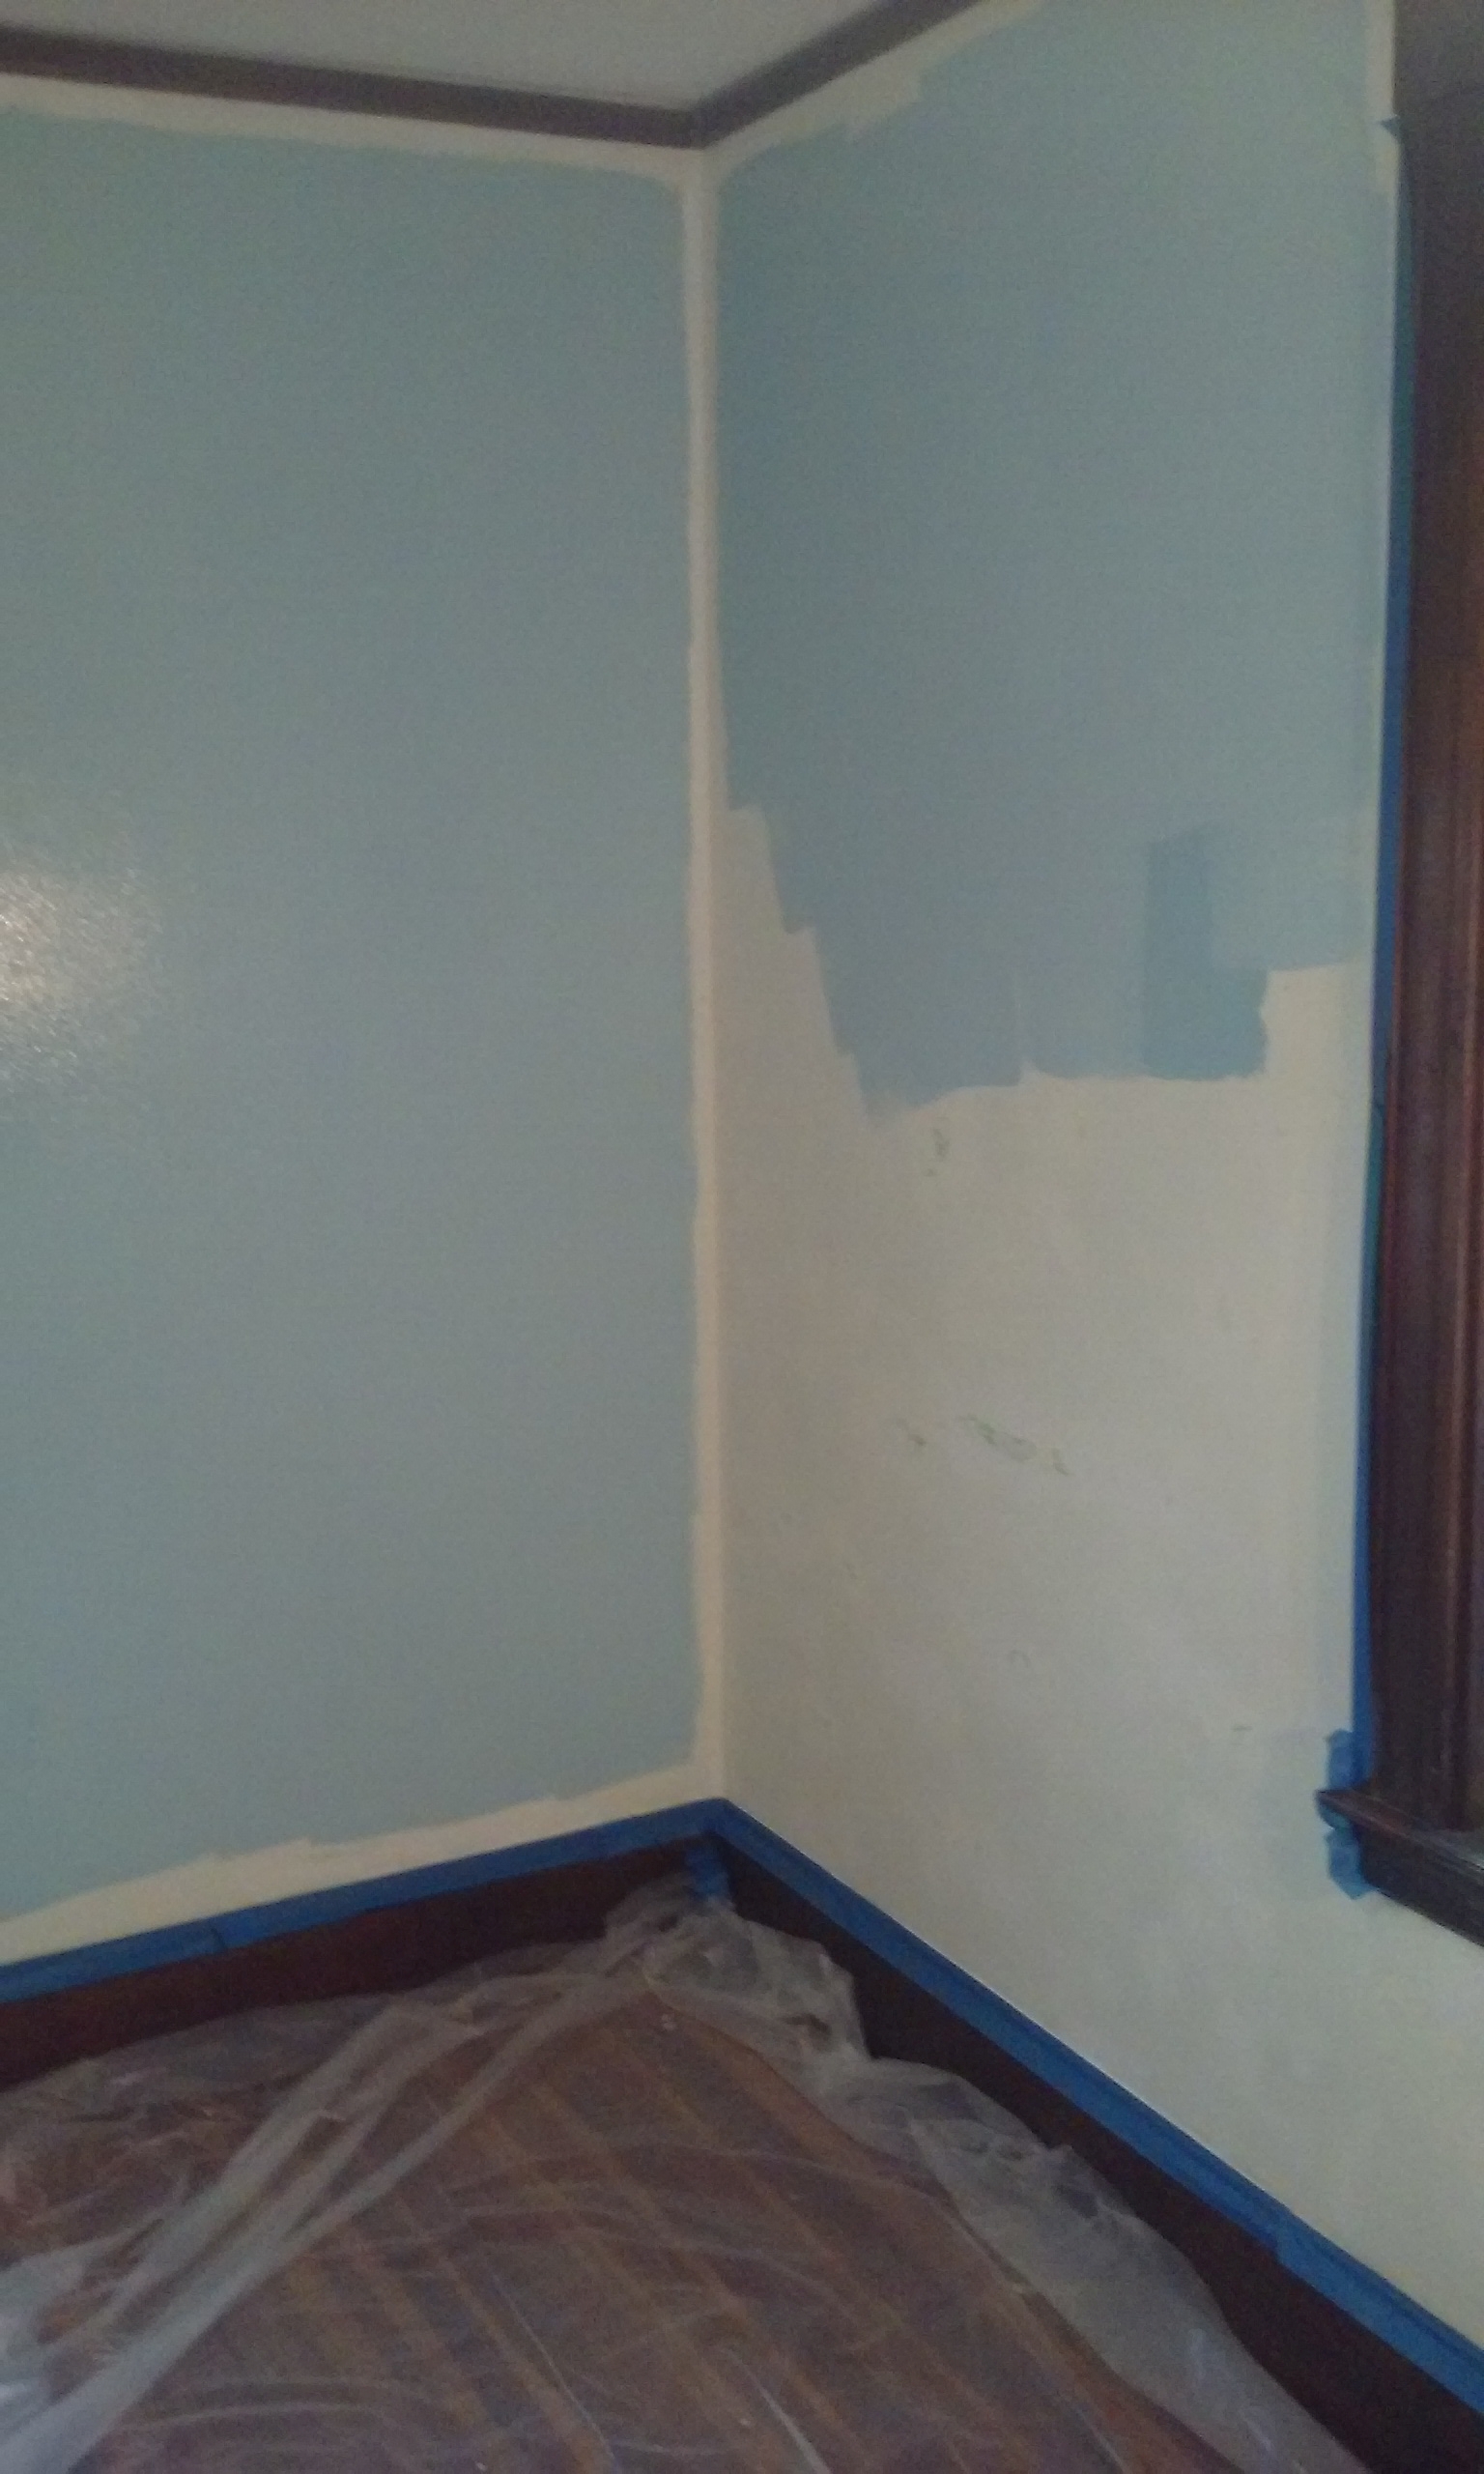
I confess I was particularly proud of the horizontal sheetrock joint issue, I had applied two layers of spackle on it, and then sanded it down. I wasn’t sure if it would work until I painted it, and I gleefully watched as the old joint practically disappeared: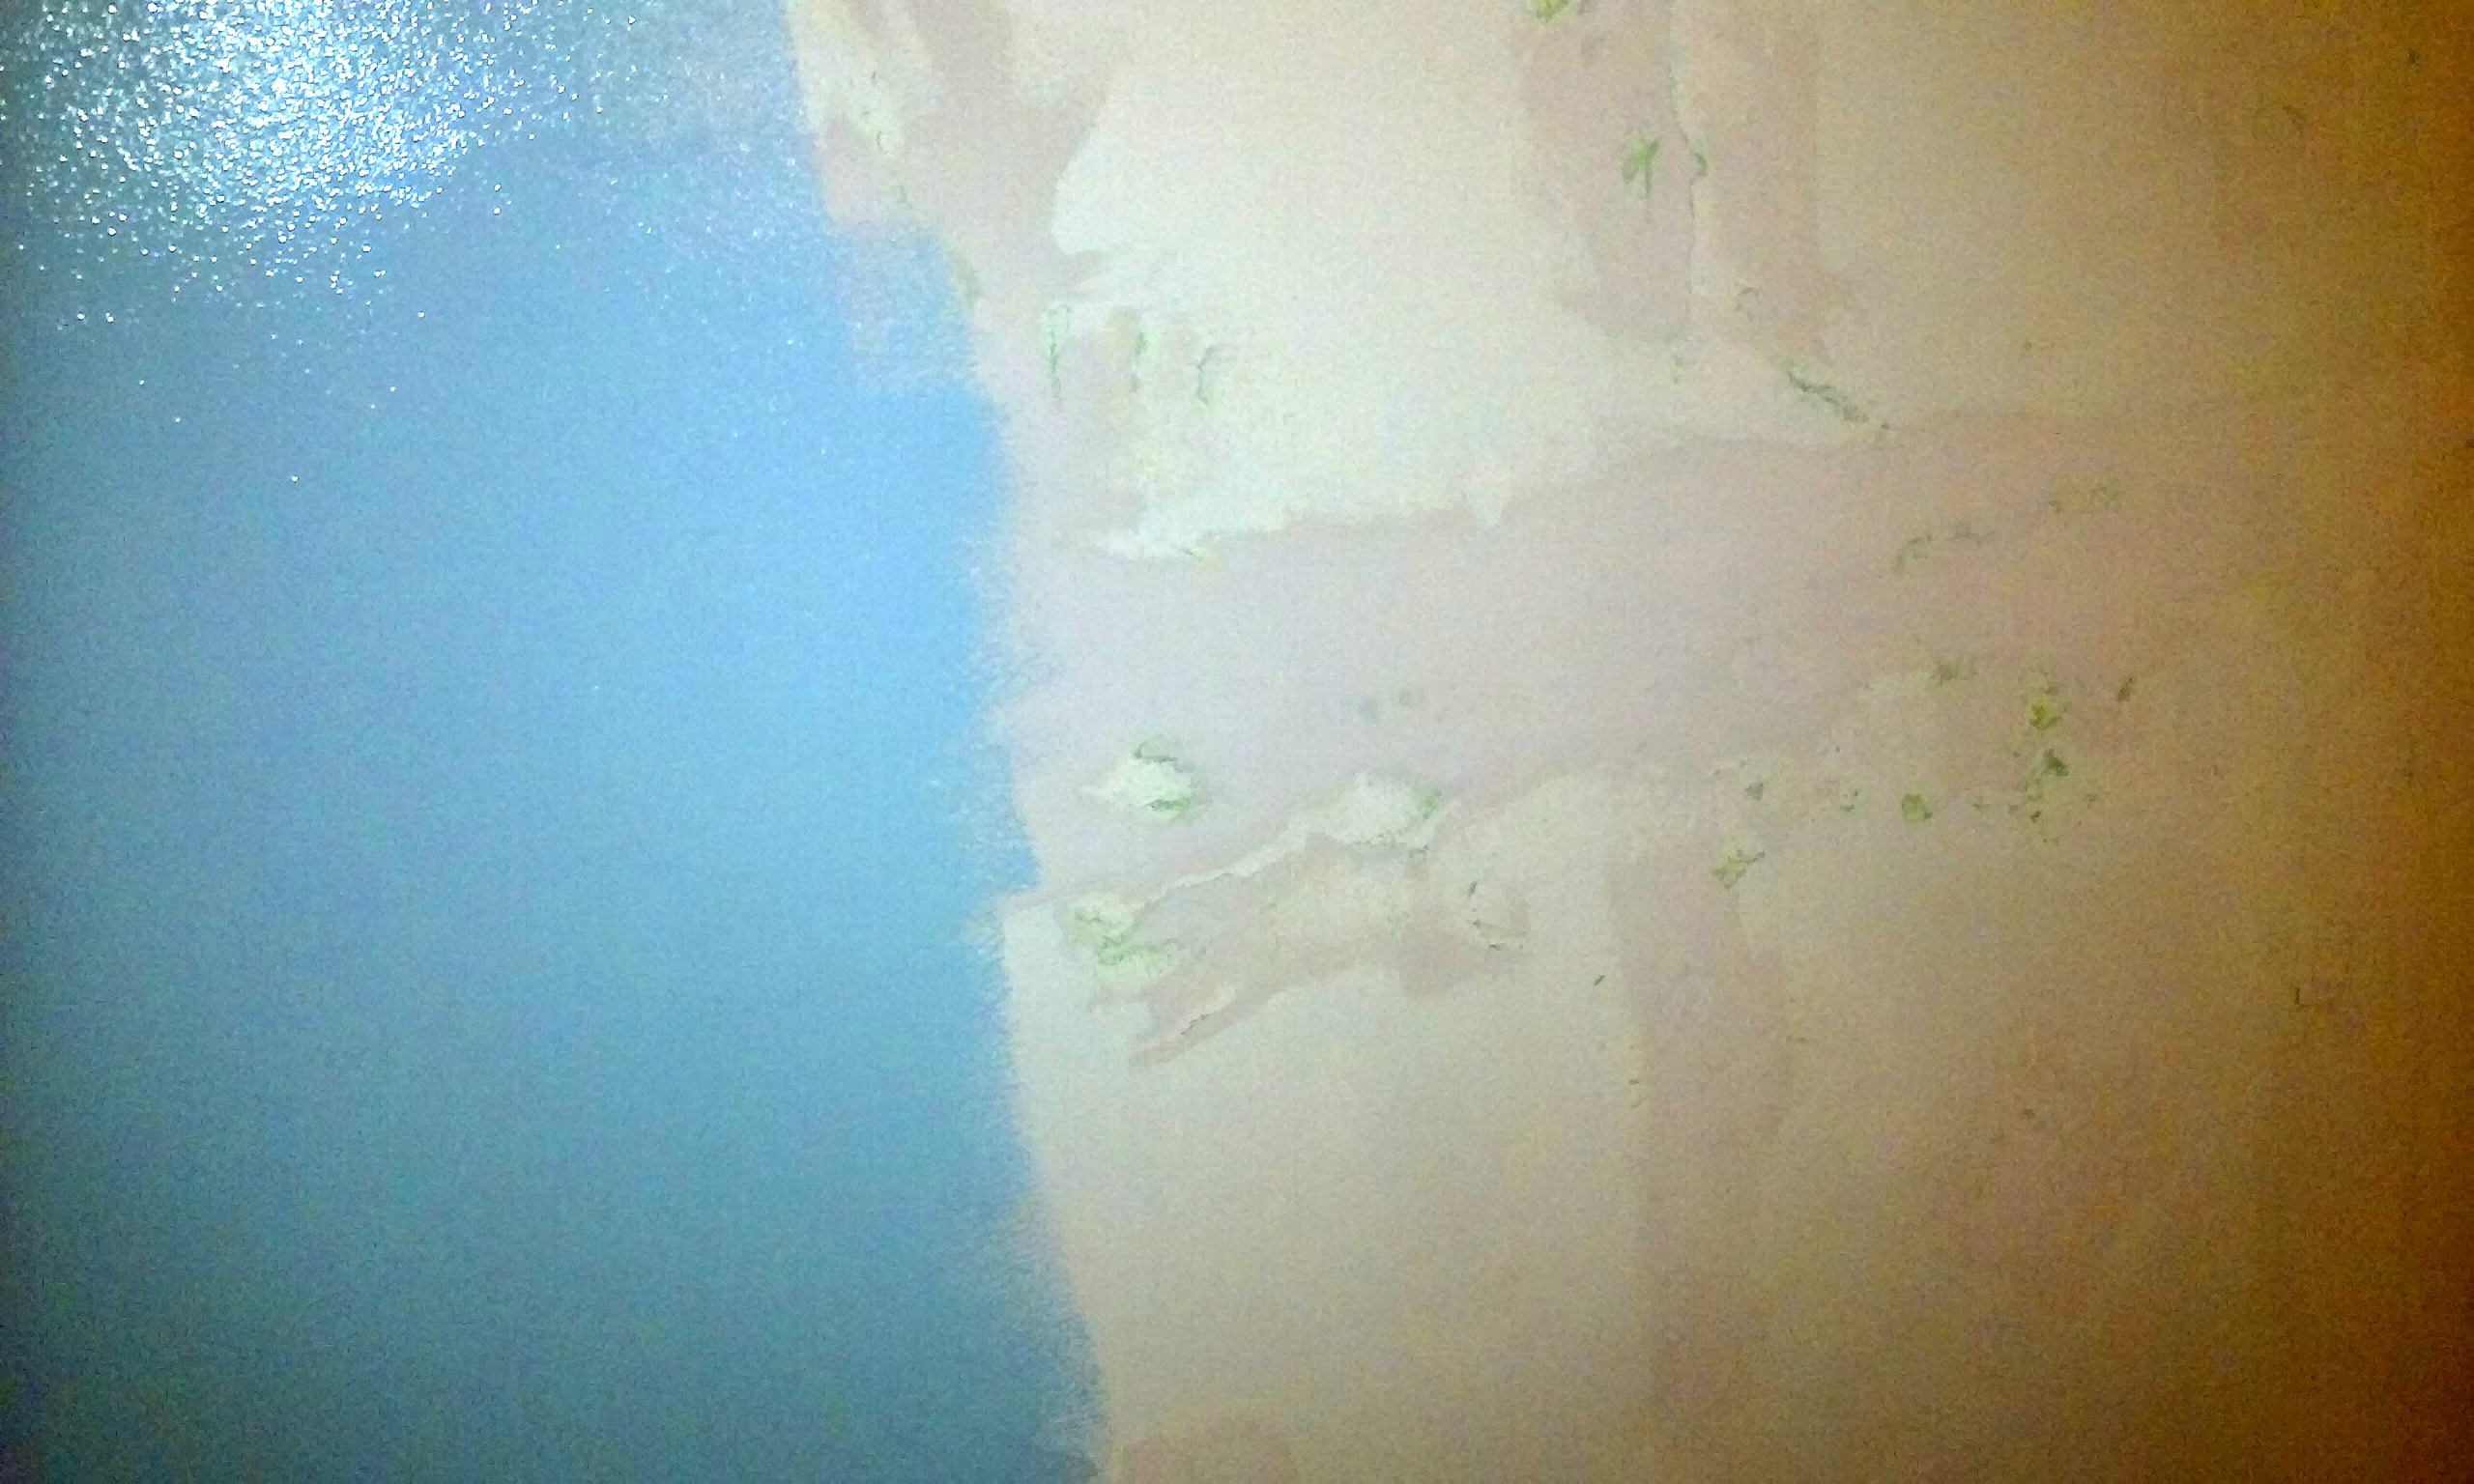
It took some additional doing, but all the cavities and deformities in the corner disappeared as well. Like I said, it took a gallon of spackle!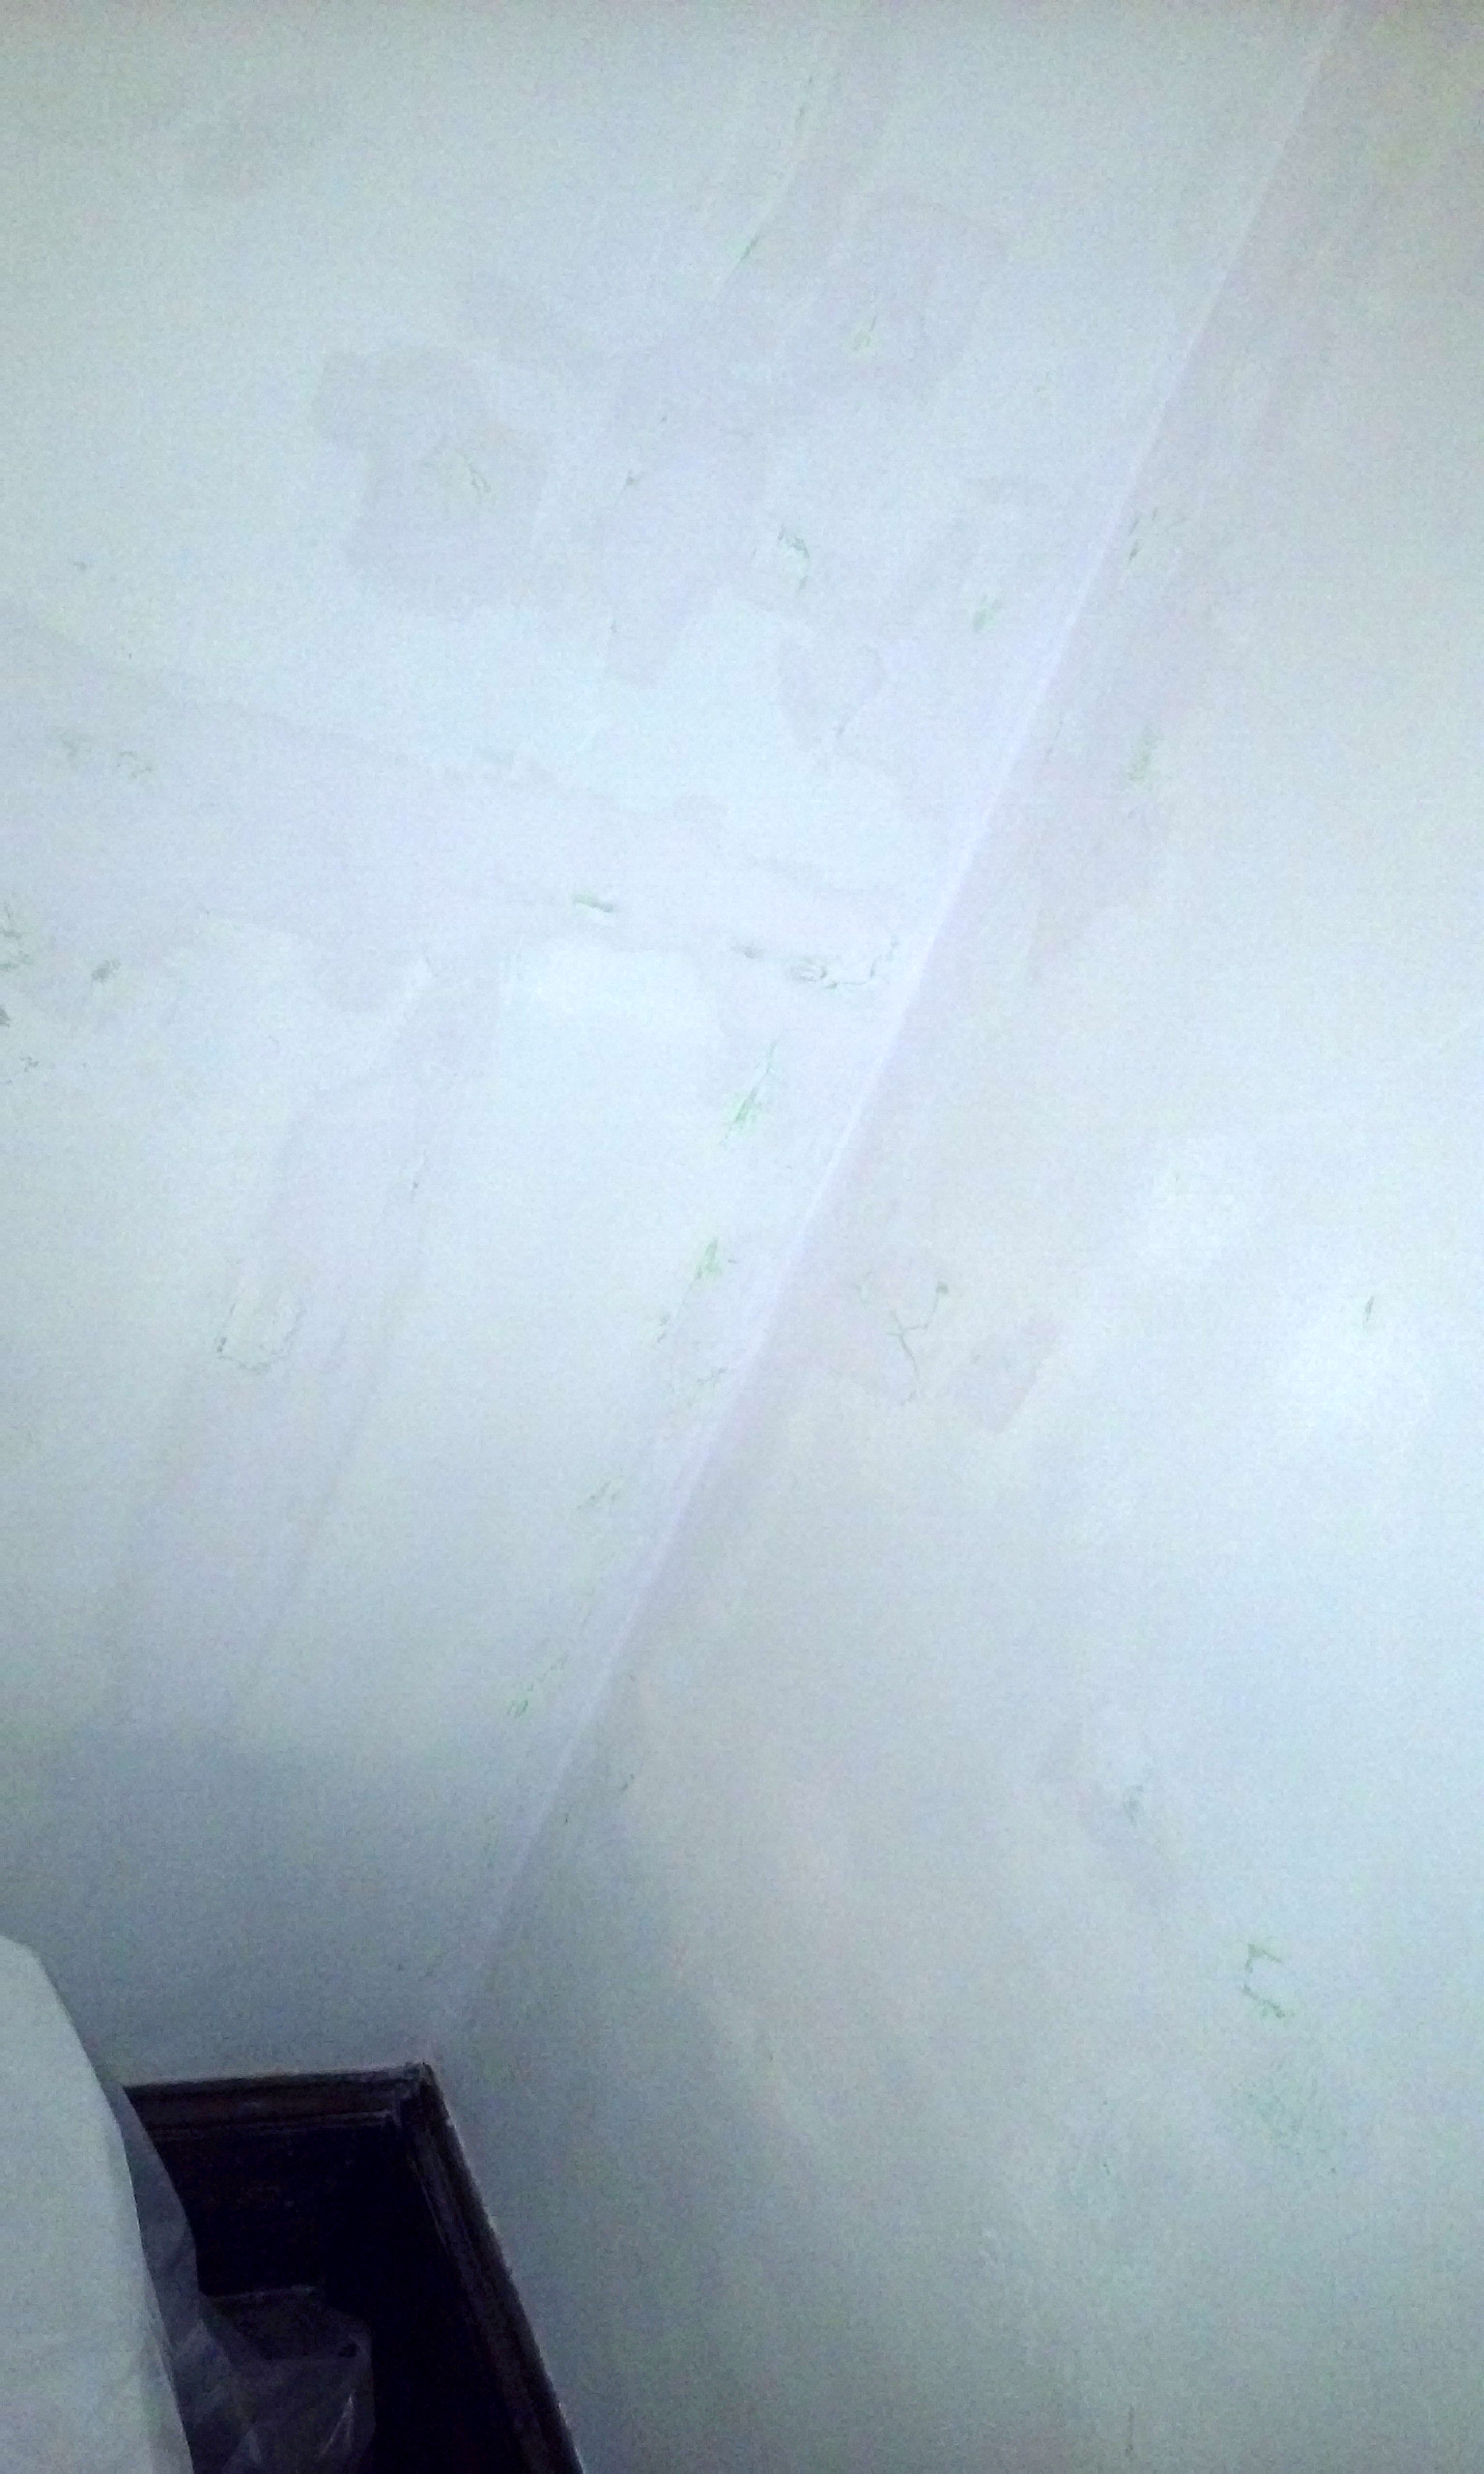
At last, time to start painting. This is always the most fun and rewarding part.
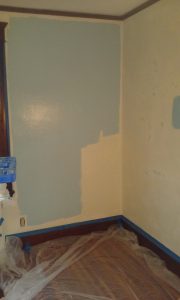
All told, the ceiling trim, baseboards, windows and doors added up to over 1o0 feet of edging that all had to be carefully done (twice, as it needed two coats!!) as there were all sorts of little pockmarks to be filled in. But, persistence paid off. It’s all done.

And, though I say it who shouldn’t, it looks spectacular. Client is thrilled and so am I. What a job! It’s Miller time!

